Page 2 of 11
Posted: Mon Apr 13, 2009 6:35 pm
by 5988
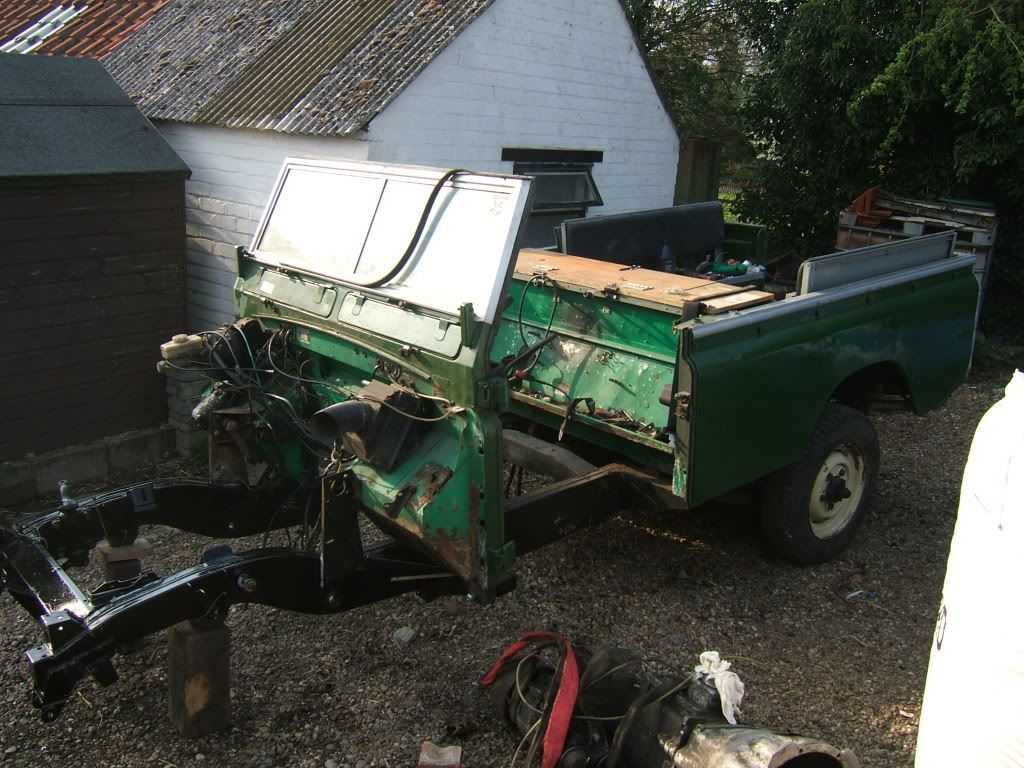
both outriggers now replaced
chassis painted at the front
Relay seal replaced and relay fitted
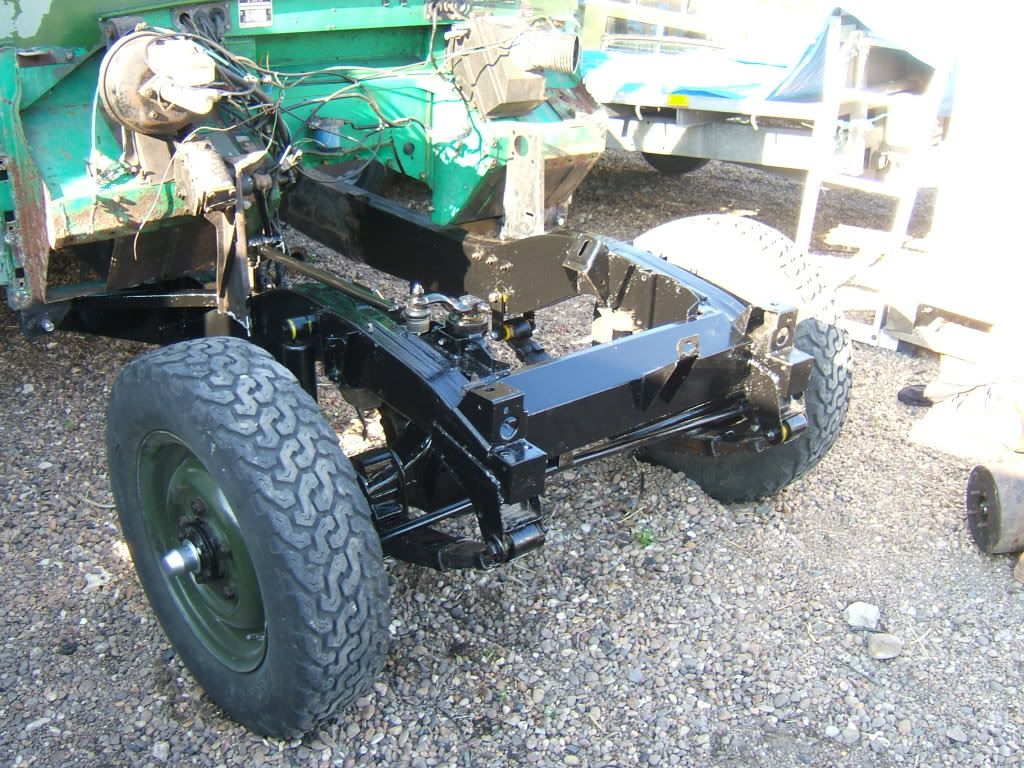
tried to fit front suspension bushes but they dont fit...good quality new parts again ::)
removed roof - free to anyone who wants it

Posted: Mon Apr 13, 2009 8:41 pm
by Andy Dawe
This is going to be a really nice job when finished. The quality of the work is clear to see. Keep up the work.... Keep the pics coming.
wow!
Posted: Mon Apr 13, 2009 9:13 pm
by sebking
Looks really great.
Seb
Posted: Sat Apr 18, 2009 7:58 pm
by 5988
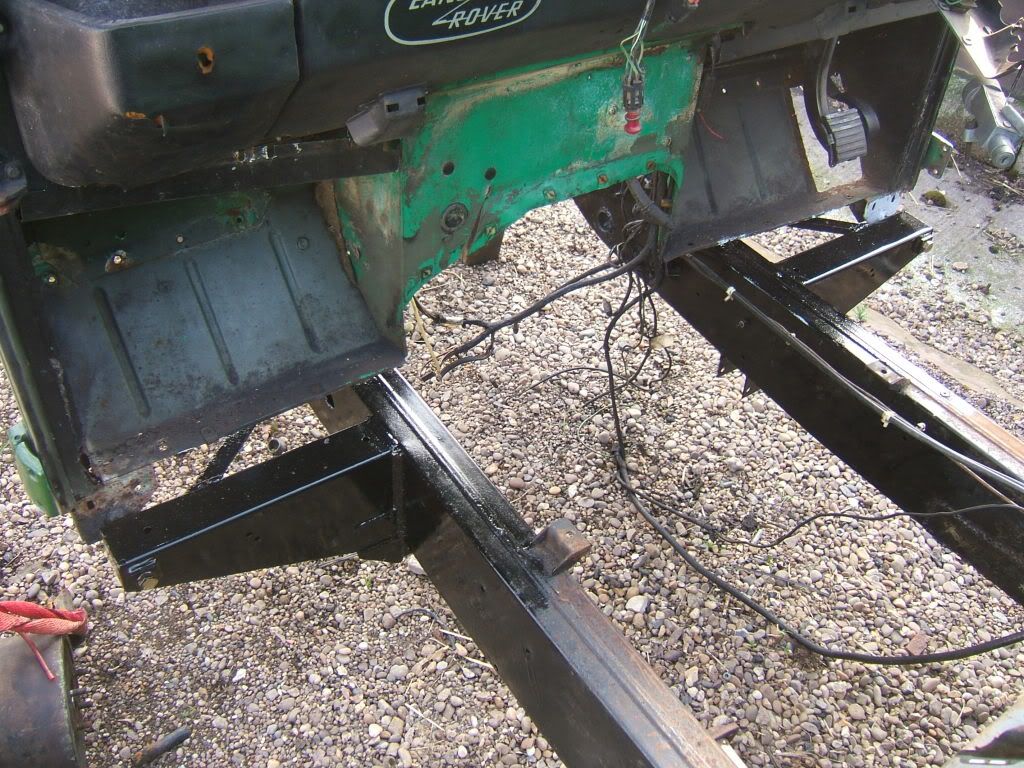
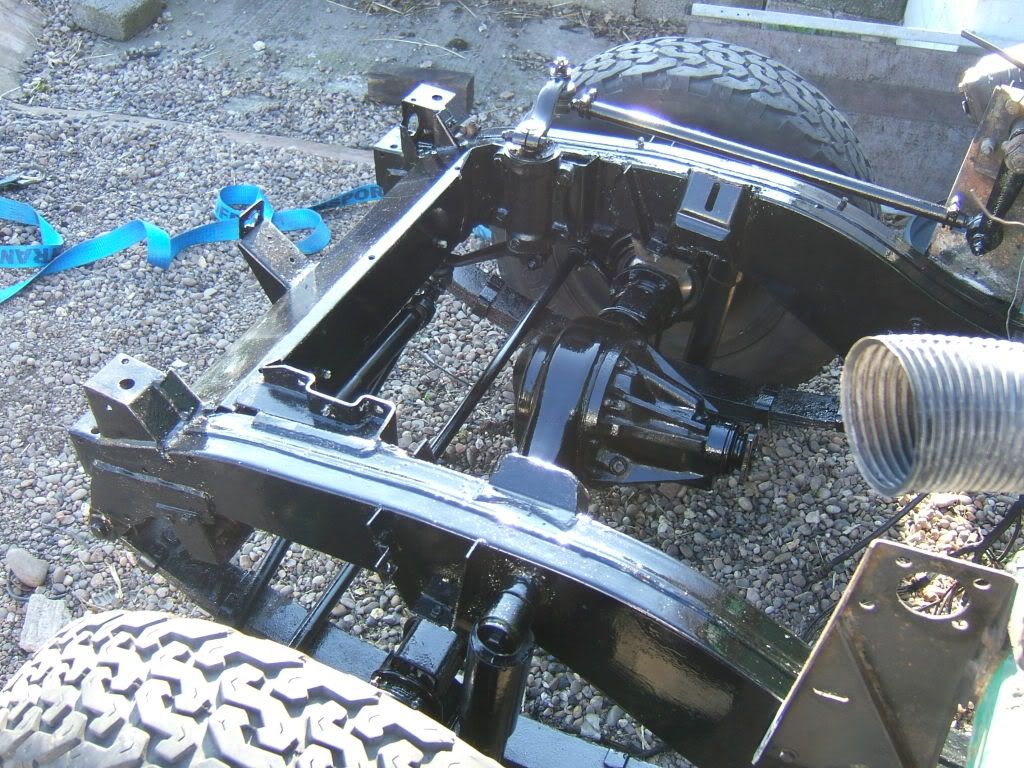
bit more progress today now ive finaly managed to get the parts for the front axle
just needs a bit of adjustment of the u-bolt possitions, a lock stop bolt then the paint touching up. (and hopefully it doesnt leak )
tomorrow will be doing ^^ then front brake pipe and starting to remove parts from the bulkhead ready for repairs
Posted: Sat Apr 18, 2009 8:57 pm
by landdani
Remember to put additional electric cabel for the cargo behaind the car.

Is it 12 or 24 Volt ?
Is the roof tropical or normal?
Posted: Sat Apr 18, 2009 9:32 pm
by 5988
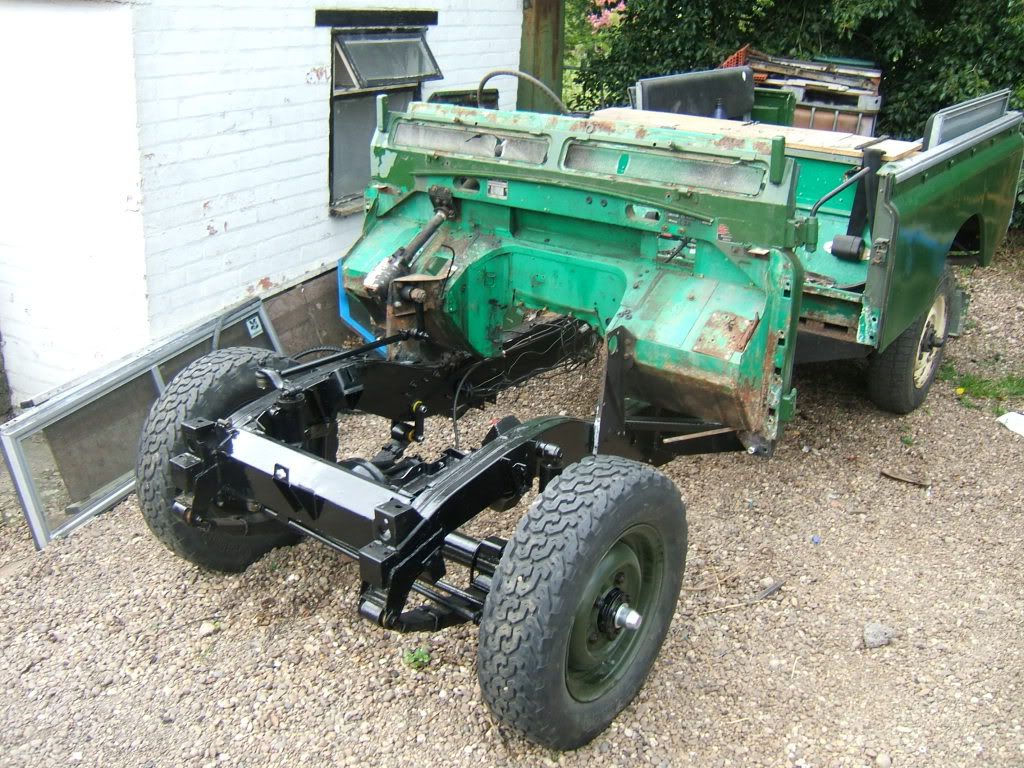
Its just a normal hard top at them moment but was a truck cab and will be a truck cab with tropical roof when done
its all 12v so thats all easy, wiring is all there including for a trailor but wotn be at that stage for a few months yet
Posted: Sun Apr 19, 2009 6:15 pm
by 5988
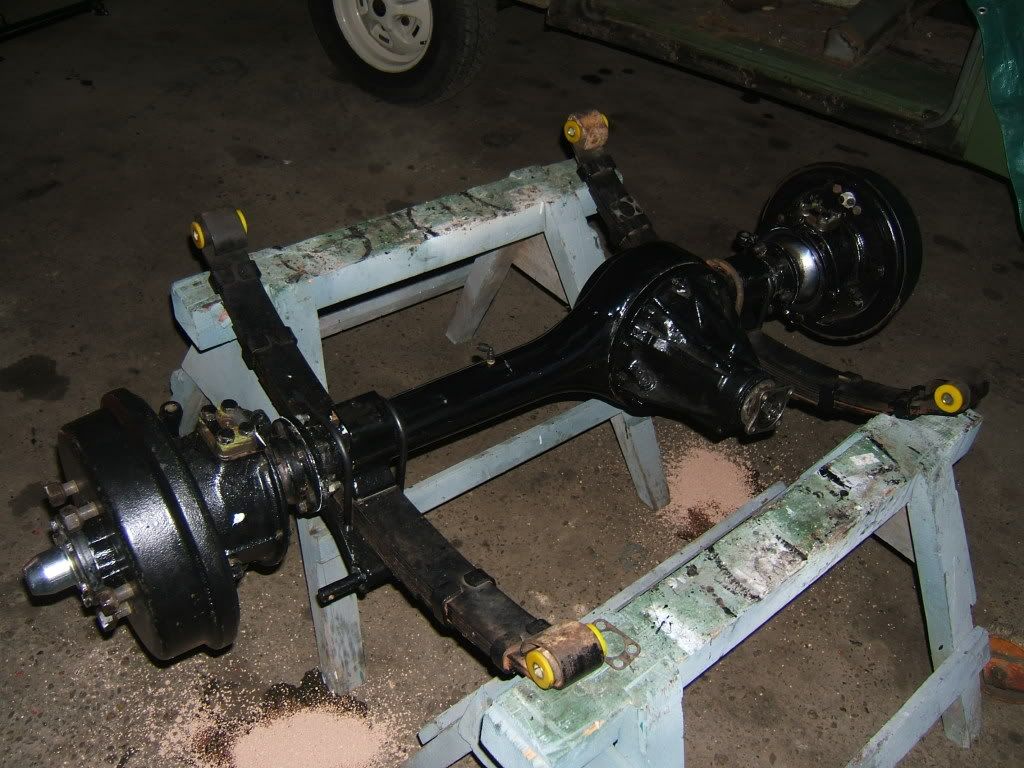
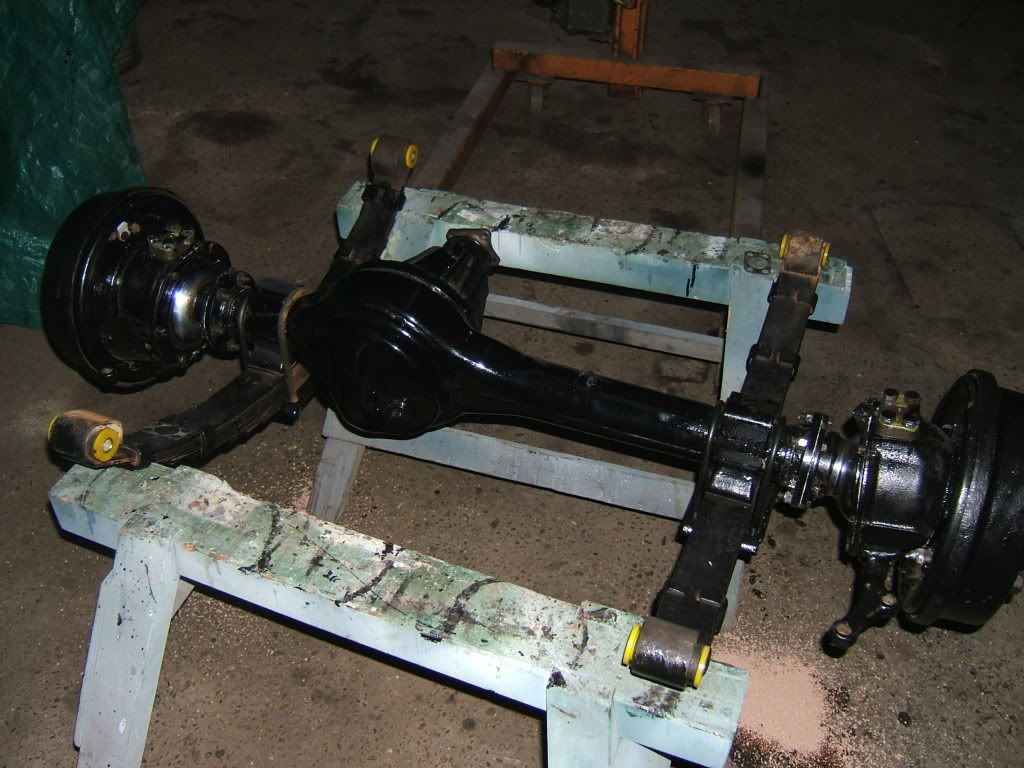
And some more done today
Axel finished, filled with oil(and not leaking) and brakes adjusted
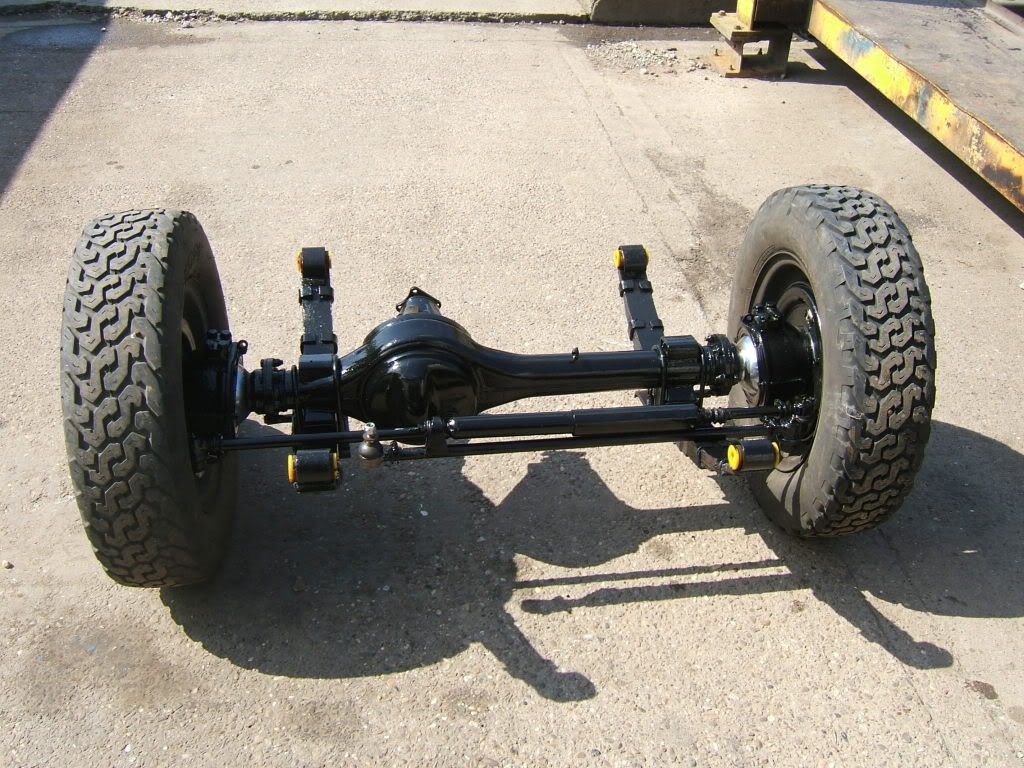
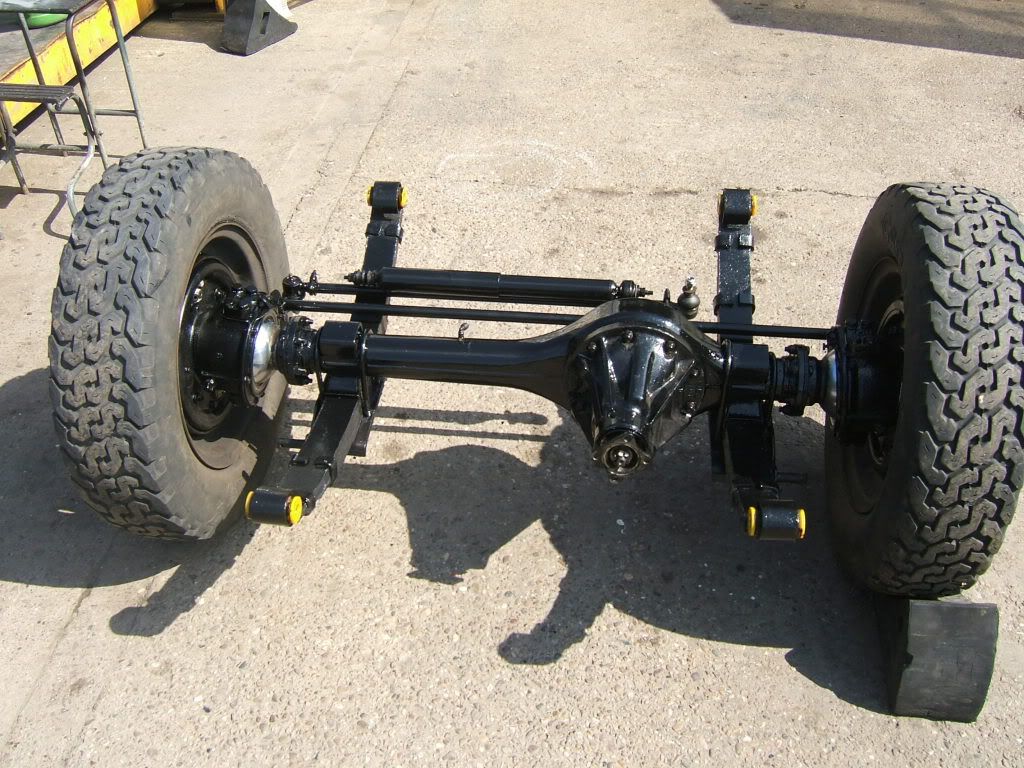
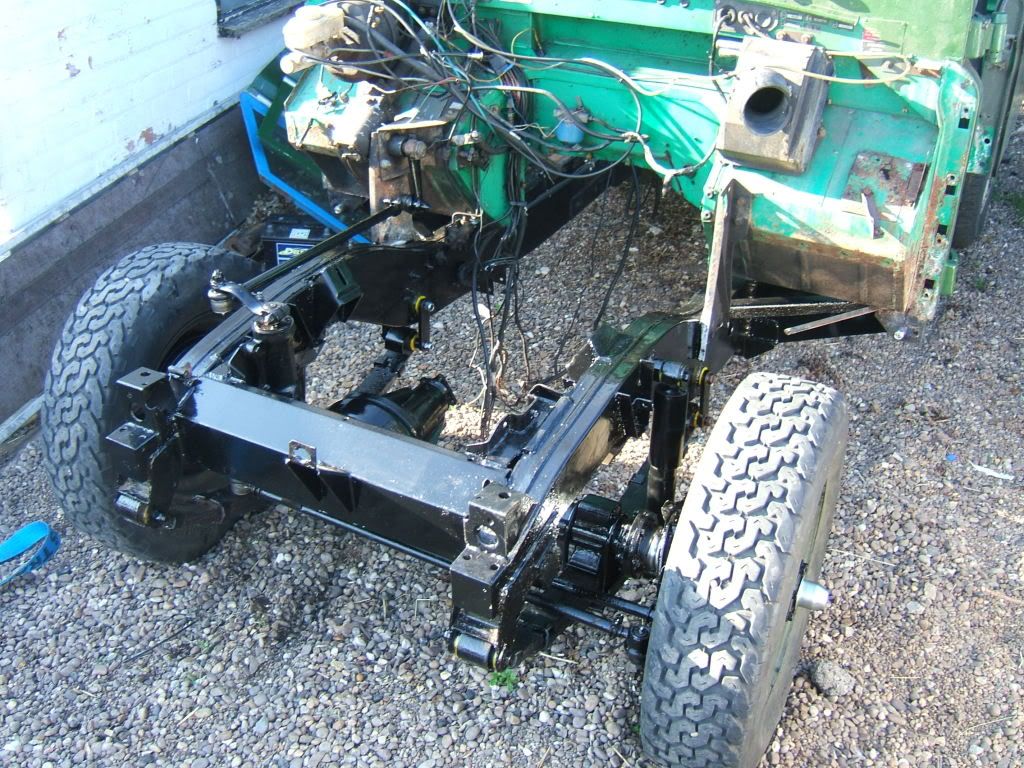
front axle temporarily fitted till i get some better chassis bushes
next week the bulkhead will be stripped and repair pannels made-hopefully welded and painted week after
Posted: Mon Apr 20, 2009 12:42 am
by disco2hse
That's looking real good

Good to see it all coming together.
Posted: Sat Apr 25, 2009 7:09 pm
by 5988
not much been done today, started removing the dash and other bits from the bulkhead,
most of it now gone (S3 dash is much harder to dismantle than a S2)
wasnt as bad as id been expecting behind there, just needs rus proofing, painting then putting back once i find a new set of dash pannels
Posted: Mon Apr 27, 2009 8:53 pm
by landdani
I could never do that my self.
Posted: Mon Apr 27, 2009 9:28 pm
by 5988
not much happened on sunday,
res tof the bulkhead removed, and the wiring is now a big mess all over the floor, getting that back in and working wont be easy
have now got an exhaust system and front prop from ebay, and an engine and gearbox waiting once the bulkhead is finished-needs the ususal footwell repairs
Decided that its going to be painted back in Java green now ive found what it looks like when it hasnt faded
Posted: Mon Apr 27, 2009 10:16 pm
by disco2hse
One of these days...
I am going to rewire the old beast. Pull out all the strange loose ends and stick in a whole new minimal loom (without all the weird army grade stuff).
Posted: Sun May 03, 2009 12:21 pm
by 5988
this weeks progress
dash compltely out so bulkhead is ready for welding

started to take the engine apart , and its all rather crust and black-dont think thats been serviced in along time,
havent yet got the sum off, but can feel the sludge is above the bottom of the drain hole

top of the engine
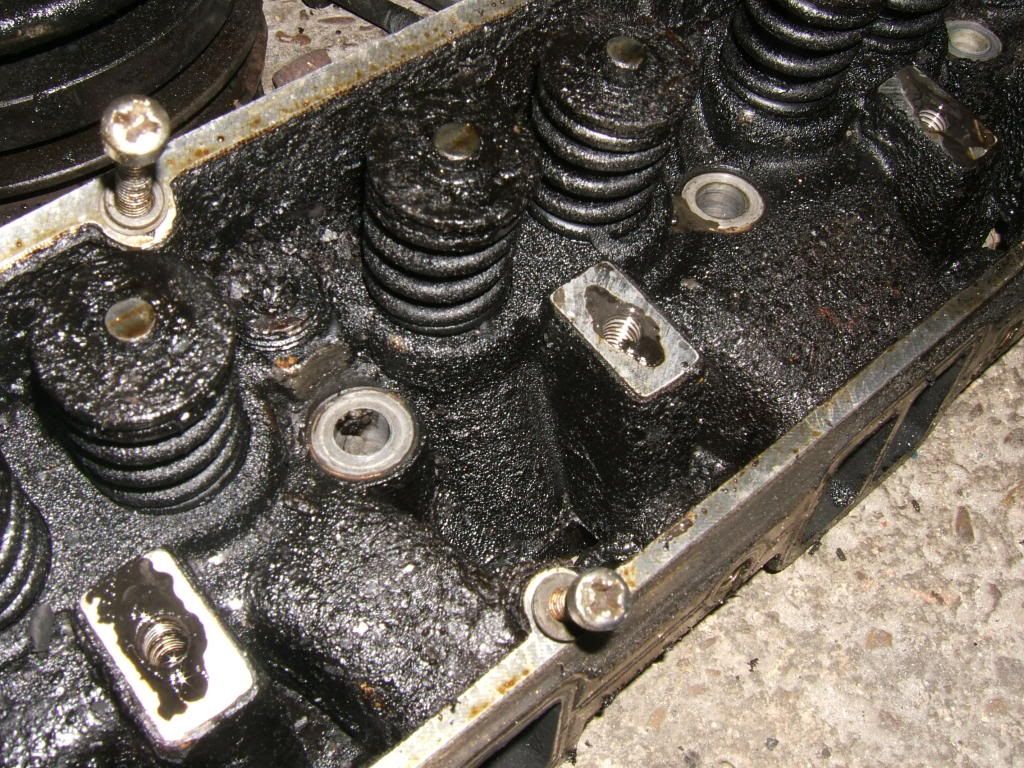
it will definatly need a cam and followers - anyone recomend a better cam than standard for one
front looks even worse - theres about 15 degrees of backlash in the timing chain

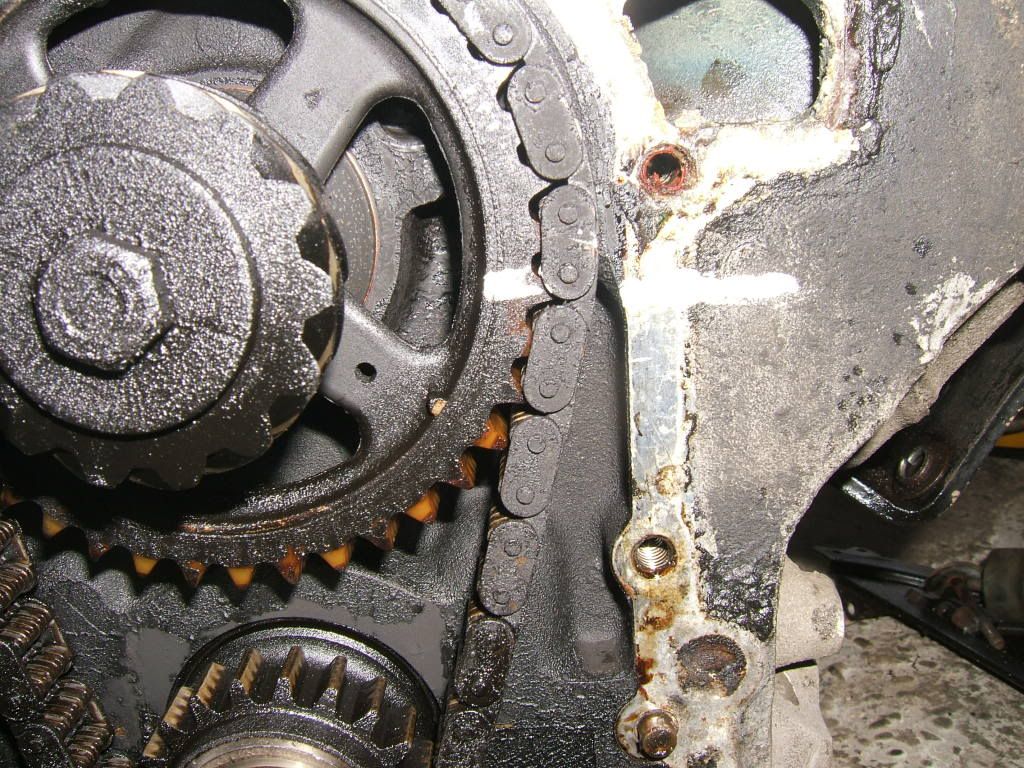

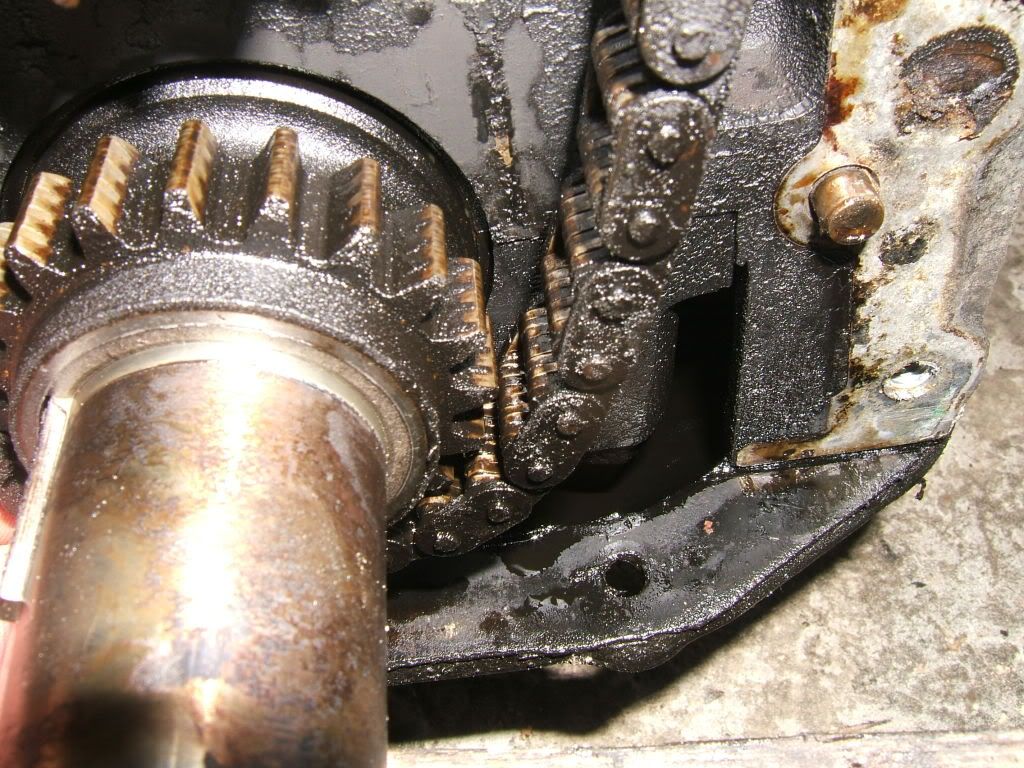
so thats going to be a new chain and gears .
is it worth ding the crank seals while its in bits, or best left alone if not leaking ???
Posted: Sun May 03, 2009 7:21 pm
by 5988
some more pics from the engine dismantling, so far not looking to good,
theres alot of crusty oil stuck everywhere
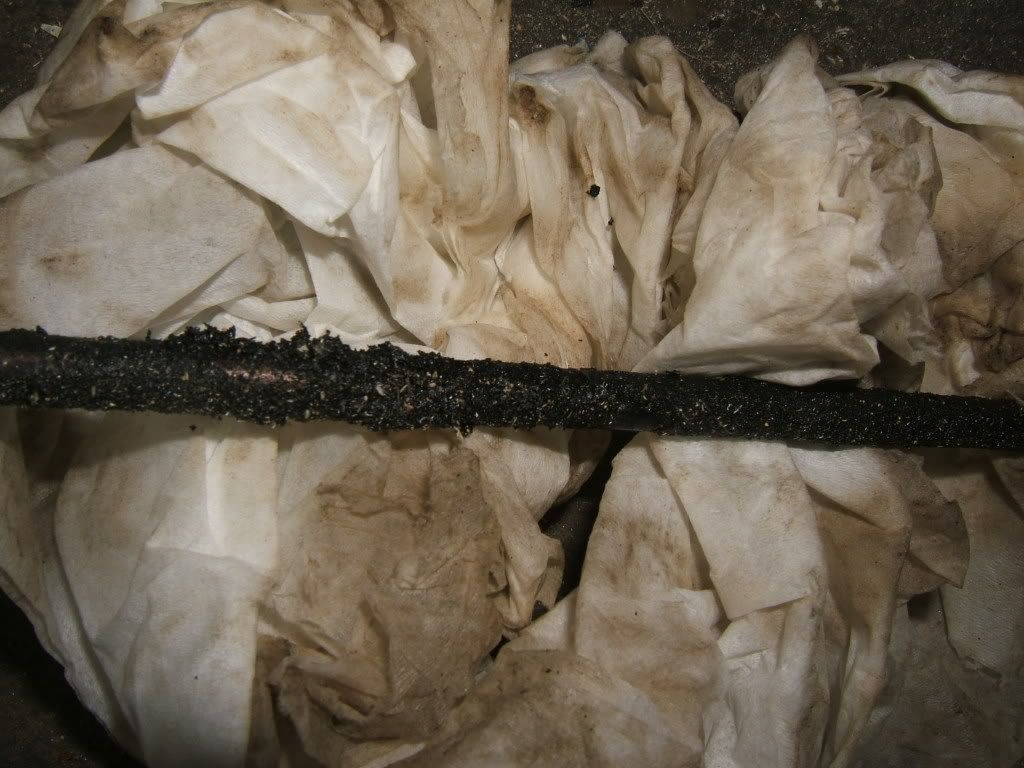
once of the pushrods, - about 1.2 that thickness one the muck is cleaned off
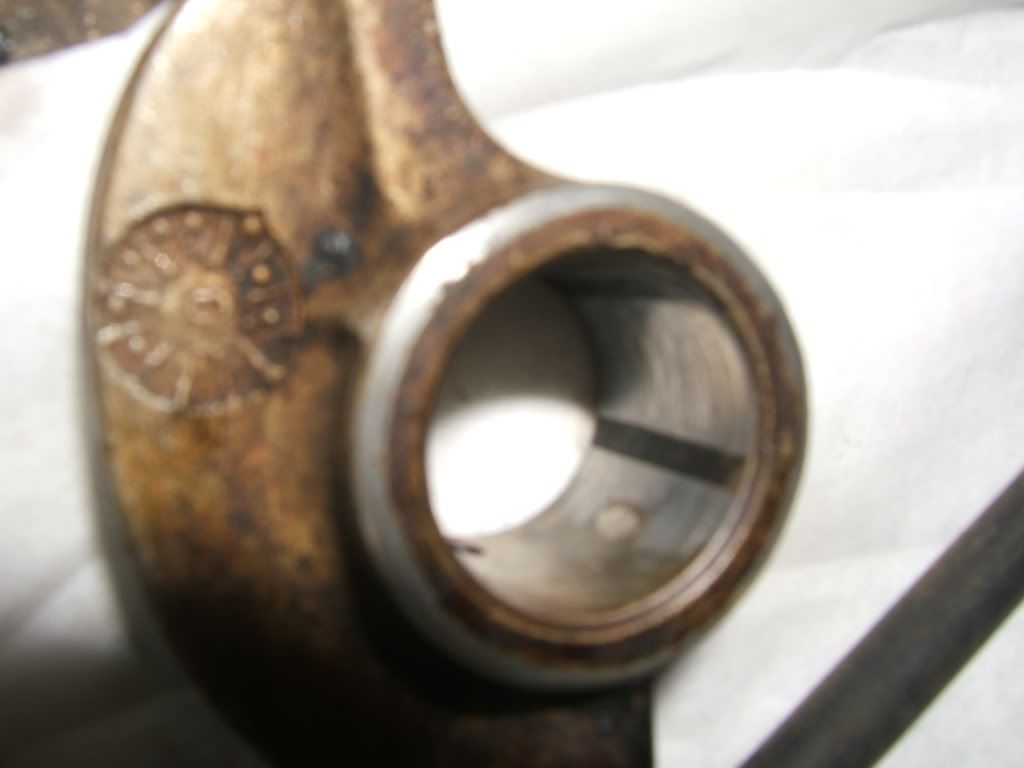
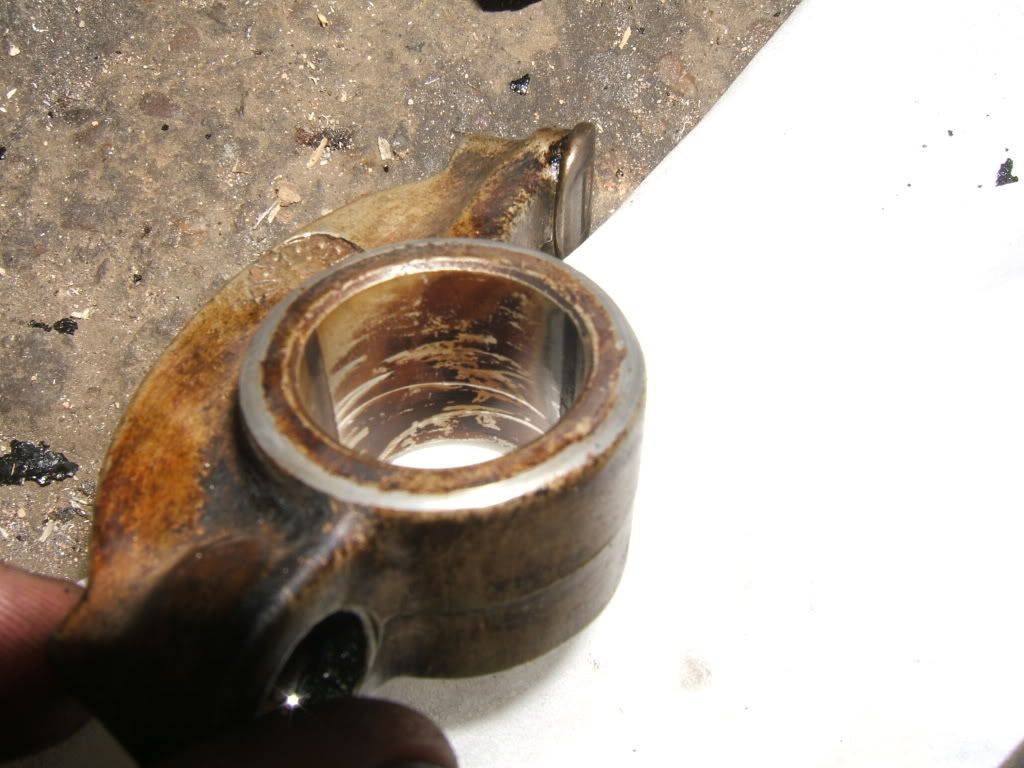
Rocker assembly , again rather thick in old burned oil
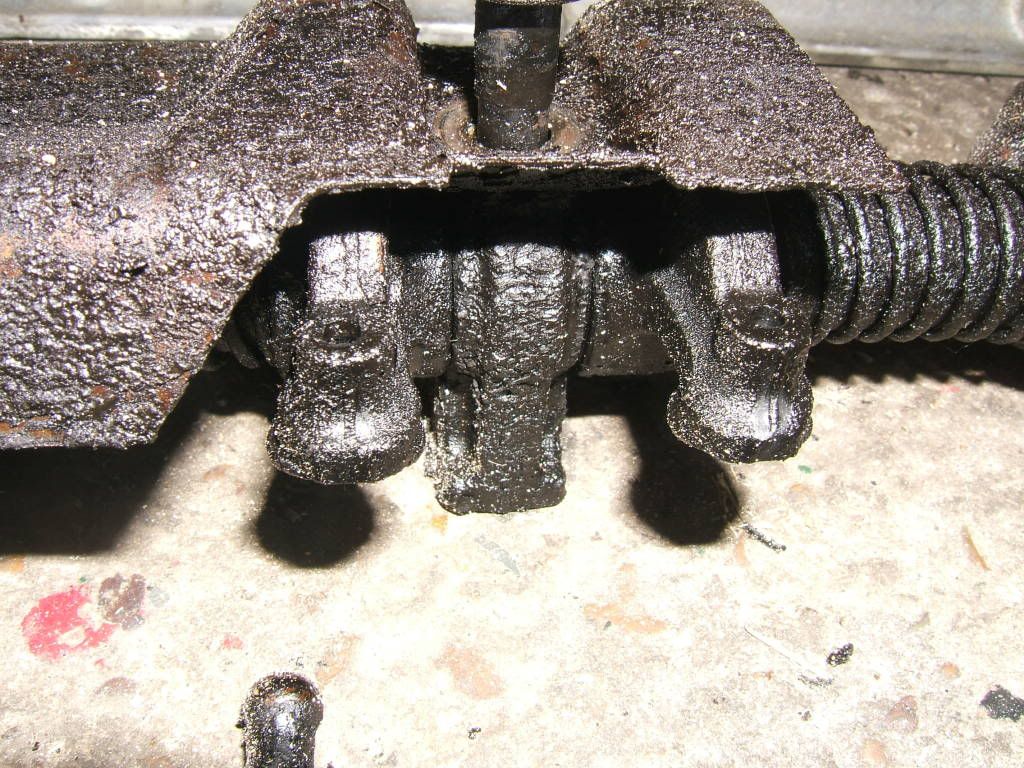
The feed holes to most of the rockers are blocked solid, so they have been starved of oil for a while, so the rocker shaft is worn bady, and the arms arent much better
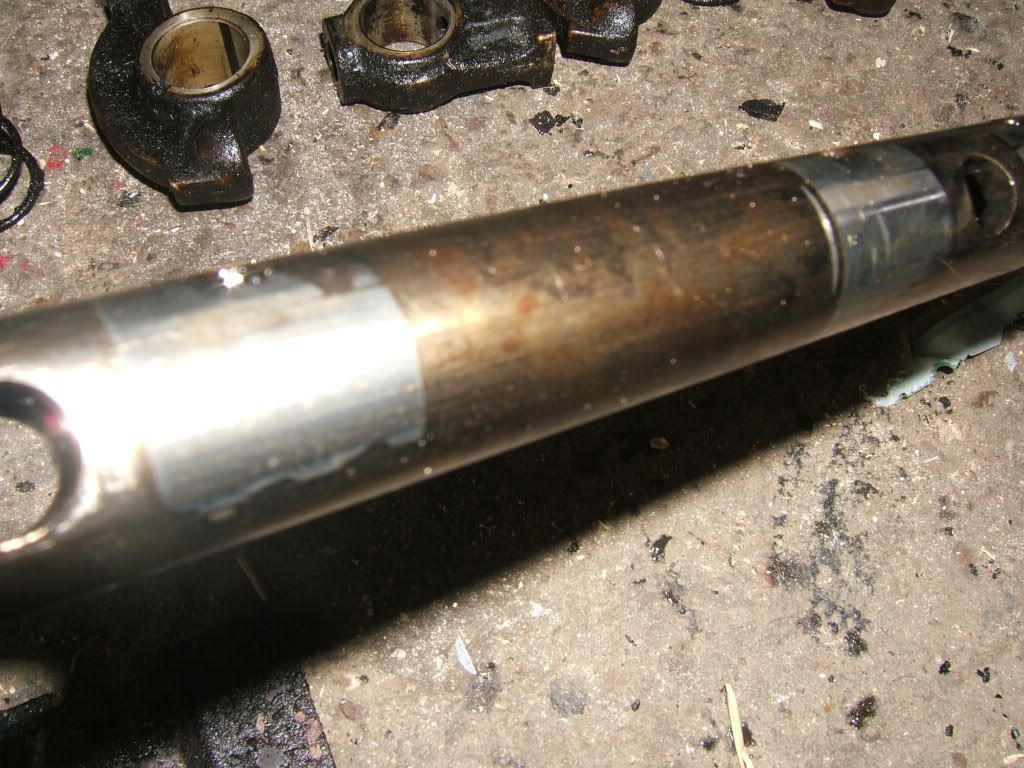
The oil pump has also worn badly though looks more like normal wear with age, probably not helped by pumping the messy oil arround,
cam and followers are all very worn as expected, sump has about 5mm of sludge in the bottom of it
good point is that the bores are acceptable, with a bit of wear on one side, but the honing marks are still visible elsewhere, goint to look at the crank and shells tomorrow.-hopefully that lot will be ok, otherwise time to look for another engine
Posted: Sun May 03, 2009 9:07 pm
by disco2hse
You are doing a fine job there. Been a long time since I have seen an engine that gunged up. Last one was a straight 6 in an Austin Truck (same engine as the Wolsley 110).