and on a slightly different note,
anyone interested in buying this as is, might be for sale shortly
Hello/S1 Rebuild
-
hundertneuner
- Posts: 6
- Joined: Wed Jul 11, 2007 10:40 pm
- Location: Essen, Germany
- Contact:
well, its been a while since I last updates this
The stage 1 is staying , managed to get the S2 without needing to get rid of this, so I can have both.
And not much has happened,
Ive got some inner wings for it, outers are scrap (but can be bought new) and they need new fronts, but not a big deal.
Got a replacement bonnet for it, which has a few minor dents, but nothing serious
The stage 1 is staying
And not much has happened,
Ive got some inner wings for it, outers are scrap (but can be bought new) and they need new fronts, but not a big deal.
Got a replacement bonnet for it, which has a few minor dents, but nothing serious
Well, nearly a year after the last post Ive actually done something with it, (lack of funds held things up a bit)
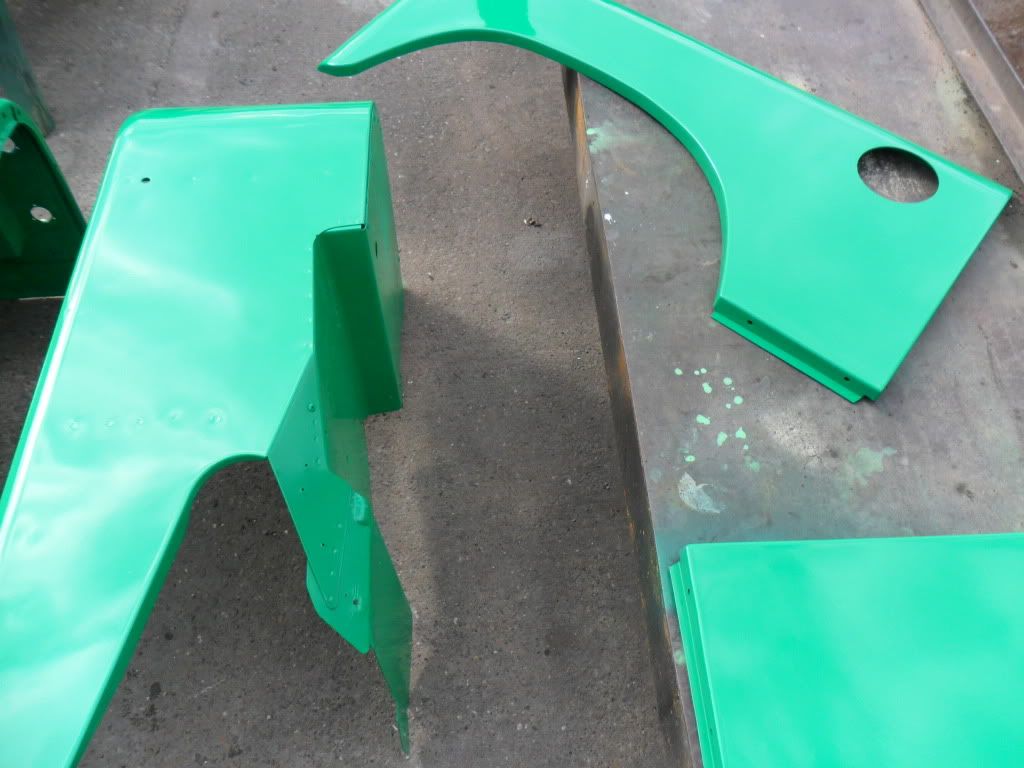
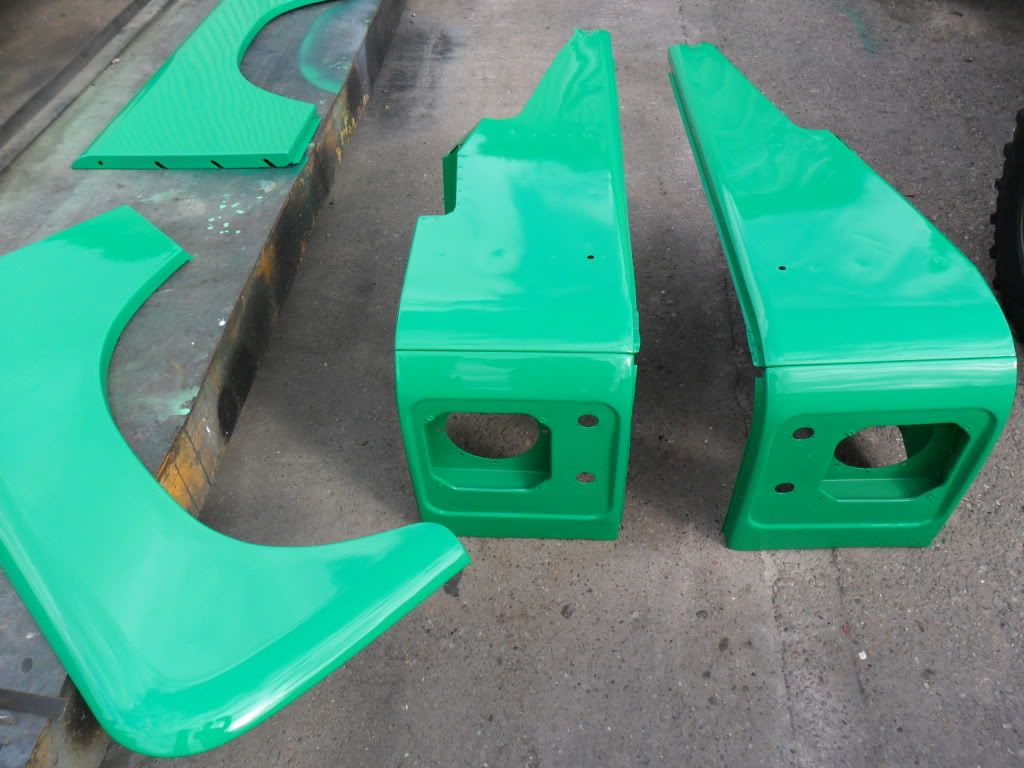
front wings repaired and painted now,
amd all the little brackets and fittings, so give them a few weeks to harden properly and they can be assembled and fitted
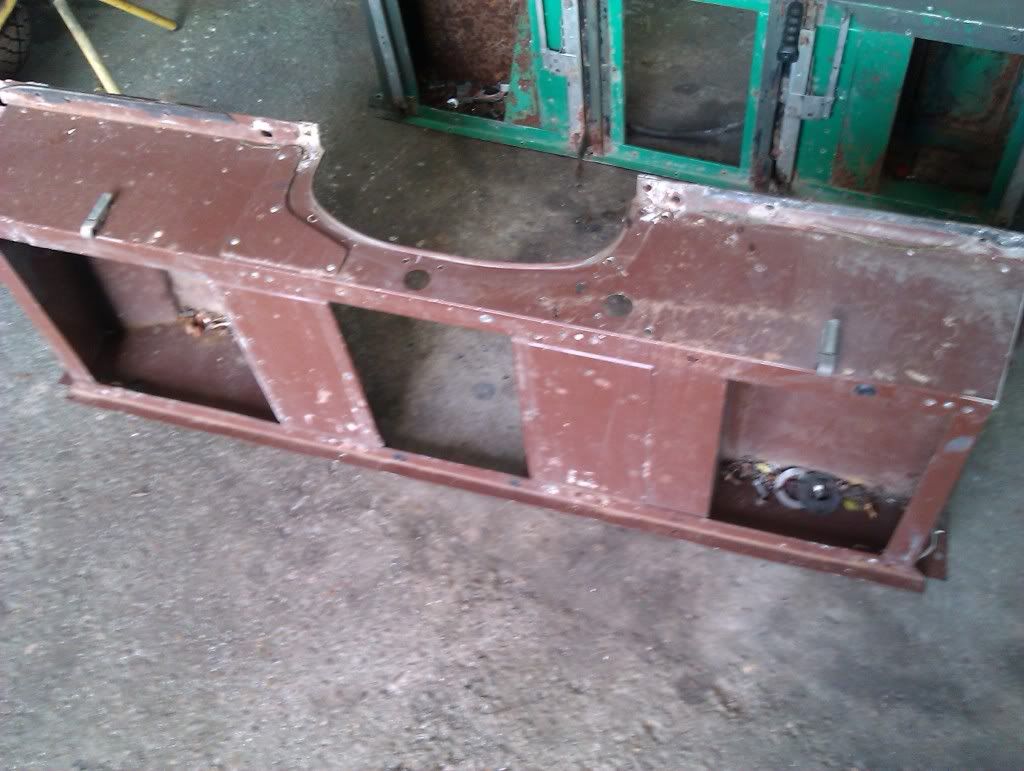
Front pannel also tidied up, and after a little welding the grill now has a full set of bars again (some had been chopped out,I guess for spot lights)

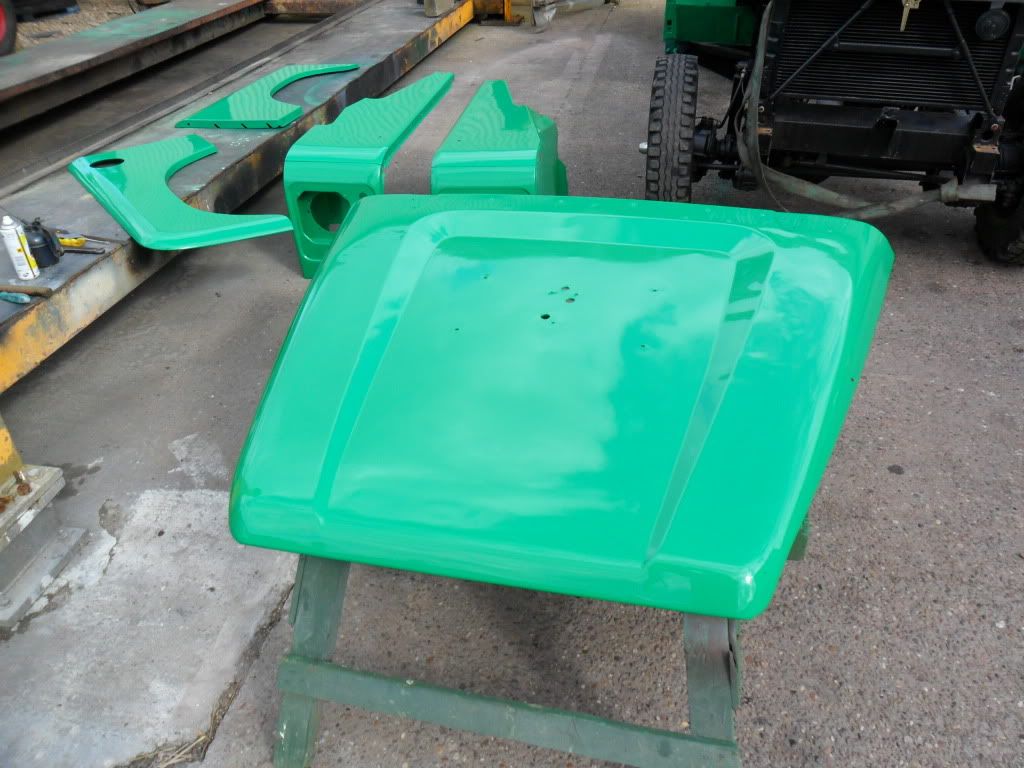
Bonnet alos got tidied up, still some gentle wavyness to it, but save a few tons of filler that wasnt goint to go away
Next on the list to do is change the water pump, which has died of boredom waiting to do anything, then refit the front end bodywork
Oh and buy a marquee/tent type thing to keep the rain of so I can work on it over winter as well
and if anyone knows the location of a front prop flange (or even full gearbox with one) I still need one, as the one I had arranged a deal for,and swapped parts for still hasnt materialised a year and a half later
Anyone know a source of door skins for the anti-burst type doors as well, I can find normal ones but not them
Hit a bit of a problem with putting the loom into the chassis to, I had put a stainless cable down there to pull it through, but that has got welded to the chassis somewhere, so some cutting holes in the chassis needed tofind where and get it out
front wings repaired and painted now,
amd all the little brackets and fittings, so give them a few weeks to harden properly and they can be assembled and fitted
Front pannel also tidied up, and after a little welding the grill now has a full set of bars again (some had been chopped out,I guess for spot lights)
Bonnet alos got tidied up, still some gentle wavyness to it, but save a few tons of filler that wasnt goint to go away
Next on the list to do is change the water pump, which has died of boredom waiting to do anything, then refit the front end bodywork
Oh and buy a marquee/tent type thing to keep the rain of so I can work on it over winter as well
and if anyone knows the location of a front prop flange (or even full gearbox with one) I still need one, as the one I had arranged a deal for,and swapped parts for still hasnt materialised a year and a half later
Anyone know a source of door skins for the anti-burst type doors as well, I can find normal ones but not them
Hit a bit of a problem with putting the loom into the chassis to, I had put a stainless cable down there to pull it through, but that has got welded to the chassis somewhere, so some cutting holes in the chassis needed tofind where and get it out
-
Mrs Bingham
- Posts: 230
- Joined: Thu Apr 30, 2009 12:39 pm
- Location: Essex, UK
Paddocks among others do the door bottoms that are suitable for the anti burst locks common on the Stage1. I don’t know what the quality is like but I suspect the doors are made to the military and early 90/110 spec which have a slightly larger hole for the lock barrel in which case you might need to order the barrel seal (EKC000030PMA) to suit. The old ones are NLA despite the part numbers to the contrary.
http://www.paddockspares.com/door-botto ... l?___SID=U
http://www.paddockspares.com/door-botto ... l?___SID=U
1983 Stage 1 V8 Hardtop (Mrs Bingham)
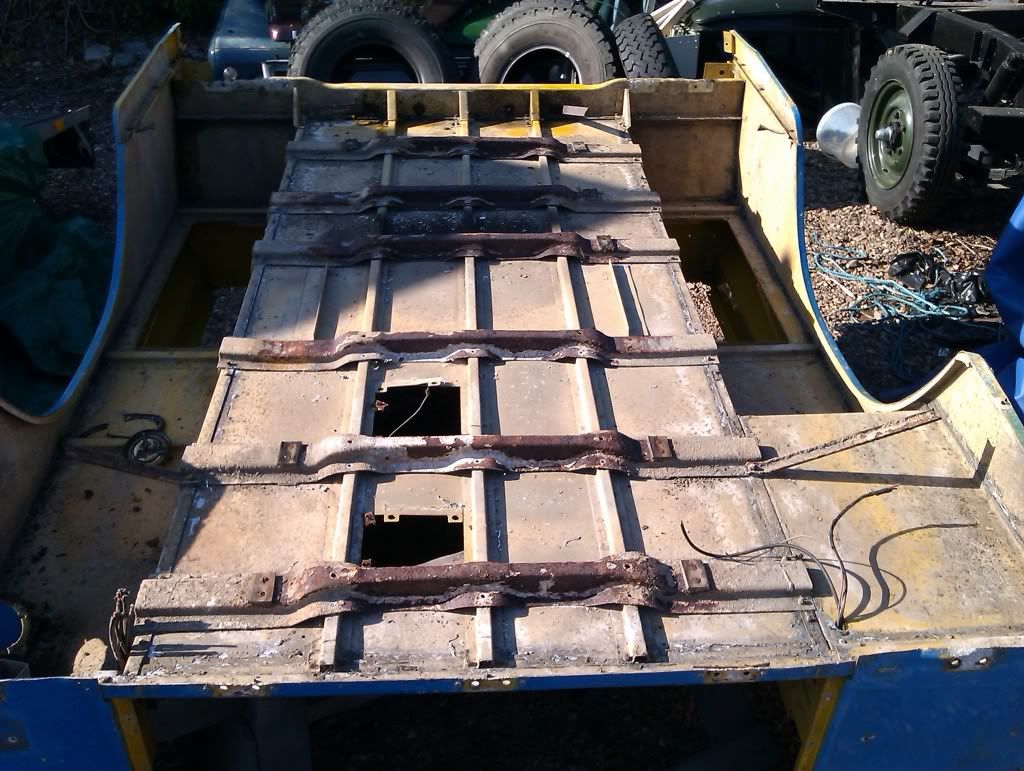
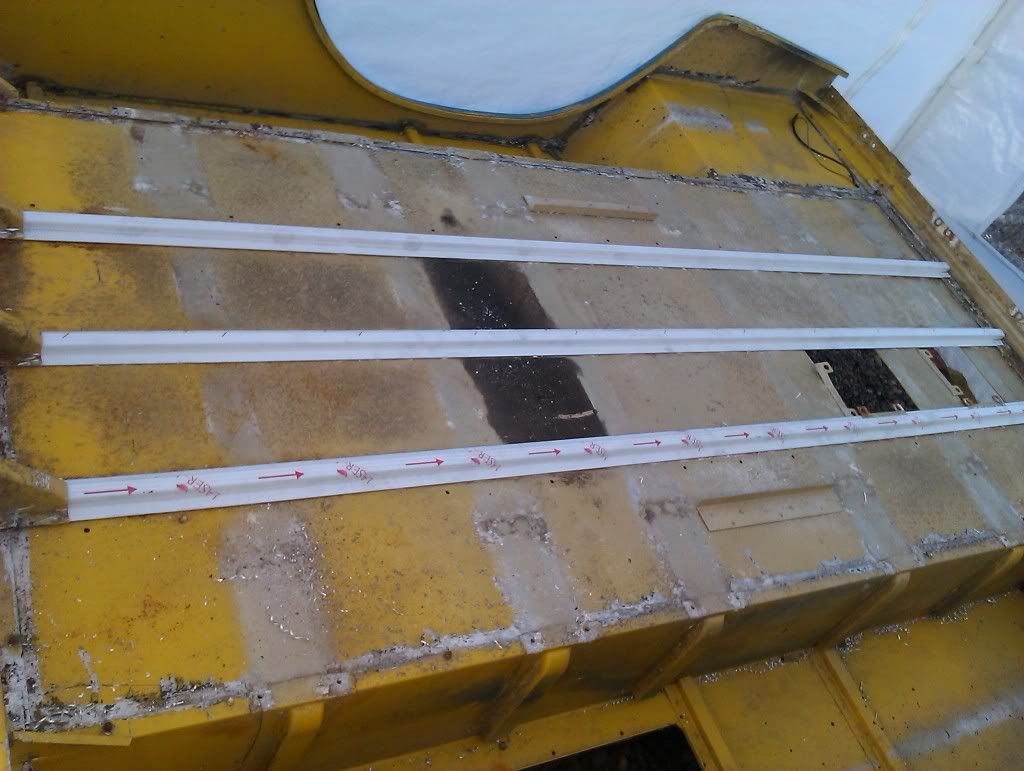
Some more progress - wiring now in the chassis (after removing the cable I had put down the chassis to pull it through - and then welded to the chassis :embarrassed - so had to cut a hole in the repaired chassis to free it :cry )
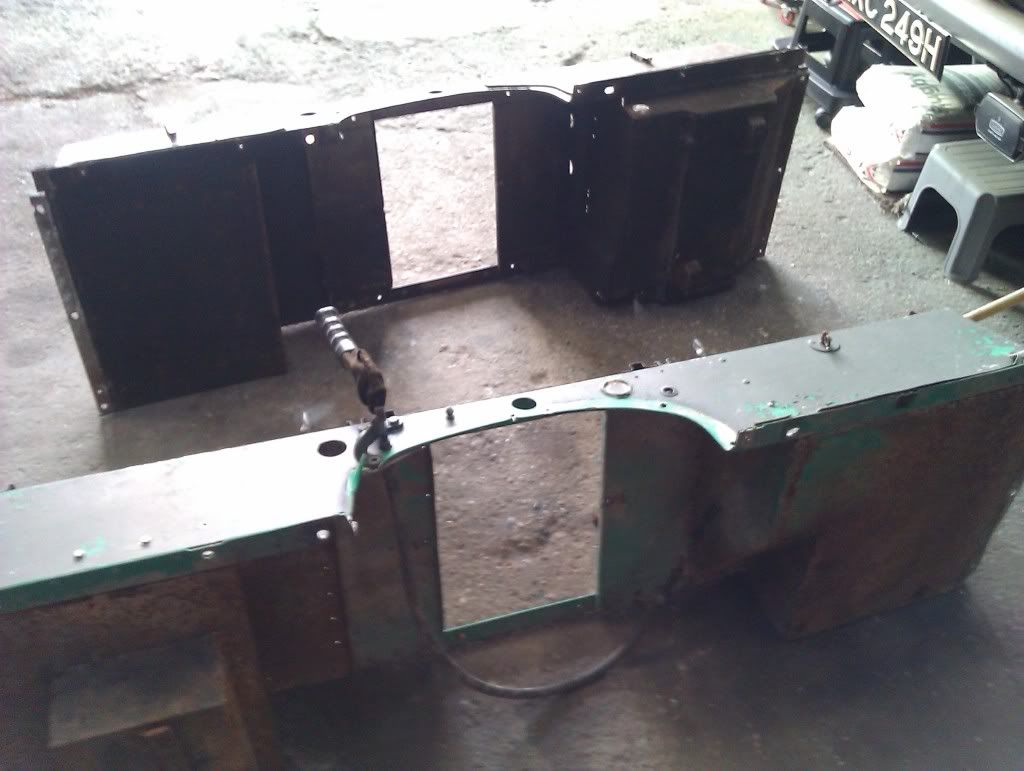
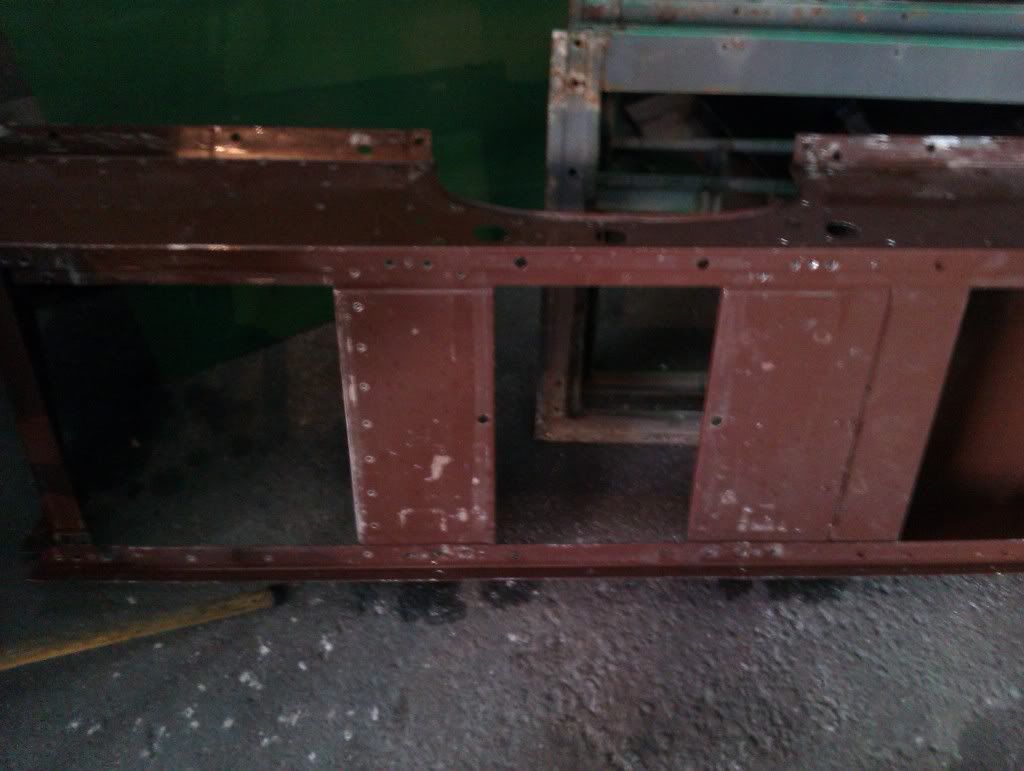
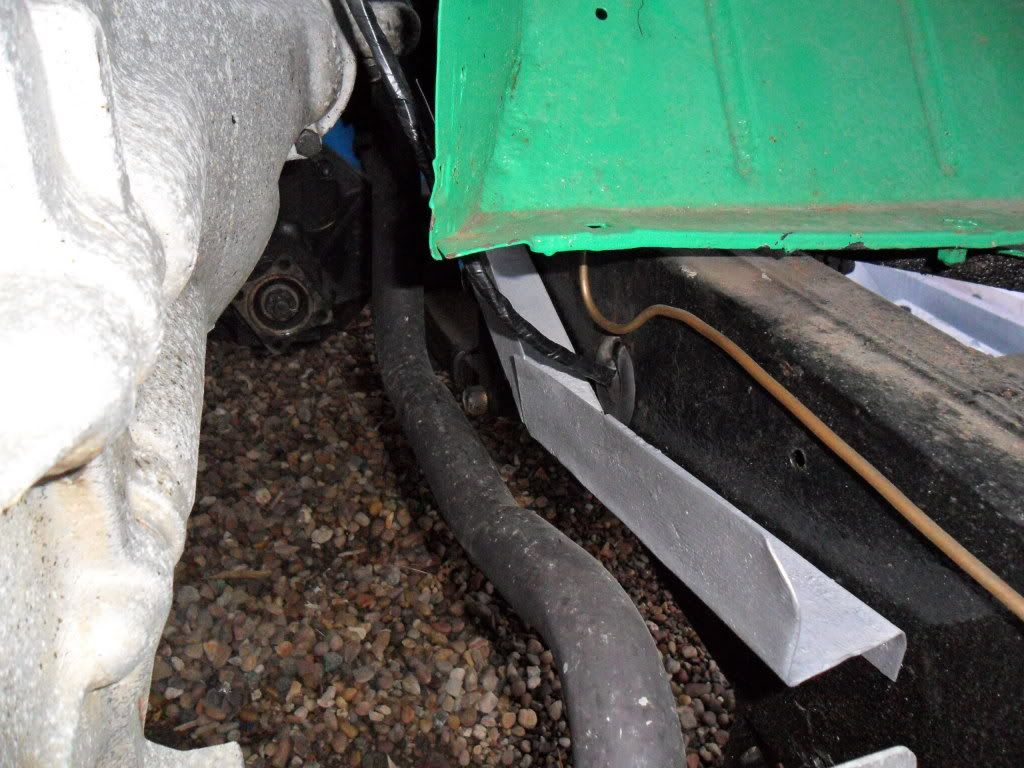
Fuel tank loselt in place
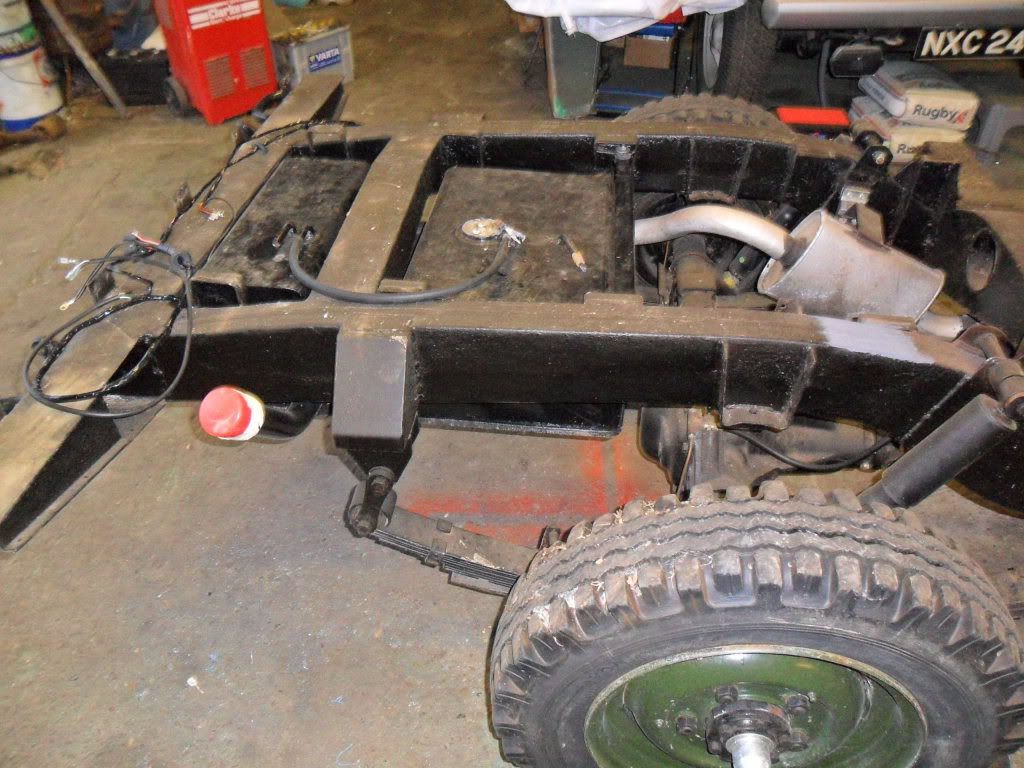
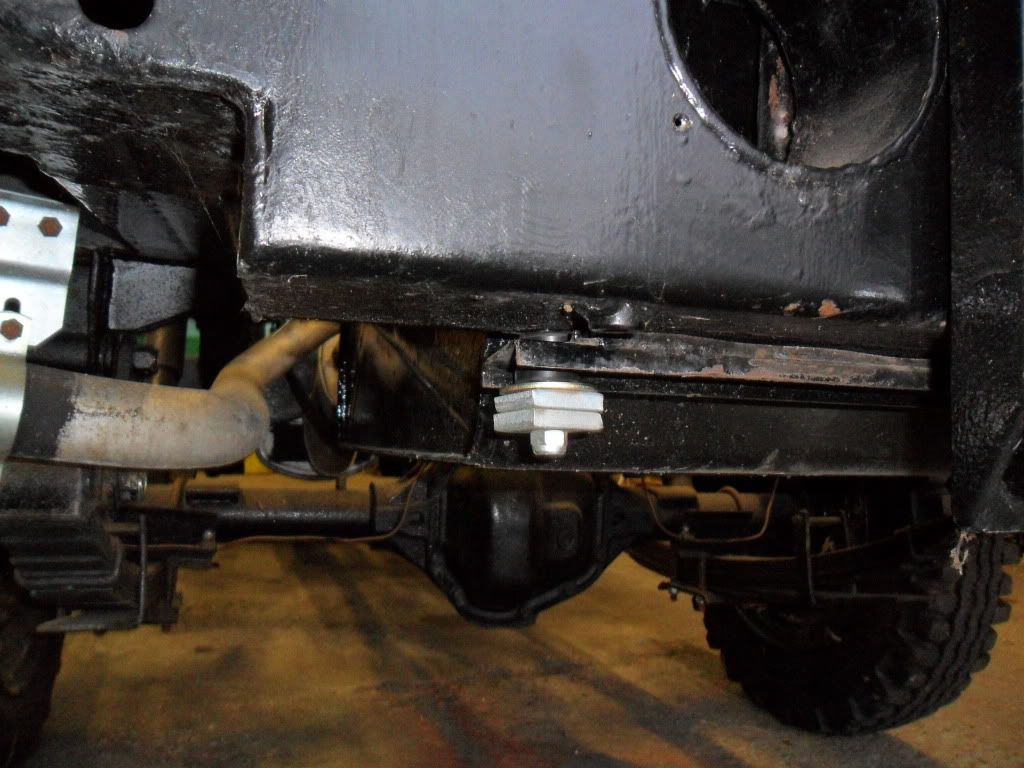
Are these right for the rear mounts, doesnt look right to me. But is as far as I can deduce what the parts book is showing - anyone got one properly mounted that could take a pic of?
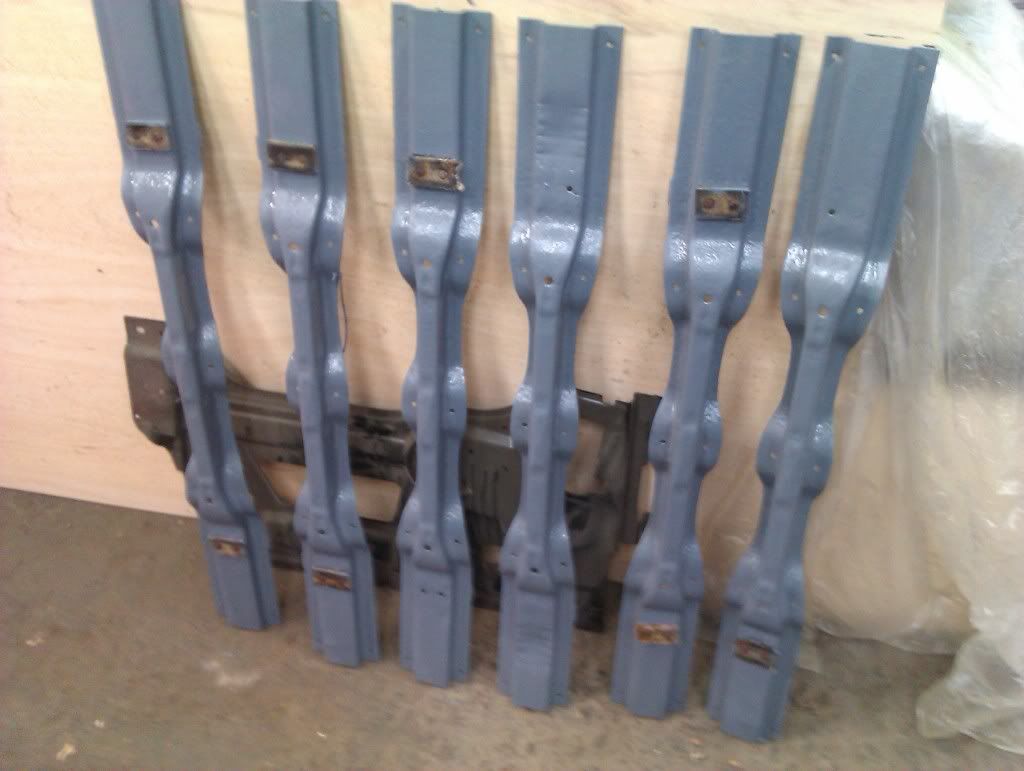
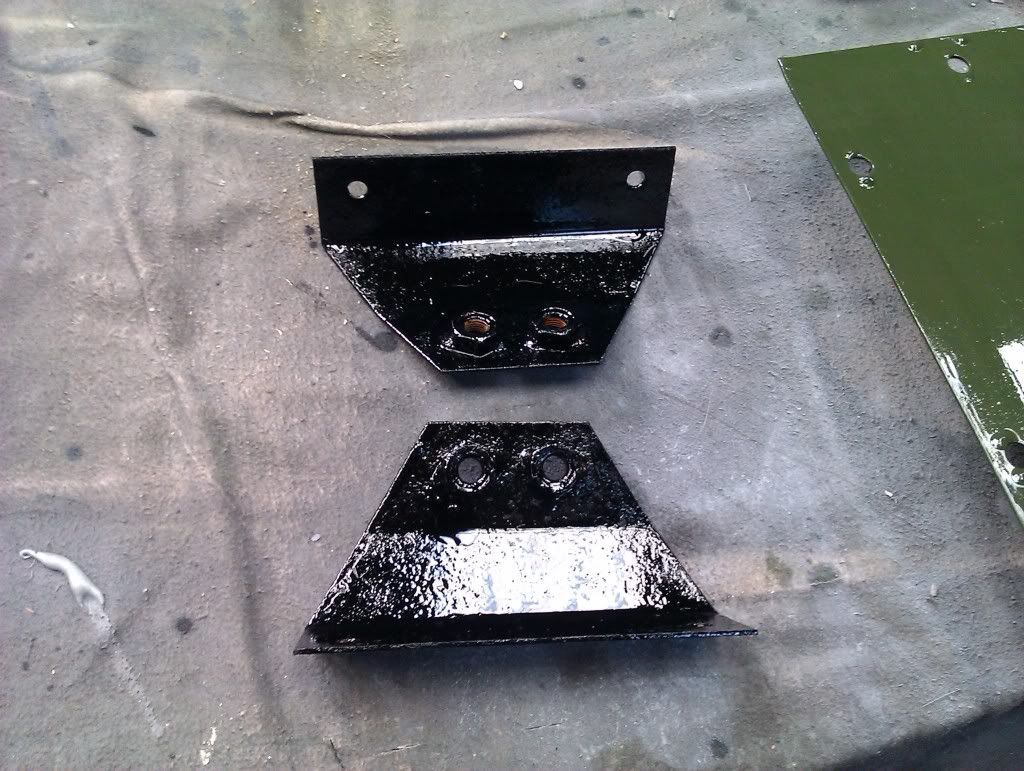
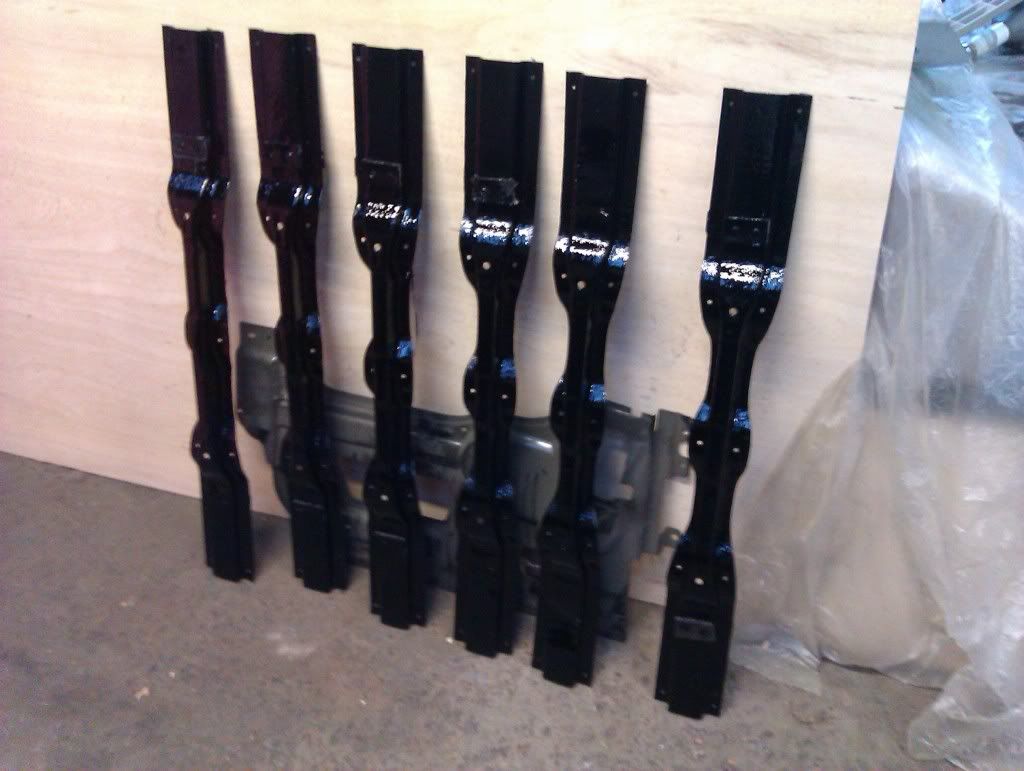
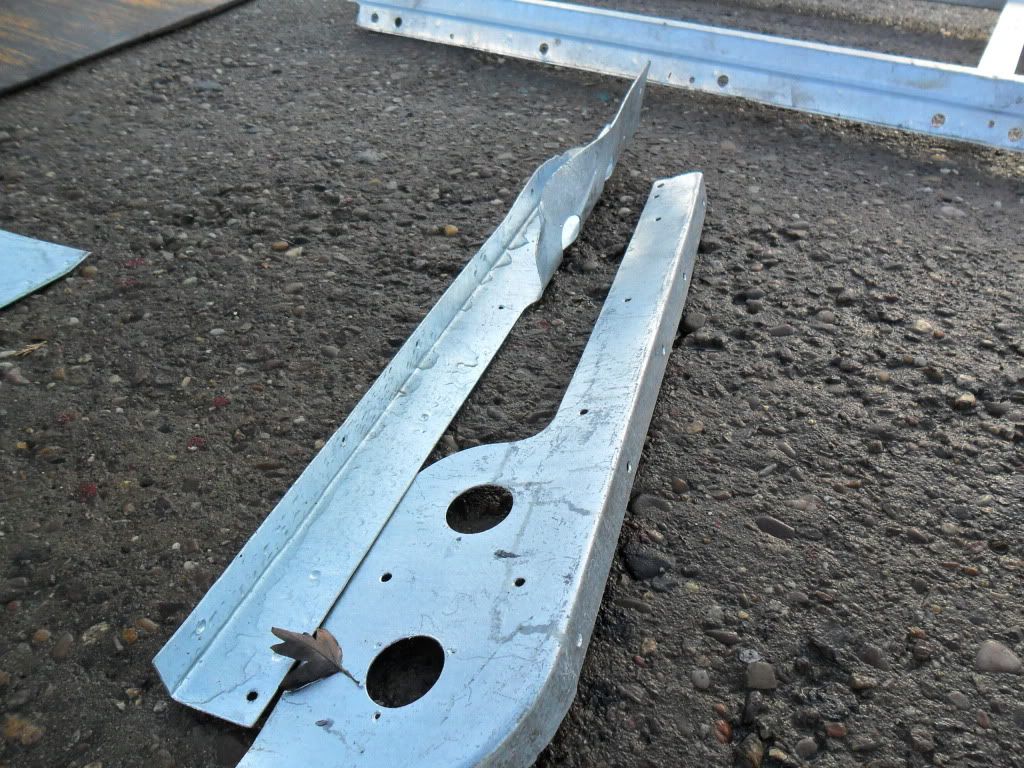
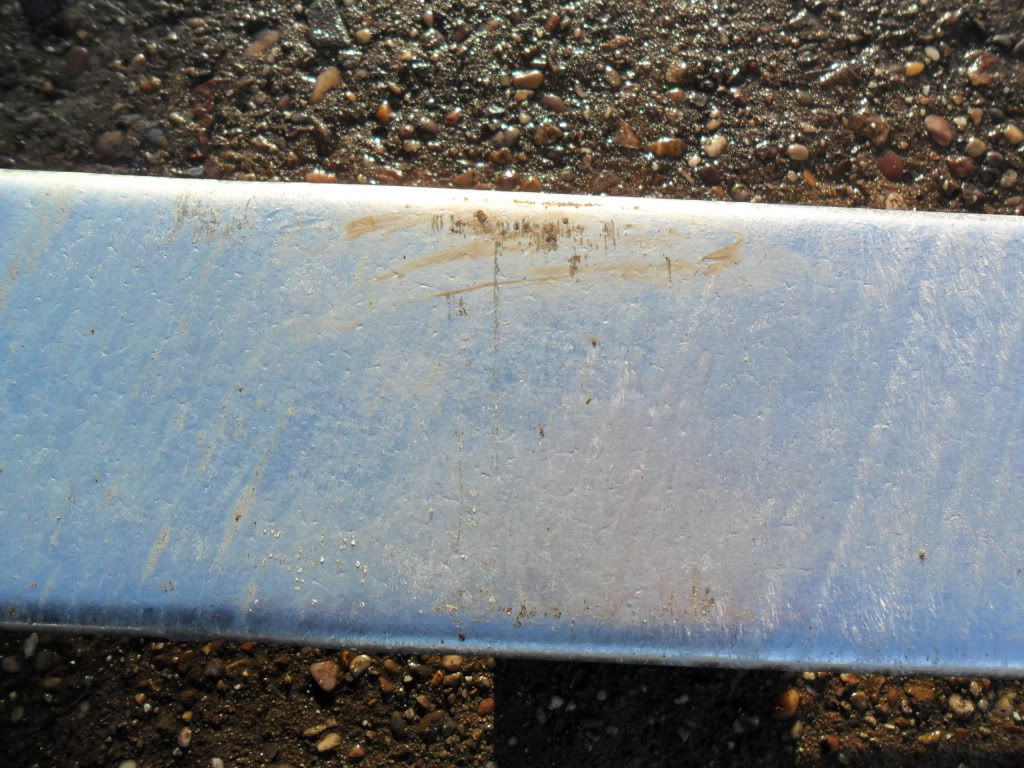
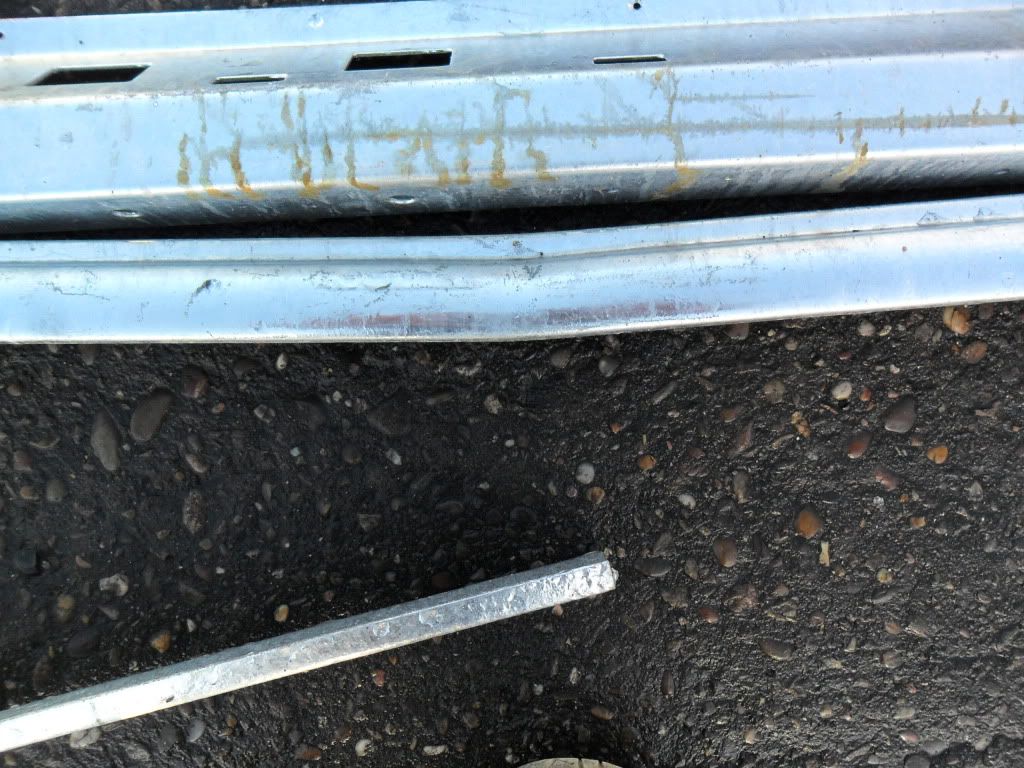
Got all the galved bits back, having been for regalving - some issues though (what you get for using a specialist :angry ) - there only a few of the damaged or badly finished bits
Fuel tank loselt in place
Are these right for the rear mounts, doesnt look right to me. But is as far as I can deduce what the parts book is showing - anyone got one properly mounted that could take a pic of?
Got all the galved bits back, having been for regalving - some issues though (what you get for using a specialist :angry ) - there only a few of the damaged or badly finished bits
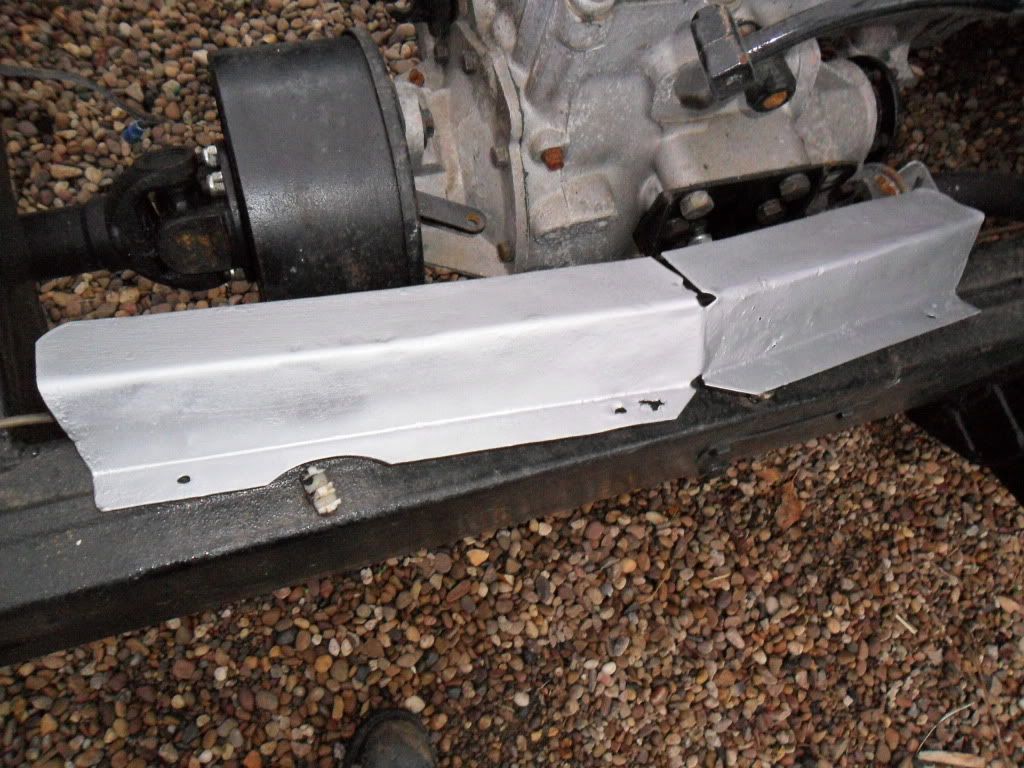
The exhauist hanger does have the strap, its just not visible in the angle of the picture 
little more progress
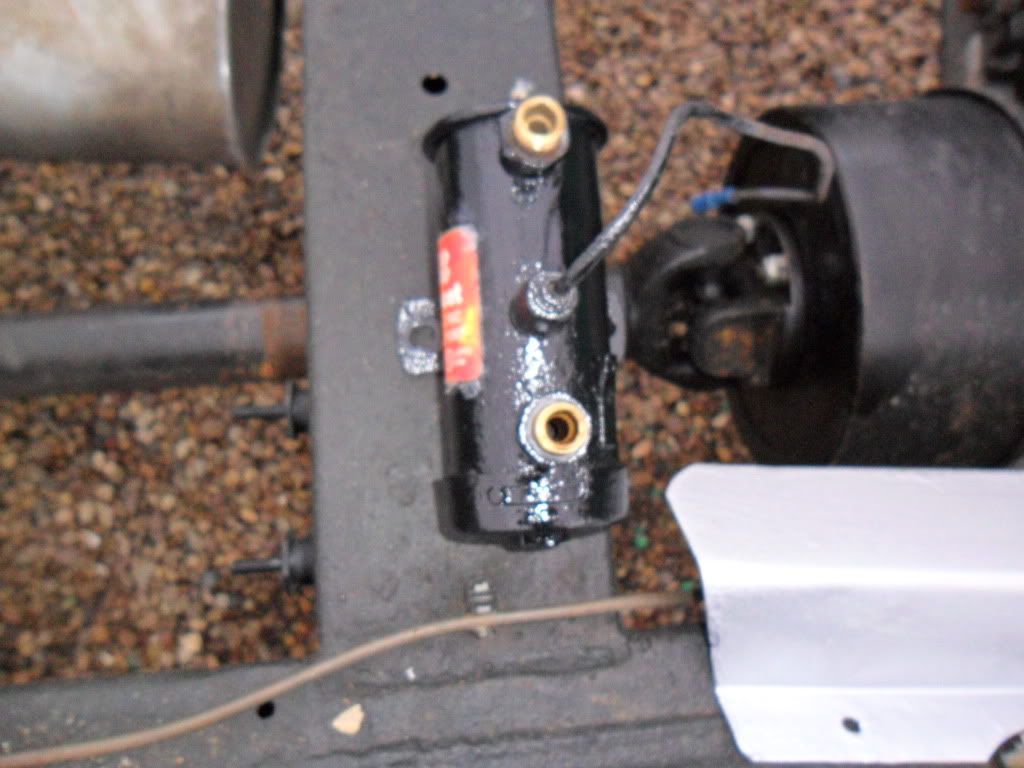
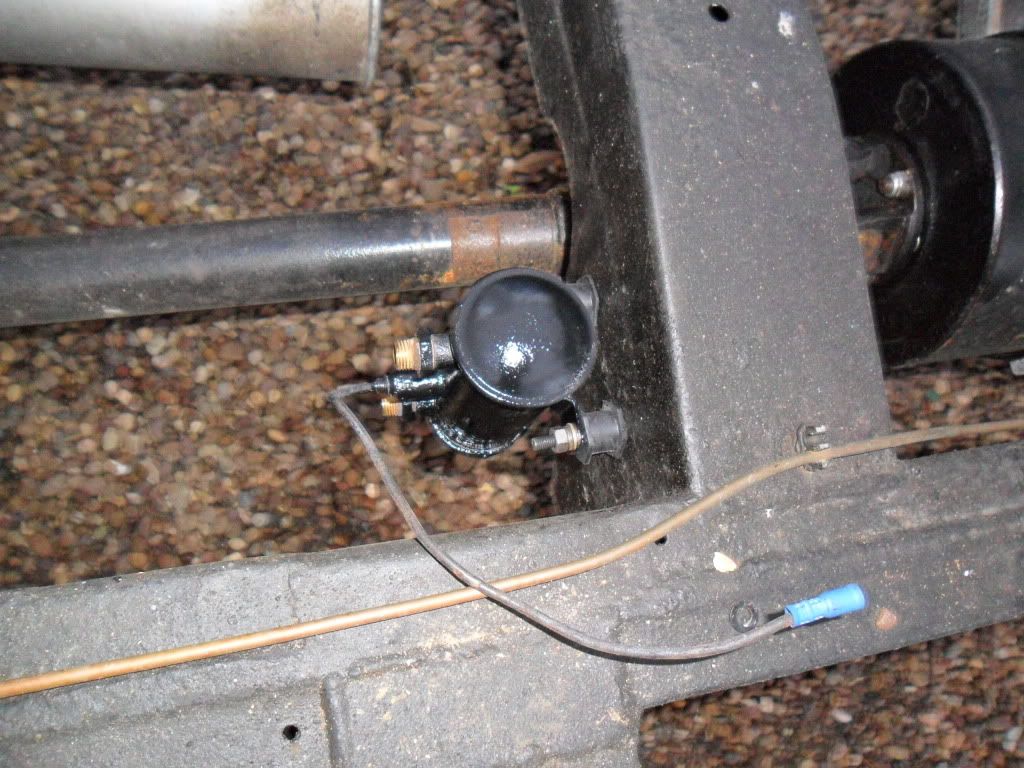
Fuel pump (25 yrs old and still working so its going back)
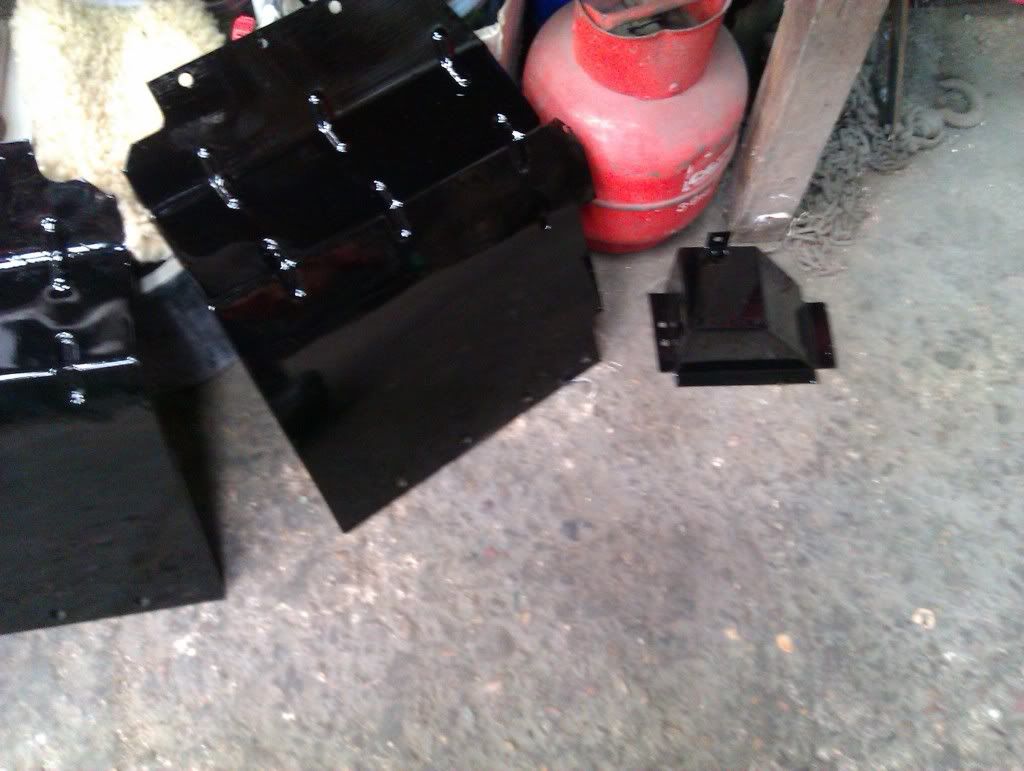
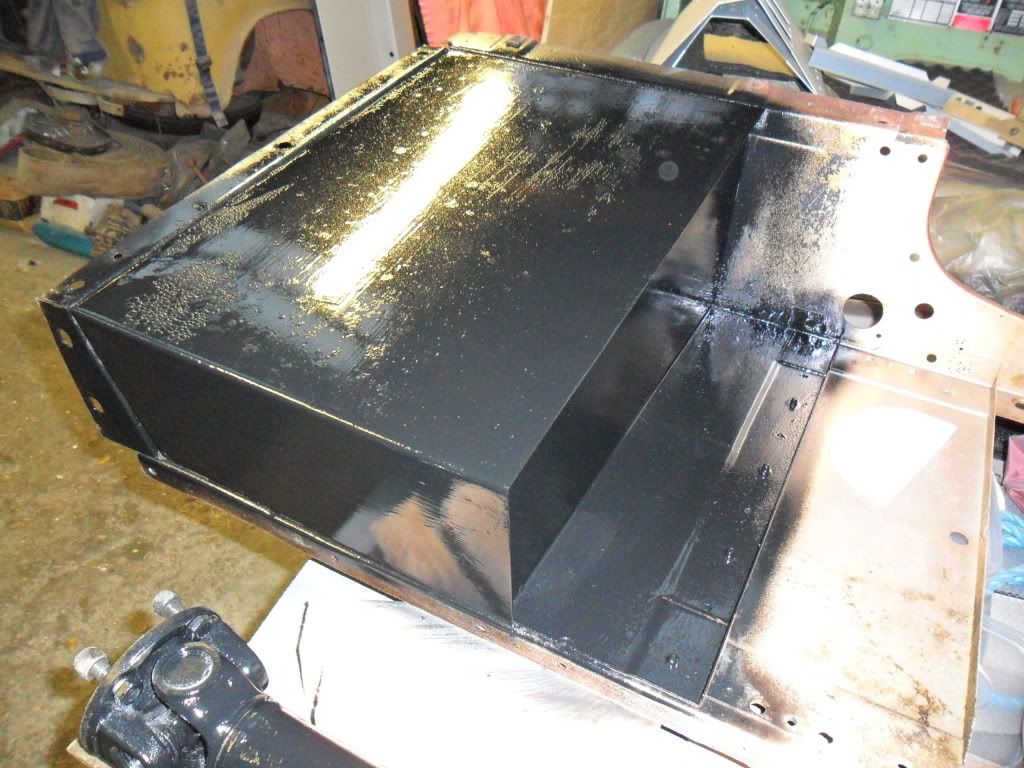
Exhaust heat shield straitened (ish), painted and back on
Tool box painted, now needs a hole chopping for the battery tray
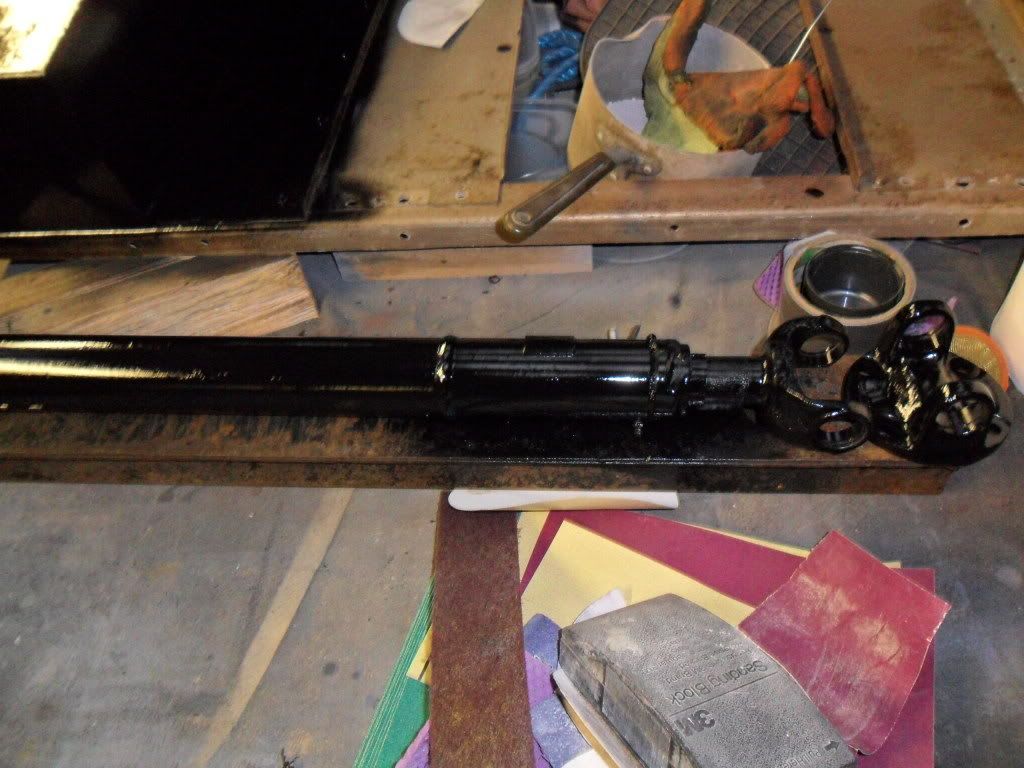
Temporary prop, need a UJ to finish then it can go back (Still haing issues with prop flanges, the one I got that was supposed to be for a stage 1 doesnt fit my prop - not sure which bit is wrong yet), in the mean time a extended series prop is going on
little more progress
Fuel pump (25 yrs old and still working so its going back)
Exhaust heat shield straitened (ish), painted and back on
Tool box painted, now needs a hole chopping for the battery tray
Temporary prop, need a UJ to finish then it can go back (Still haing issues with prop flanges, the one I got that was supposed to be for a stage 1 doesnt fit my prop - not sure which bit is wrong yet), in the mean time a extended series prop is going on