Hello/S1 Rebuild
Re: Hello/S1 Rebuild
Which show is that Alex?
Re: Hello/S1 Rebuild
Newark,
Dont think it will be done for Stoneleigh, will have the S2 at that I think
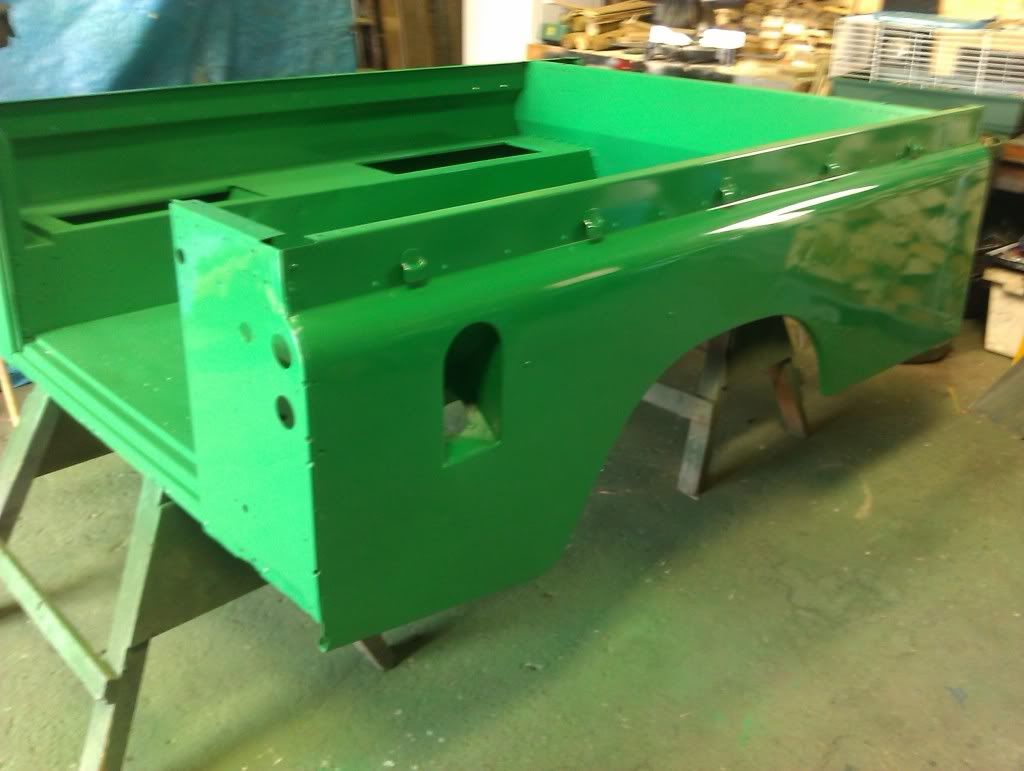
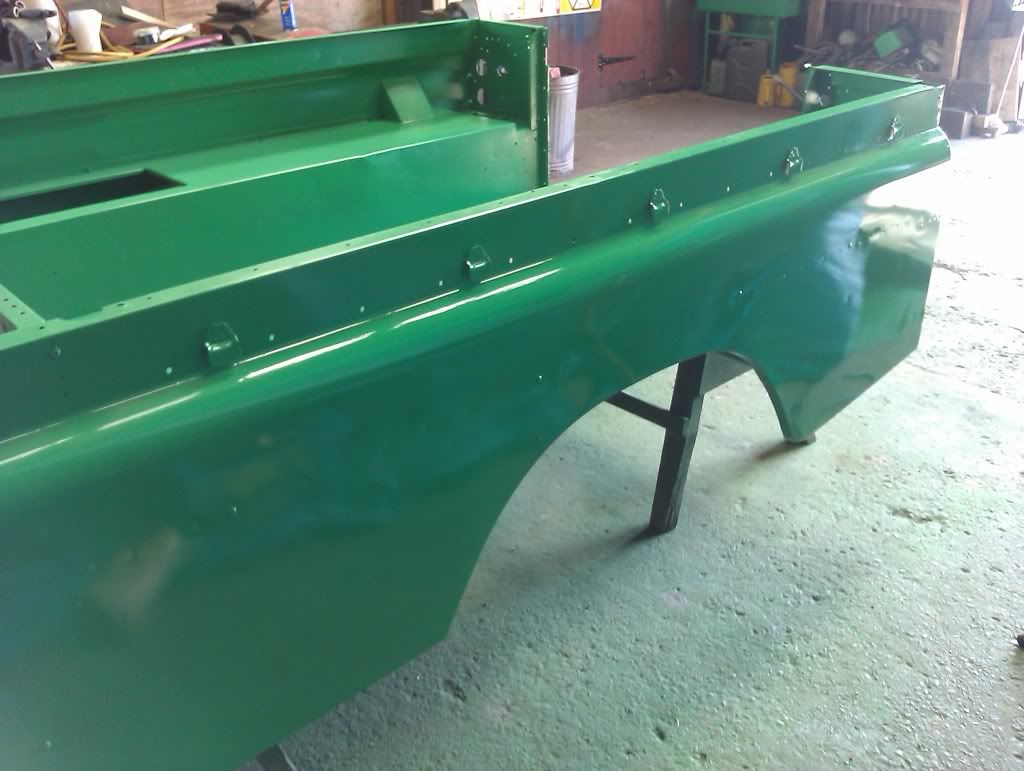
Bit more progress
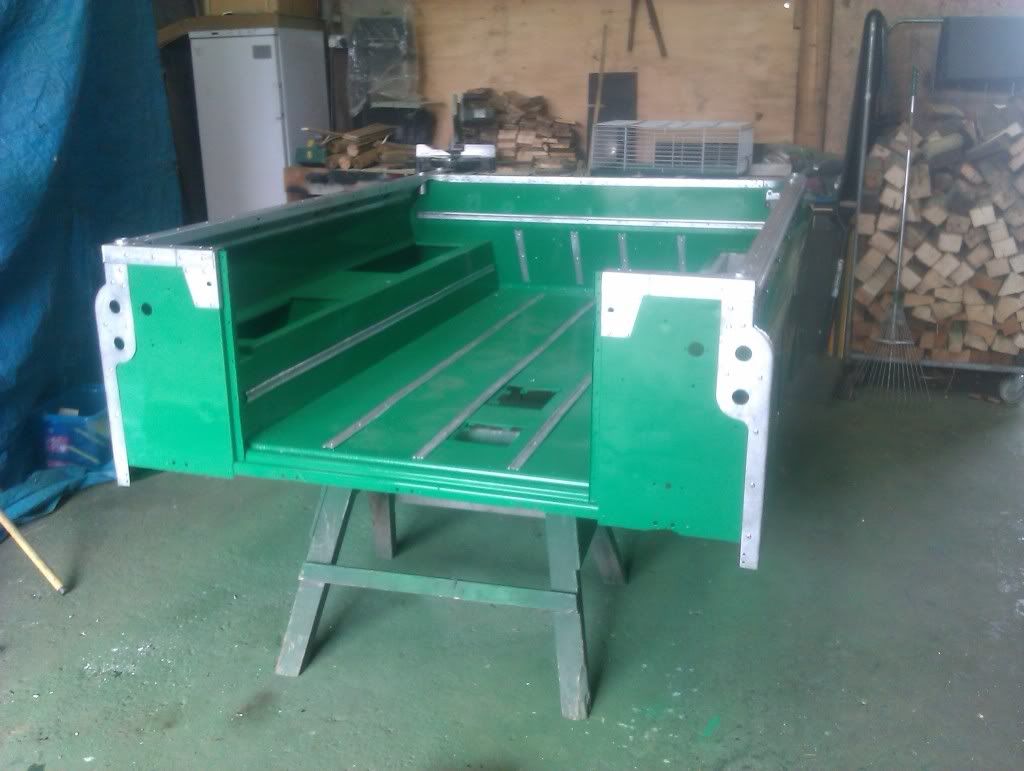
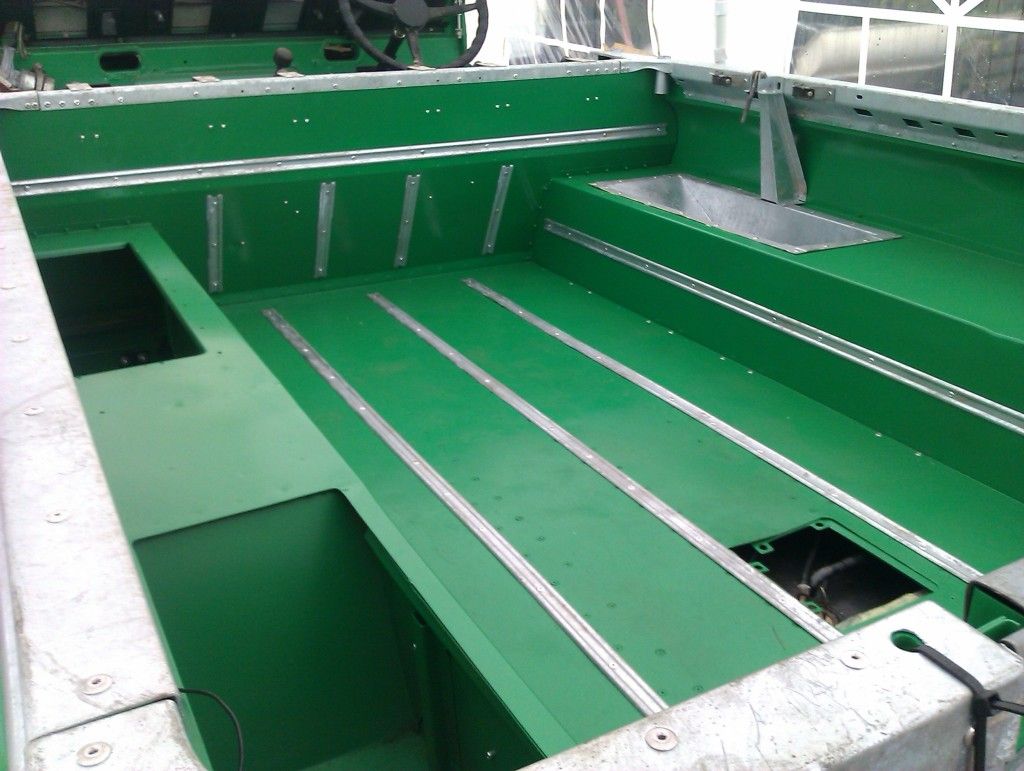
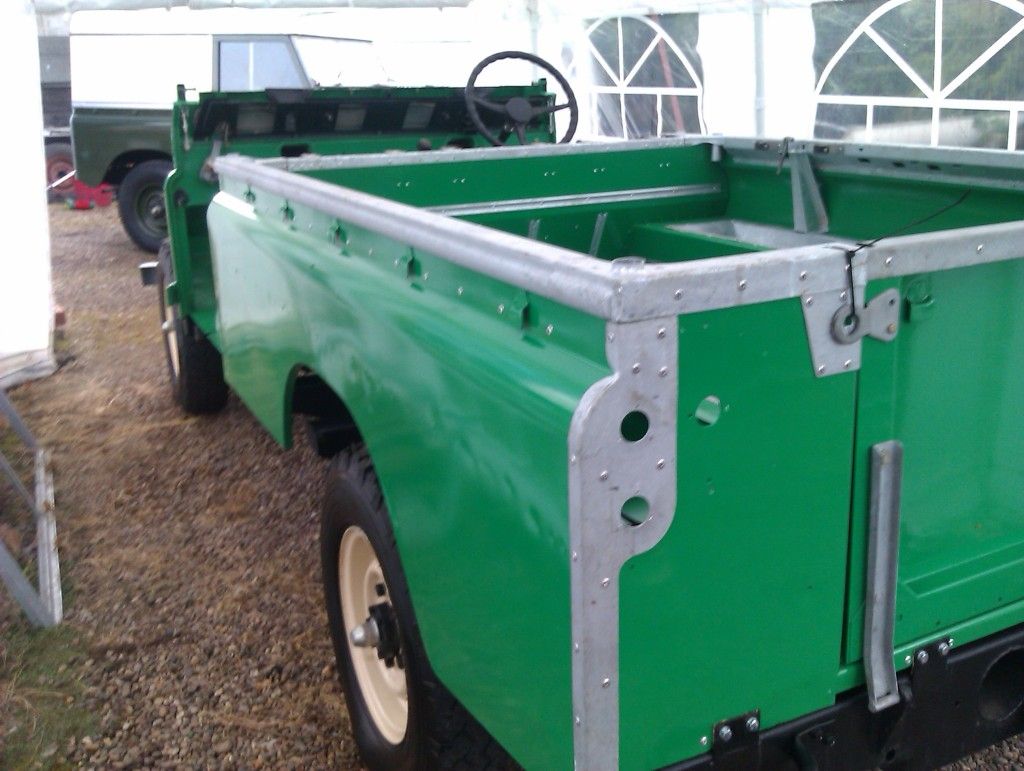
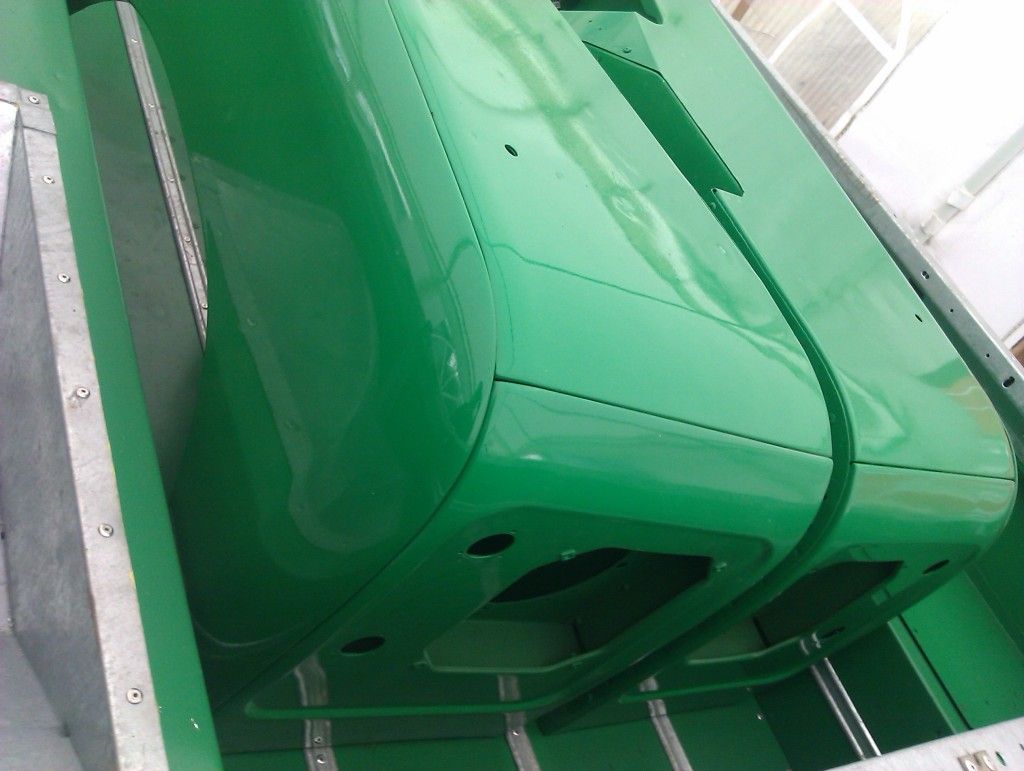
Final paint on the tub,

Dont think it will be done for Stoneleigh, will have the S2 at that I think
Bit more progress
Final paint on the tub,
Re: Hello/S1 Rebuild
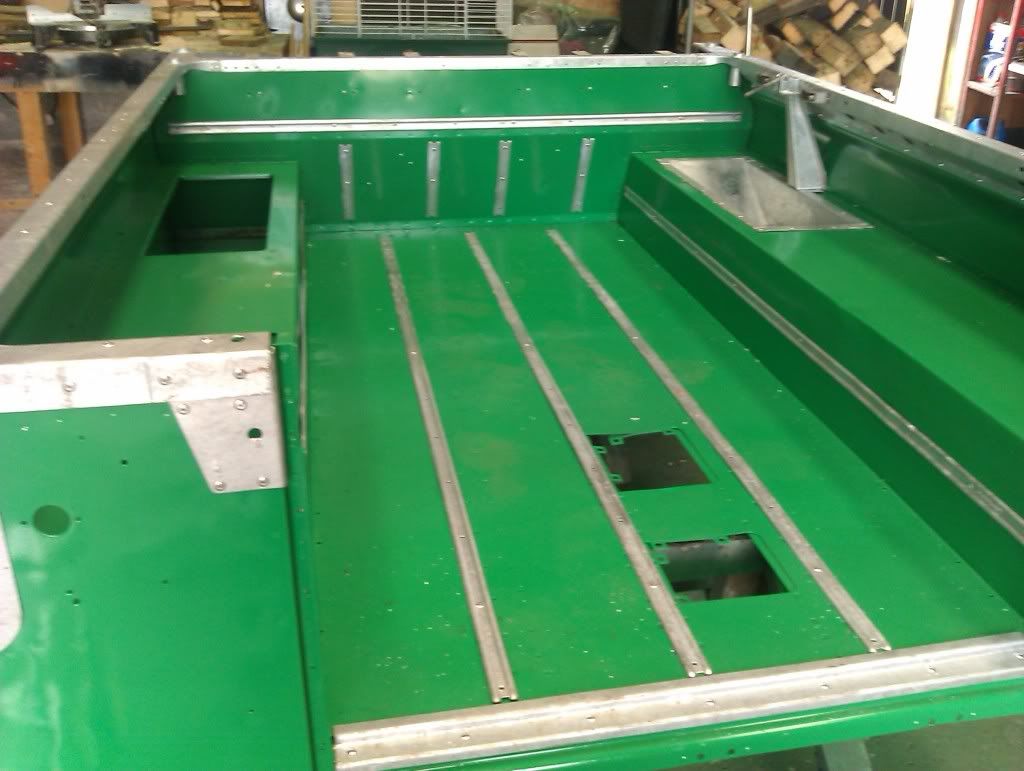
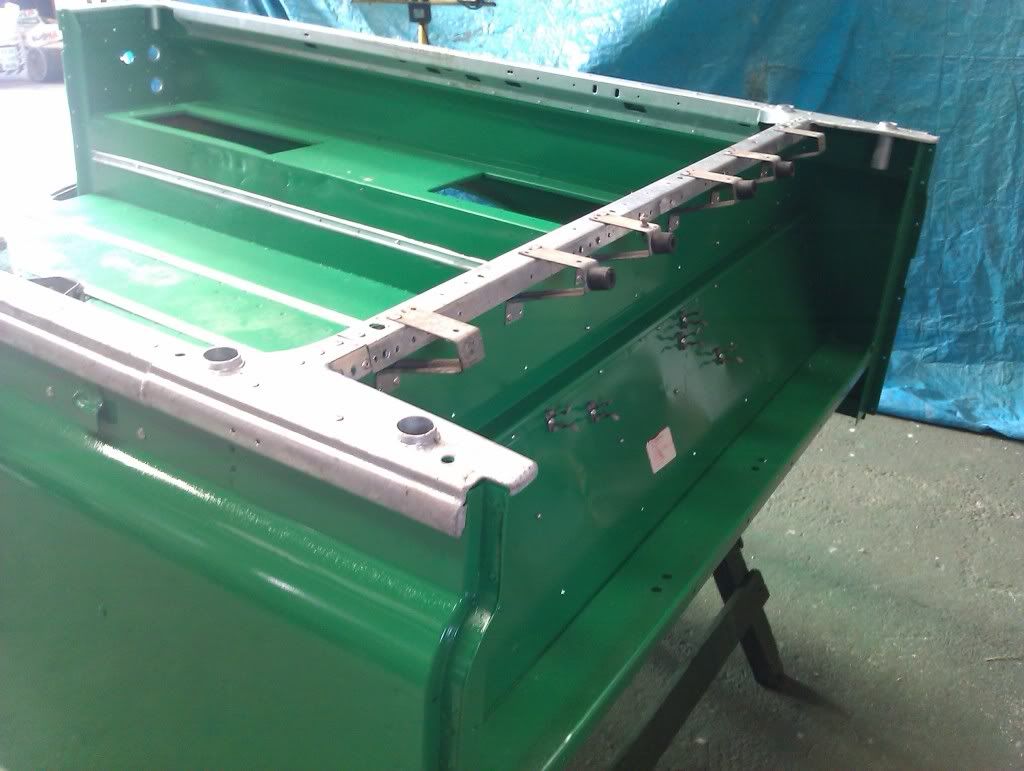
And some more,
Lots and lots and lots of riveting ... and then I ran out, so will have to come back to that next week
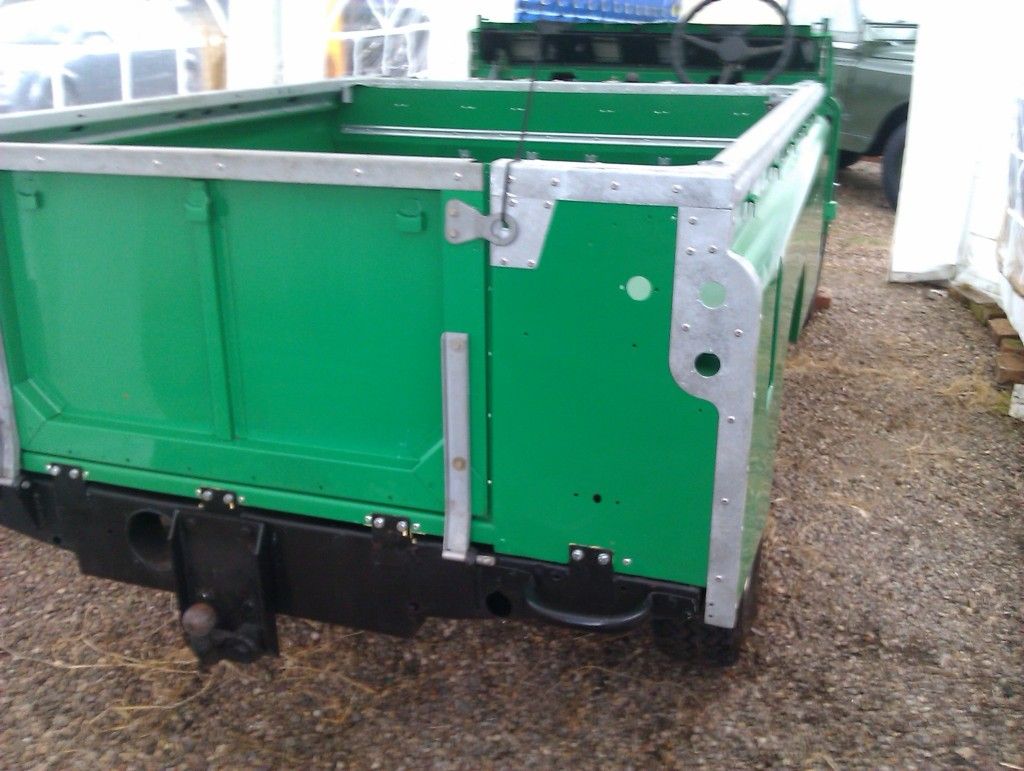
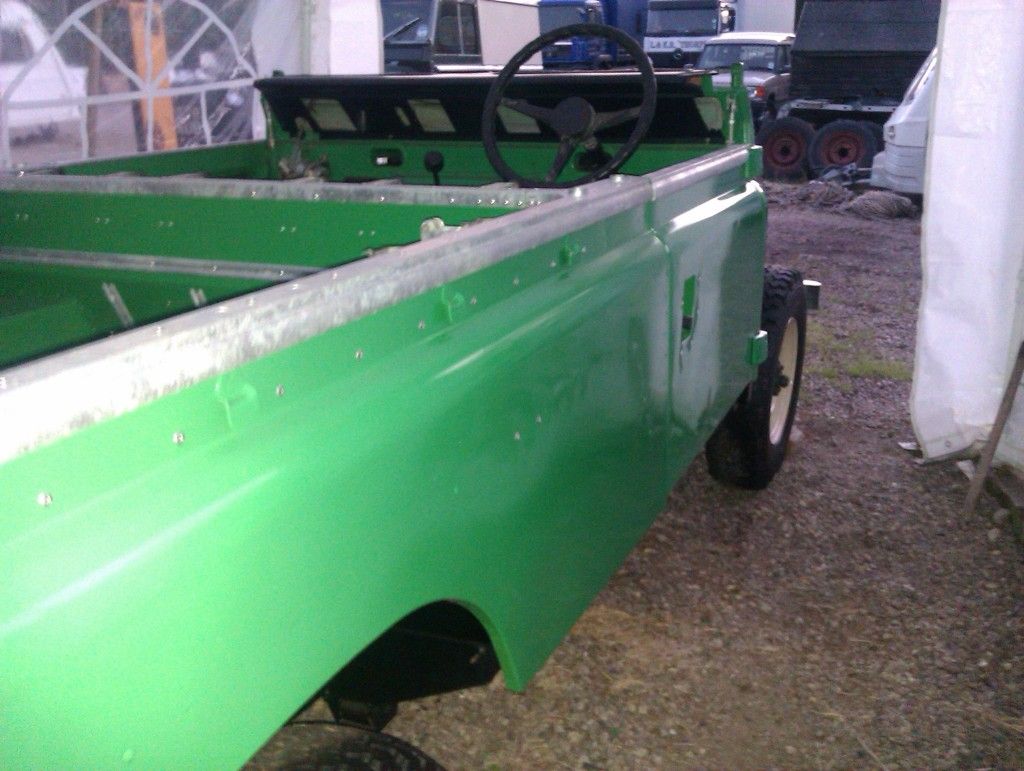
Tub temporarily on the chassis to check everything lines up,
back of next week to fit the fuel pipes and finish fitting the tank, and finish riveting the galv bits on then it can go back permanently (once ive bought lots of nuts and bolts)
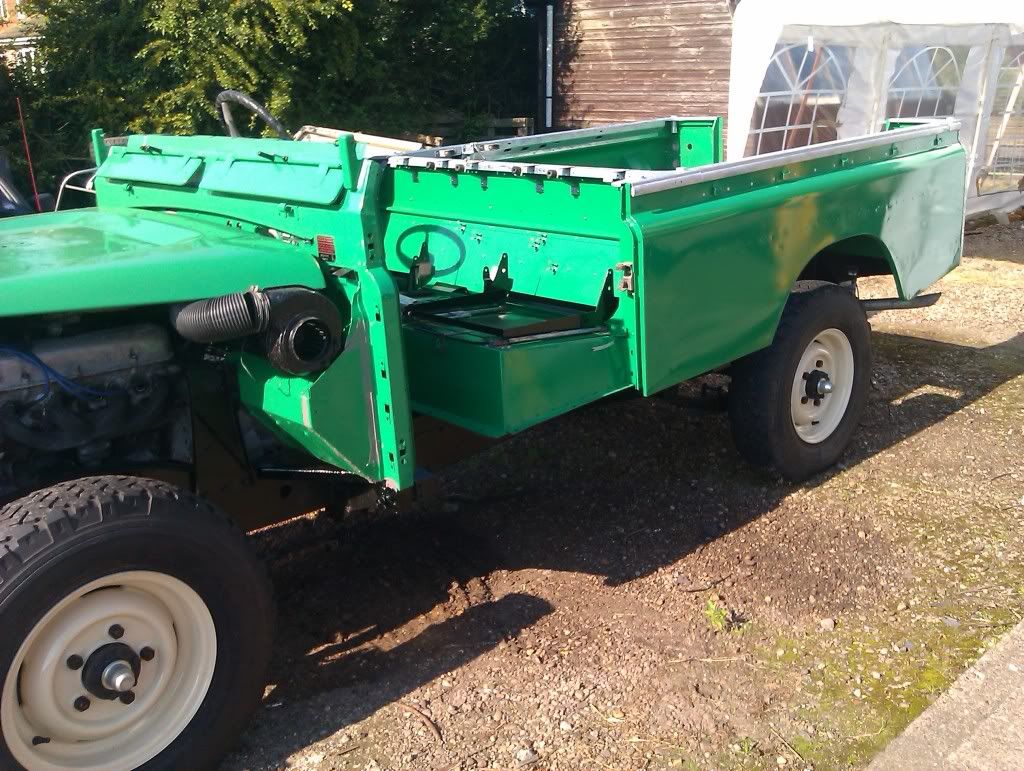
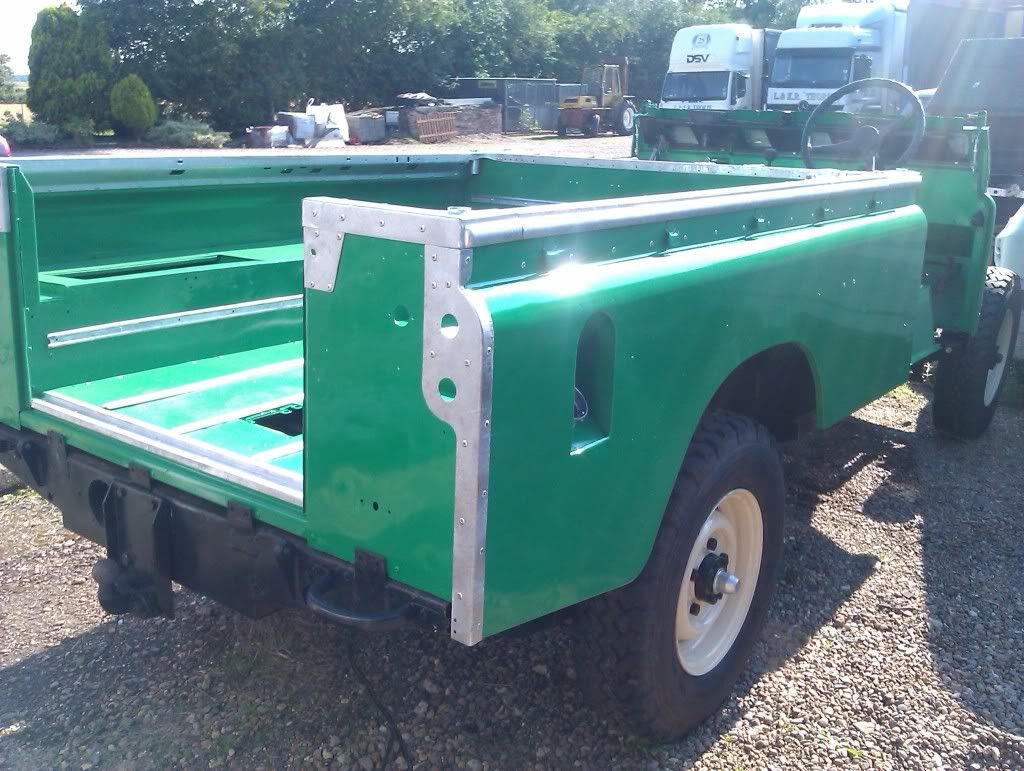
Looks much closet to being finished, just with doing those little bits ... still a long way to go though
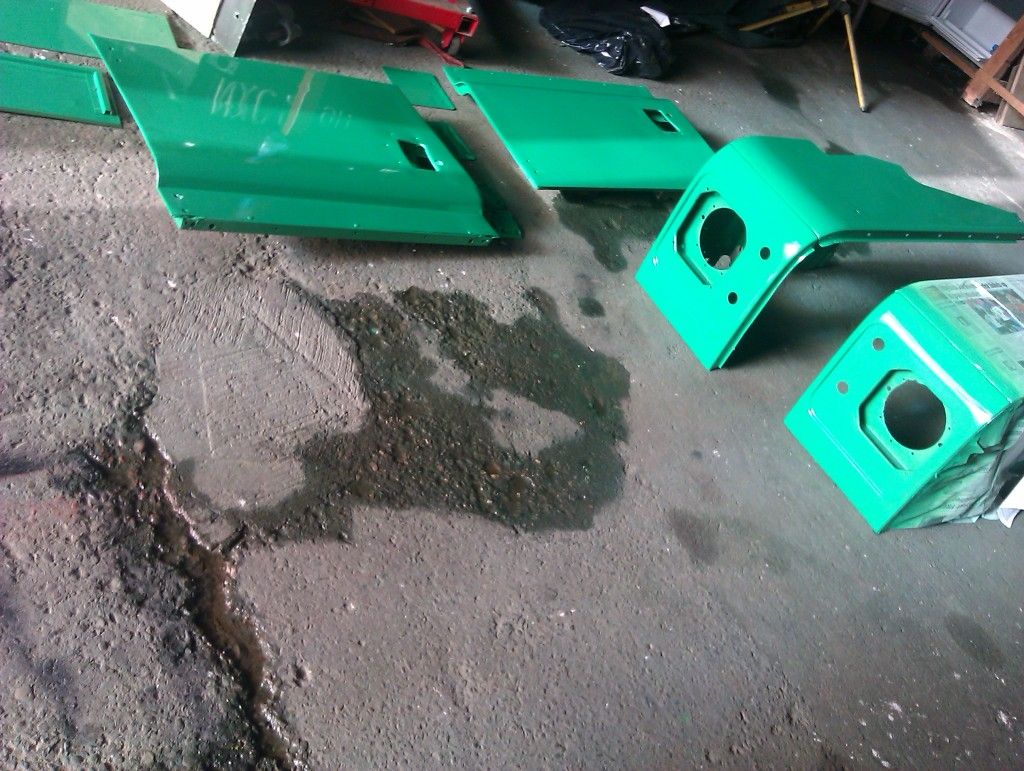
Next,
strip the paint of the wings to fix the runs I found
spend more money buying more bits, to fit the tub and finish attaching the galv bits
Fit the doors
Lots and lots and lots of riveting ... and then I ran out, so will have to come back to that next week
Tub temporarily on the chassis to check everything lines up,
back of next week to fit the fuel pipes and finish fitting the tank, and finish riveting the galv bits on then it can go back permanently (once ive bought lots of nuts and bolts)
Looks much closet to being finished, just with doing those little bits ... still a long way to go though
Next,
strip the paint of the wings to fix the runs I found
spend more money buying more bits, to fit the tub and finish attaching the galv bits
Fit the doors
Re: Hello/S1 Rebuild
A little more done,
Got it to run ... initial attempt didnt end well with lots of smoke and leaking petrol (carb float heights wrong :embarrassed )
Much better after that, though the carbs been out of tune, balance and ignition timing being off made tweaking things by ear a bit fruitless
Lots more rivets fitted ... surprising how much weight they and the galv add to a 109 body
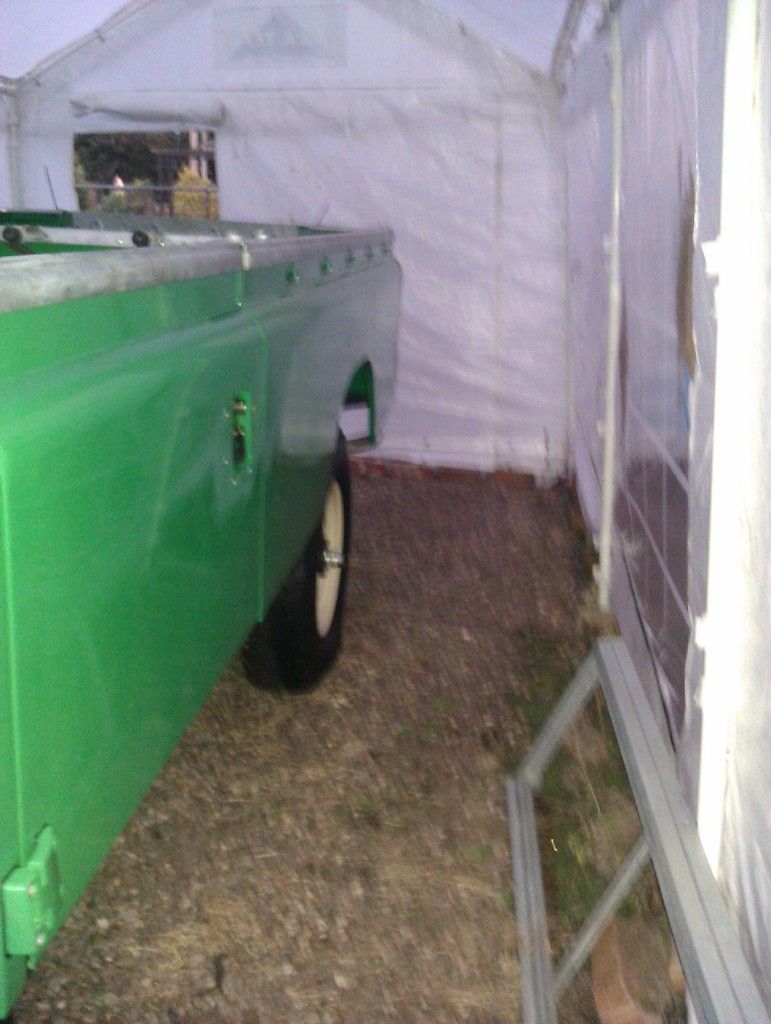
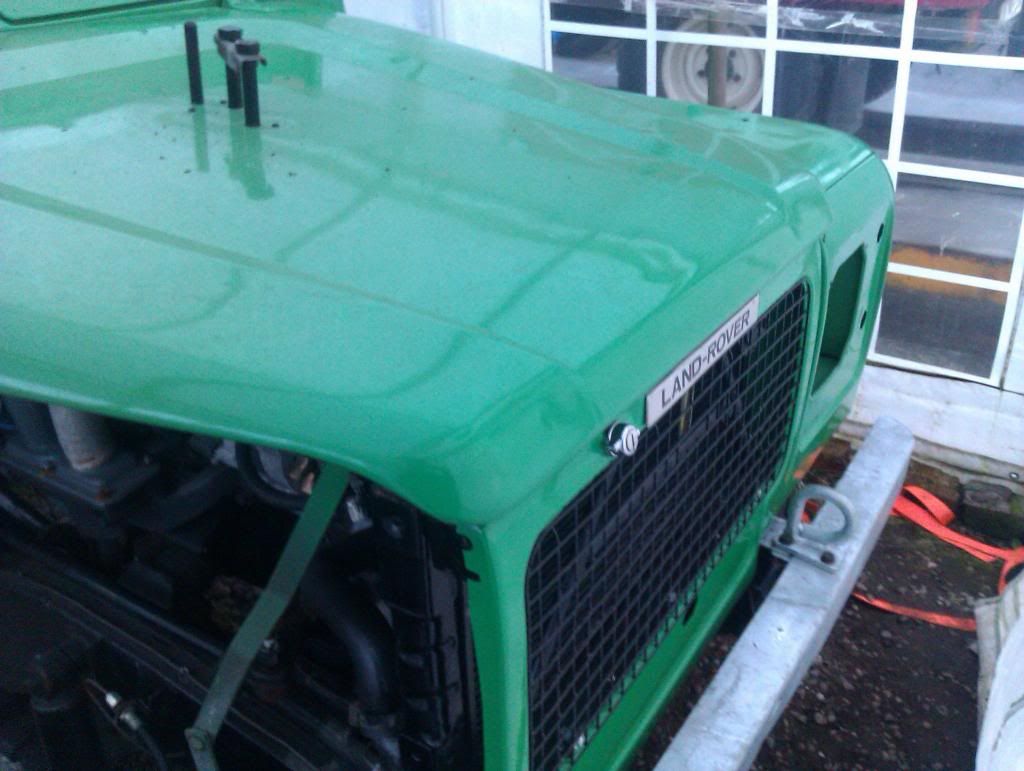
Bonnet fitted and adjusted (that took a long time to get lined up)
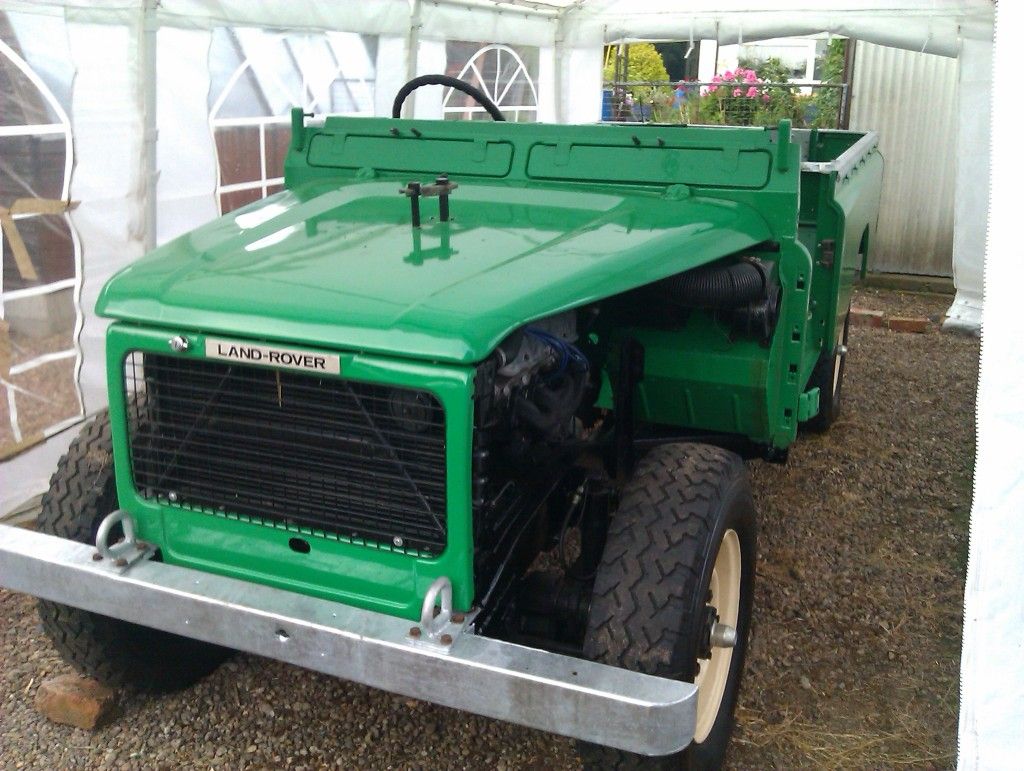
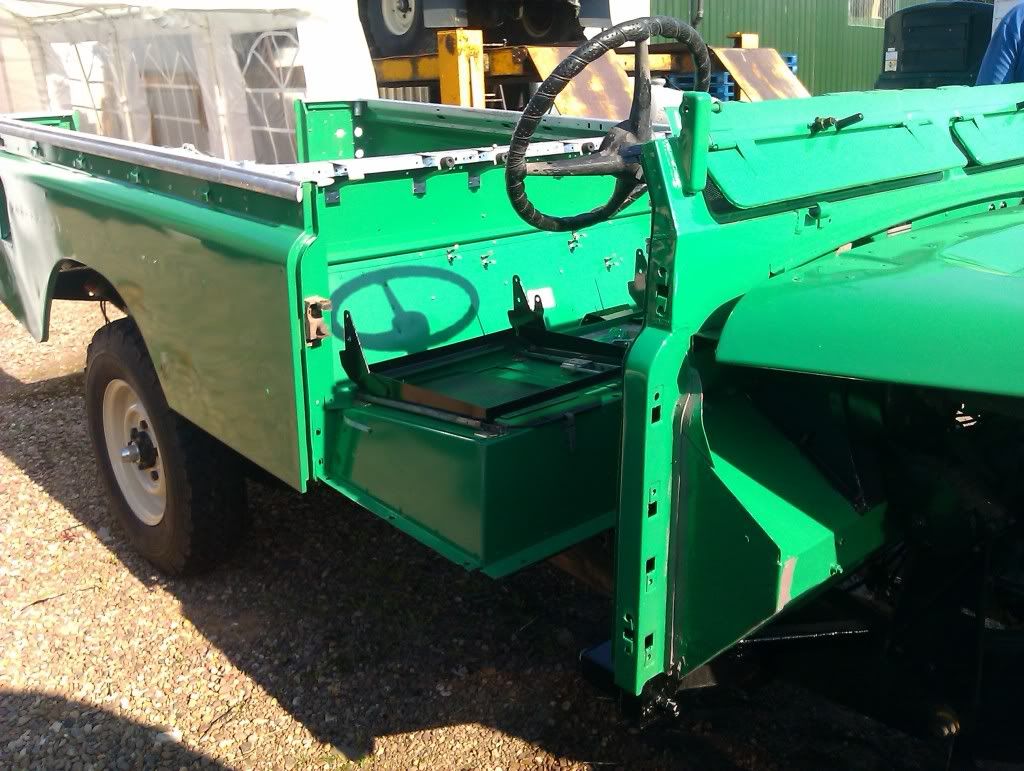
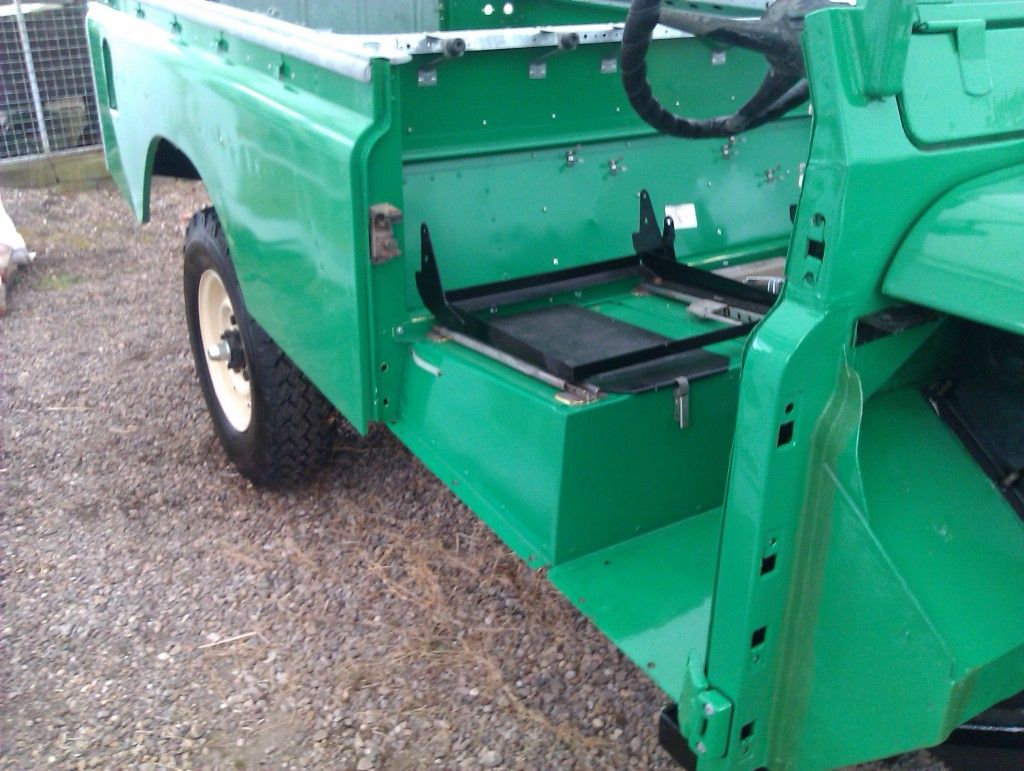
Body bolted down, and seat box bolted to that

Turns out SW spec springs are quite springy, easily bounce the back up and down a few inches ... should give a good ride once done
And this is where it started 4 years ago

Got it to run ... initial attempt didnt end well with lots of smoke and leaking petrol (carb float heights wrong :embarrassed )
Much better after that, though the carbs been out of tune, balance and ignition timing being off made tweaking things by ear a bit fruitless
Lots more rivets fitted ... surprising how much weight they and the galv add to a 109 body
Bonnet fitted and adjusted (that took a long time to get lined up)
Body bolted down, and seat box bolted to that
Turns out SW spec springs are quite springy, easily bounce the back up and down a few inches ... should give a good ride once done
And this is where it started 4 years ago
Re: Hello/S1 Rebuild
OMG 
I am getting just a little speechless.
I am getting just a little speechless.
Alan
1983 ex-army FFR 109 Stage 1
2005 Disco 2 HSE TD5
1983 ex-army FFR 109 Stage 1
2005 Disco 2 HSE TD5
Re: Hello/S1 Rebuild
That is looking impressive.
Re: Hello/S1 Rebuild
A little bit more progress,
Wibgs stripped off again after finding lots of runs
Doors stripped off again, as the holes for the locks are in the wrong place Modified and painted again ... just to lacquer to go then the doors and wings can go back on
Need to buy some wiring now, and work out what im going to do about the dash - then its time for the fun of glazing the windscreen and door tops
Wibgs stripped off again after finding lots of runs
Doors stripped off again, as the holes for the locks are in the wrong place
Need to buy some wiring now, and work out what im going to do about the dash - then its time for the fun of glazing the windscreen and door tops
Re: Hello/S1 Rebuild
Today didnt go quite to plan
Removed masking from the wing, which brought a nice strip of paint with it ... :haha: bollocks - so thats going to have to be redone (and with less sticky masking tape this time)
Found the clutch MC has filled the drivers side footwell with fluid ... so that lasted a whole 0 miles and probably not more than 10 presses of the pedal ... wasnt even a cheap one :2mo5pow:
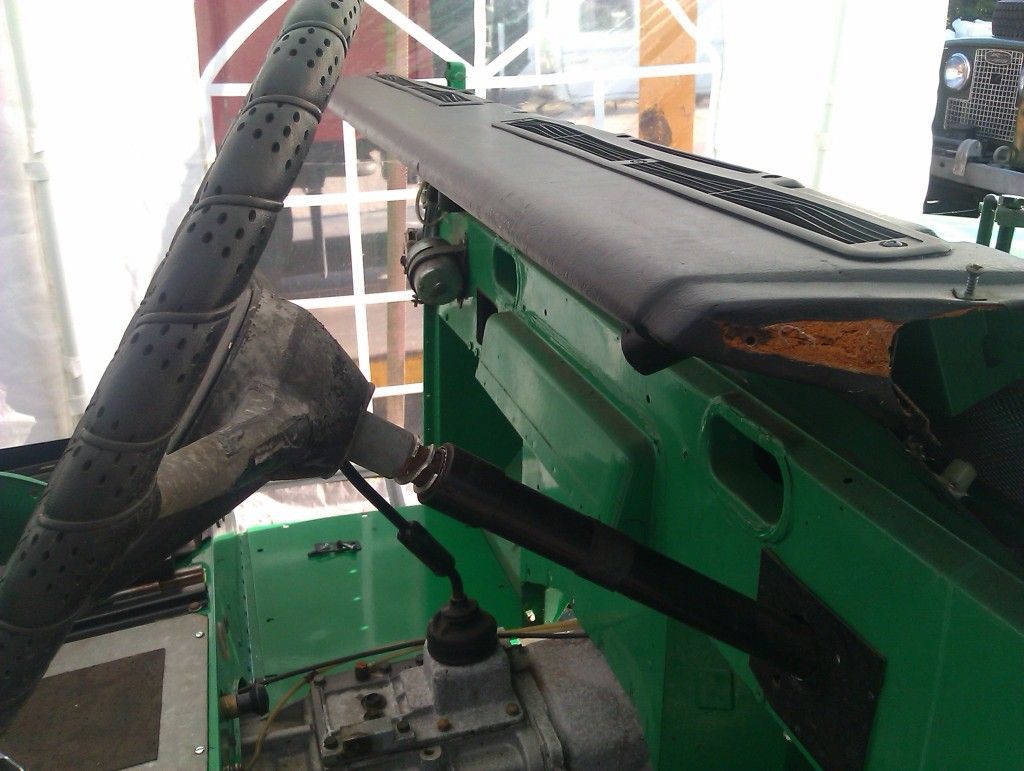
Did get a dash top fitted thought, but couldnt find a stage 1 dash, so fitted an earlier S3 one - not that anyone other than the rivet countes will know (and anyone who reads this now)
Removed masking from the wing, which brought a nice strip of paint with it ... :haha: bollocks - so thats going to have to be redone (and with less sticky masking tape this time)
Found the clutch MC has filled the drivers side footwell with fluid ... so that lasted a whole 0 miles and probably not more than 10 presses of the pedal ... wasnt even a cheap one :2mo5pow:
Did get a dash top fitted thought, but couldnt find a stage 1 dash, so fitted an earlier S3 one - not that anyone other than the rivet countes will know (and anyone who reads this now)
-
Mrs Bingham
- Posts: 230
- Joined: Thu Apr 30, 2009 12:39 pm
- Location: Essex, UK
Re: Hello/S1 Rebuild
Great work.
Interesting about the dash being different - what's different?
Appart from the speedo guts and centre switch panel of course
Interesting about the dash being different - what's different?
Appart from the speedo guts and centre switch panel of course
1983 Stage 1 V8 Hardtop (Mrs Bingham)
Re: Hello/S1 Rebuild
Slightly different shape arrroudn the instrument pannel (has a slight recess, where the normal S3 ones is staight) and has smaller vents for the heater (same as defender vents) rather than the T shaped ones on normal S3's
Fixings for the top pannel on the Stage 1 are accessible from in the car, so the top can be removed. Normal S3 they are behind the dash, needing the metal pannel (thus wiring) out to get to them
Stage 1 has various brackets, clips, hooks to support the wiring where the older ones dont, it just sits
Problem is the metal pannel needs changing as well to accomodate it, so swapped that.
And as is LR's way some of the fixings moved, just enough that its a PITA
BTW the one used on a stage 1 also appeared on the very last S3's
Todays update
Wing repainted ... again

Dash in place - could do with some better vents
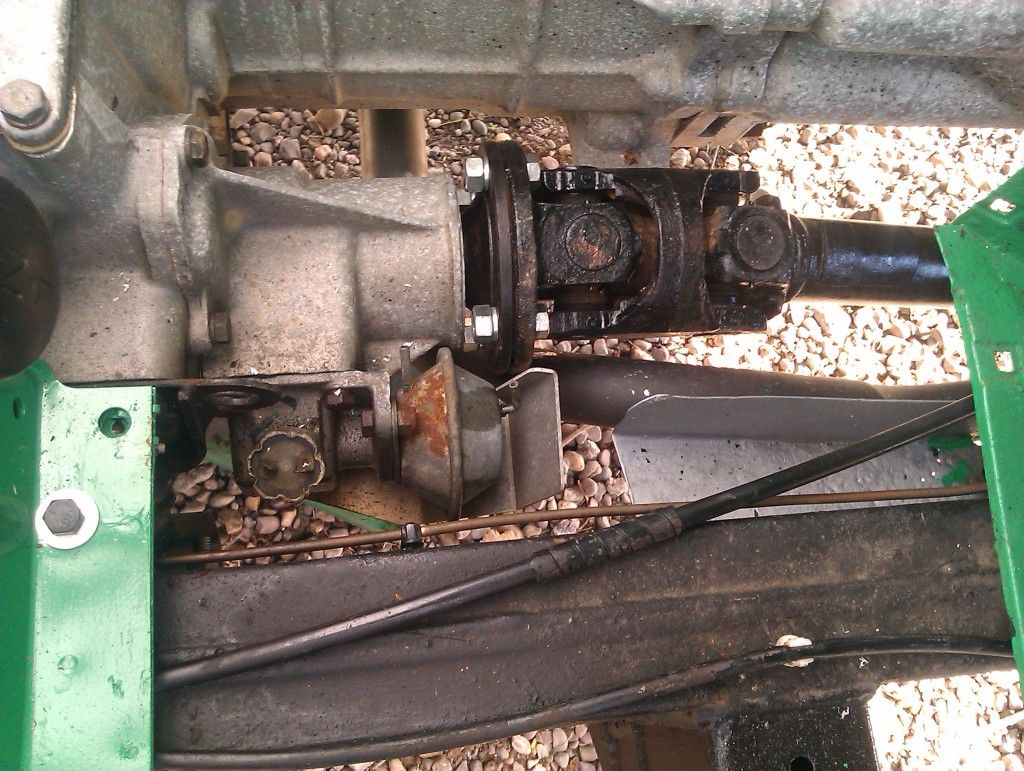
Front prop flange and prop on ... thats a rather tight fit
Doors built up - now modified the locks actually fit and the holes line up
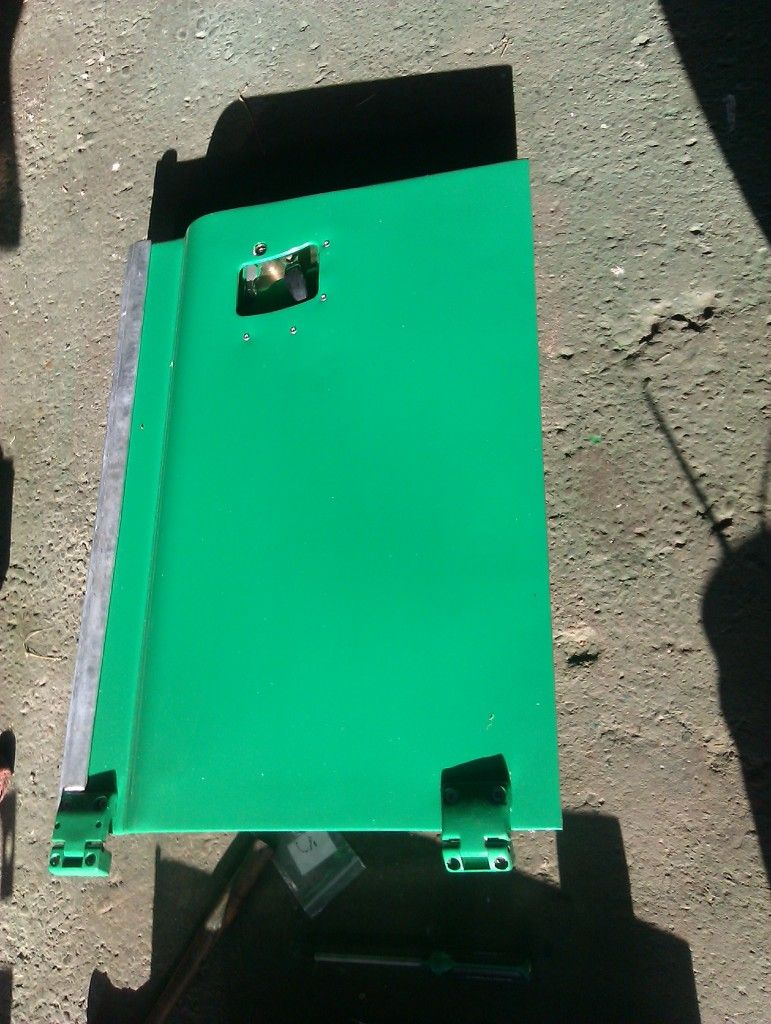
Doors fitted - rather unauthentic pannel gaps/alignment

Fixings for the top pannel on the Stage 1 are accessible from in the car, so the top can be removed. Normal S3 they are behind the dash, needing the metal pannel (thus wiring) out to get to them
Stage 1 has various brackets, clips, hooks to support the wiring where the older ones dont, it just sits
Problem is the metal pannel needs changing as well to accomodate it, so swapped that.
And as is LR's way some of the fixings moved, just enough that its a PITA
BTW the one used on a stage 1 also appeared on the very last S3's
Todays update
Wing repainted ... again
Dash in place - could do with some better vents
Front prop flange and prop on ... thats a rather tight fit
Doors built up - now modified the locks actually fit and the holes line up
Doors fitted - rather unauthentic pannel gaps/alignment
Re: Hello/S1 Rebuild
I must admit that dash top jumped right out at bit me! I thought "thats a pre-74 dash top!!". Is the Stage 1 type vastly different from the generic late series III item? I would have thought they would be easy enough to get hold of.
-
Mrs Bingham
- Posts: 230
- Joined: Thu Apr 30, 2009 12:39 pm
- Location: Essex, UK
Re: Hello/S1 Rebuild
I echo that on the dash being an early one. I'm not suggesting however that I'm an expert on this, but a friend of mine has a 1980 88" and as far as I can tell he has the same dash top as me and he's recently changed his as it was split - he never mentioned any difficulties when sourcing one. Perhaps this subject should be properly clarified 
1983 Stage 1 V8 Hardtop (Mrs Bingham)
Re: Hello/S1 Rebuild
Cut off wasn't 74, much later - June 1980 with the various other changes, hence they arent common - Ive asked on all the forums im on, over the last 3 years and never found a good one22900013a wrote:I must admit that dash top jumped right out at bit me! I thought "thats a pre-74 dash top!!". Is the Stage 1 type vastly different from the generic late series III item? I would have thought they would be easy enough to get hold of.
a 1980 S3 will have the same top, the stage 1 dash was used on other S3's from June 1980
Since the last update I've only got 2 days work on it (combination of working - 4 LR's take some paying for :laugh and a friends wedding, but heres some pics anyway
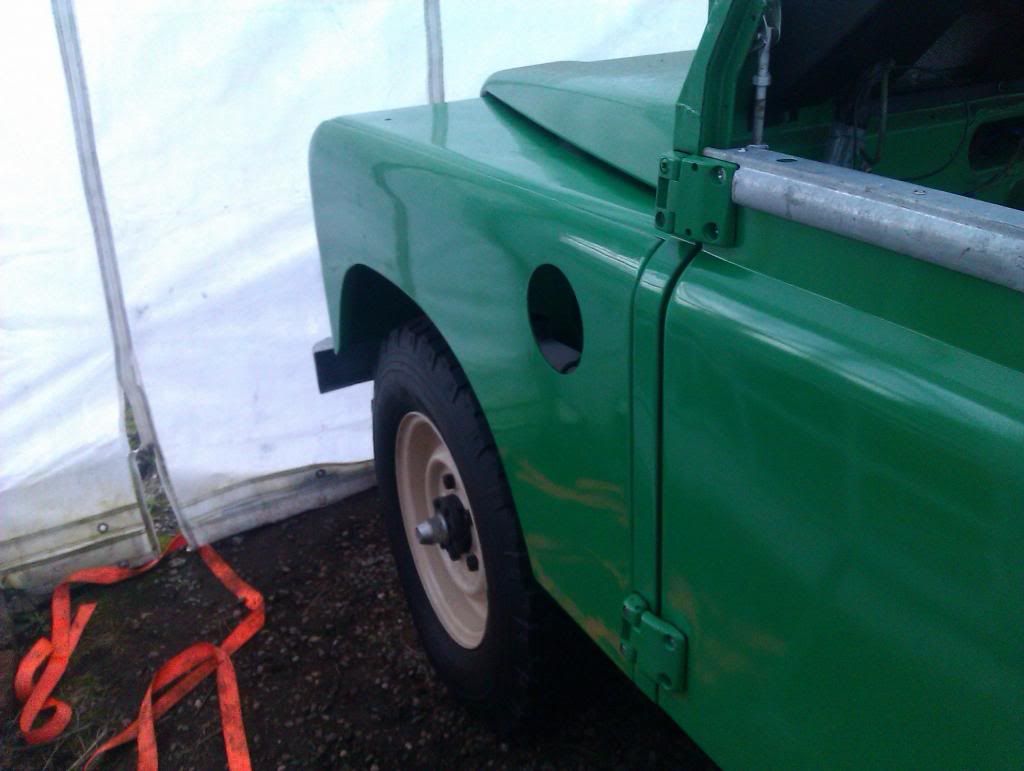
Front wings built up
Ran out of bolts so they didn't get fitted. Want the wiring in first anyway so less chance of scratching them
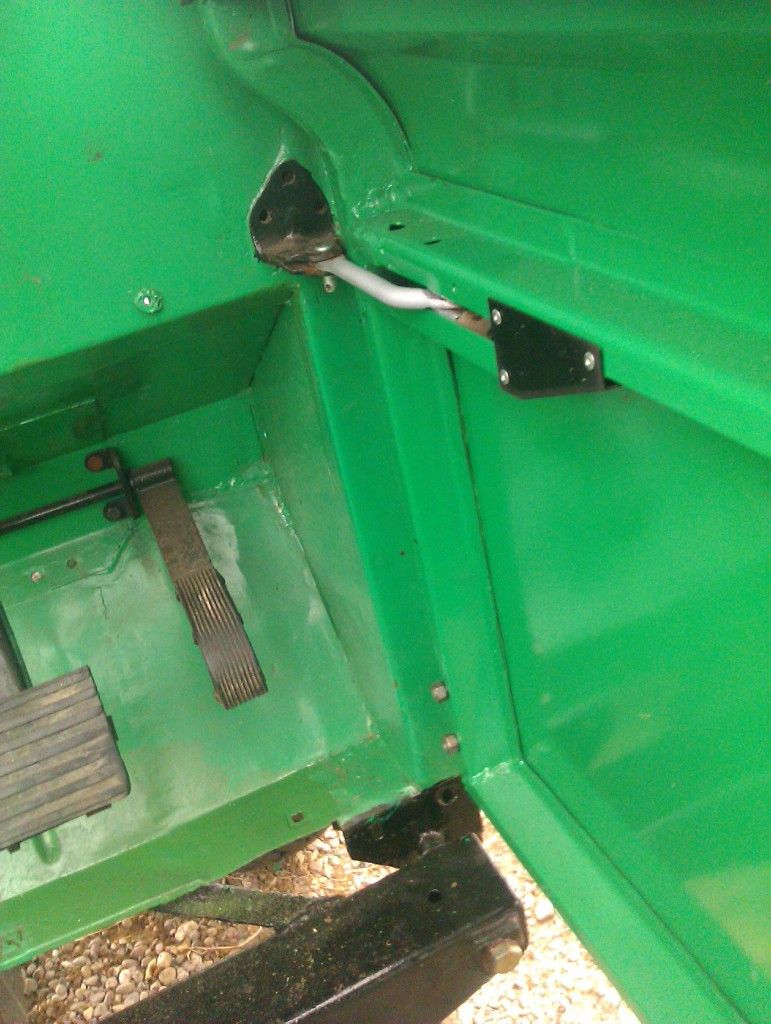
New clutch cylinder fitted - again, since the new one managed 0 miles before failing :shakinghead
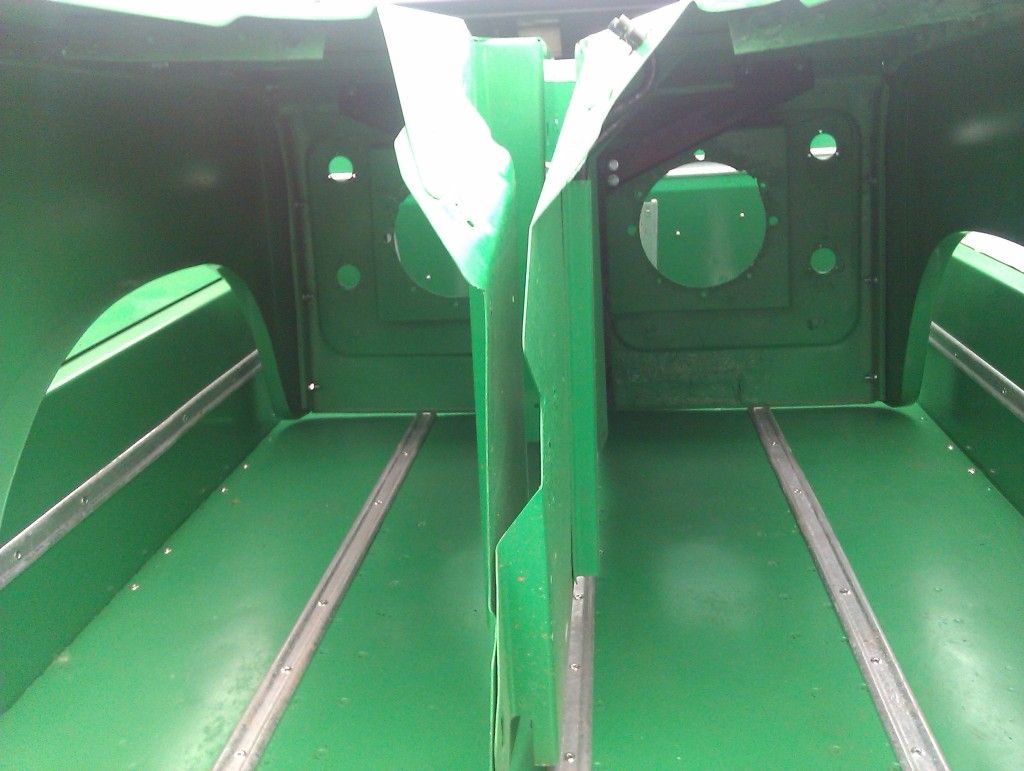
More bits fitted in the tub,
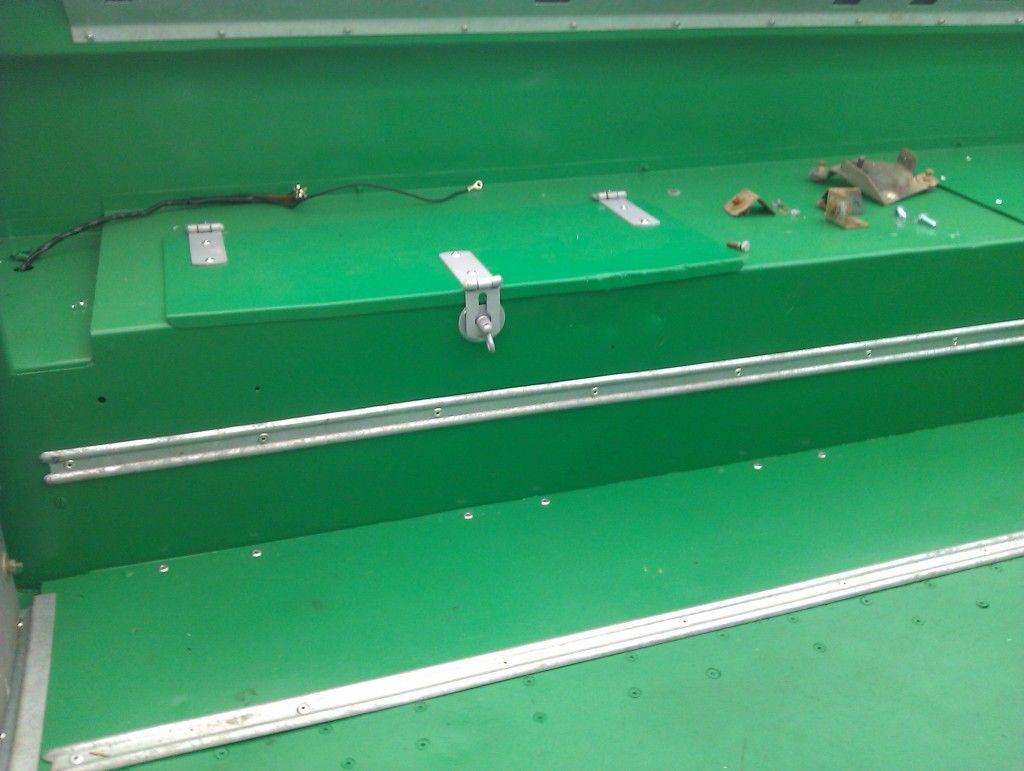
Should realy have got that a bit straighter before fitting it ... ah well, the tub will get battered once its on the road and used anyway
Detail bits added to doors
Anyone any idea on where to get door cards for the doors with anti-burst locks?
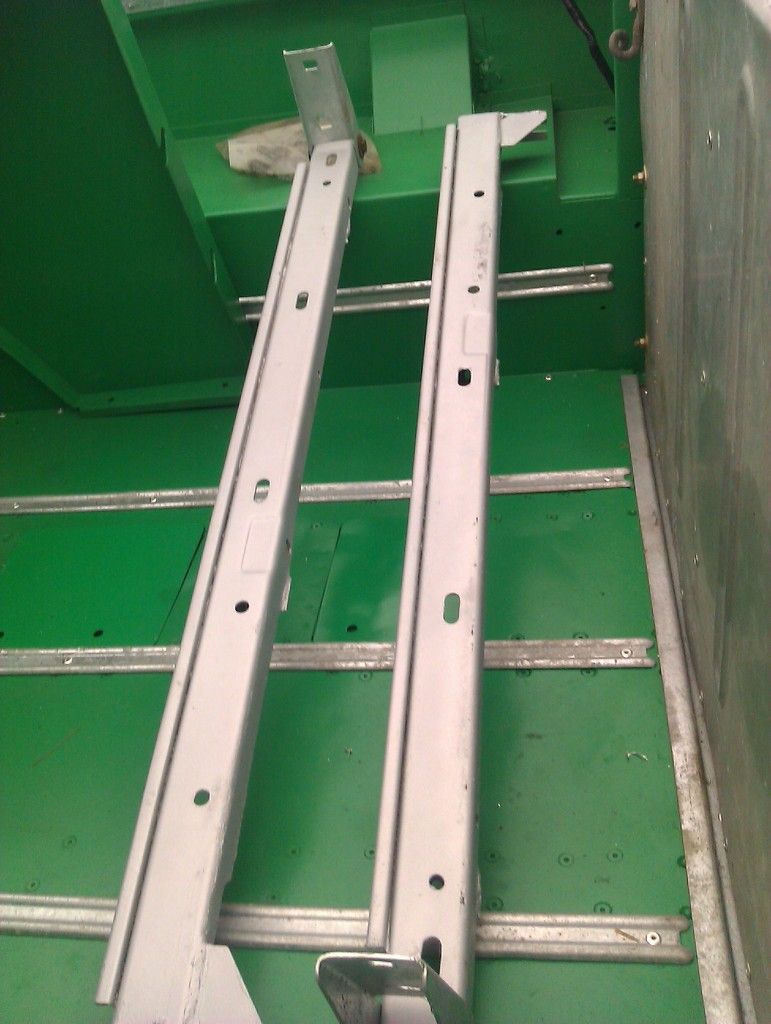
Sill bars repaired and cold zinc sprayed - to be fitted once I find some bolts
-
heightswitch
- Posts: 11
- Joined: Wed Oct 24, 2012 6:30 pm
Re: Hello/S1 Rebuild
Thats a very impressive story...Also very good to follow what you have done.
Cheers
N.
Cheers
N.
Re: Hello/S1 Rebuild
Long time, with no progress but got a day on it
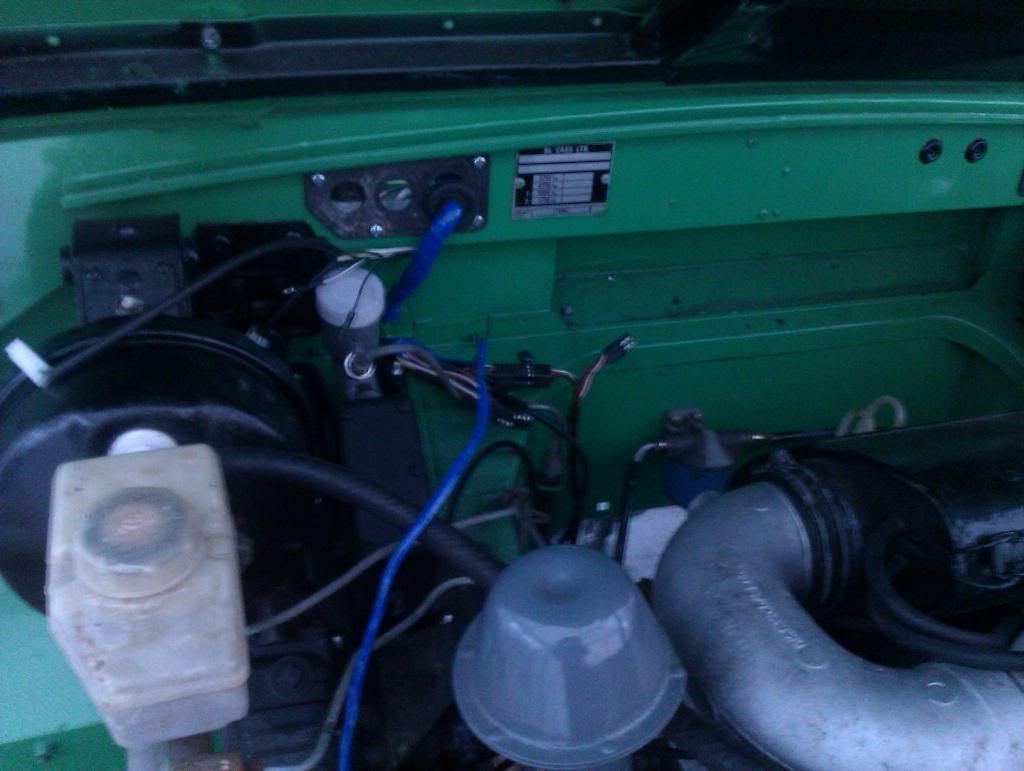
New wiring arrived, shame the "replica" loom is rapped in blue and not the balck it should be, but I waited about 6 weeks for it, so its going in
Fitted a frnt wing as well - a few times by the time things were adjusted enough to get it on properly - fit isnt great at the bulkhead, but thats pattern parts
took allot of time to line this up, with some very inaccesible bolts - rather obvious it was a "cheap" modification of the series LR and not intended to be that way
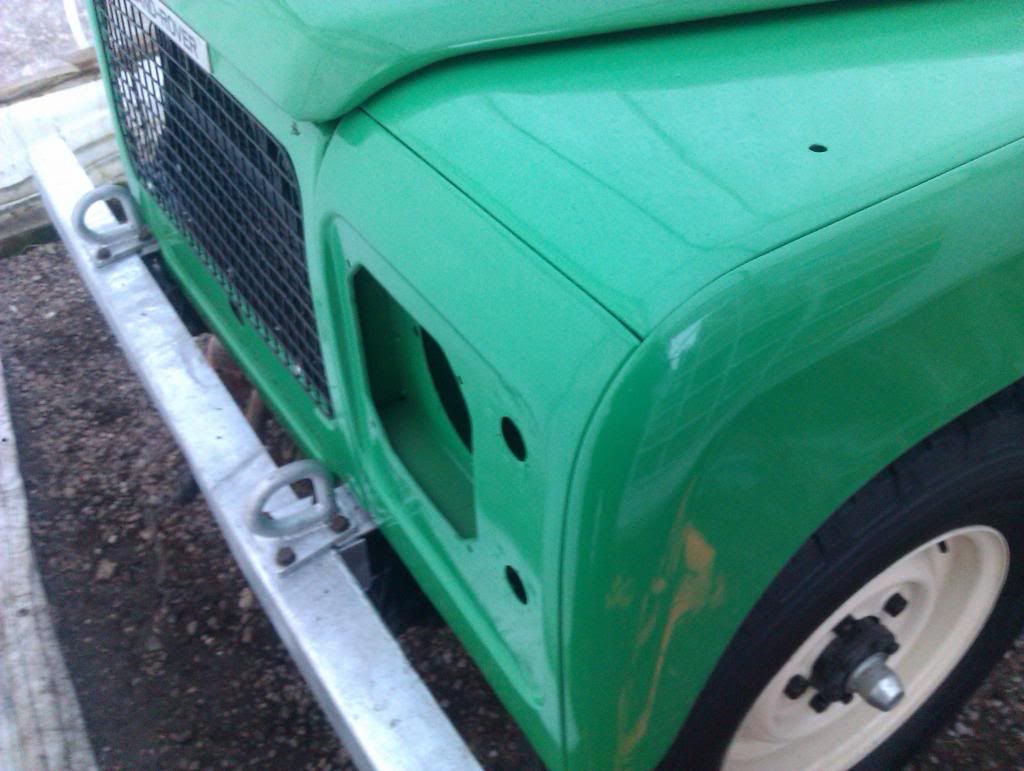
Bonnet now jams, seems the reposiitoned front pannel causes the latch to get stuck. Some modification of the lock holes needed
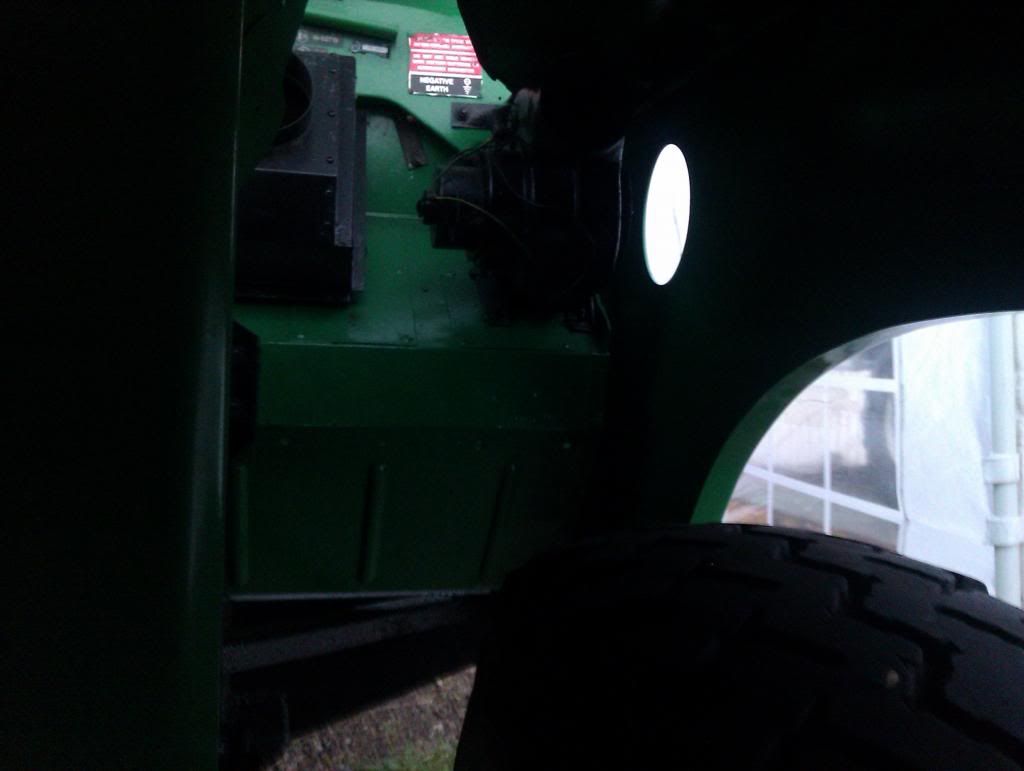
And some of the elctrical spagheti, that one day may make it work - and will make me swear lots in the process
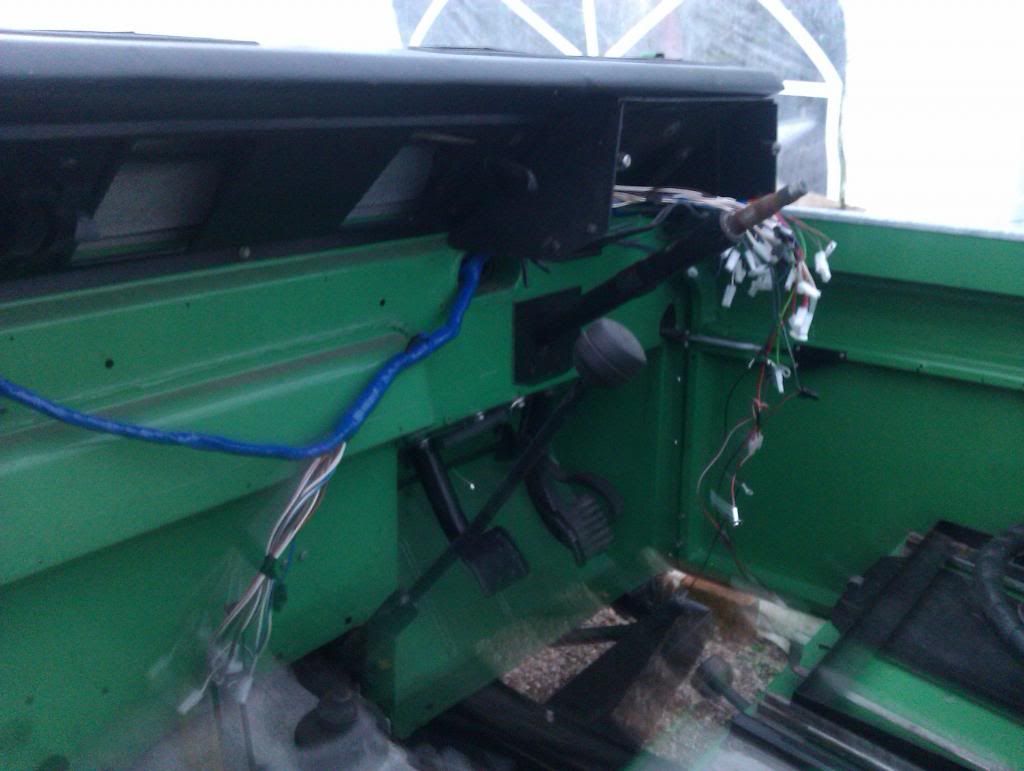
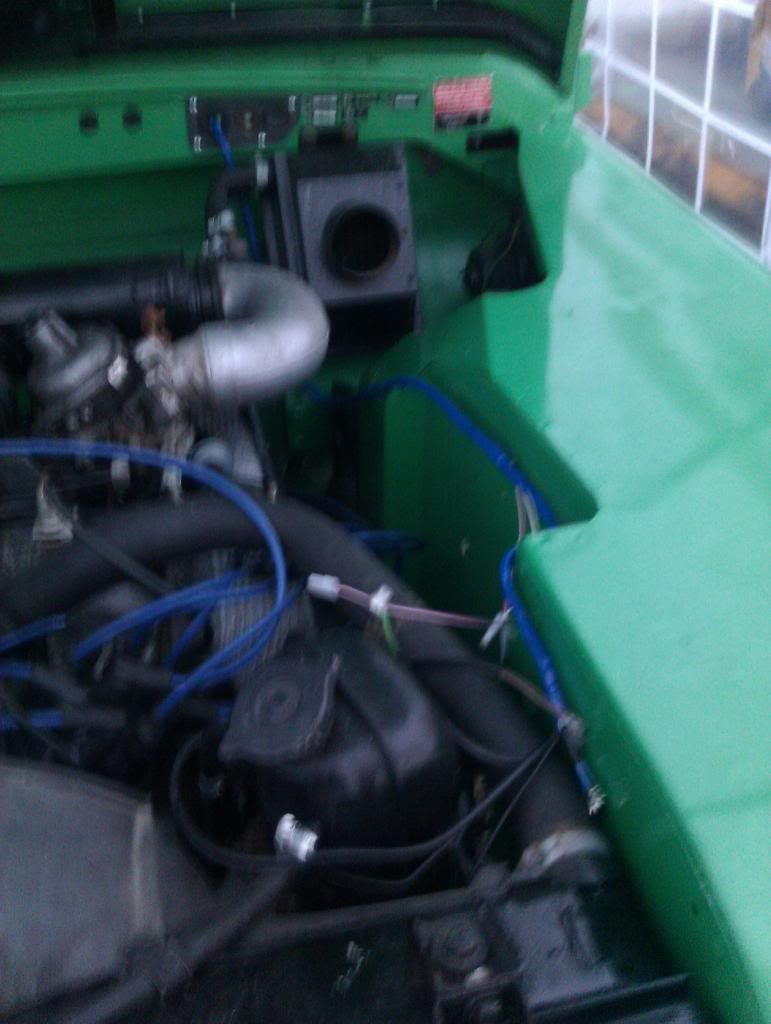
Stuck with where the engine harness is routed at the moment, RH wing isnt going on until that is sorted to protect the paint
New wiring arrived, shame the "replica" loom is rapped in blue and not the balck it should be, but I waited about 6 weeks for it, so its going in
Fitted a frnt wing as well - a few times by the time things were adjusted enough to get it on properly - fit isnt great at the bulkhead, but thats pattern parts
took allot of time to line this up, with some very inaccesible bolts - rather obvious it was a "cheap" modification of the series LR and not intended to be that way
Bonnet now jams, seems the reposiitoned front pannel causes the latch to get stuck. Some modification of the lock holes needed
And some of the elctrical spagheti, that one day may make it work - and will make me swear lots in the process
Stuck with where the engine harness is routed at the moment, RH wing isnt going on until that is sorted to protect the paint