Hello/S1 Rebuild
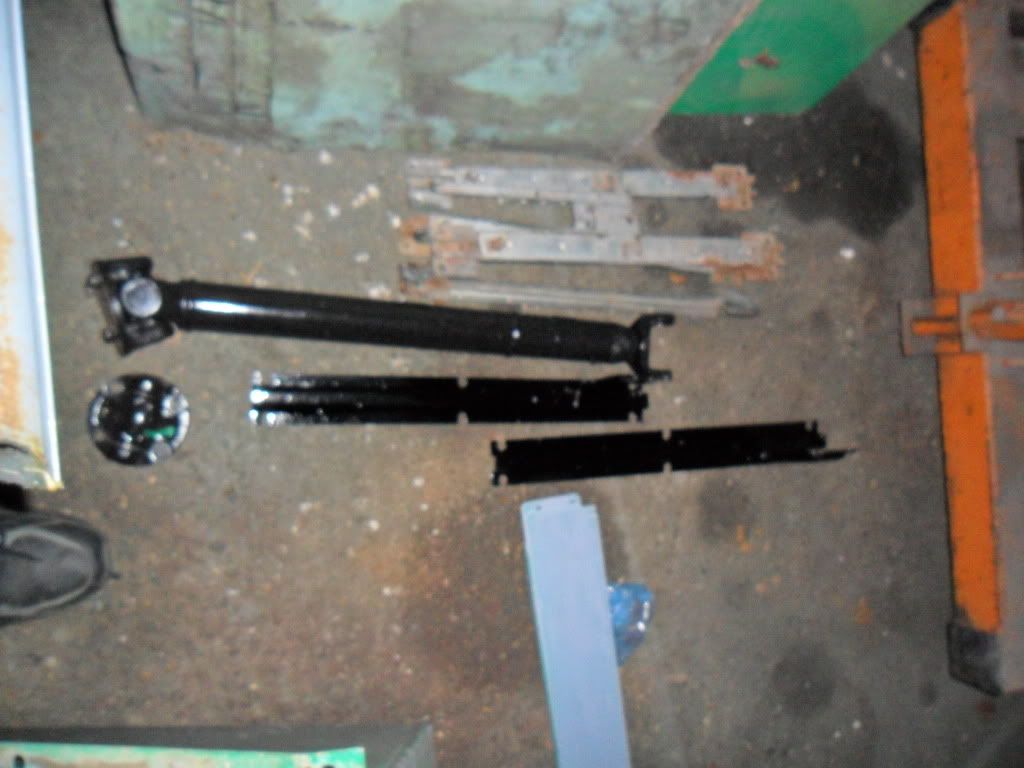
fuel pump
can'y see it in the pix, don't forget the earth lead between the pump and chassis - that pesky thing caused me two break downs!
1970 Spitfire MKIII
1981 Laser 1 88643
1982 Stage 1 v8 SW
1992 Laser 2 9101 "Purple Reign"
2000 Laser Pico 4050
2001 Brompton M3L
2010 VW California GP 140 SE
2010 Brompton M6L
2010 Venture Ranger 16 Canoe
2010 Cube Ltd Pro
1981 Laser 1 88643
1982 Stage 1 v8 SW
1992 Laser 2 9101 "Purple Reign"
2000 Laser Pico 4050
2001 Brompton M3L
2010 VW California GP 140 SE
2010 Brompton M6L
2010 Venture Ranger 16 Canoe
2010 Cube Ltd Pro
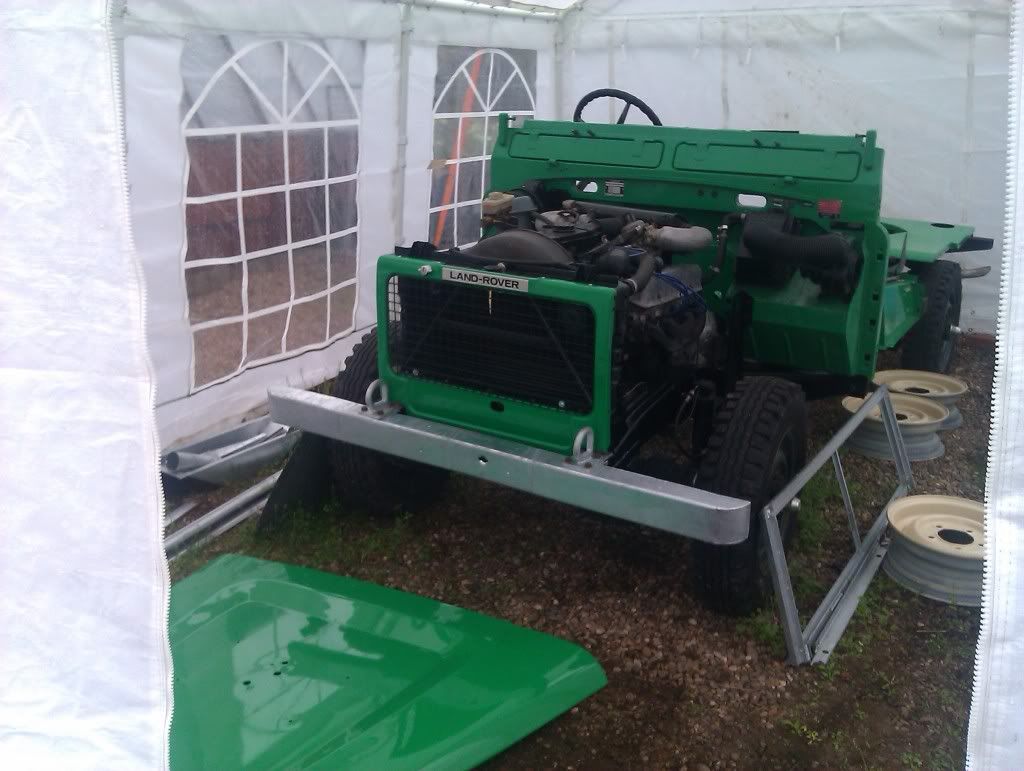
Some more progress ... lots done, not much achieved
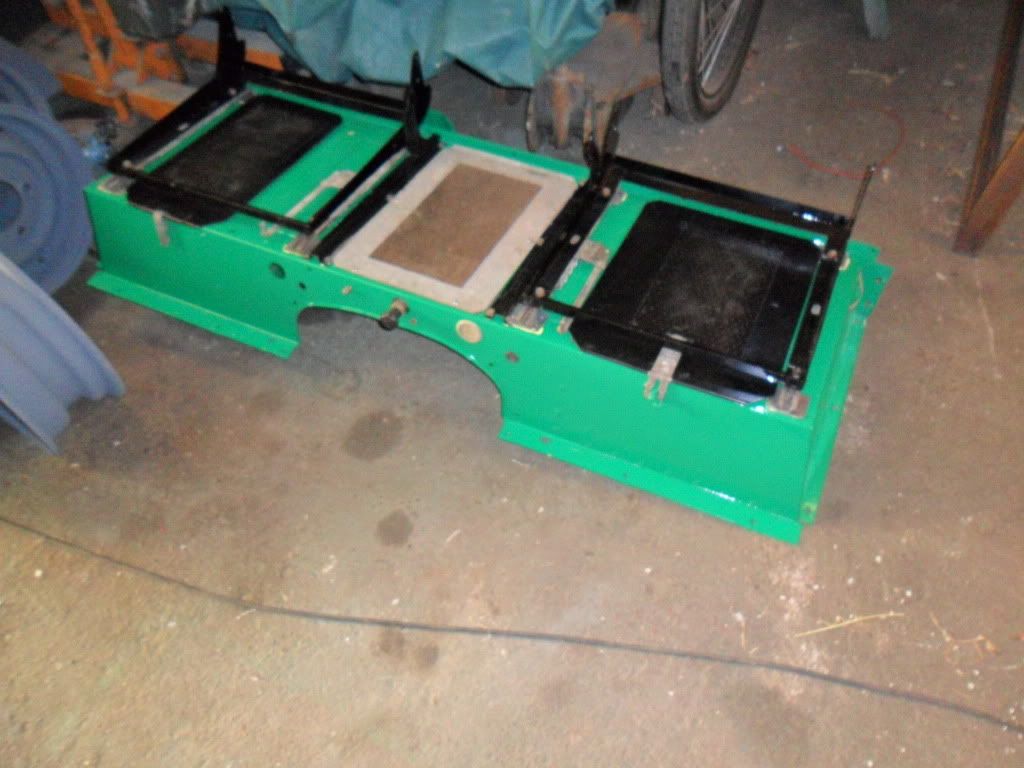
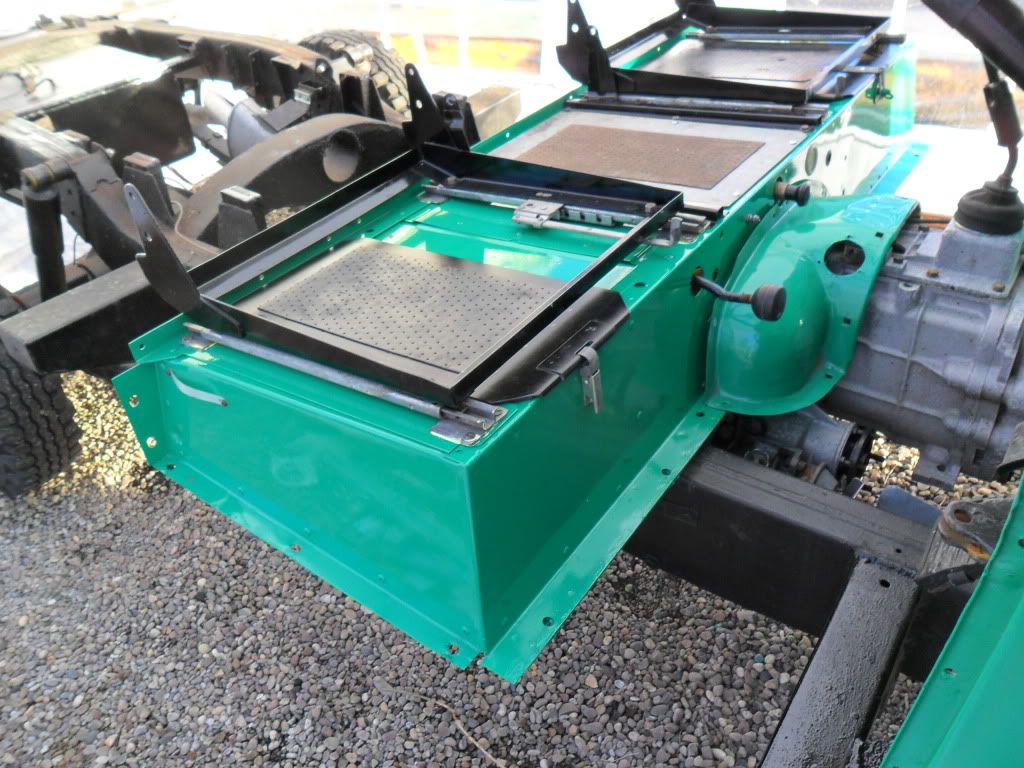
110 seatbox with new toolboxes (now 109 layout - the 110 passenger side toolbox hits the series chassis)
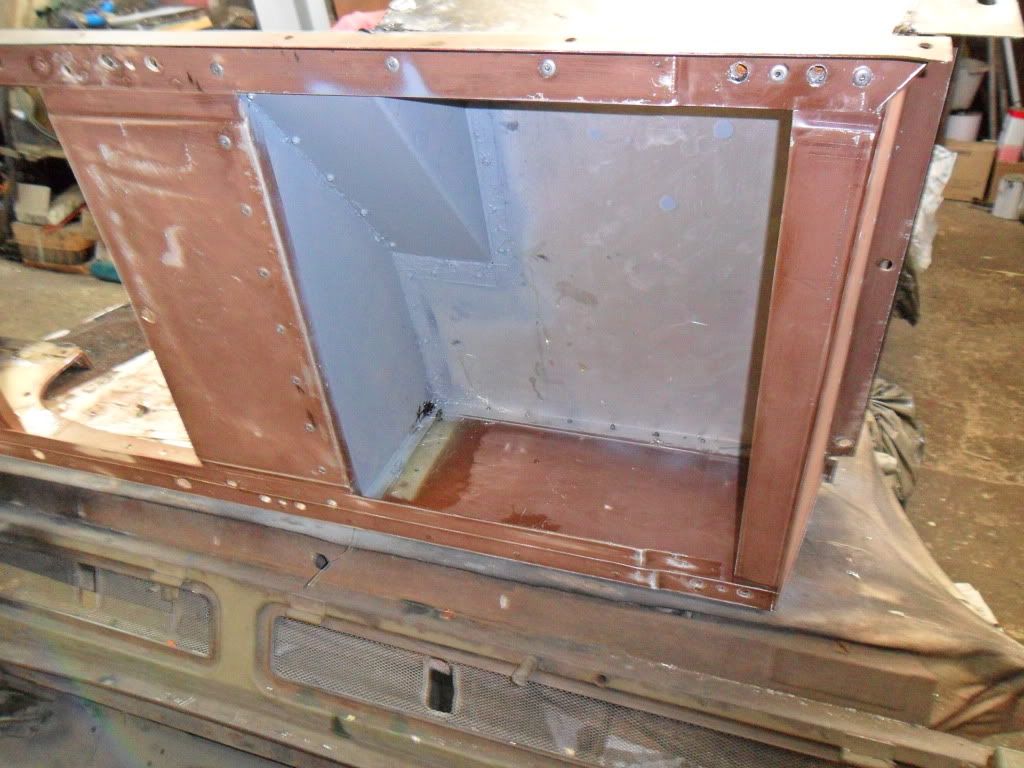
took a bit of working out how this one went together so ended up a bit messy .... should have tried it all before putting lots of adhesives on it :embarrassed
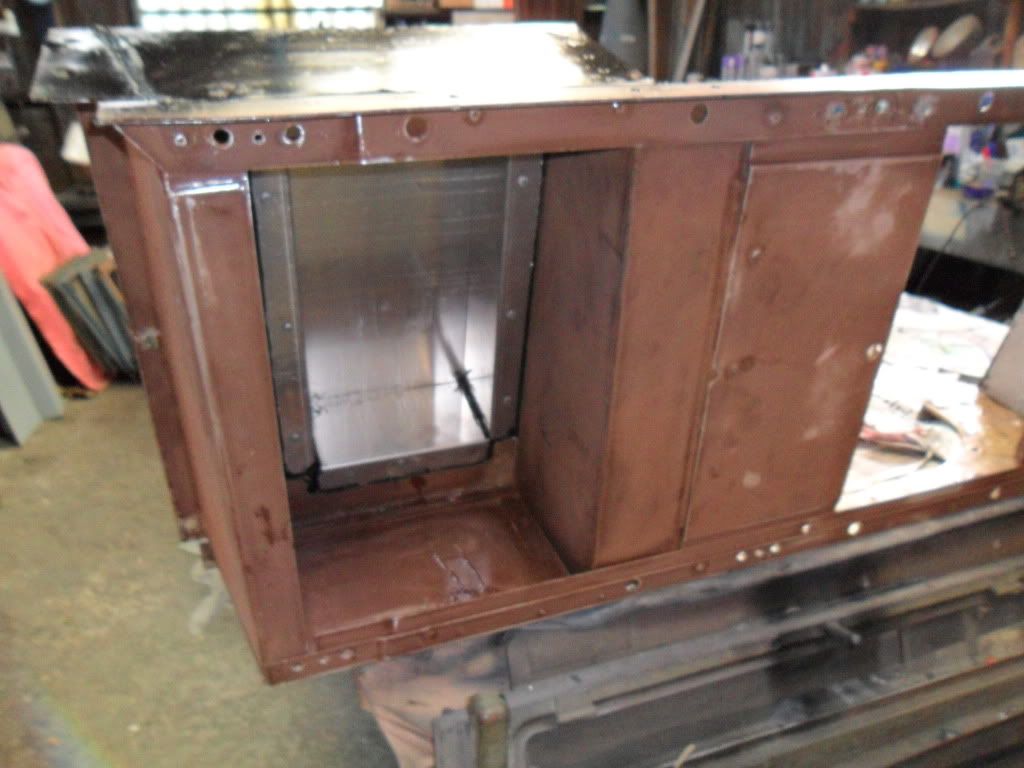
and the other side - this one the original 110 toolbox, with batery tray added for the stage 1
All the holes that the 110 seatbox had that the stage 1 didnt have been covered up and filled, and the new ones drilled to match the stage 1 original
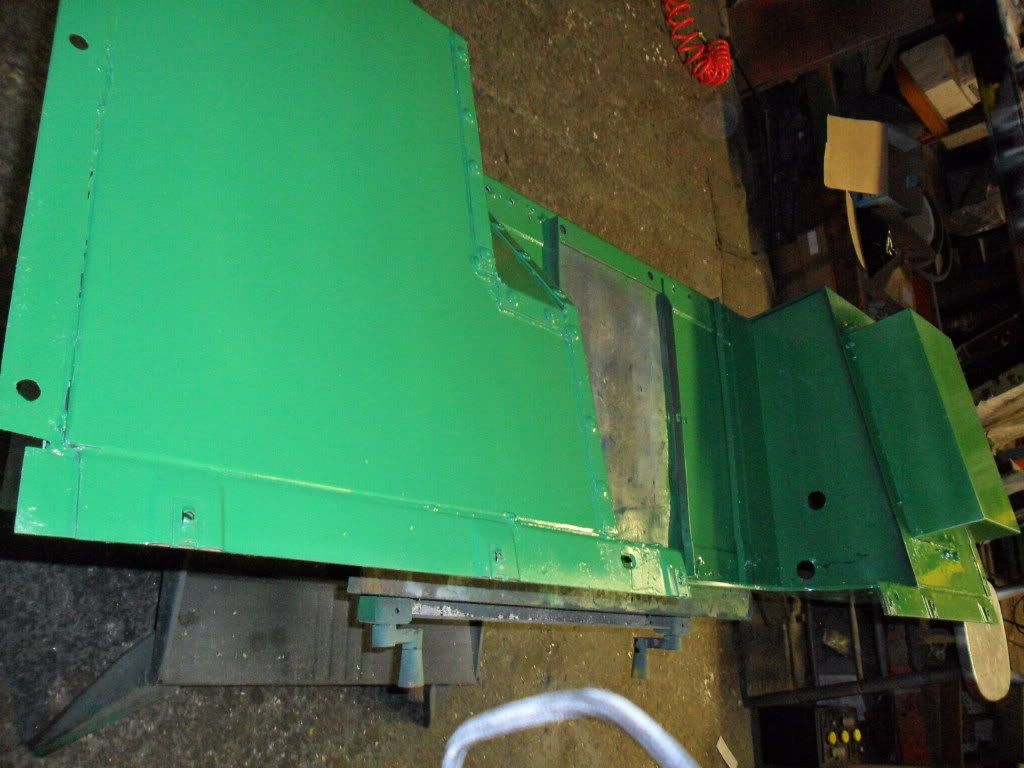
and with a coat of primer
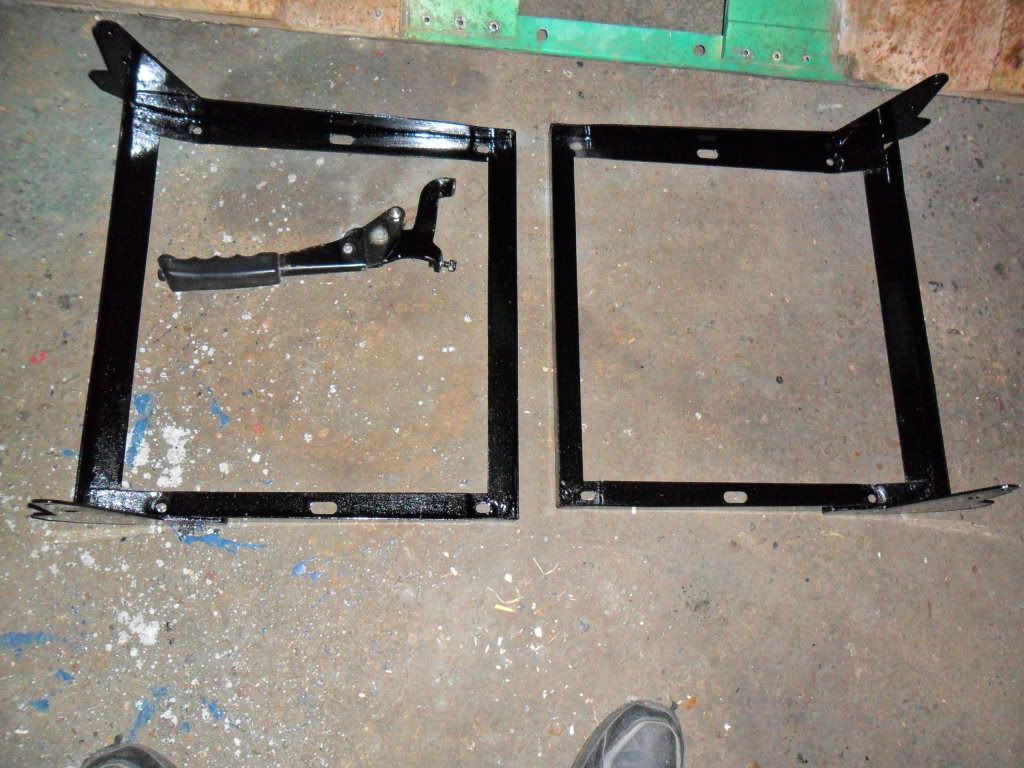
seat frame bits cleaned up and painted for refitting once the seatbox painting is done
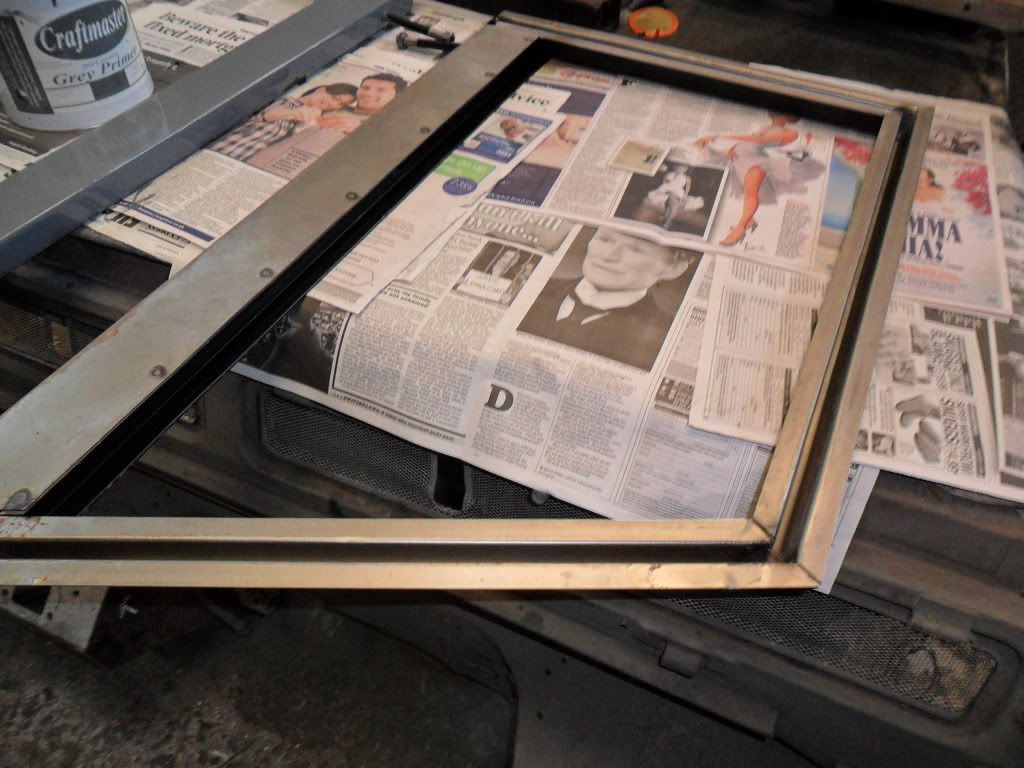
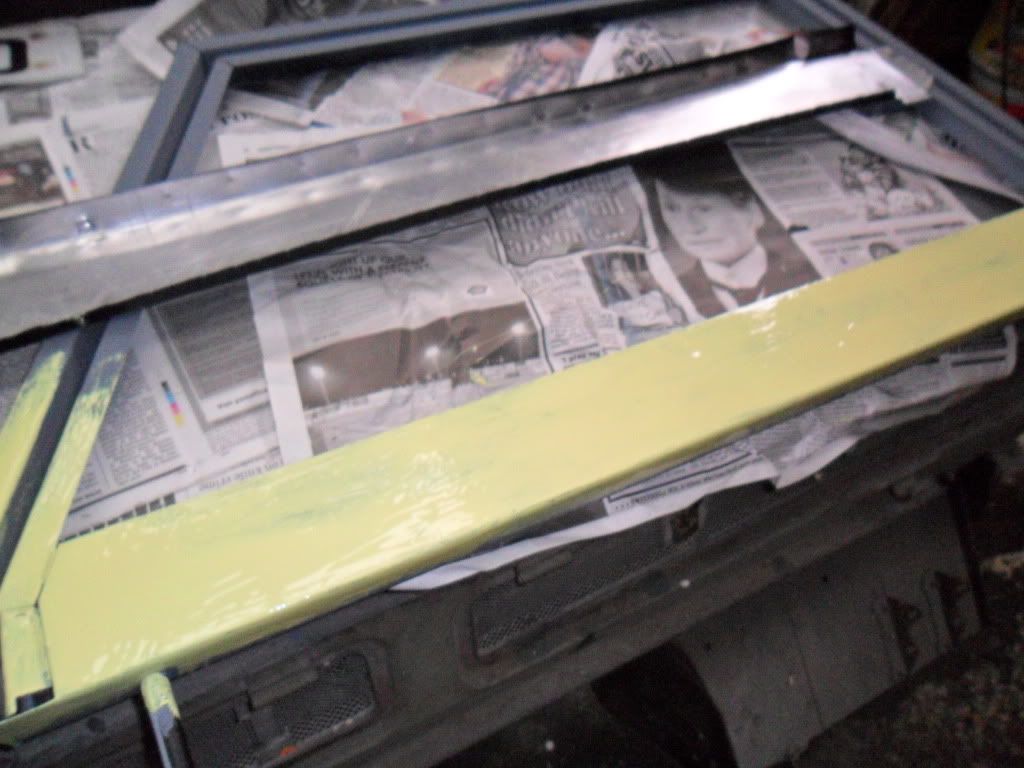
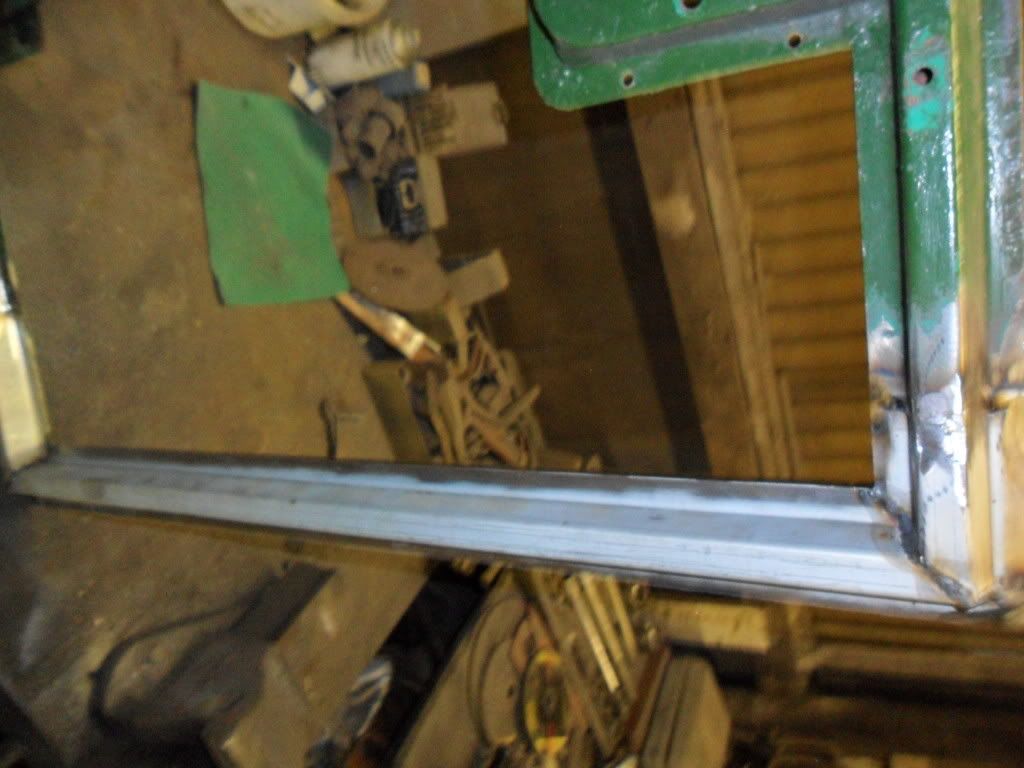
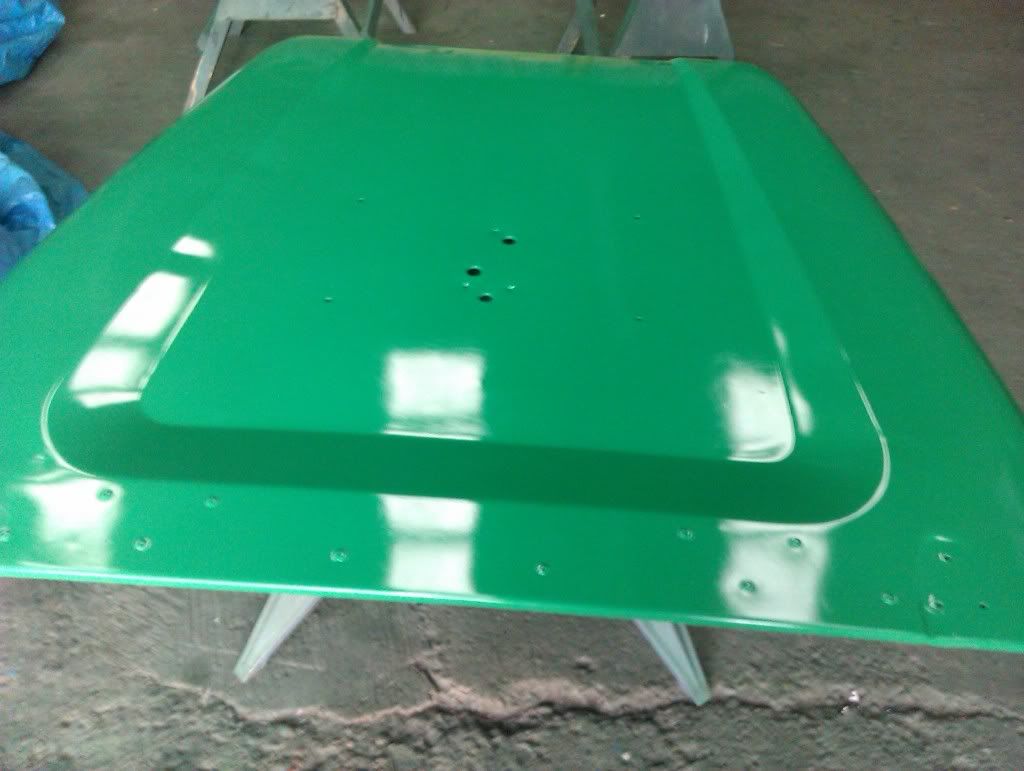
New doortops arrived,
skins removed,
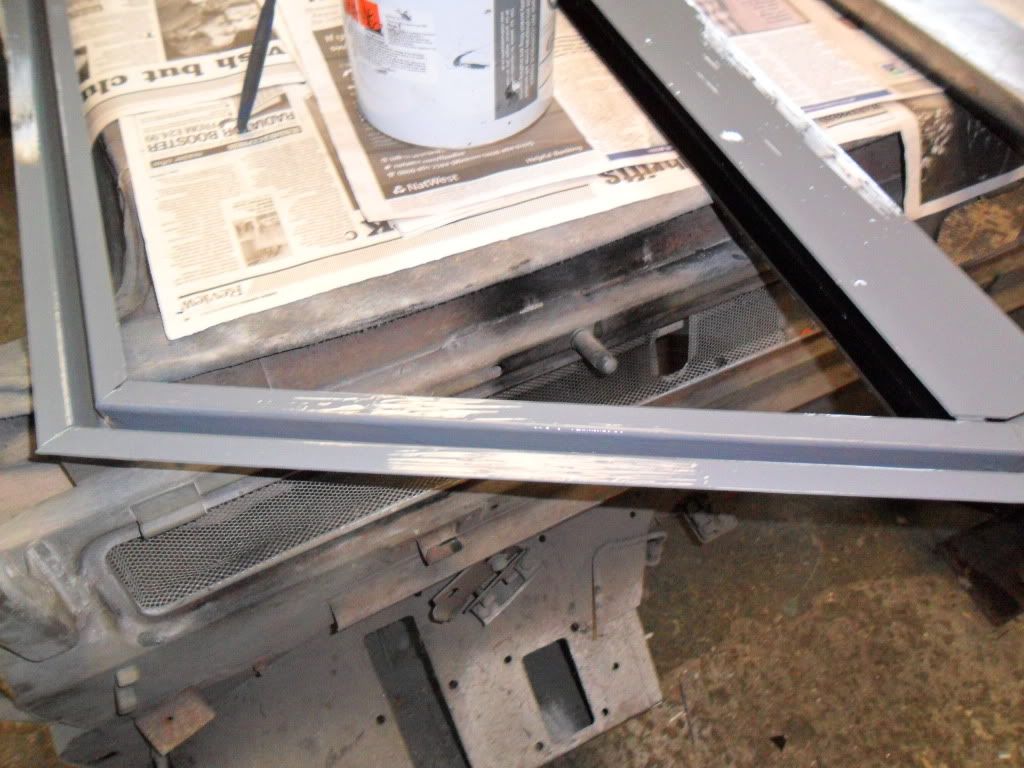
painted with a high zinc primer
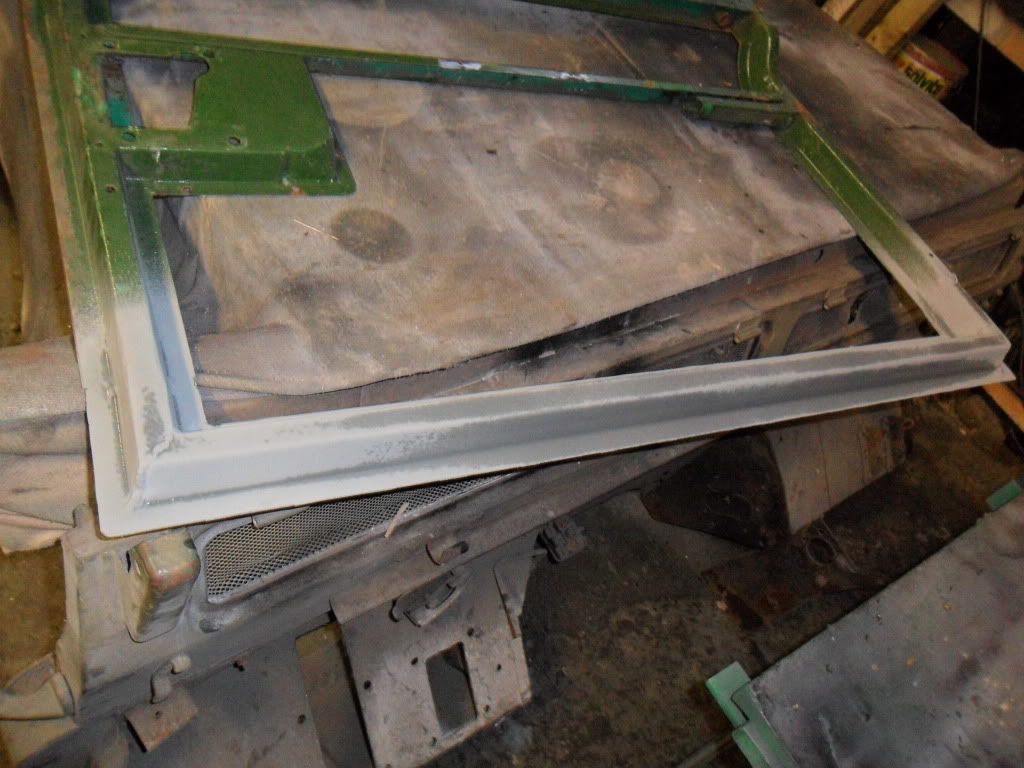
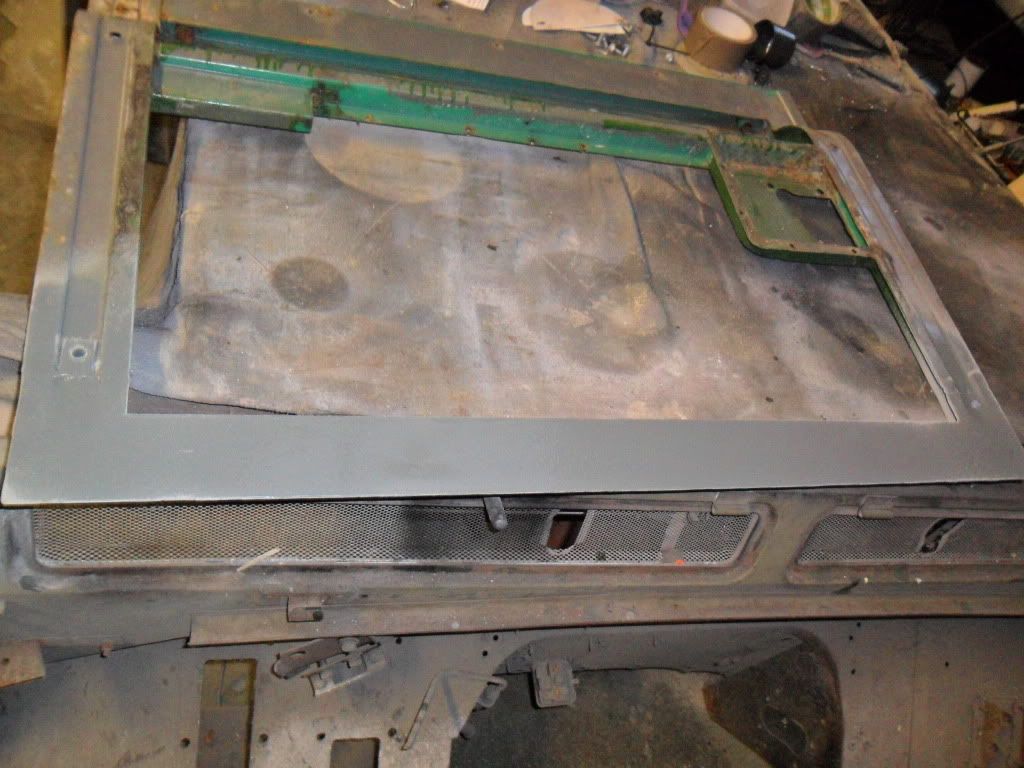
anti corrosion jointing compound applied
skins going back
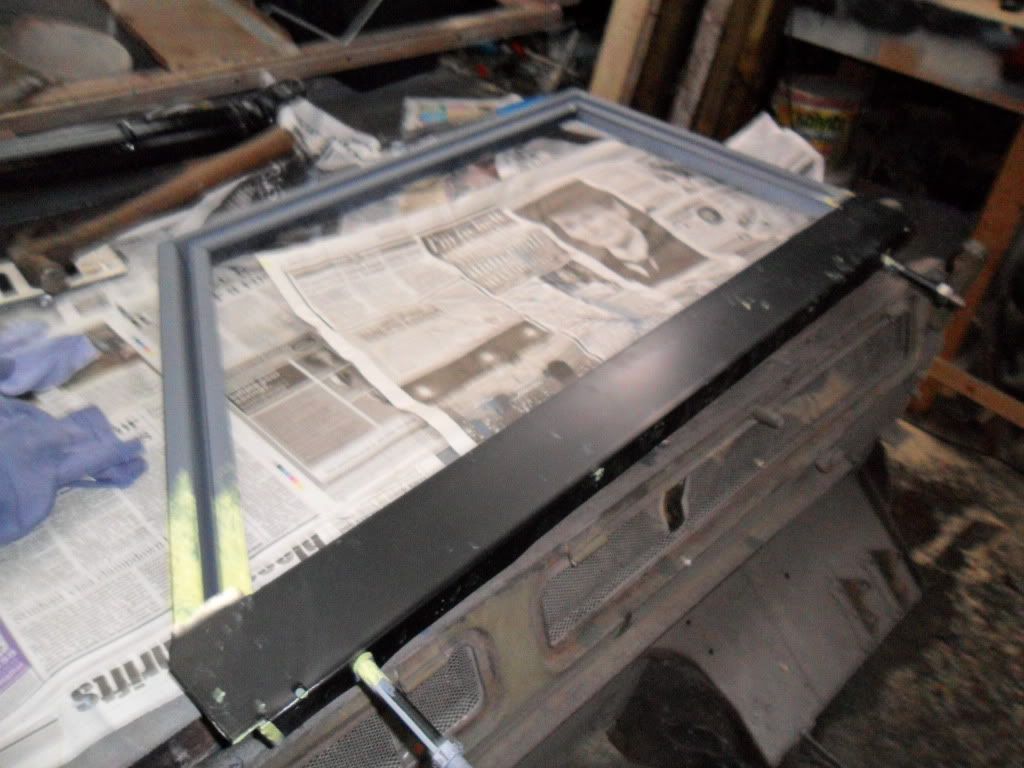
and finished
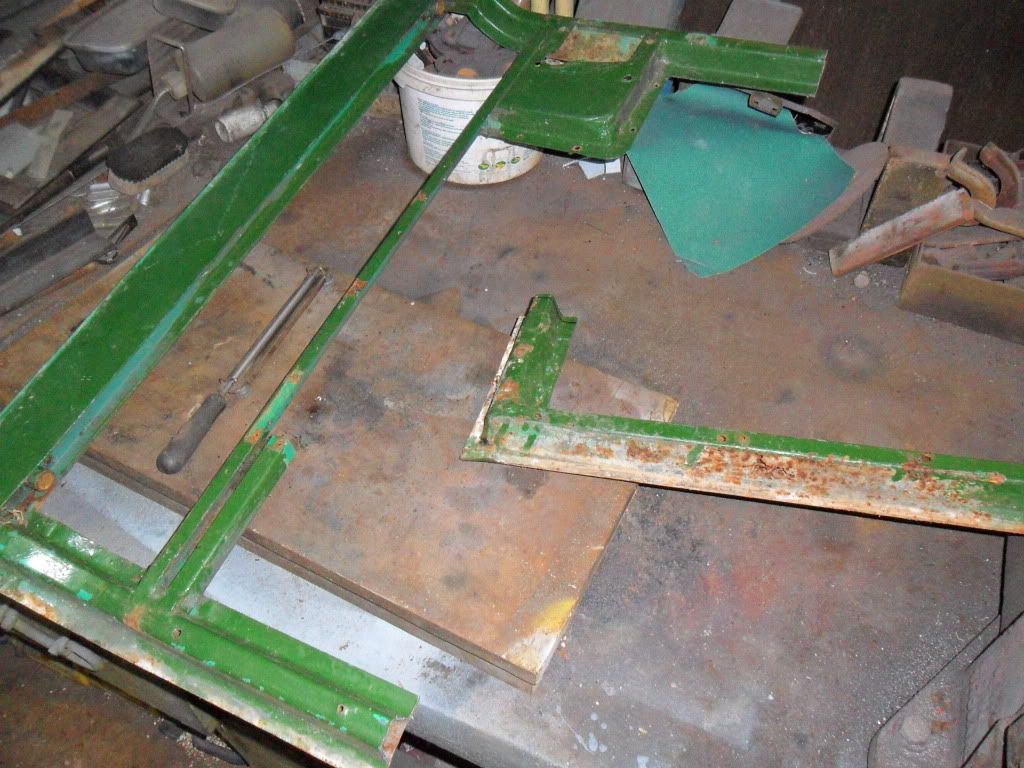
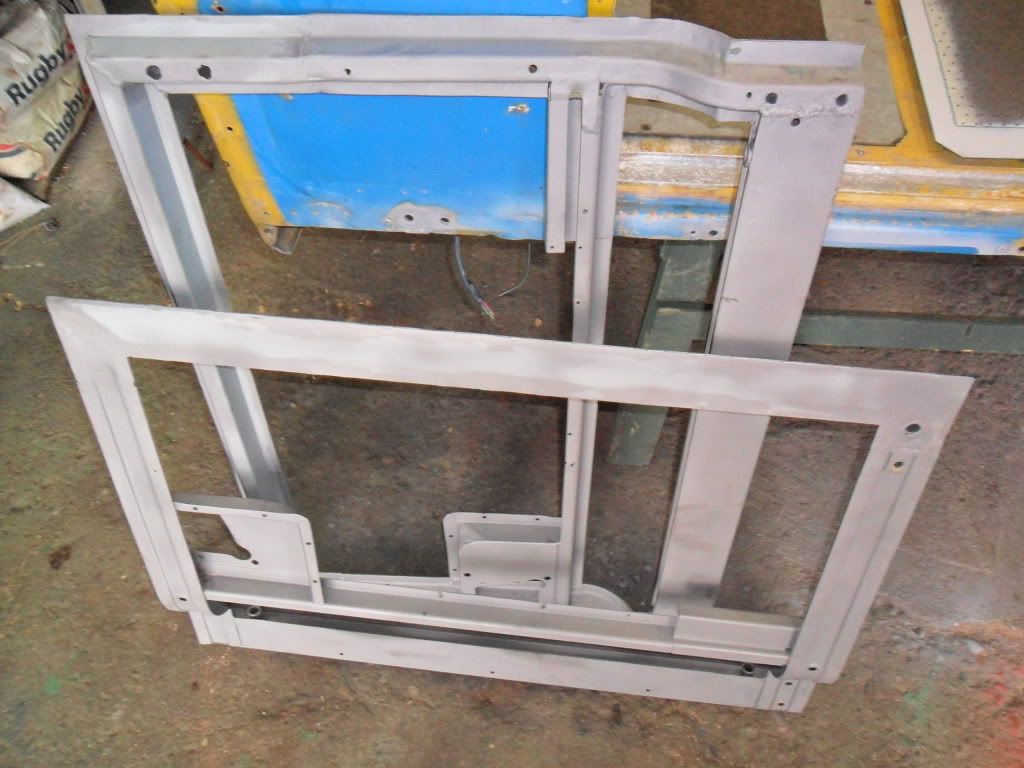
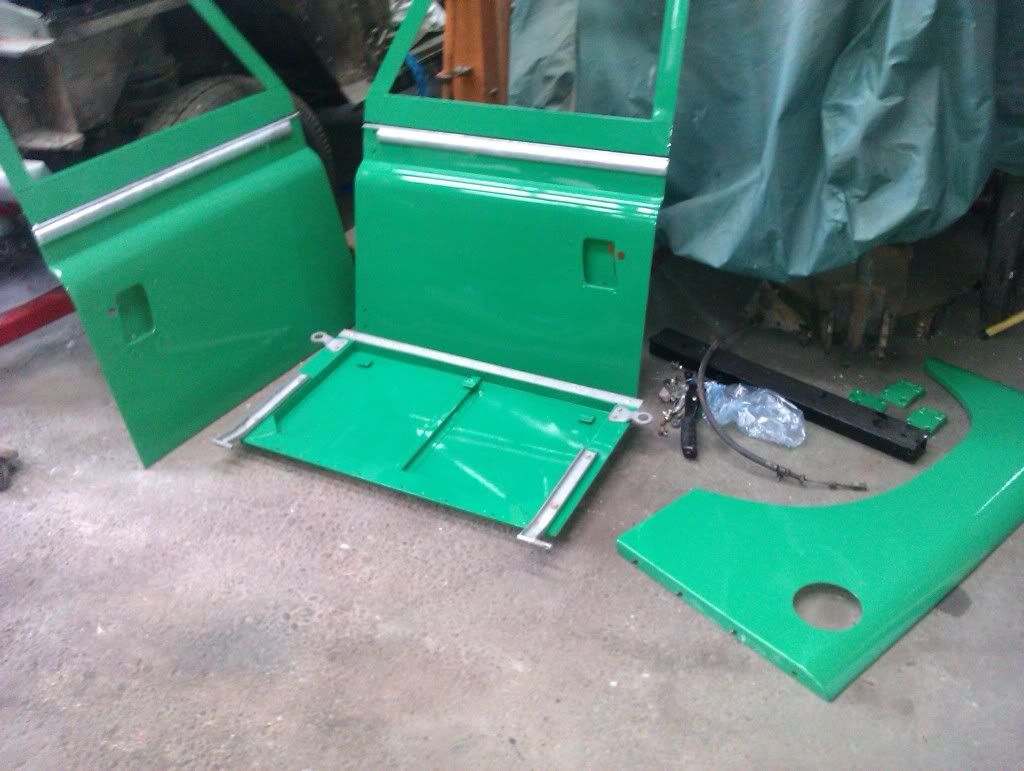
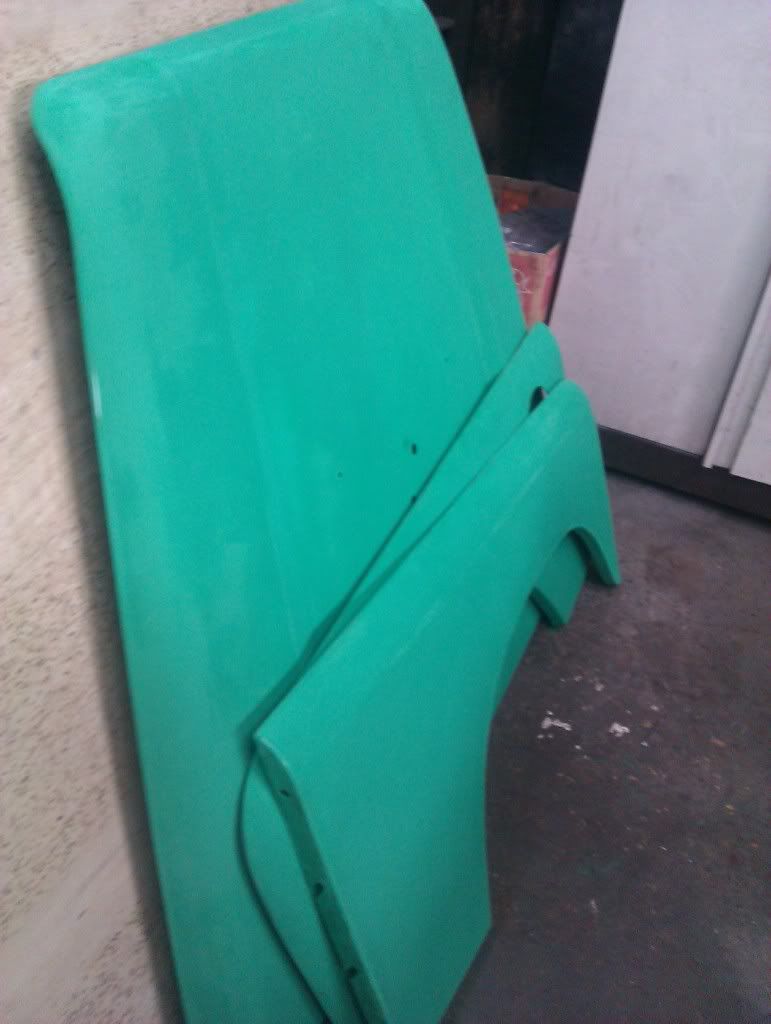
Next the doors - having failed to find new skins for the old doors (which needed repairing) , went and bought two new doors
door frames with the skins removed
original door
For various reasons decided to refit the old doors, so out with the grinder and welder to repair them (new skins will be fitted to the old doors ... an expensive way to get hold of some door skins)
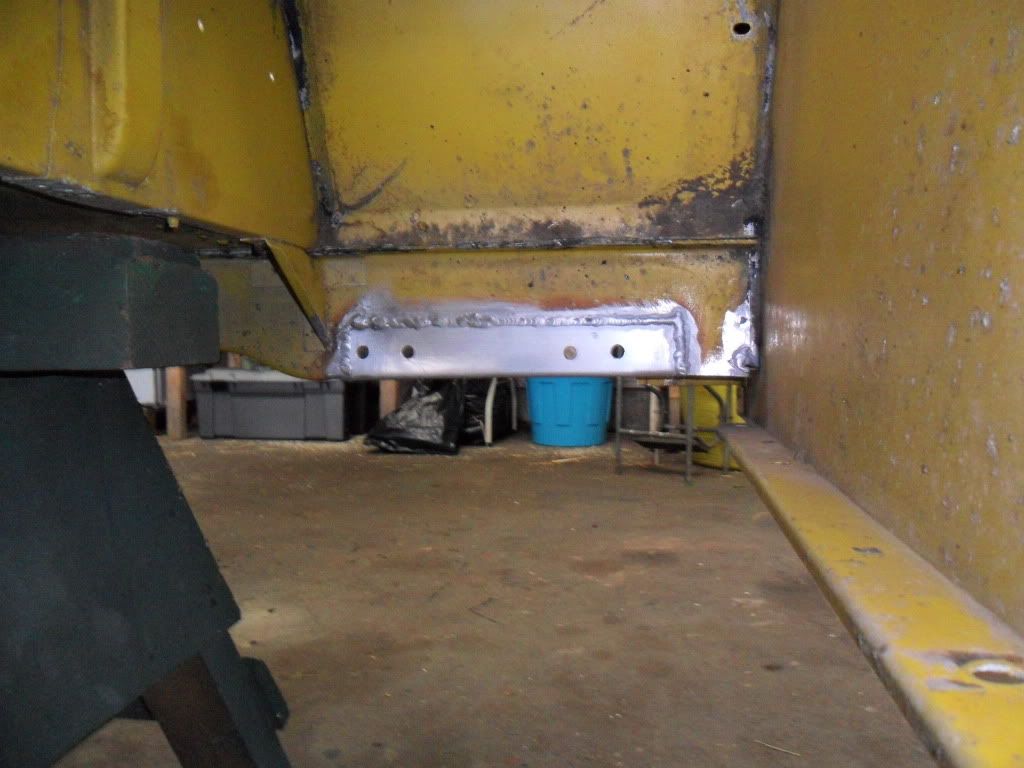
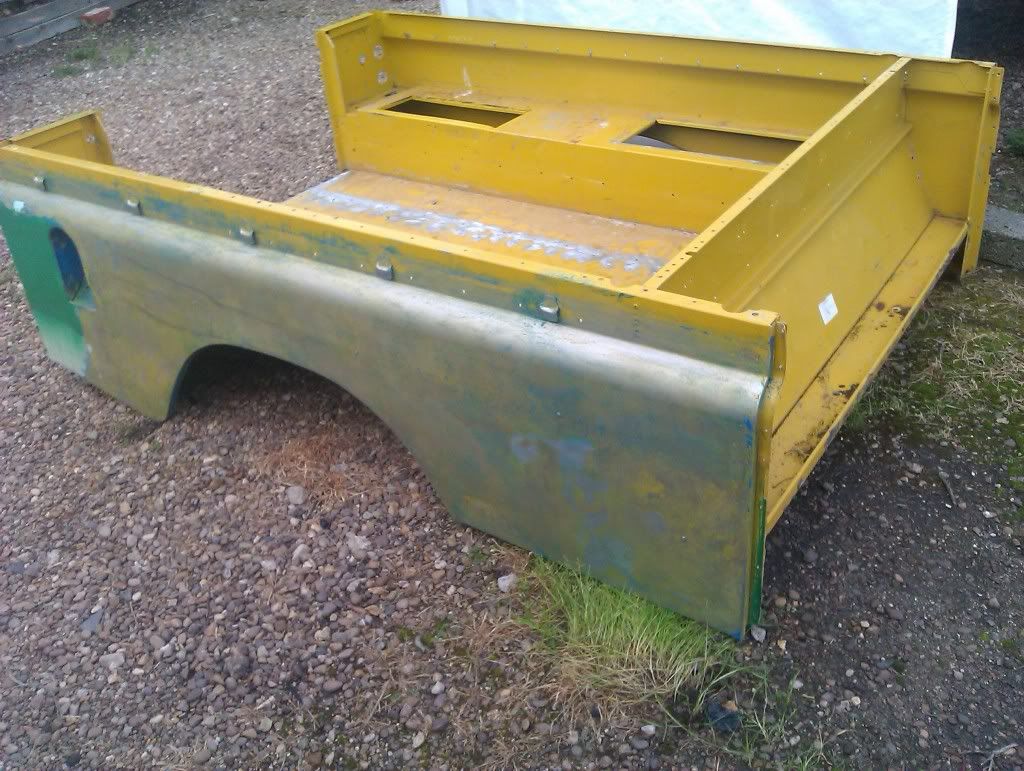
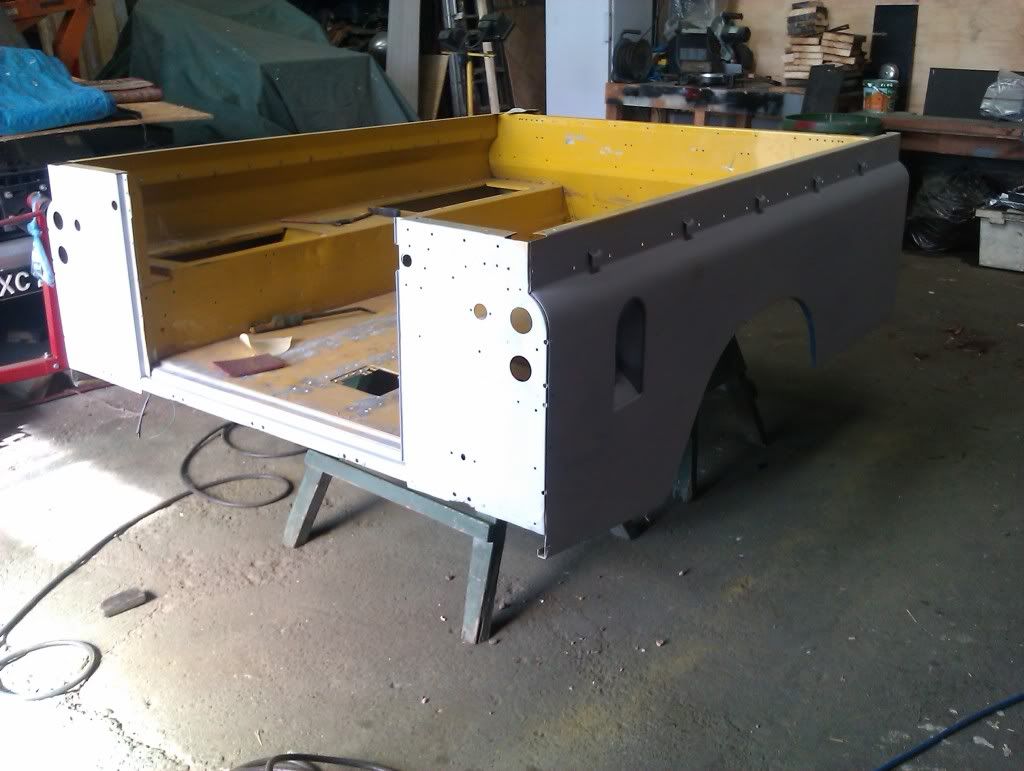
rear tub going to a welder to have the mounts repaired
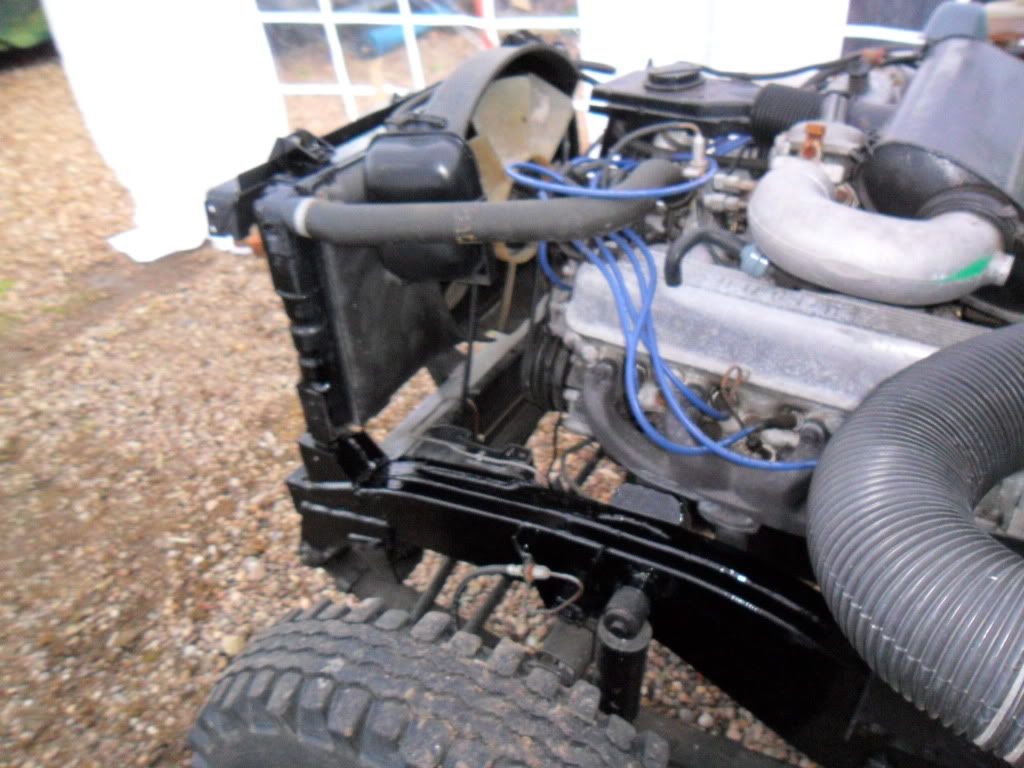
and just for the sake of it a puicture of a V8
110 seatbox with new toolboxes (now 109 layout - the 110 passenger side toolbox hits the series chassis)
took a bit of working out how this one went together so ended up a bit messy .... should have tried it all before putting lots of adhesives on it :embarrassed
and the other side - this one the original 110 toolbox, with batery tray added for the stage 1
All the holes that the 110 seatbox had that the stage 1 didnt have been covered up and filled, and the new ones drilled to match the stage 1 original
and with a coat of primer
seat frame bits cleaned up and painted for refitting once the seatbox painting is done
New doortops arrived,
skins removed,
painted with a high zinc primer
anti corrosion jointing compound applied
skins going back
and finished
Next the doors - having failed to find new skins for the old doors (which needed repairing) , went and bought two new doors
door frames with the skins removed
original door
For various reasons decided to refit the old doors, so out with the grinder and welder to repair them (new skins will be fitted to the old doors ... an expensive way to get hold of some door skins)
rear tub going to a welder to have the mounts repaired
and just for the sake of it a puicture of a V8
Done a bit more this week,
Seatbox finished
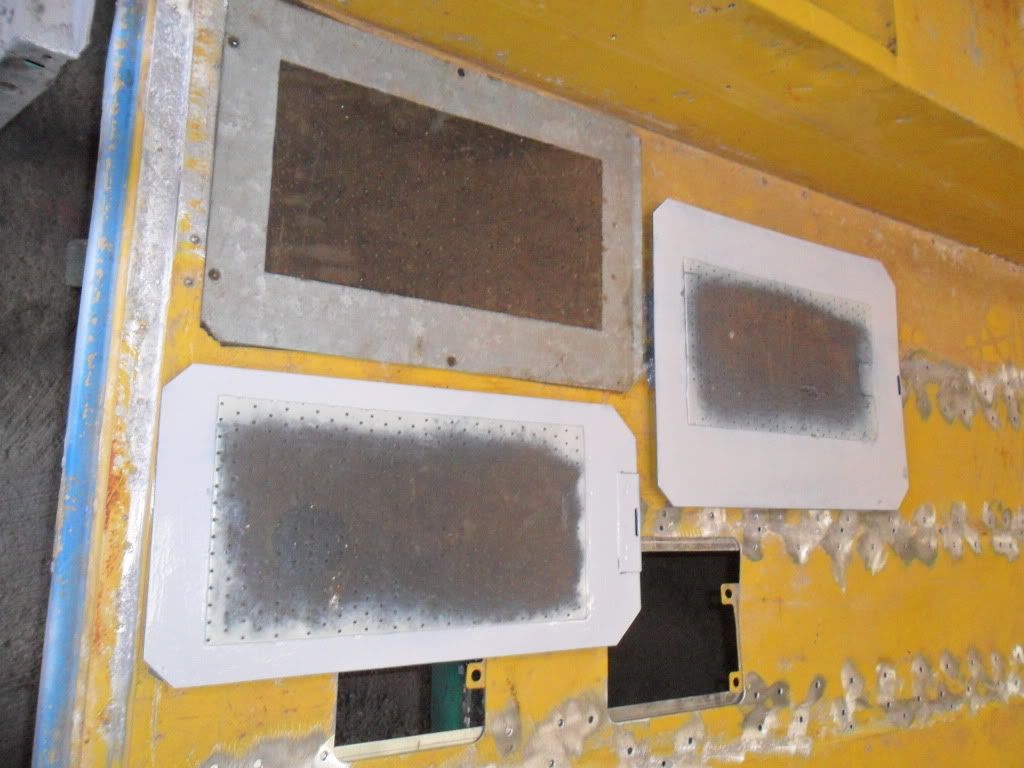
Sorted the issue with a lack of lids - they arent the same as 4 or 6 cyl to be awkward. Centre one from a 110V8 fits, passenger one from a 110V8 with its catch removed and a series one fitted has that covered (needs some trimming of the seatbox edge, but best I can do for now) and the drivers one straight from a 110V8 - all matches the parts book now (cant see how my drivers one was secured if there at all as no screw holes and no holes for a series or defender style catch as the parts book shows)
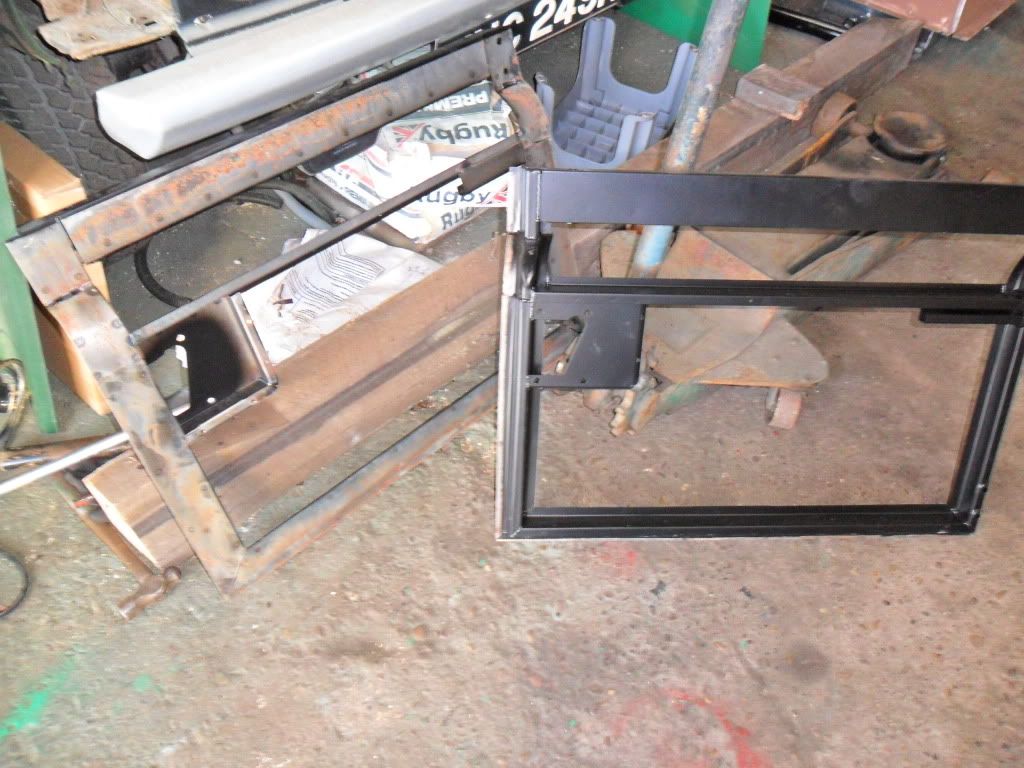
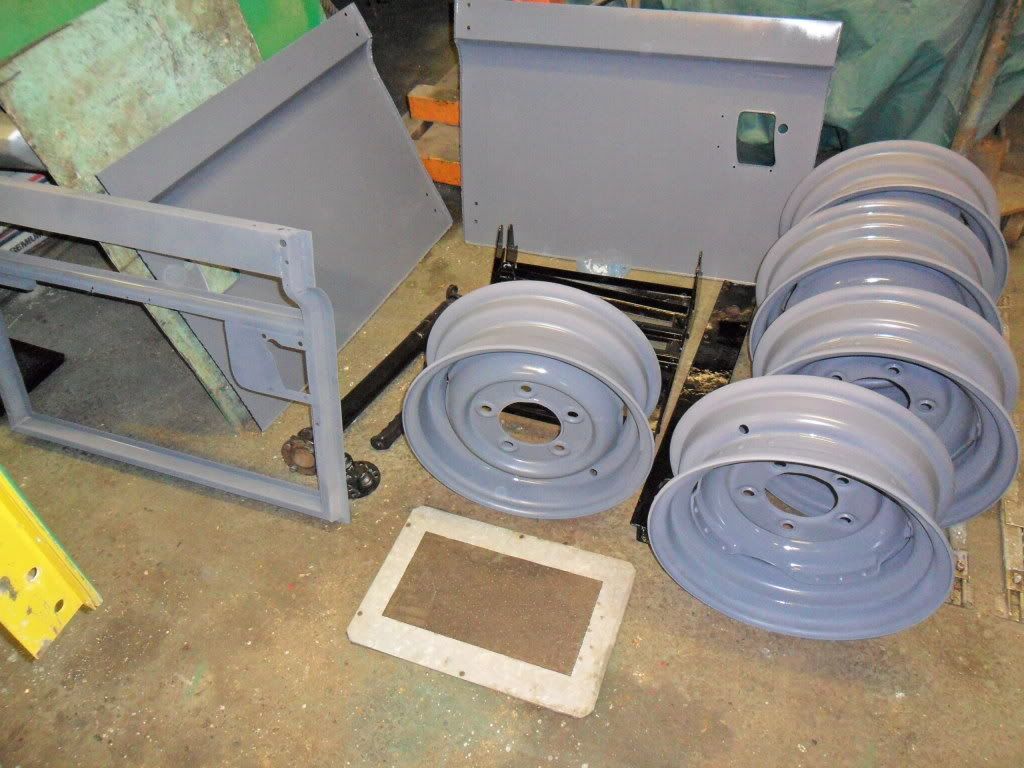
Tub repaired
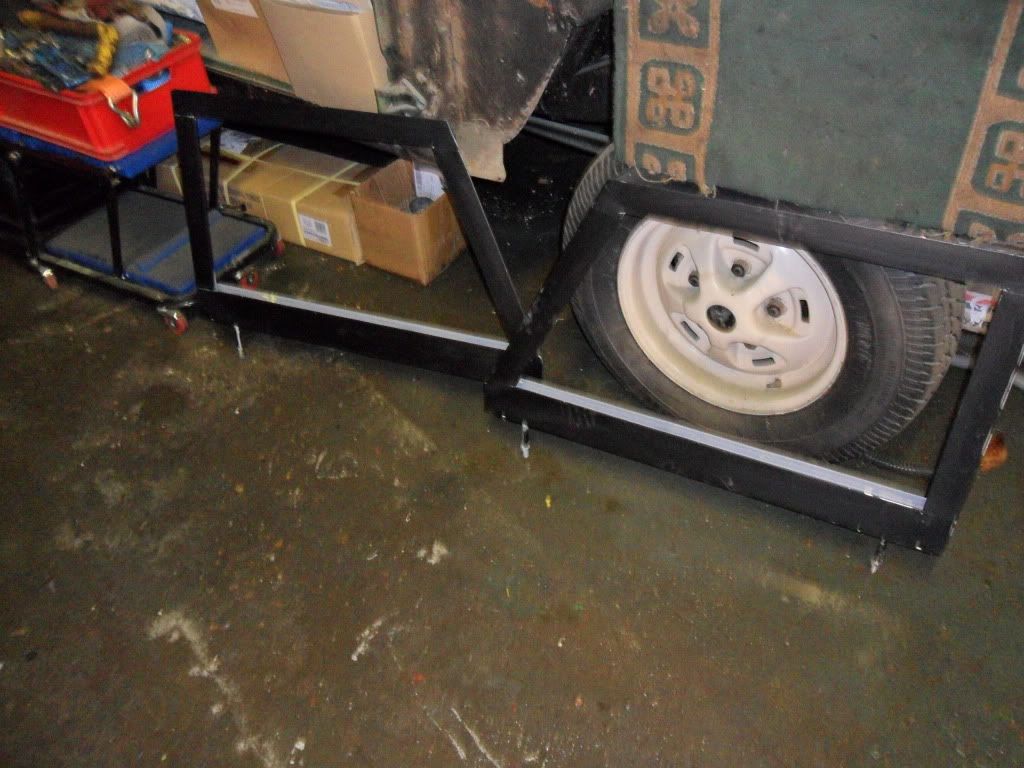
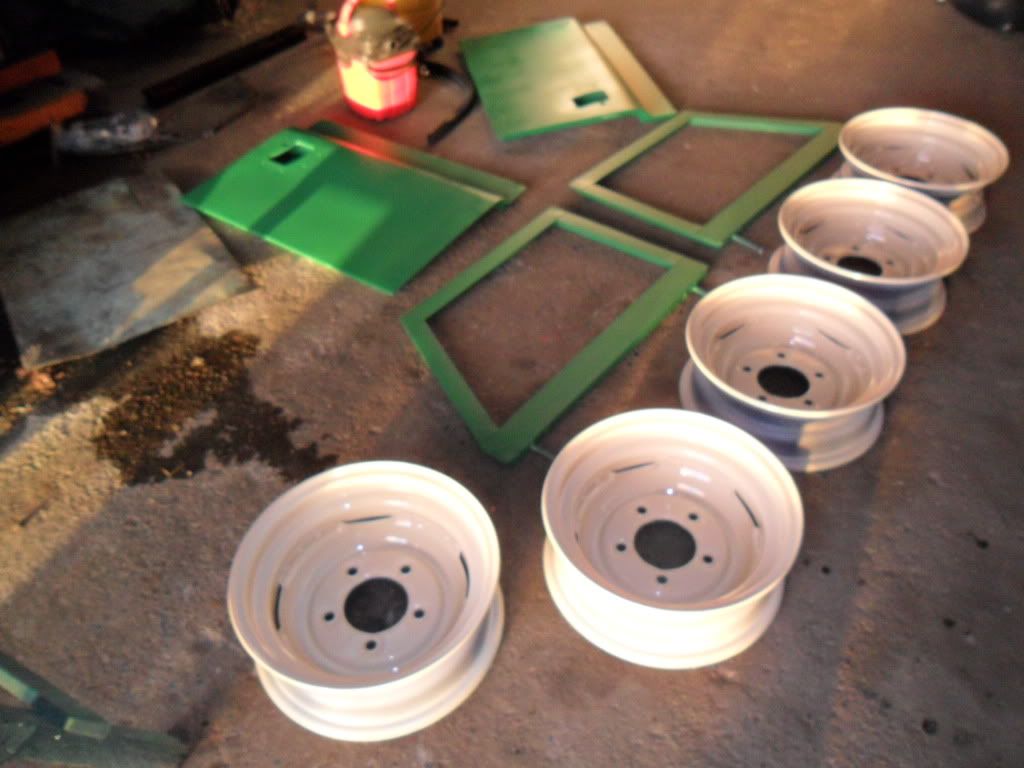
blasted door frames
and wheels
Seat runners now sorted as well, just need to replace the zinc plating on them and the seatbox and seat frames can be reassembled
Next - sort the tub out, reassemble the doors and paint the door tops so they can be glazed
Seatbox finished
Sorted the issue with a lack of lids - they arent the same as 4 or 6 cyl to be awkward. Centre one from a 110V8 fits, passenger one from a 110V8 with its catch removed and a series one fitted has that covered (needs some trimming of the seatbox edge, but best I can do for now) and the drivers one straight from a 110V8 - all matches the parts book now (cant see how my drivers one was secured if there at all as no screw holes and no holes for a series or defender style catch as the parts book shows)
Tub repaired
blasted door frames
and wheels
Seat runners now sorted as well, just need to replace the zinc plating on them and the seatbox and seat frames can be reassembled
Next - sort the tub out, reassemble the doors and paint the door tops so they can be glazed
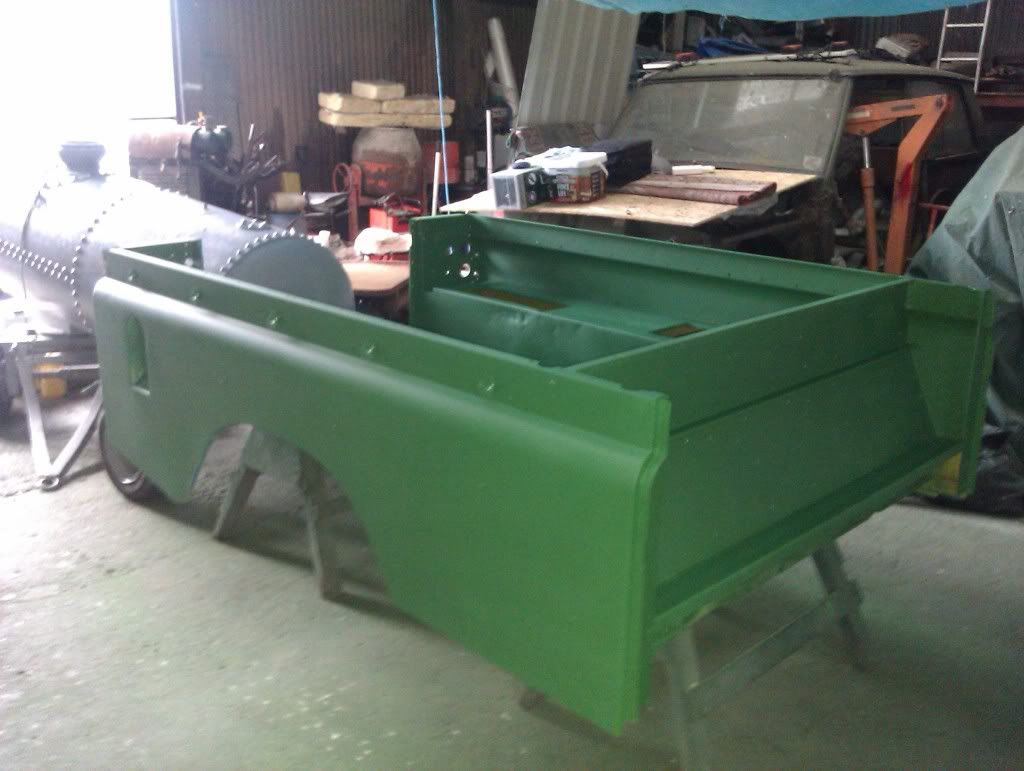
Not all that much has happened for a few reasons (mostly work, some deciding changing my Rover V6 cambelts myself was a good idea)
Seatbox modifications finished - now converted from 110 to stage 1
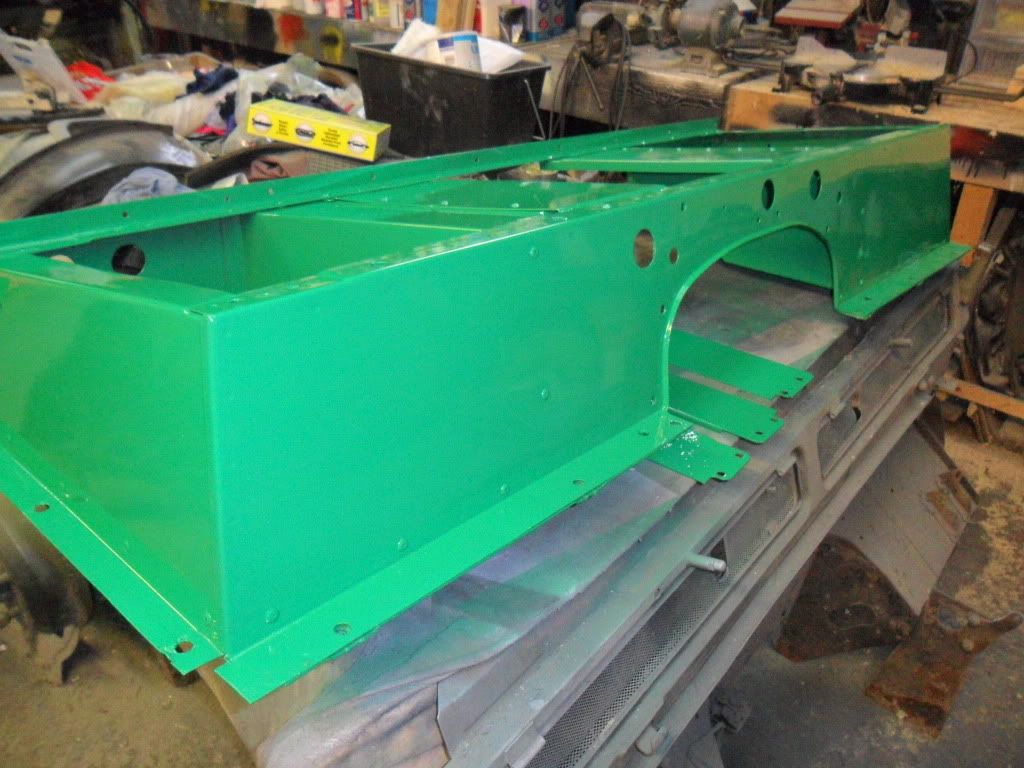
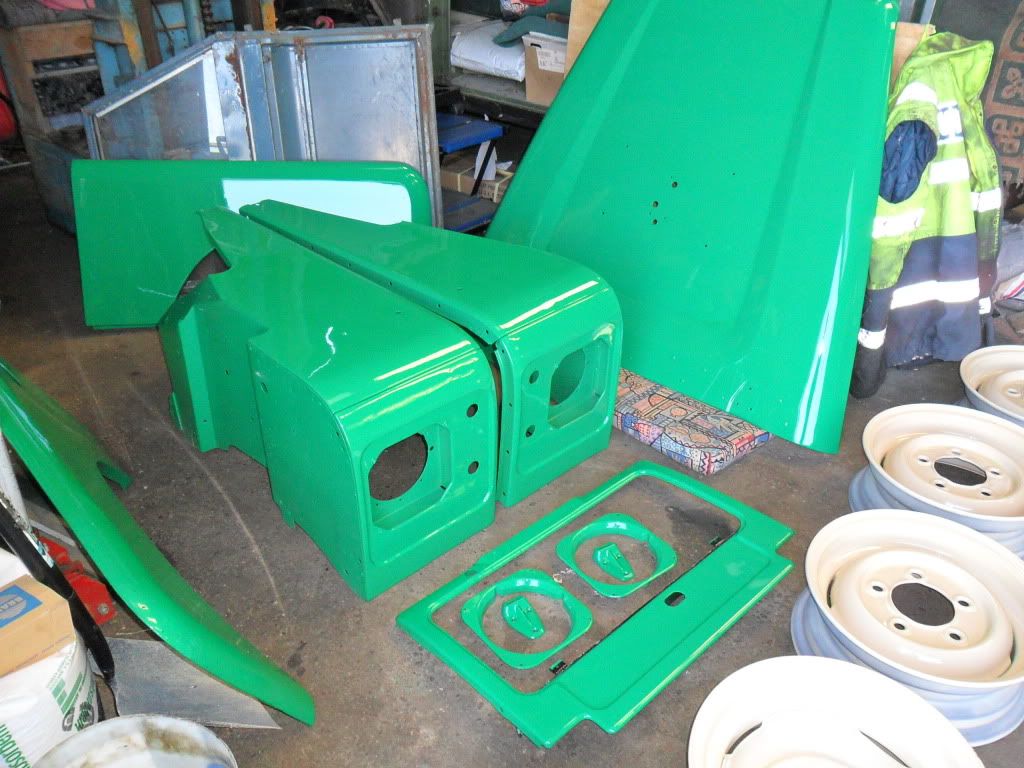
More painted bits
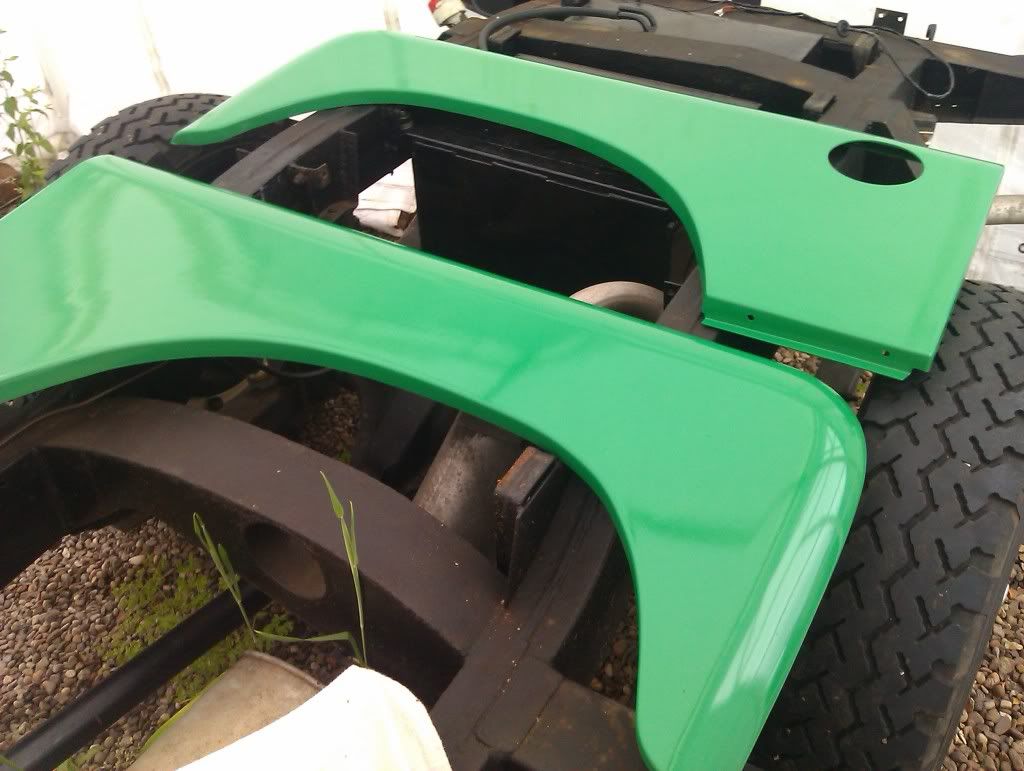
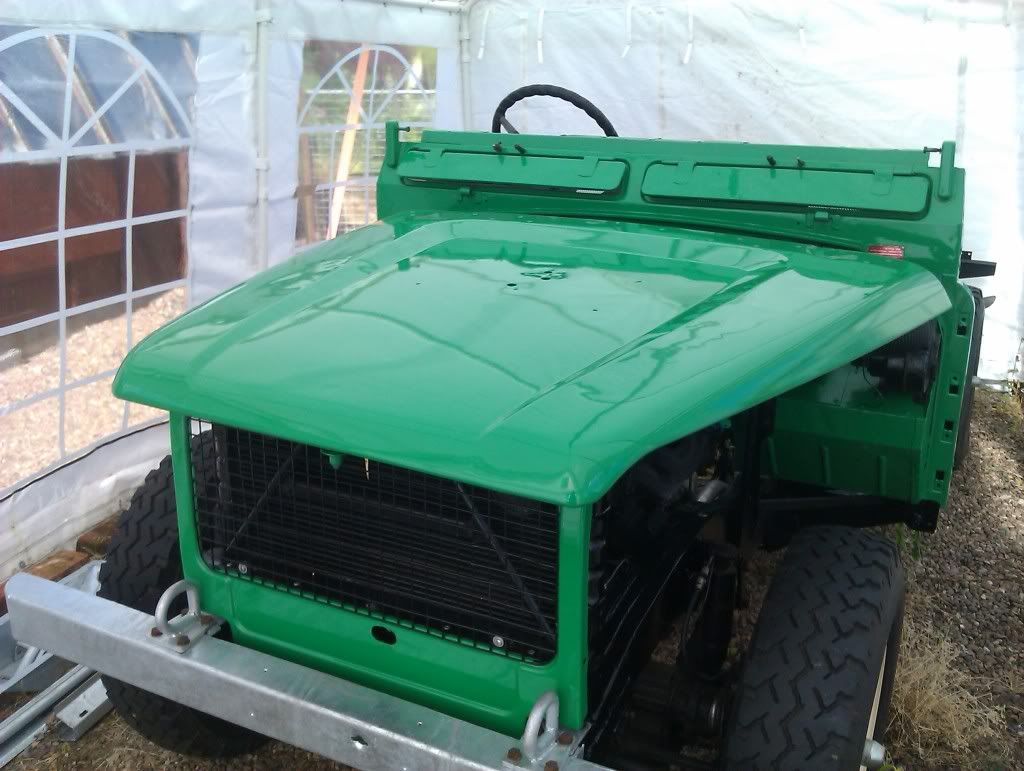
Front panel refitted
And new tyres

Bonnet paint didn't go well - attempt 3 or maybe 4 ... maybe 5 :angry
Finally got the paint off the tub, took a wire brush and nitromores and many hours to shift it
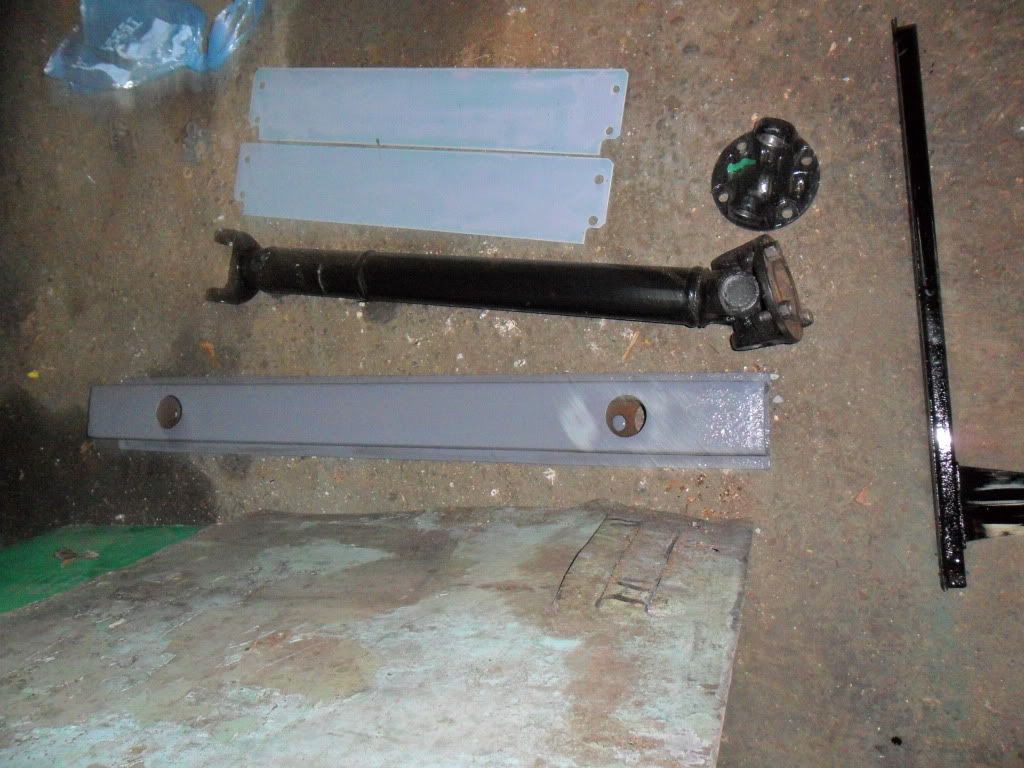
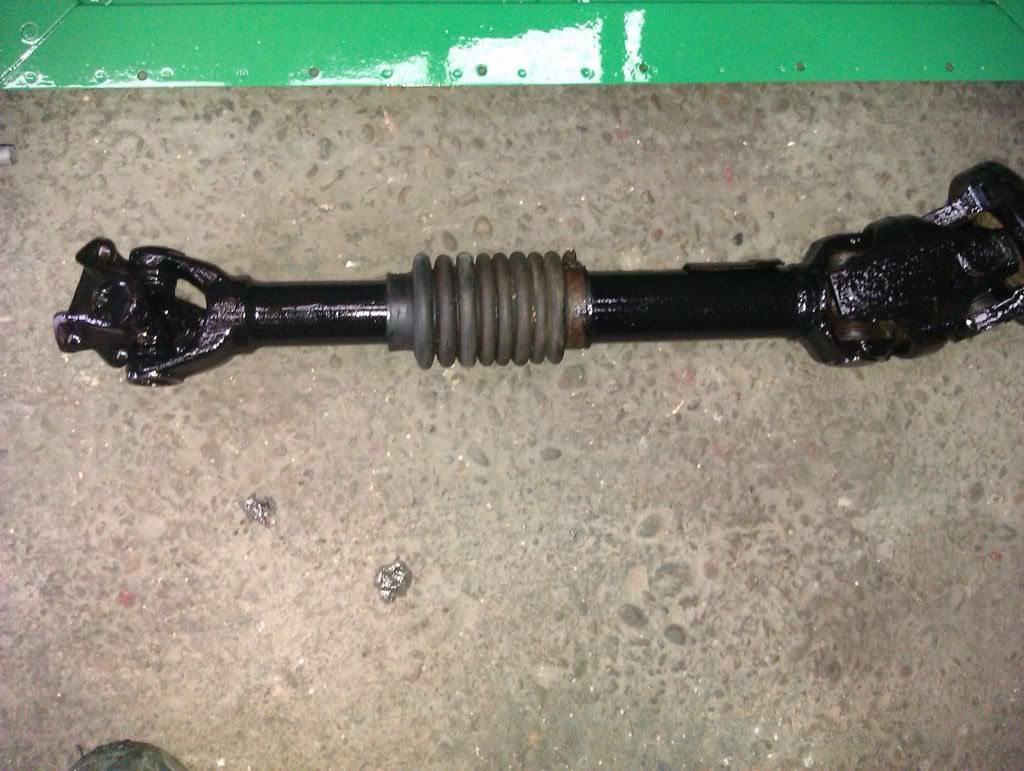
and found a front prop flange - shipped all the way from New Zealand (Thanks Kiwistage1v8)- proper stage 1 prop can go back now
Seatbox modifications finished - now converted from 110 to stage 1
More painted bits
Front panel refitted
And new tyres
Bonnet paint didn't go well - attempt 3 or maybe 4 ... maybe 5 :angry
Finally got the paint off the tub, took a wire brush and nitromores and many hours to shift it
and found a front prop flange - shipped all the way from New Zealand (Thanks Kiwistage1v8)- proper stage 1 prop can go back now
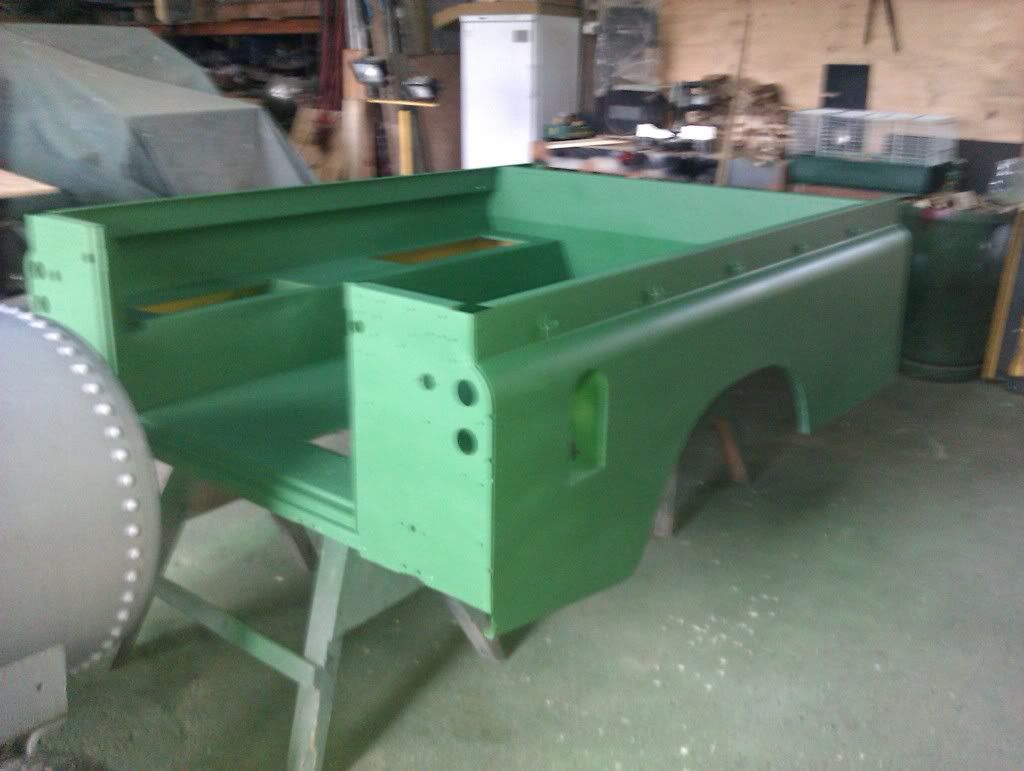
Some more bits painted.

The tub straightened and etch primed
Proper primer followed and I made a mess of that so no pics :embarrassed ... back out with the sand paper tomorrow for attempt 2
Soon be ready to go back together ... just need to find some parts suppliers who are actually in any way interested in selling the parts they stock :shakinghead
Re: Hello/S1 Rebuild
More done this weekend,
Lots of sanding, some painting, more sanding, more painting.
Underneath to prime and top coat next then the top side to do ... that should be it for messy paint and such things (until I get to the truck cab, but its going full soft top for now)
Might make Dorset steam fair yet
Lots of sanding, some painting, more sanding, more painting.
Underneath to prime and top coat next then the top side to do ... that should be it for messy paint and such things (until I get to the truck cab, but its going full soft top for now)
Might make Dorset steam fair yet

Re: Hello/S1 Rebuild
So where's the steam engine going then? Seriously, lurve the tank - so much more cool than lpg - sort of steam punk meets petrol head. But what I'm really waiting to see is the first Land-Rover in space.
2 1981 Stage One 109 V8 SWs

Re: Hello/S1 Rebuild
Might replace the V8
Probably cheaper to run
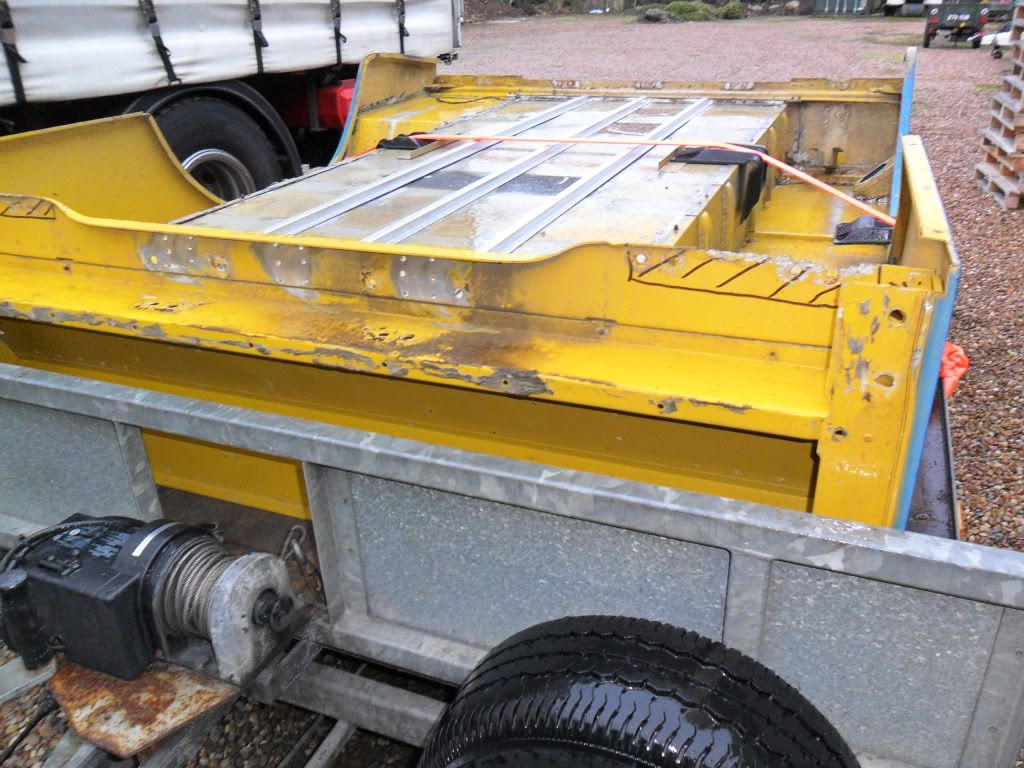
I haven't a clue what that tank is ... at some point its been made in to a trailer but its purpose I know not (nowt to do with the LR's just happened to be in the shed for painting at the same time)
Probably cheaper to run
I haven't a clue what that tank is ... at some point its been made in to a trailer but its purpose I know not (nowt to do with the LR's just happened to be in the shed for painting at the same time)
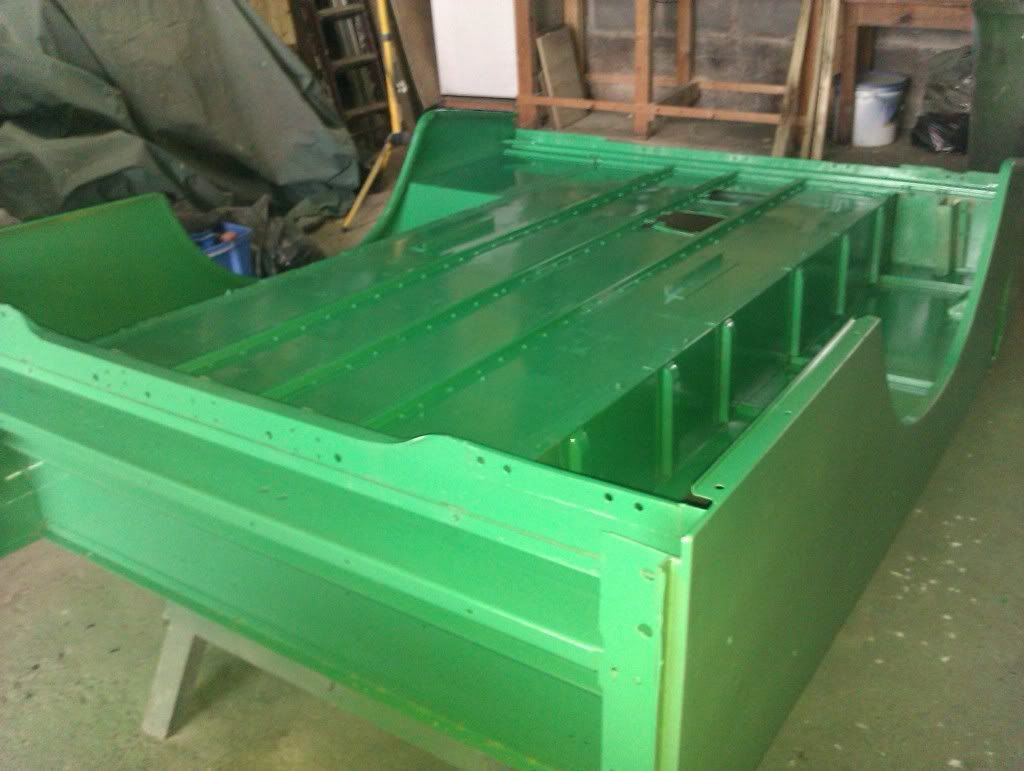
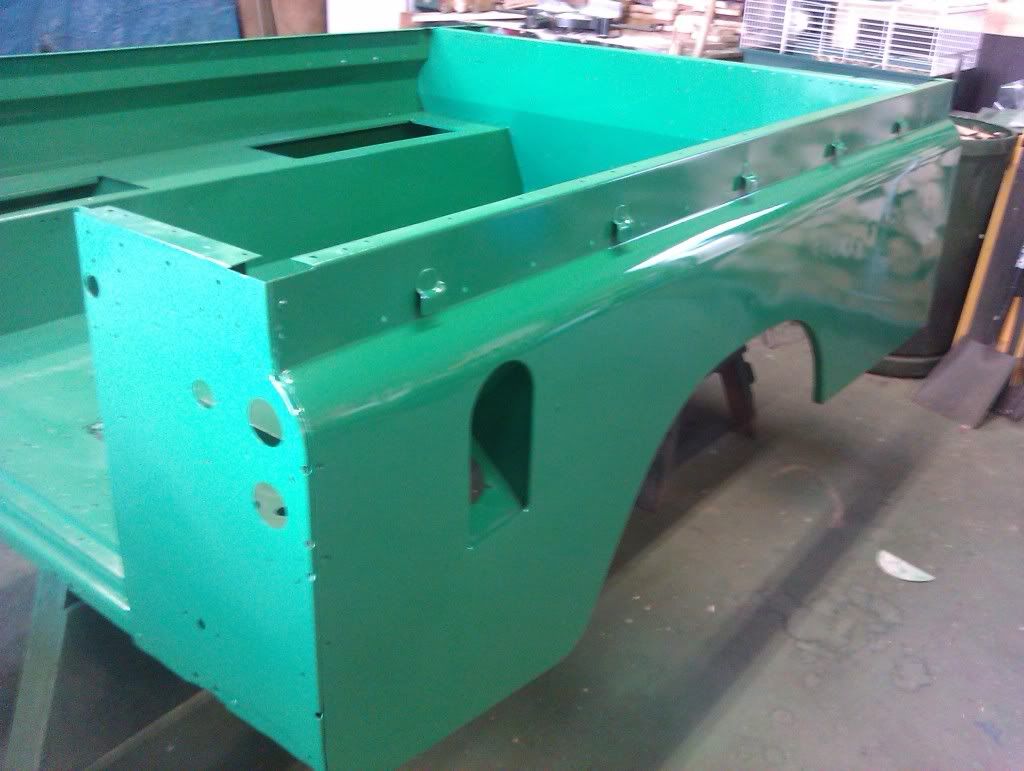
Re: Hello/S1 Rebuild
Bit more progress,
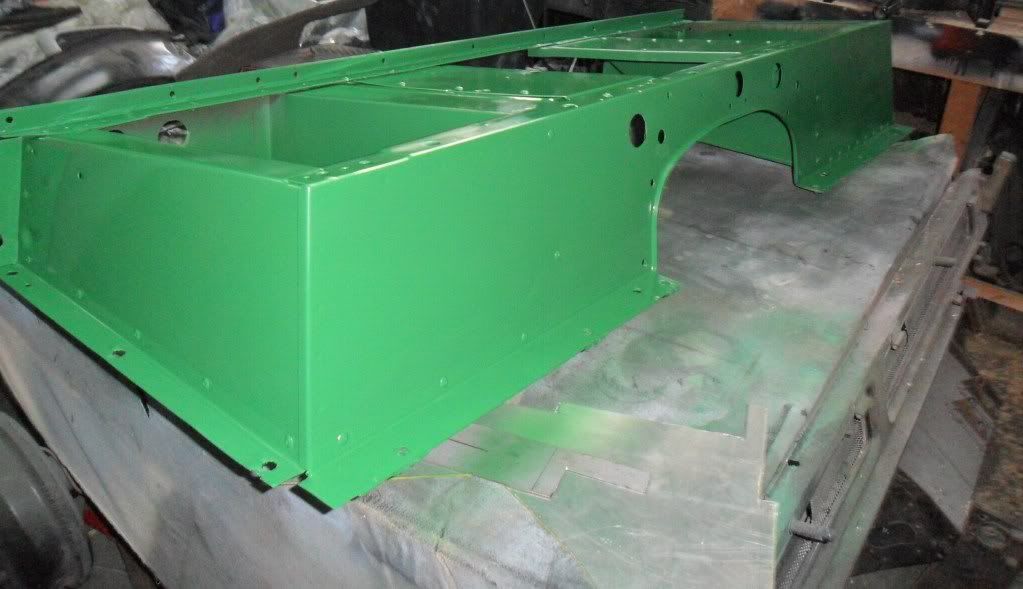
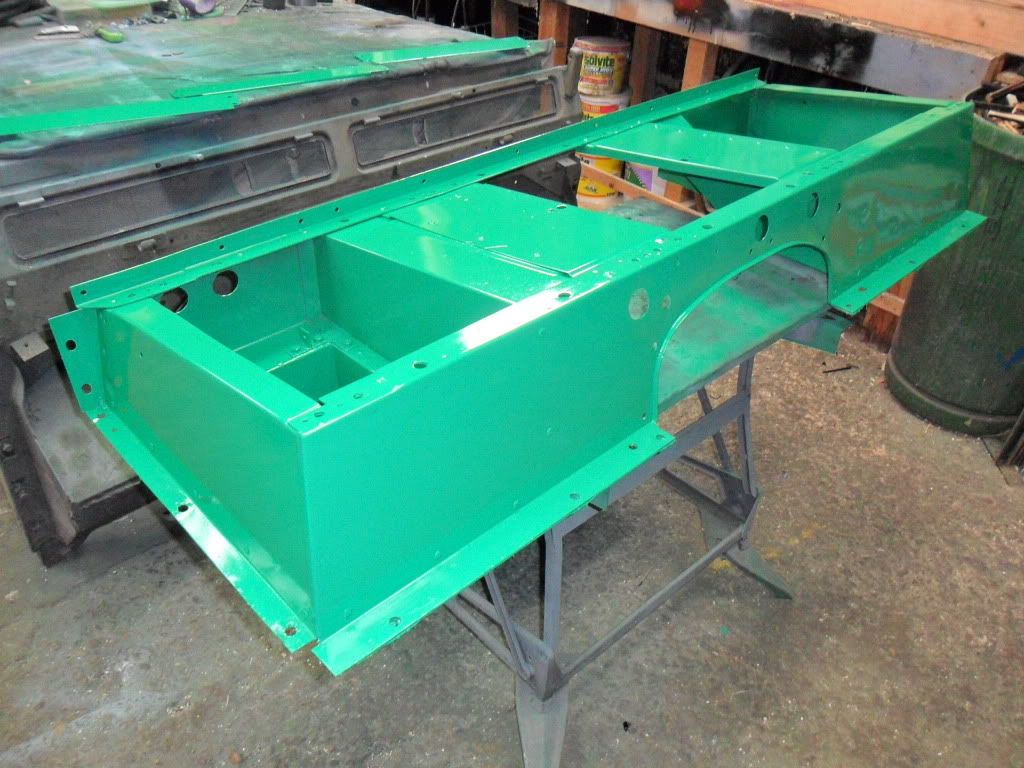
Tub painted, just the lacquer to go on the outside and I can start refitting the hundreds of rivets
Also picked up a full canvas for it, so going soft top to begin with

Tub painted, just the lacquer to go on the outside and I can start refitting the hundreds of rivets
Also picked up a full canvas for it, so going soft top to begin with
Re: Hello/S1 Rebuild
Looking good mate. Great skills with the spray gun. When do you think it will be back on the road?
Regards Warrick.
Regards Warrick.
1981 Stage One V8 Truck Cab
2001 HSE 4.6 Range Rover
2001 HSE 4.6 Range Rover
Re: Hello/S1 Rebuild
I was aiming for June ... that didnt work out (again)
Hopefully end of Sept, but keep working weekends at the moment that is slowing progress. (lots of holidays to take though, so can make some progress)
Definatly needs to be done by Nov, as its booked for its first show then
Hopefully end of Sept, but keep working weekends at the moment that is slowing progress. (lots of holidays to take though, so can make some progress)
Definatly needs to be done by Nov, as its booked for its first show then