Howdy, Names Stirling

Introduce yourself and your vehicles and post (or link to) photos
Post Reply
stirlsilver
Posts: 339
Joined: Tue Nov 21, 2006 9:45 am
Location: Wheelers Hill, Victoria, Australia
Contact:

Post by stirlsilver »

Well I ran a 4wd trip up to toolangi yesterday. It was a good day aside from getting lost a couple of times. I headed out with a couple of other cars. All went pretty well, and we found some very hard and slipper tracks which we couldn't get up.

Image

Image

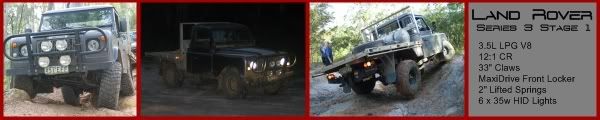
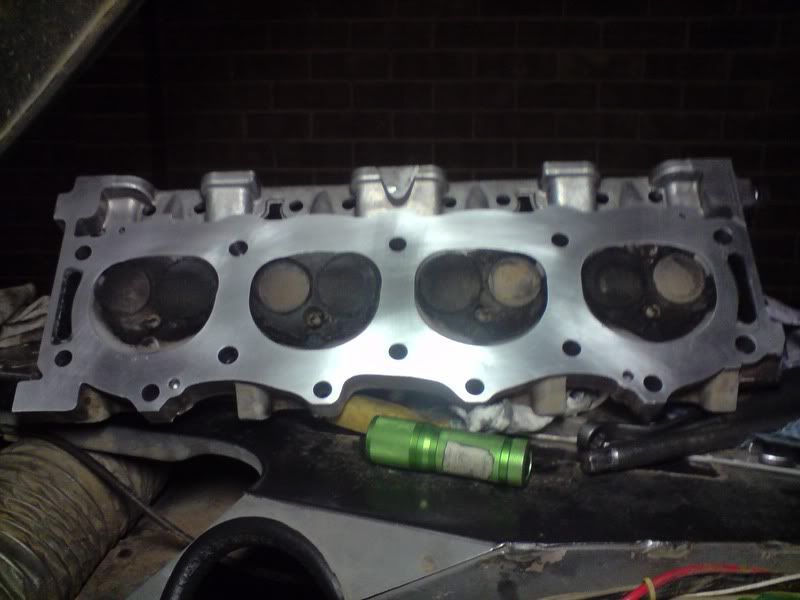
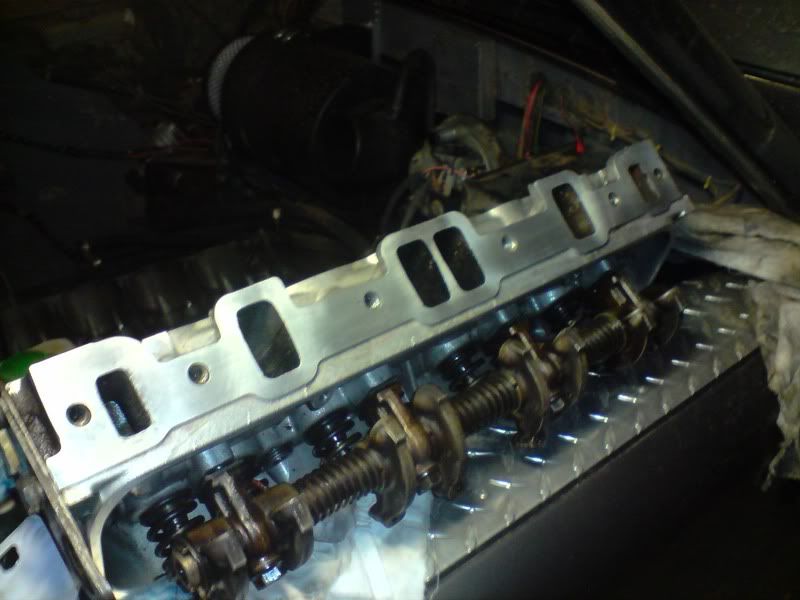
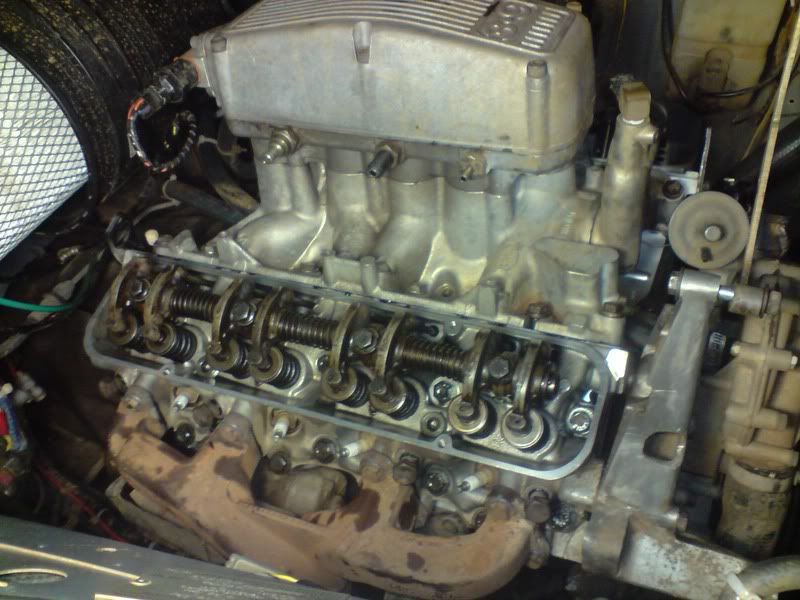
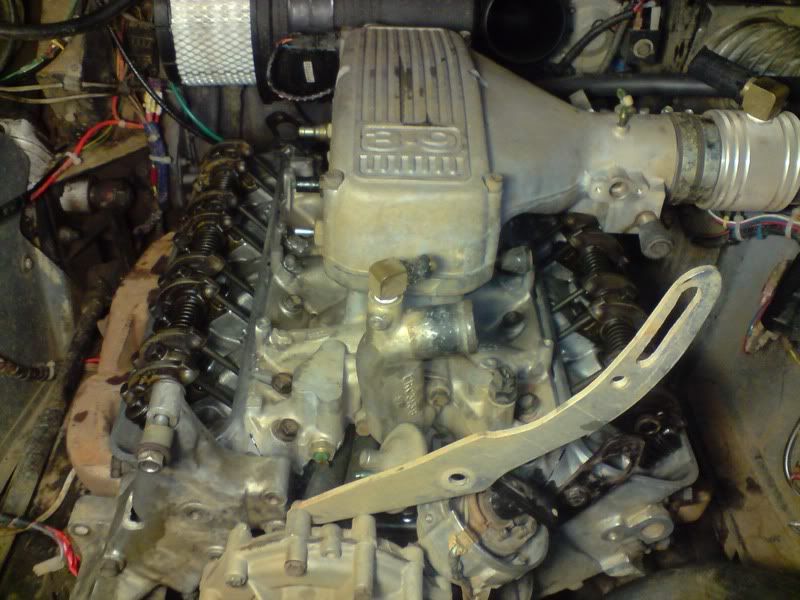
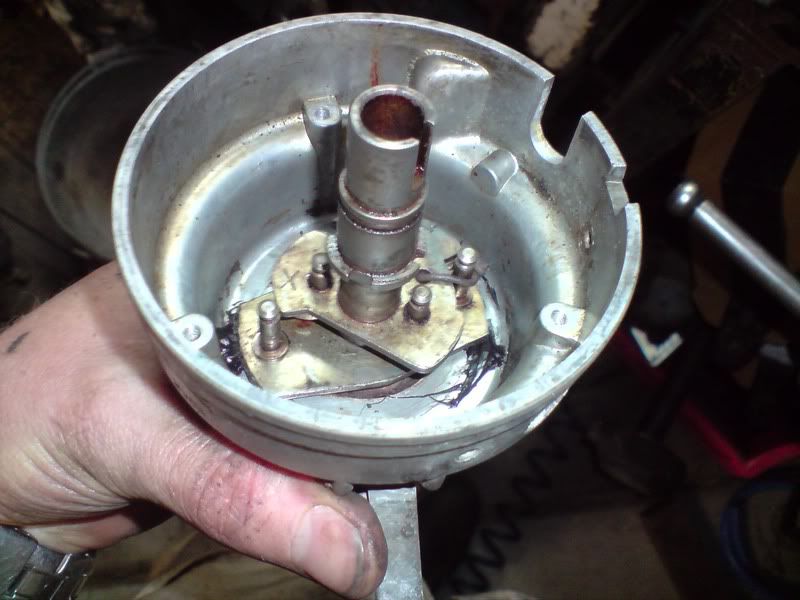
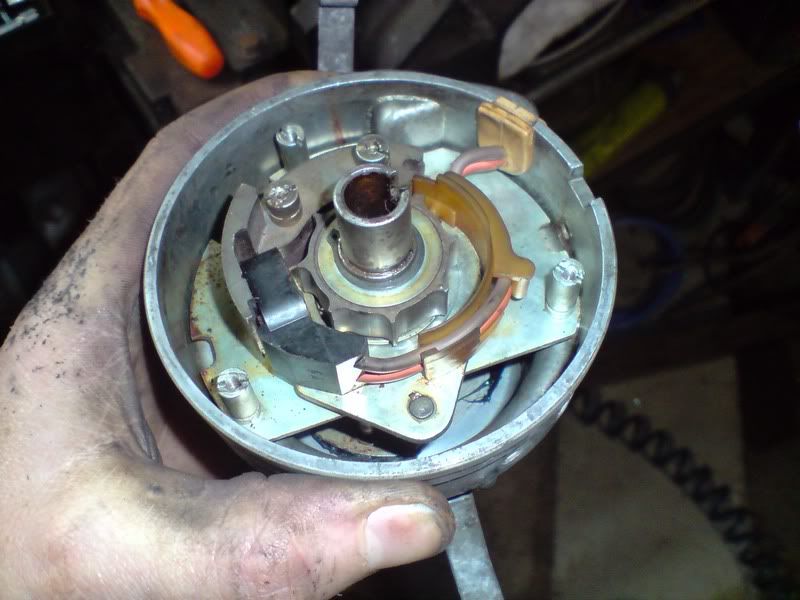
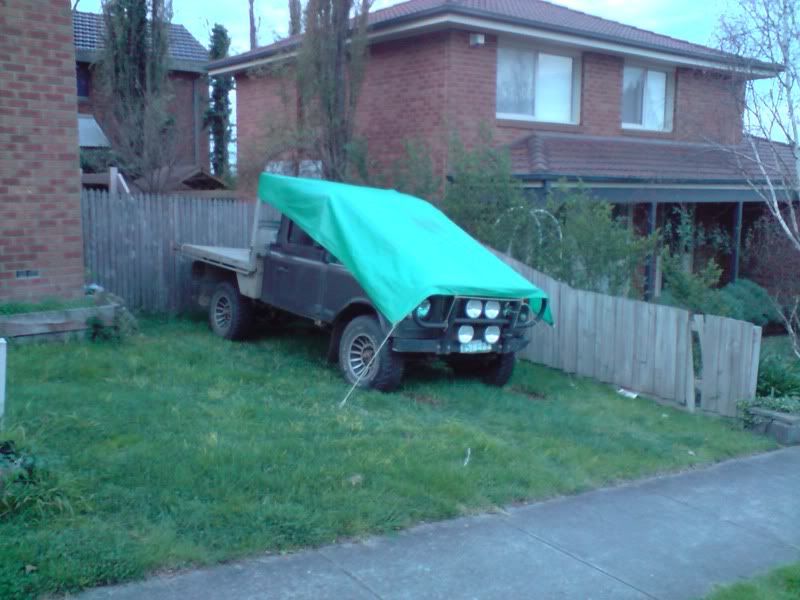
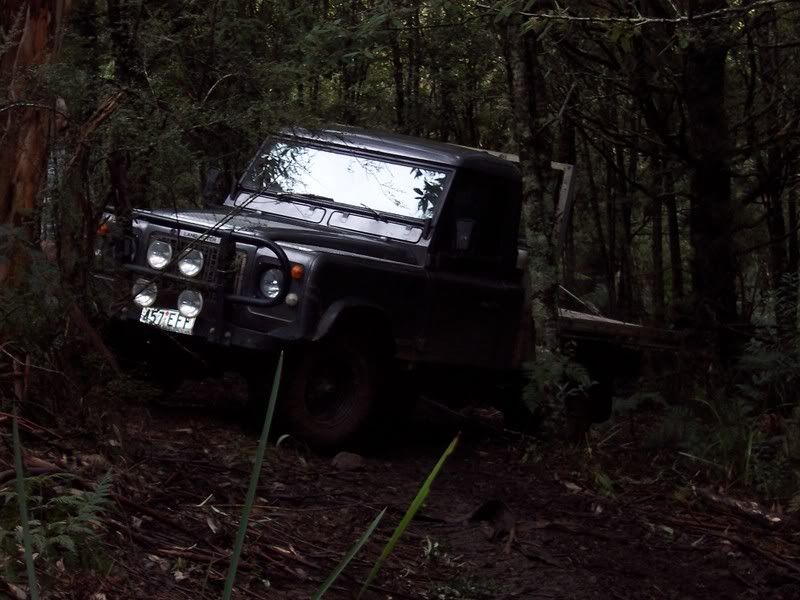
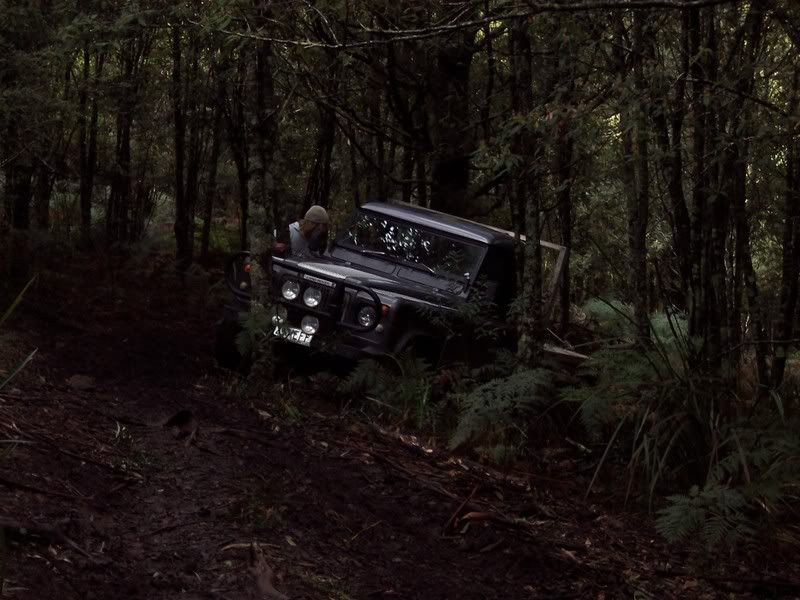
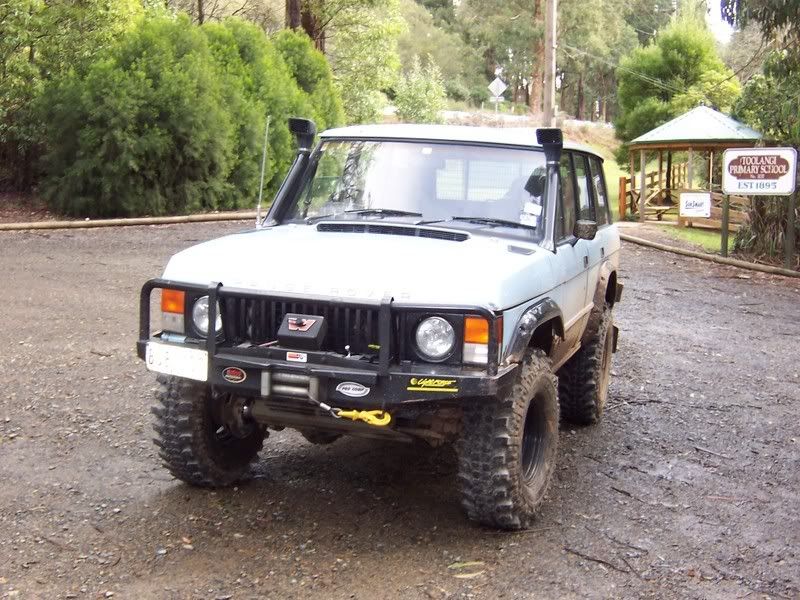
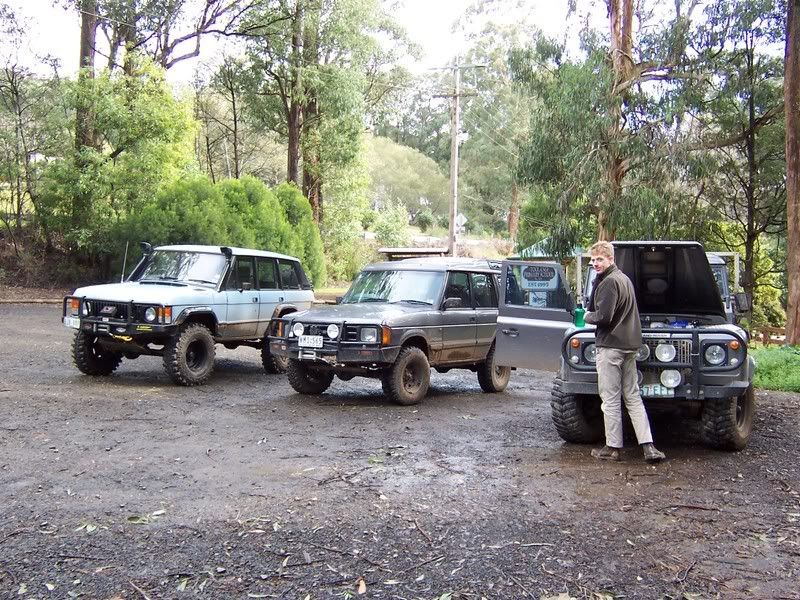
Couple of shots of the cars
Image

Image

Anyway, I thought I would tell you about an incident I encountered.

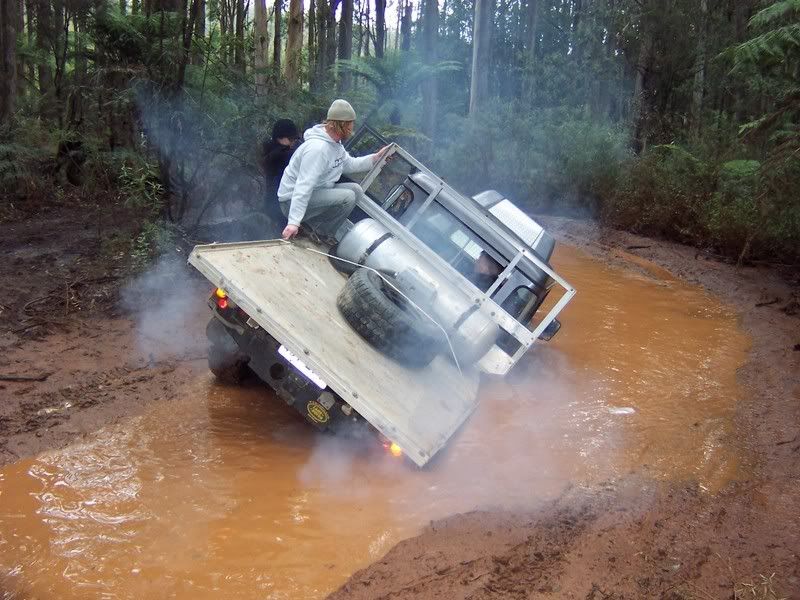
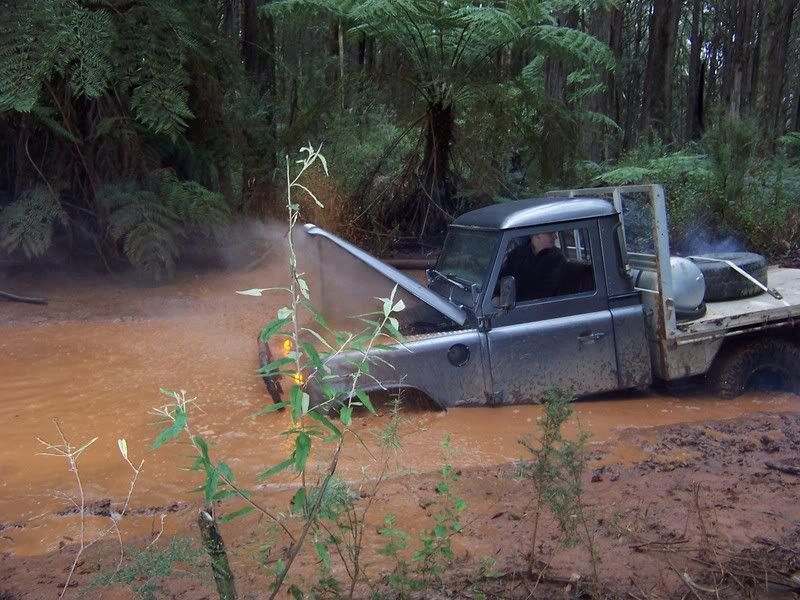
I came up to this area where water was covering the track around a corner. I was lining myself up to take the chicken track… But then chris (from the disco behind me) came out with the camera keen to get a photo of me going through the water… So after some hesitation I decided I would do it.

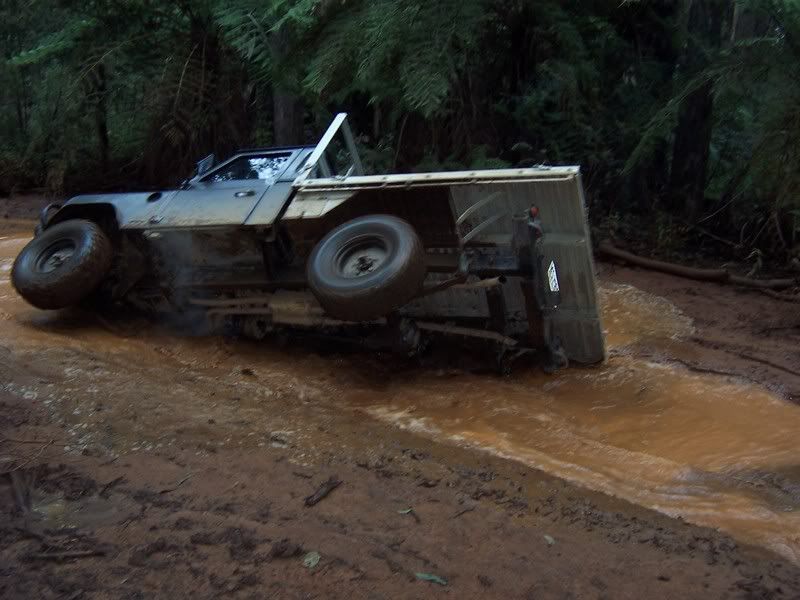
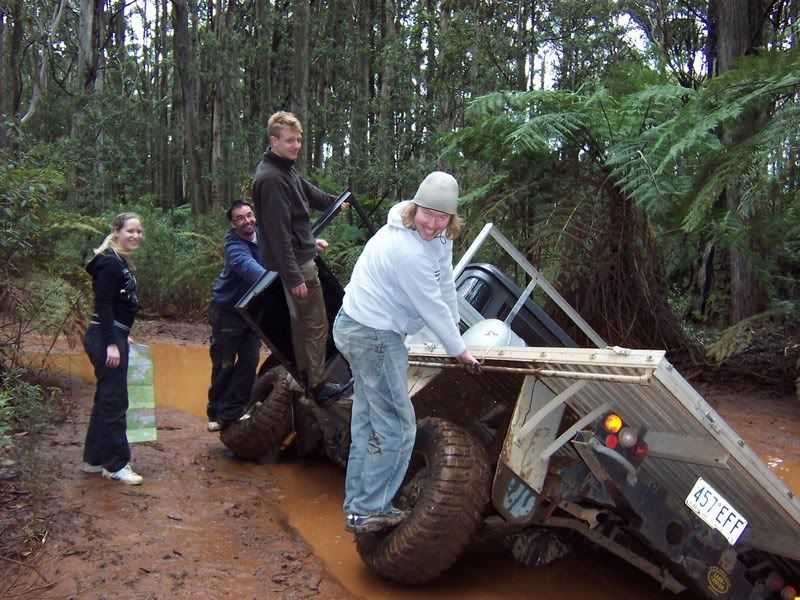
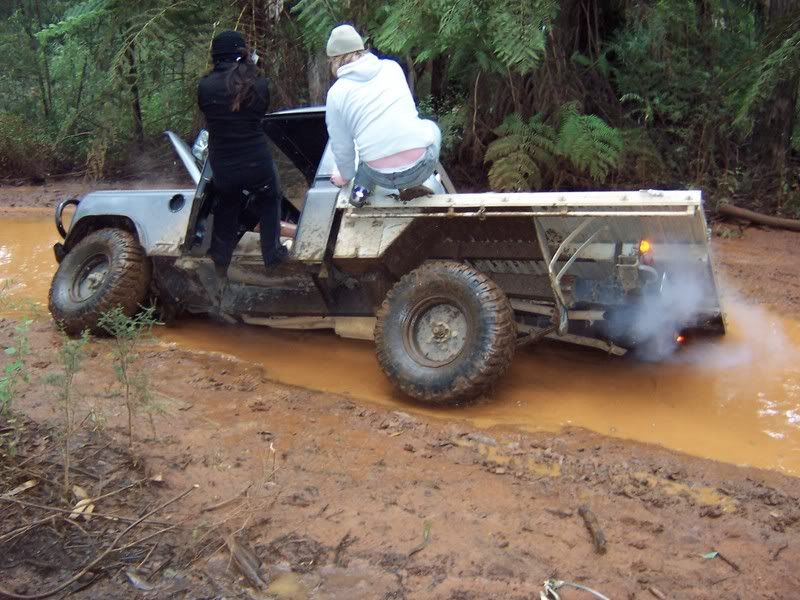
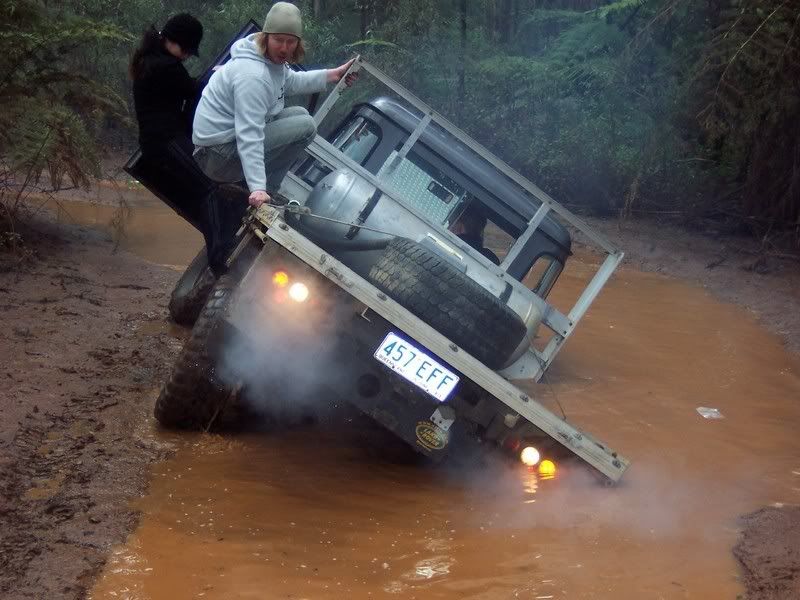
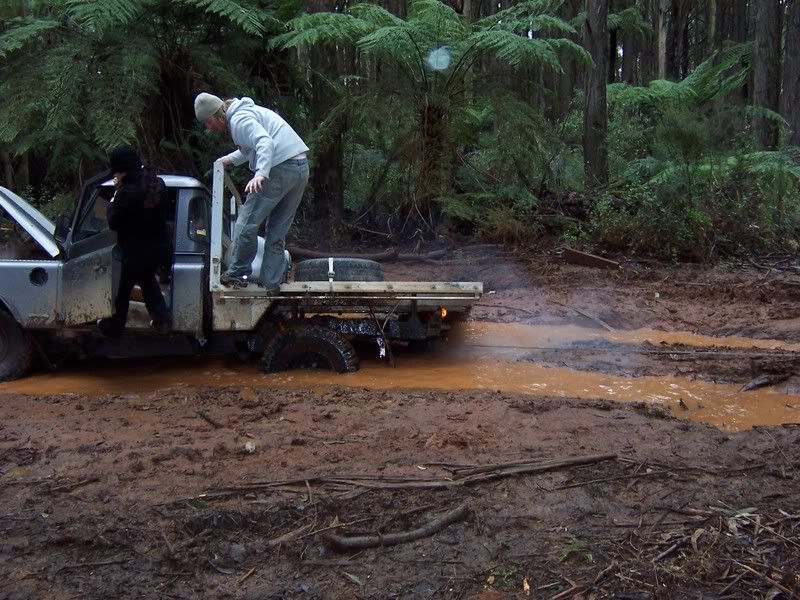
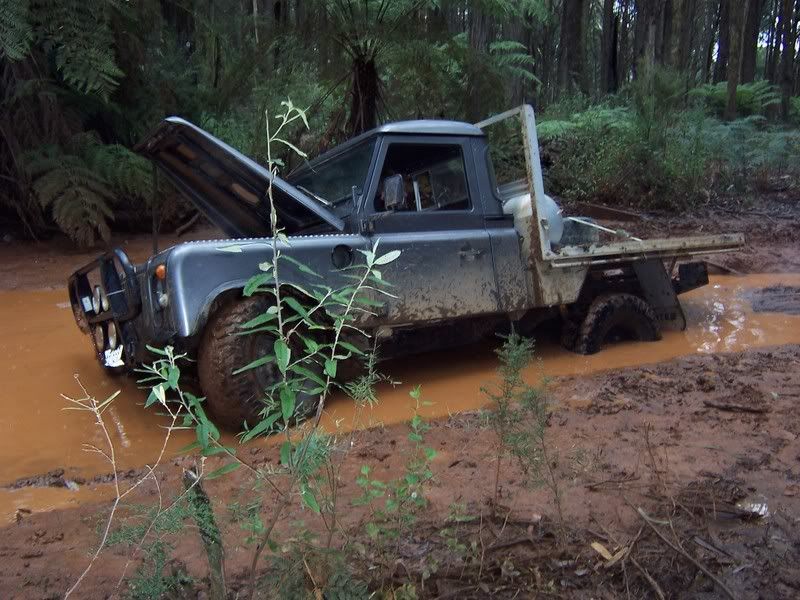
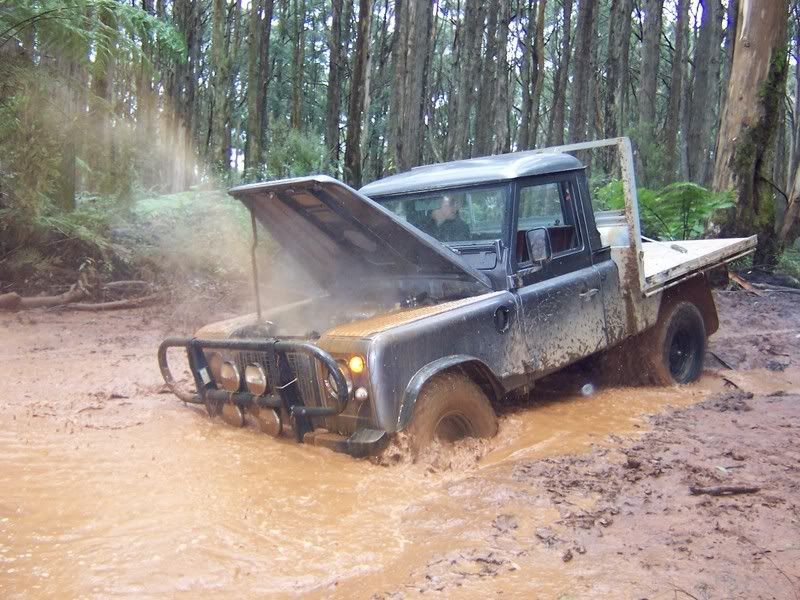
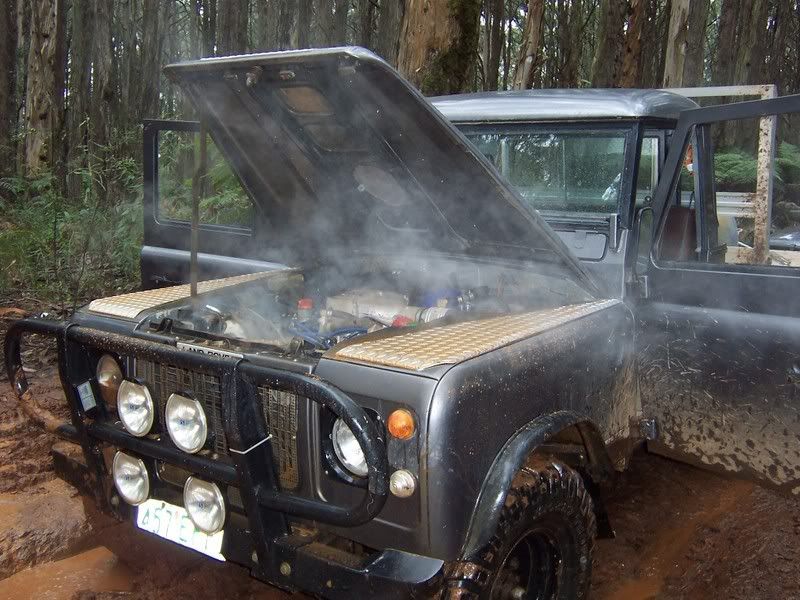
So I drove in not expecting much, I intended to keep my LH tyres on the dry section and have my RH tyres ride the centre ridge. Anyway I drove in to find that the track dropped away and I suddenly found the car practically on its side. A few seconds later I was sitting in water and I felt the car continue to roll right. I had a female friend in the car (she was my navigator) and she didn’t’ say a thing in shock. At this point all we wanted to do is get out of the car before it rolled over. We eventually got the top side door open and I found myself standing on the under water door and my head poking out the other. Stuart (driver of a very decked out rangie) had jumped onto the LH rear wheel and was using his body weight to prevent the car rolling onto its side. Pretty soon everyone was latched on. At this point the engine had cut out and I figured I should try to get the engine started. I was eventually able to fire it up with half the motor under water and chris hooked his winch up to my rear recovery point. Obviously none of this would have happened if I checked how deep the water actually was.

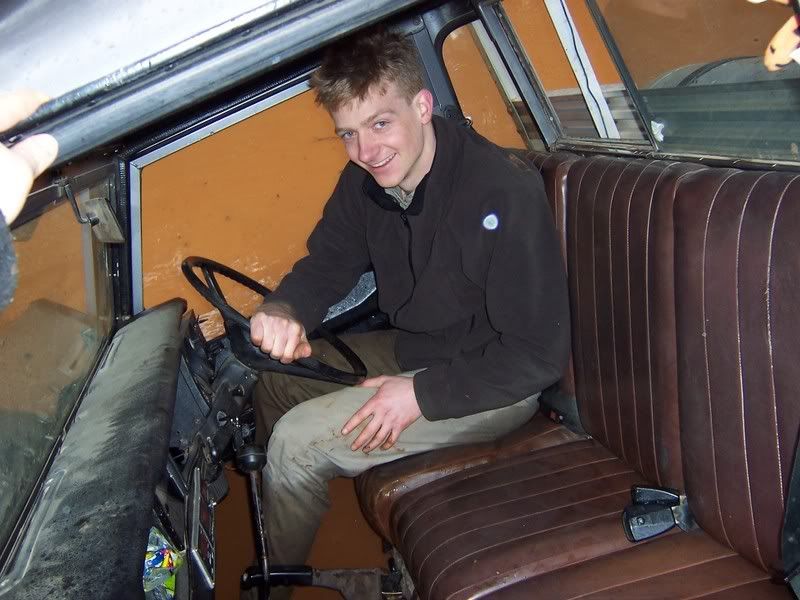
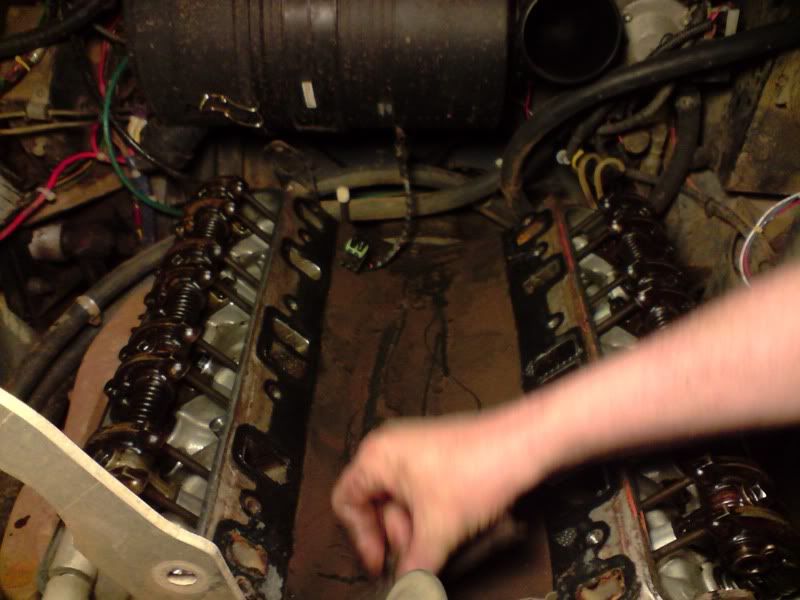
I was soaked and everyone thought it was very funny and started taking photos of me while I was emptying my boots.Anyway, we eventually headed off and continued along the track to finish the day at around 3pm. So anyway the photos.

Image

Image

Image

Image

Image

Image

Image

Image

Image

Image

Image
stirlsilver
Posts: 339
Joined: Tue Nov 21, 2006 9:45 am
Location: Wheelers Hill, Victoria, Australia
Contact:

Post by stirlsilver »

Tonight with a huge amount of help from waxen (wayne) from the AULRO forum, we took to my engine to get to the bottom of a suspected leaking gasket. For the past week the engine had been pressurising the coolant, had bubbles in the filler bottle and even reached the point where the LPG converter started to freeze while I was driving down the road!!!

Anyway tonight was the night of action and we pulled the heads off. Naturally I took a few photos.

As the the engine was coming apart I noticed that even though it has been 4 years since it was rebuilt the tops of the heads and the valley in the block did not have any build up of grime. It was all clean! Here is a couple of dodgy photos:
Image

Image

Anyway we pulled the heads off and all was revealed.

Cylinder 1 was blowing into the valley of the engine block... very very close to the oil feed line which could explain some of my oil consumption:
Image

Cylinder 3 looked ok, with no major dramas, but Cylinder 5 was showing the similar signs to number 1:
Image

And Cylinder 7... the main culprit. You can see here it was getting the steam cleaning treatment:
Image

Just a shot of the whole LH bank:
Image

Over on the other bank it was a different story. No gasket leaks.
Cylinders 2 & 4:
Image

2, 4 & 6:
Image

And finally 6 & 8:
Image

Looking at the gaskets, it was the same story.

LH gasket. You can see the burns from the leaking:
Image

Image

Image

And finally the RH gasket Looks in pretty good nick to me:
Image

Image

There was one problem we noticed overall with the engine.... the cylinders are glazed. They almost have mirror finishes on them and there is hardly any honing marks visble anymore. The right thing at this stage to do would be to pull the pistons out and hone the cylinders and fit new rings... but I don't have time to do that so It's going to have to go back together as is.

Again, huge thanks for wayne for helping me out with this. We will be putting it all back together tomorrow. Hopefully with no hiccups.
stirlsilver
Posts: 339
Joined: Tue Nov 21, 2006 9:45 am
Location: Wheelers Hill, Victoria, Australia
Contact:

Post by stirlsilver »

Well progress was made today in putting it all back together. Wayne and I spent about 6 hours tonight and we still haven't finished.

We cleaned up all the mating faces using scotch brite. That stuff is amazing! We used them to buff the aluminium faces to provide a better seal on the new gaskets.

The LH bank after a little scotch brite treatment:
Image

RH Bank:
Image

Few shots of the heads after a bit of a cleanup with degreazer and scotch brite pads:
Image

Image

Image

Image

and then by about midnight. This is where we were upto:
Image

Image

Image

When I get home from work tomorrow I'll get onto it again and finish the home stretch and hopefully fire it up and take it for a drive!!
stirlsilver
Posts: 339
Joined: Tue Nov 21, 2006 9:45 am
Location: Wheelers Hill, Victoria, Australia
Contact:

Post by stirlsilver »

Well, I've given running the engine with NO mechanical advance a go. It was a pretty simple modification to the distributor to achieve this actually.... Well the way i did it anyway.

Here are some photos.
Inside of the distributor before attacking it:
Image

I completely disassembled it and took off the flyweights and springs and used some steel cable to mechanically lock the two assemblies together.

Image

And then just put it all back together!:
Image

Image

Image

I put it back in the engine and Wayne and I sorta tuned it by ear with the engine running. Oh boy will it rev now. I've easily taken it upto 5000rpm now no worries (It was still going!)

One problem though. I shut the engine down and then when I tried to start it there was no hope in hell the starter could handle it. It is so advanced that on every compression stroke the starter is stopped by the hugely advanced ignition. So I have a bit problem now. A timing the engine likes to run on and a timing which the engine will be able to started on.... Hmmm. I Don't know how I'm going to sort this one out.

Another thing I've noticed now is that since I am running my vacuum advance unit off manifold vacuum if I'm driving 'enthusiastically' and try to do a quick shift (in an LT95) When I snap the throttle shut to push in the clutch the vacuum advance kicks in further advancing the ignition. This wasn't good when I tried to shift at 5000rpm. So I think I need to hook it up to the vacuum port on the throttlebody.

So two issues. Somehow I have to retard the timing when cranking... Not sure how I can achieve this, maybe using a solenoid... the hard part would be dealing with the vacuum advance unit.

The other issue is the over advance when snapping the trottle shut, relocating the vacuum source to the throttle body should fix this, but I may have some problems at idle.

Another interesting thing that I noticed after having the engine under so much advance is that lean mixtures are a big no no even at idle. I introduced a vacuum leak when the engine was idling and all sorts of interesting noises could be heard - sorta like detonation! At Idle!

Hmm...
User avatar
Manfred
Posts: 106
Joined: Mon Mar 13, 2006 10:14 am
Location: The Netherlands

Post by Manfred »

Bloody timing keeps you from having fun every time. But not anymore for me..

I installed an electronic ignition from 123ignition. With this you are able to select 16 different timing curves. Especially for 100% LPG drivers like us it's the best thing you could ever buy for your rover v8 in my opinion.

The thing now idles as smooth as you would never dream of and shoots of like a bullit :lol:

Put me back about 500 euro's but it's worth it..
User avatar
Mik
Posts: 256
Joined: Wed Sep 20, 2006 10:25 am
Location: Denmark

Post by Mik »

Hi Manfred,

Looks interesting with that 123ignition - has it got any advantages compared to a Mallory ?

Anyone got any experience with the MegaJolt system ?

Thanks

Michael
Michael
1965 109 FC SIIA
1982 109 V8 SIII CSW Stage One
1982 109 V8 SIII HCPU Stage One
1990 RRC Vogue SE
User avatar
Manfred
Posts: 106
Joined: Mon Mar 13, 2006 10:14 am
Location: The Netherlands

Post by Manfred »

Michael,

The difference with this ignition is that it's fully electronical. Even the (normally mechanical) centrifugal timing advance is pre programmed.

With the ignition you get a small book with practical tips as well as a table with all caracteristics.
The standard is 8 degrees of advance timing. With a selector button you can adjust 8 different settings of the amount of degrees advance between 800 and 2400 rpm. Then there are also 8 possibilities of advance timing between 2400 and 4800 rpm.

It's a bit of a gamble to get it right and it takes some time but its absolutely worth every penny imho..
User avatar
Mik
Posts: 256
Joined: Wed Sep 20, 2006 10:25 am
Location: Denmark

Post by Mik »

Manfred,

How does it handle the vacuum - is that omitted ?

Thanks
Michael
Michael
1965 109 FC SIIA
1982 109 V8 SIII CSW Stage One
1982 109 V8 SIII HCPU Stage One
1990 RRC Vogue SE
User avatar
Manfred
Posts: 106
Joined: Mon Mar 13, 2006 10:14 am
Location: The Netherlands

Post by Manfred »

Vacuum advance is just like any other ignition.
User avatar
Mik
Posts: 256
Joined: Wed Sep 20, 2006 10:25 am
Location: Denmark

Post by Mik »

I've just ordered a MegaJolt kit from Trigger Wheels, and are hopefully going distributorless in a couple of weeks :)

Michael
Michael
1965 109 FC SIIA
1982 109 V8 SIII CSW Stage One
1982 109 V8 SIII HCPU Stage One
1990 RRC Vogue SE
disco2hse
Posts: 1641
Joined: Sun Apr 27, 2008 3:51 am
Location: Auckland NZ

Post by disco2hse »

Be sure to let us know how you get on with it. :)
Alan

1983 ex-army FFR 109 Stage 1
2005 Disco 2 HSE TD5
stirlsilver
Posts: 339
Joined: Tue Nov 21, 2006 9:45 am
Location: Wheelers Hill, Victoria, Australia
Contact:

Post by stirlsilver »

Well, after a bit of a break, I finally got onto that starter motor problem. I was initially thinking of just pulling the old one out, cleaning it out and re-fitting it but Chris (SPROVER) offered me a HiTorque starter motor at a decent price so I figured what the hell.

Anyway it went in today after I spent some time making up a 1mm aluminium shim for it. All in all a very smooth operation... I didn't take any photos this time though. I probably should have. It was really interesting to compare the two starters side by side... the HiTorque is so much smaller!

It's going to be some time yet before it sees any offroad action. I'm going to get the distributor recurved, fix the alternator and I noticed today that after sitting for 2 weeks my front left break cylinder is shot and leaking a lot of brake fluid... so i'm going to have to sort that out. I'll probably change all the front cylinders and fit new shoes also.

On a side note a few weeks ago I bought a BMW... so it now gets the garage and the land rover now lives outside under a tarp. :( Unfortunately I have nowhere else to put it and since the BMW is worth a lot more than the landie... it got the garage.

Image

Image

Image
KR
Posts: 49
Joined: Fri Aug 04, 2006 6:37 pm
Location: Norway/US

Post by KR »

Nice work!

Does the front fenders come off easily? Was the EFI swap hard?

To me, it actually looks like the old exhaust manifolds have more flow? Why not make your own?
stirlsilver
Posts: 339
Joined: Tue Nov 21, 2006 9:45 am
Location: Wheelers Hill, Victoria, Australia
Contact:

Post by stirlsilver »

Thanks,
Front guards come off easily. I've got it down pat now actually. I think there is 2 bolts and 1 nut at the front. 1 bolt at the back on the top and 4 or 5 bolts into the firewall... along with pulling off the grill for access and what not.

I didn't do an EFI conversion. I just fitted the manifold with the injector ports plugged up. In terms of fitting the manifold it was very straight forward. It bolted straight in and it fit under the bonnet no problem. The hardest part was making the throttle cable connection but that was about it.

EFI exhausts are much better. You will notice if you look at the EFI manifolds that they aren't the same. LH bank combines 1 with 5 and 3 with 7. RH bank combines 2 with 4 and 6 with 8. The reason it does this is so that adjacent firing cylinders are joined and create a suction effect. Essentially these are the next best thing to extractors as they behave as a 4-2-1 extractor.

I did consider making up my own manifolds for a while... but it would have been very difficult especially on the LH side as there isn't much space between the ending and the chassis rail.
KR
Posts: 49
Joined: Fri Aug 04, 2006 6:37 pm
Location: Norway/US

Post by KR »

Wait... so you have an EFI manifold with a carb stuck to it??
Post Reply