LT95 Rebuild
Since my last update, I have been busy getting on with the rebuild. I opted for the Syncro Gearboxes rebuild kit and a replacement Primary Pinion. The pinion looked to be NOS original part and the kit contained a mixture of bearings from Timkin, SKF, etc. all branded quality parts.
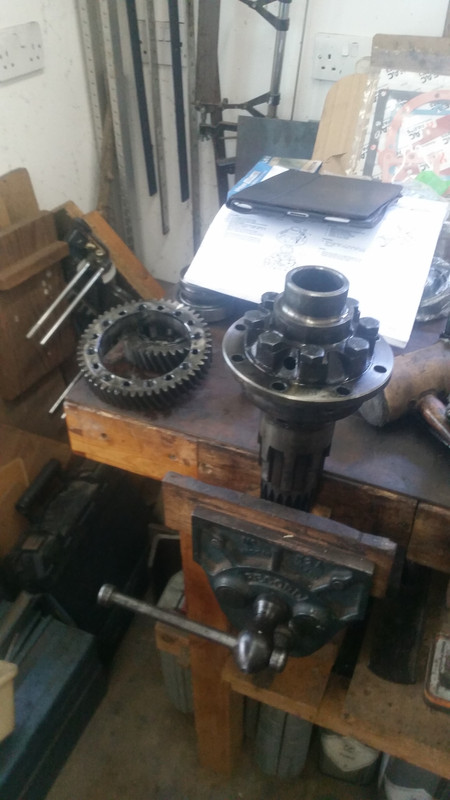
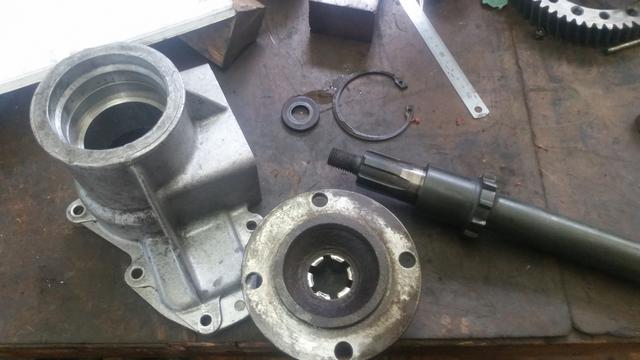
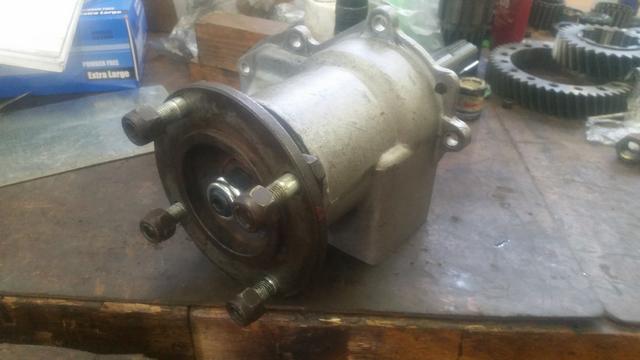
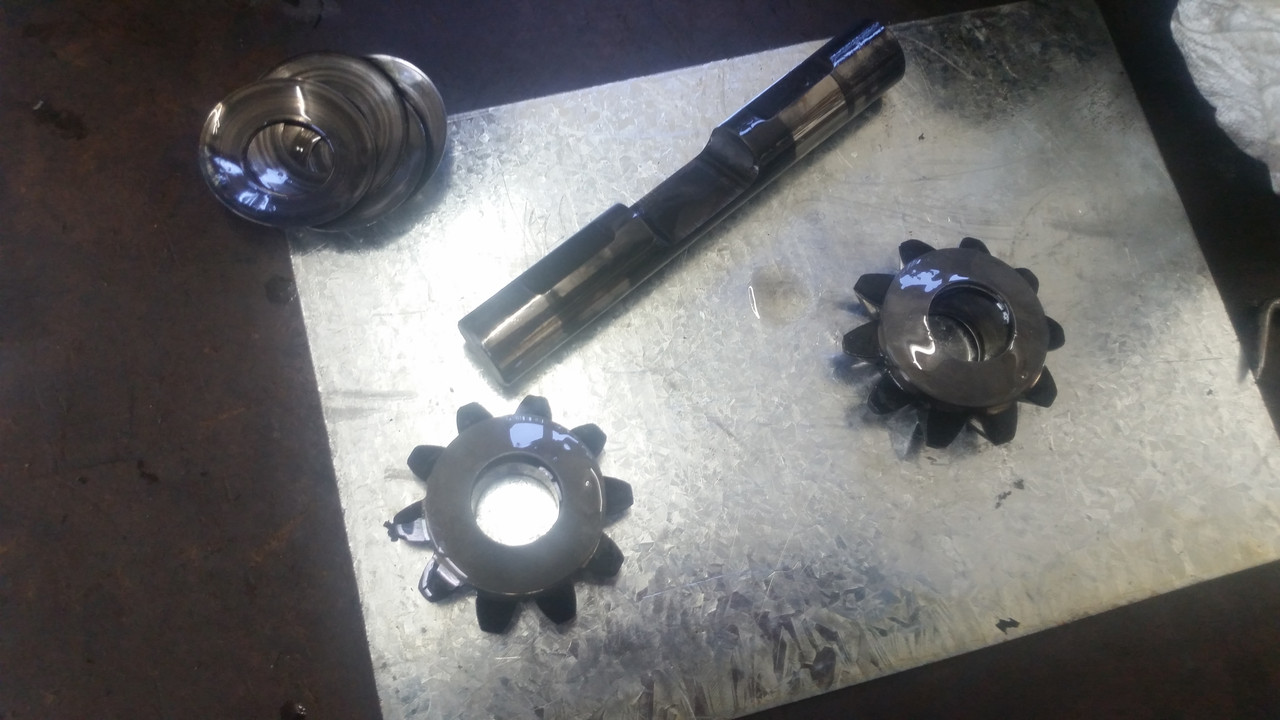
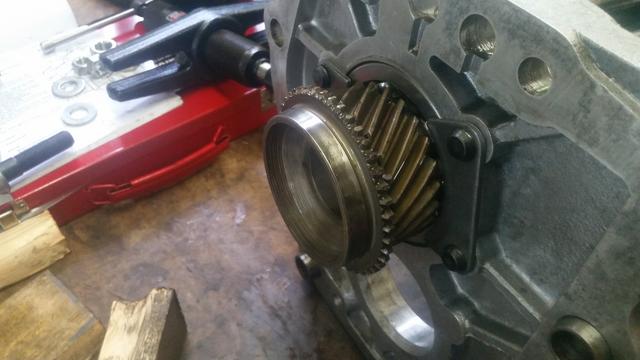
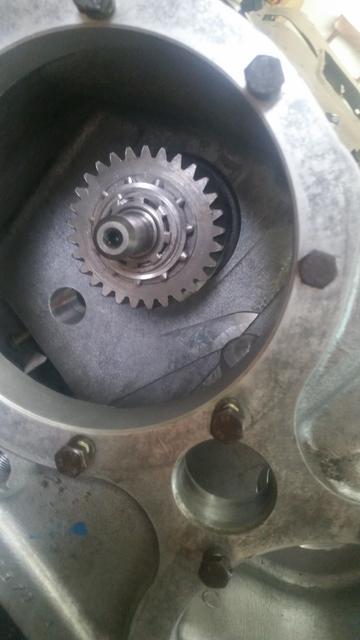
Having already stripped most of the box down, I worked my way through the rebuild in stages, cleaning and replacing parts as I went. First off was the primary pinion and bearing:
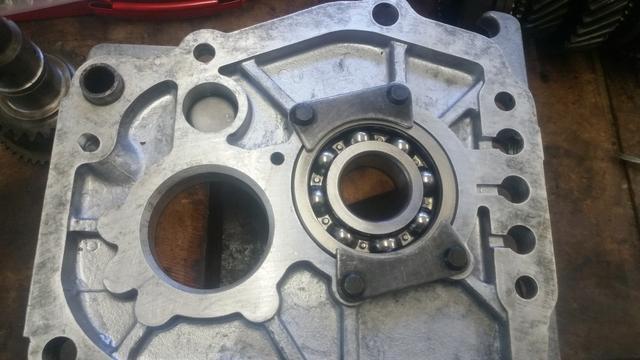
Pressed new bearing into the bearing plate...
Then pressed the bearing onto the Primary Pinion...
The back bearing was easy enough to drift out of the casting once the circlip was removed, but I did find it a bit of a struggle getting that circlip out. I bought bigger circlip pliers as well. Anyway, once out, I fitted a new one in place...
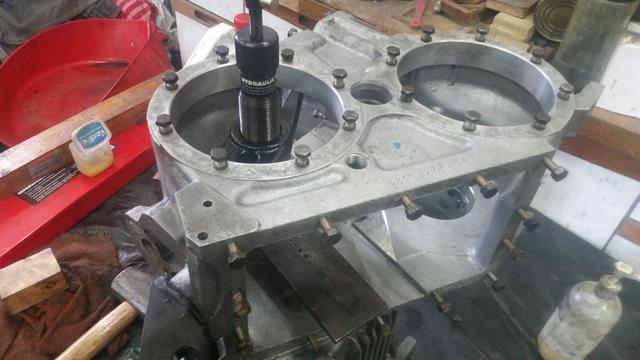
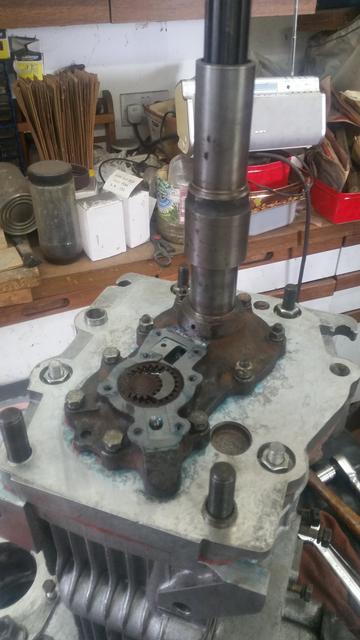
Rather than hammering it in, I used my hydraulic hand press to exert gentle even pressure.
Next job was the layshaft bearings. These I pulled off with the bearing splitter. There is just enough room to gain purchase with the splitter and pull the bearings without resorting to LR (Churchill) special tools (or the angle grinder and welder for that matter). The new ones were carefully drifted on. The races were drifted out of bearing plate, and pulled from the casting. I had a bit of difficulty on the back cup as I don't have a big enough blind bearing puller. I resorted to making a pair of legs that would fit in the space under the race and attach to a standard 2 leg bearing puller. A bit of a time consuming faff, but it did the trick. Easy knocking the new one in.
I didn't really think there was anything much wrong with the existing bearings to be honest, but I had made the decision to replace all bearings anyway since I had the box apart.
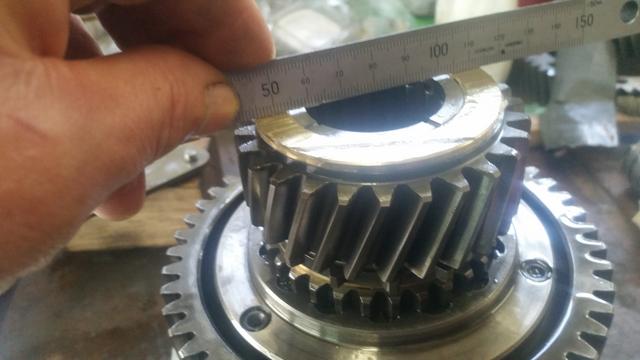
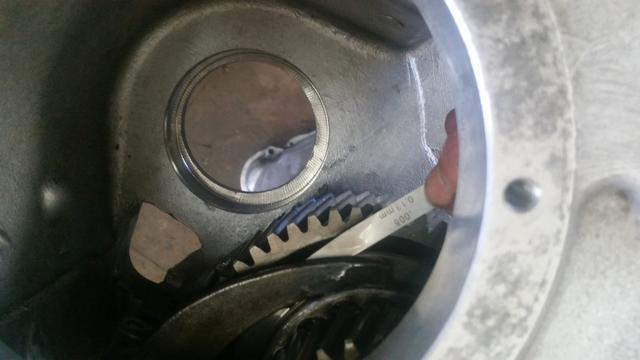
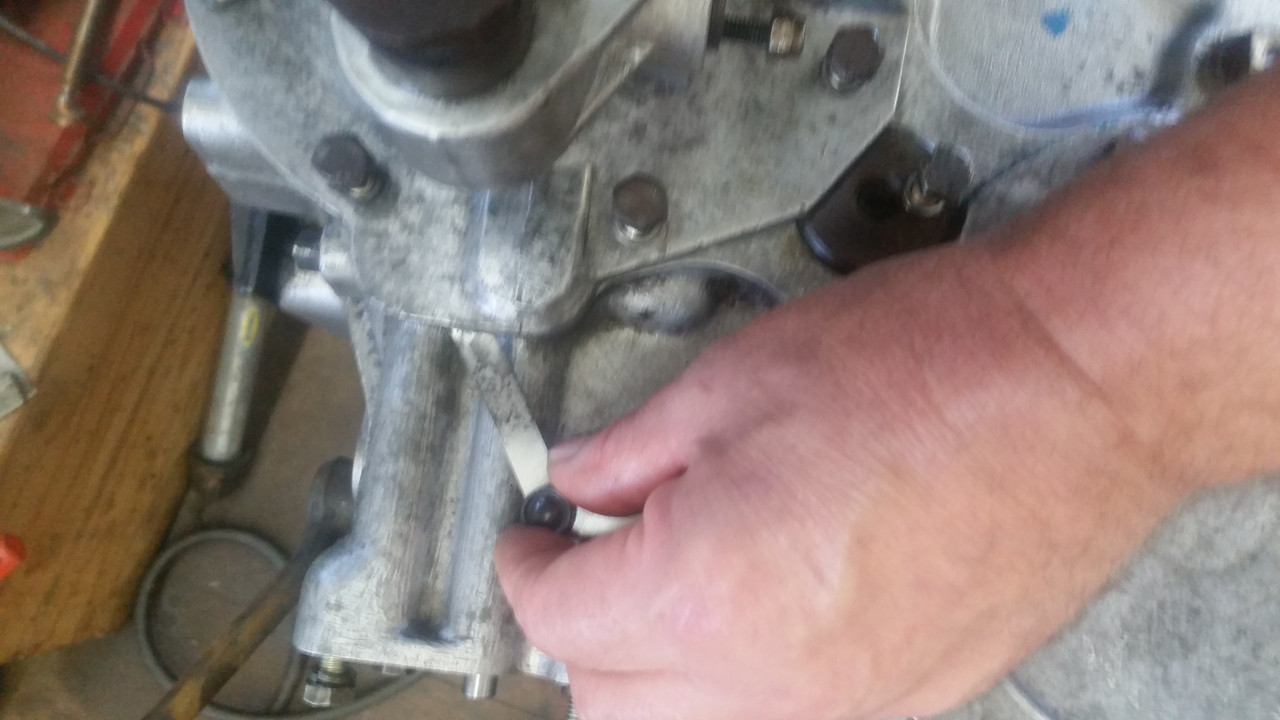
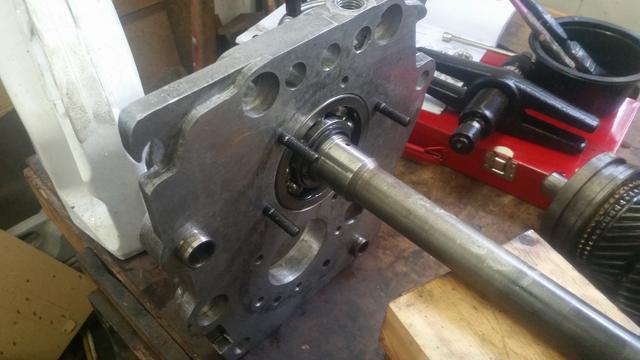
It is important to correctly set the preload on the layshaft bearings which is done by measuring the force required to rotate the shaft when in place. This is done by wrapping a length of cord around the shaft and using a spring balance to measure the force required to rotate it...

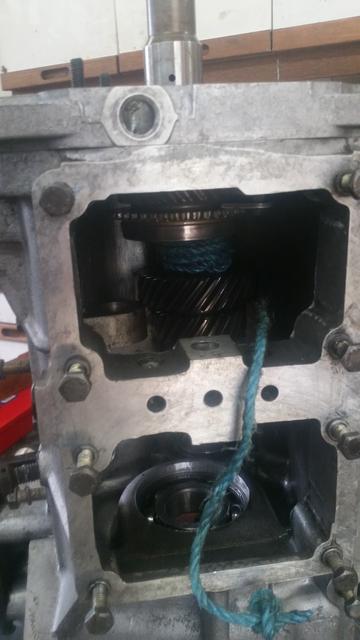
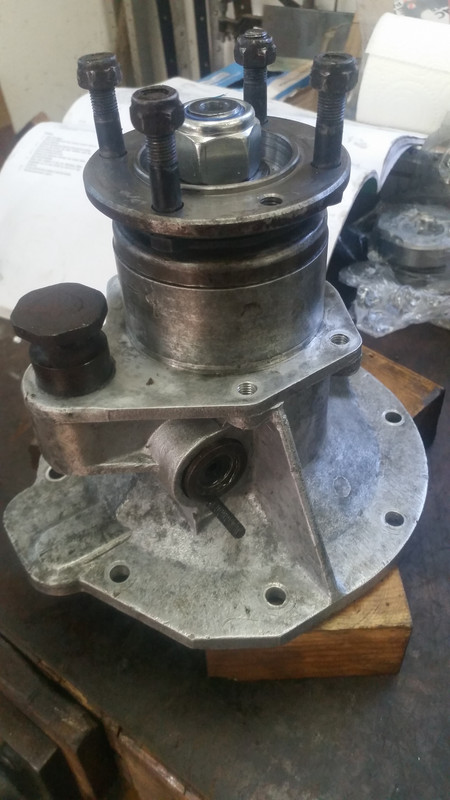
Next step in the process is to temporarily bolt the bearing plate in place (with gasket in place) and then to bolt down the oil pump cover with a shim placed on top of the layshaft bearing, pull on the cord with the balance and take the reading. I did this and got a preload reading of 8lb which is what It should be. Forgot all about taking photos though for some reason, too focused on the job in hand to remember photos.
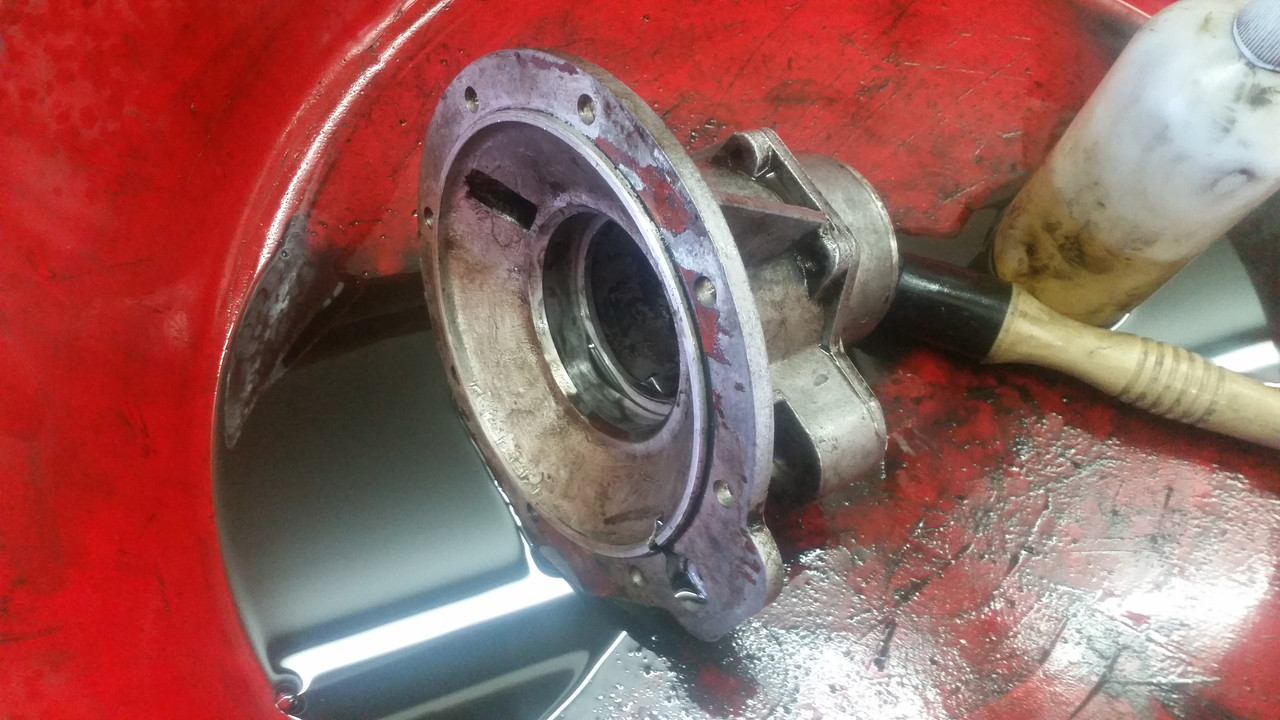
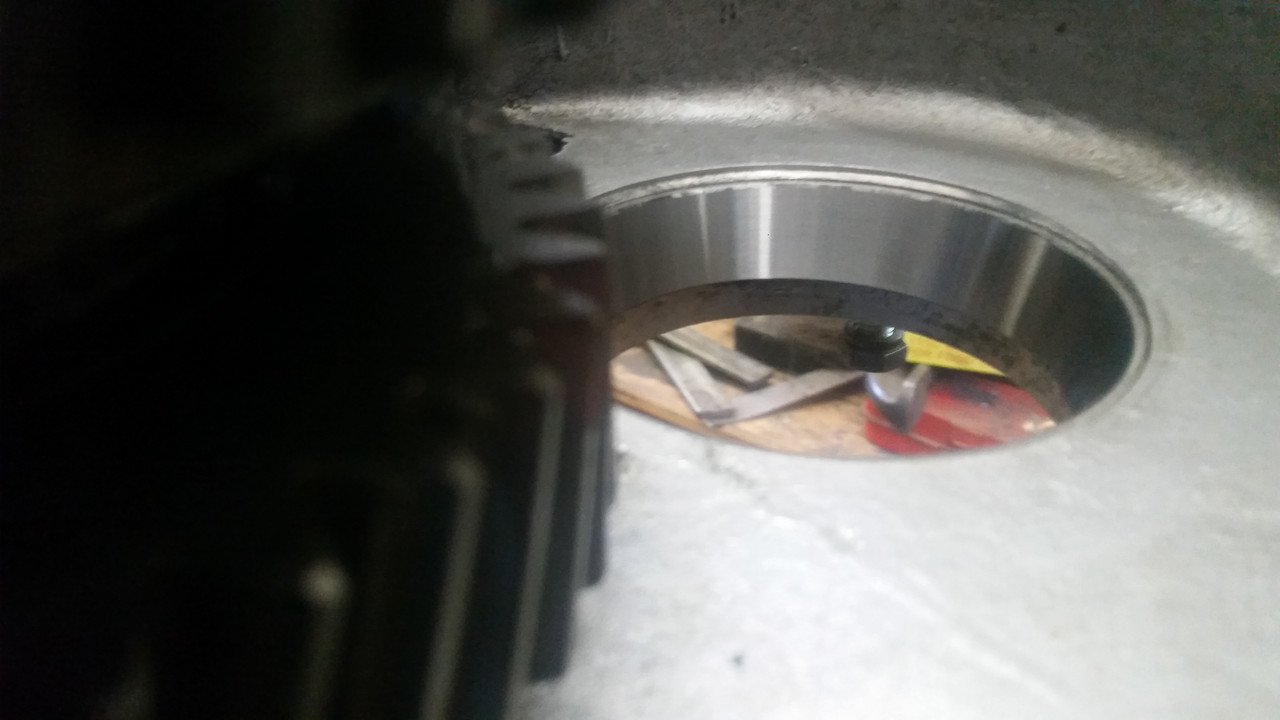
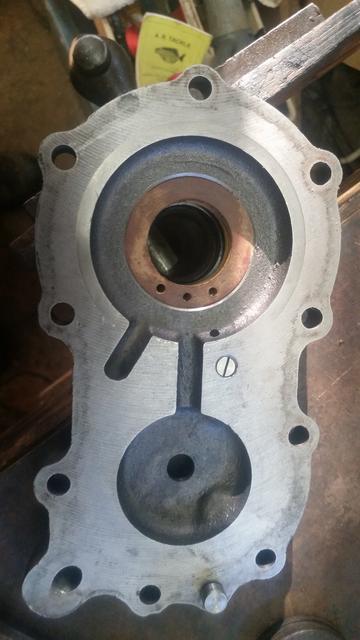
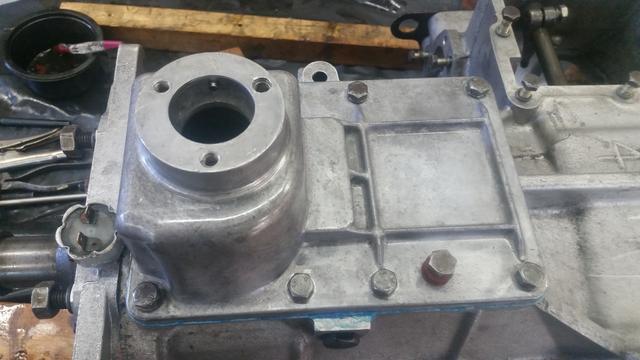
Now, the oil pump is critical in these gearboxes and there is a feeder ring that is no longer available. Fortunately, Ashcroft do a replacement. The downside is the price...
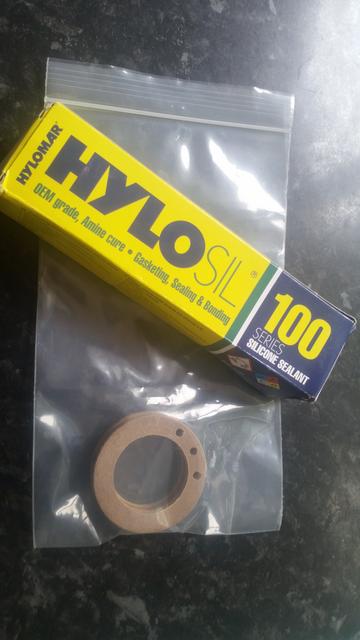
...this cost me £60 inc. VAT and delivery!
The ring is a nice tight fit and went in place niceley...
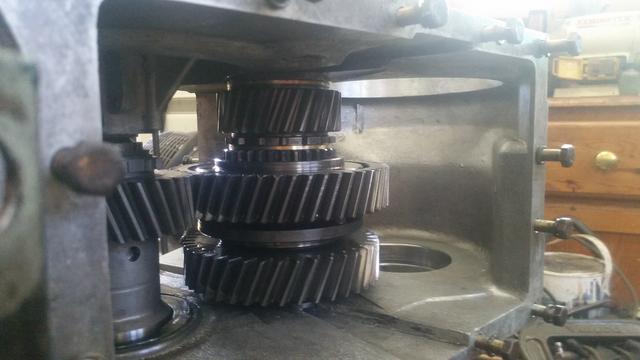
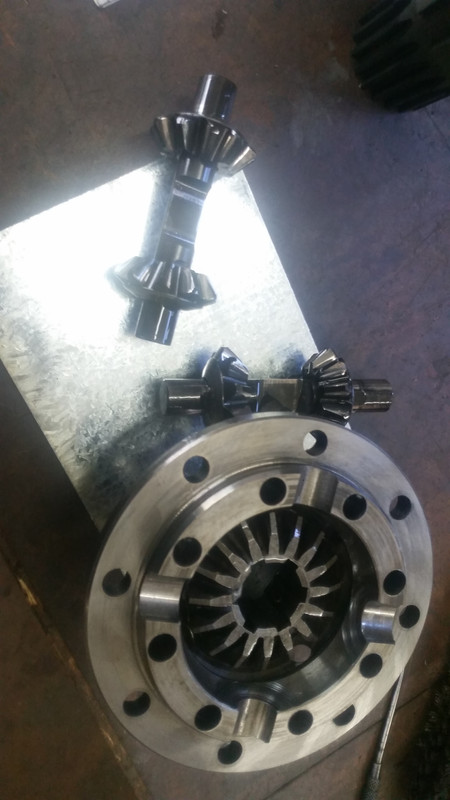
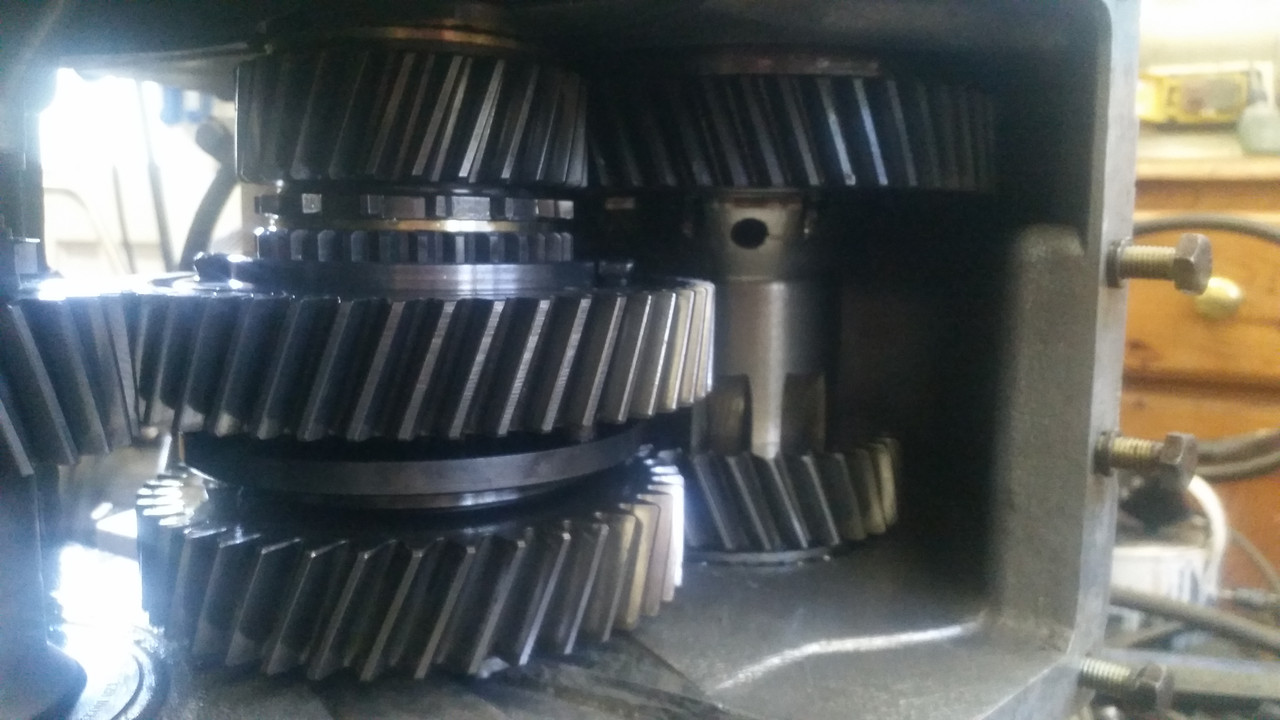
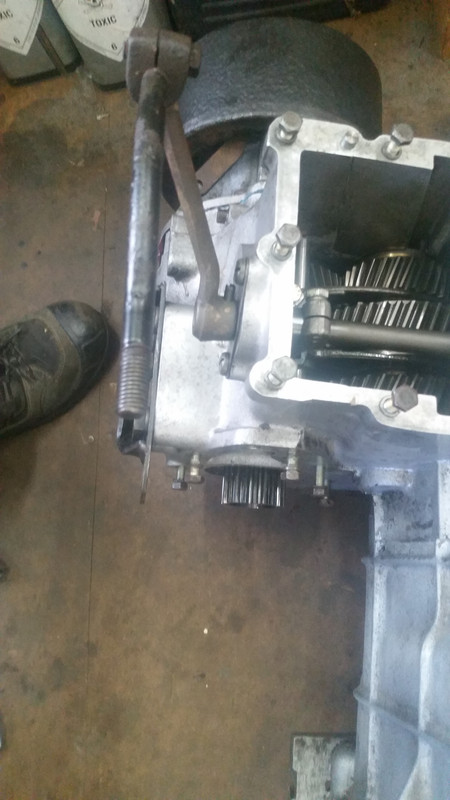
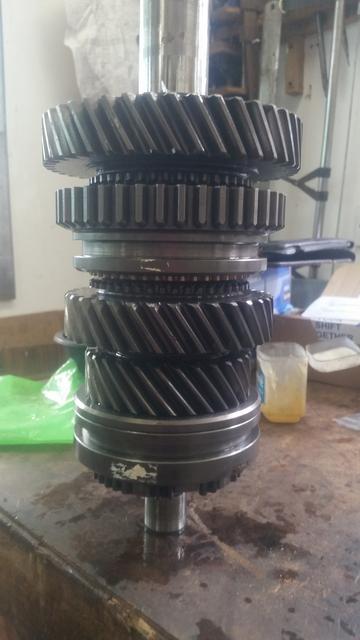
I now needed to clean and rebuild the mainshaft gear assembly. Again, the whole thing was in great condition with no visible wear. I sripped it down, carefully cleaned each component and then reassembled with all new bearings and baulk rings.
It was during reassembly that I did the classic, slipped my hold and heard 2 detent balls shoot off across the workshop. I fond one easily enough, but the other is still nowhere to be seen. I spent 3 hours crawling around searching, moving my workbench, tools, cupboards, cleaning sweeping, running a magnet along every nook and crevice, all to no avail. A royal pain in the arse! So had to order replacement and wait.
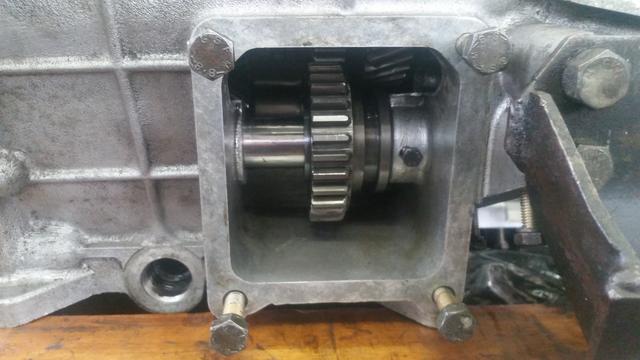
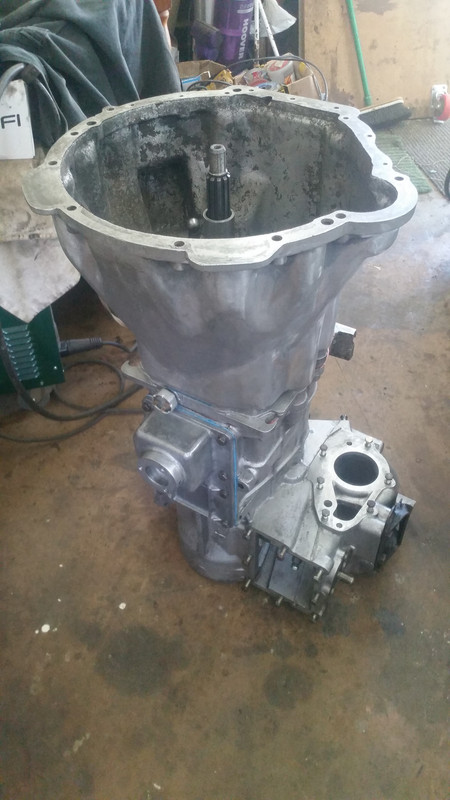
Once I had the mainshaft ready to go back in, I fitted the new seal to the back bearing...
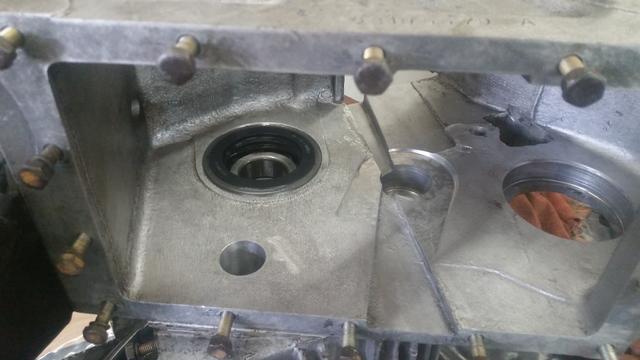
...and put the shaft in place
I then pressed on the collar and output gear with a bit of locktite 270 to hold them in place (plus the snap ring of course).
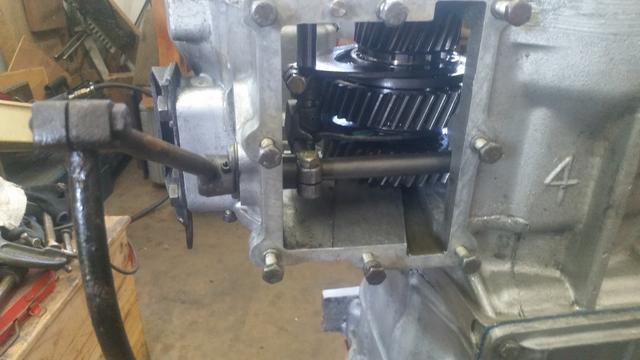
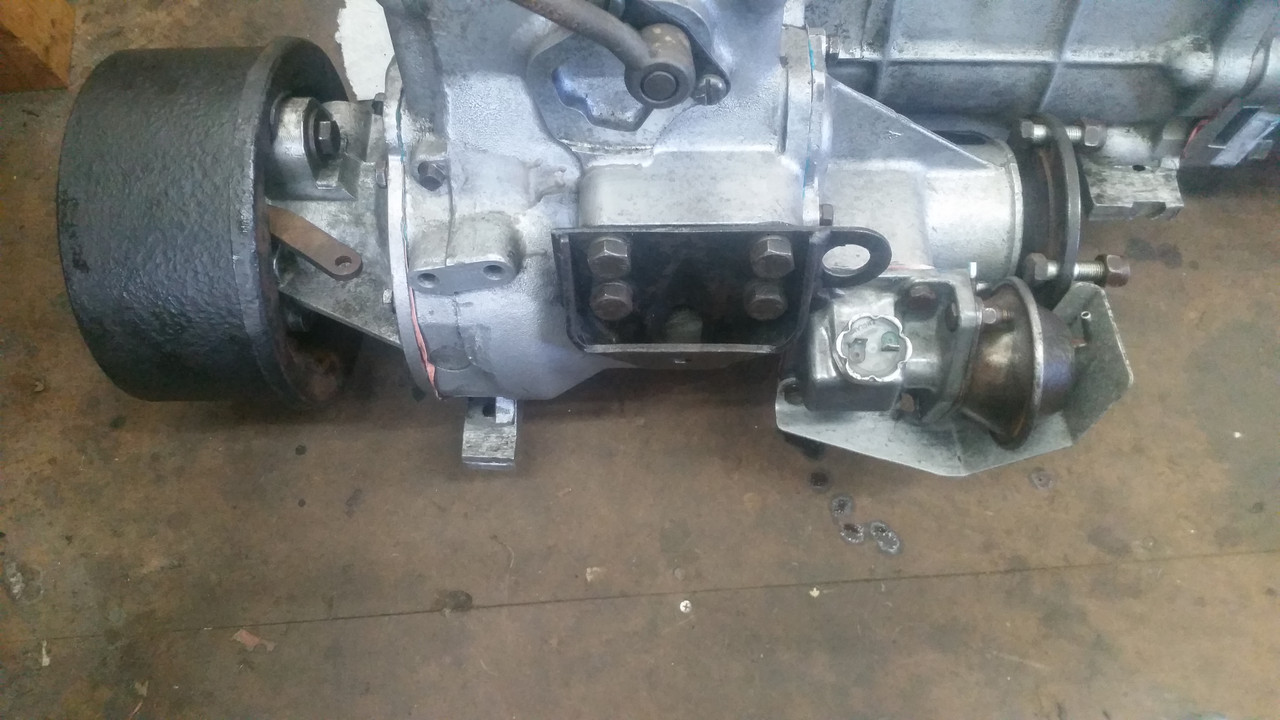
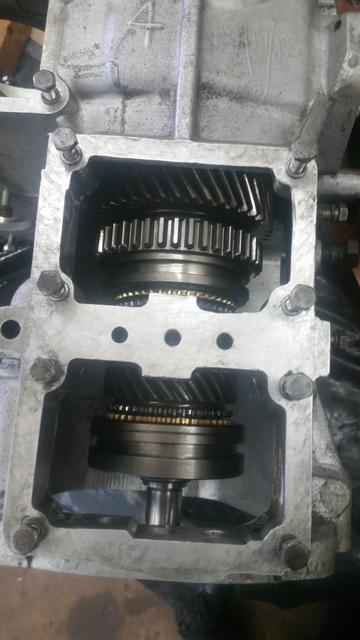
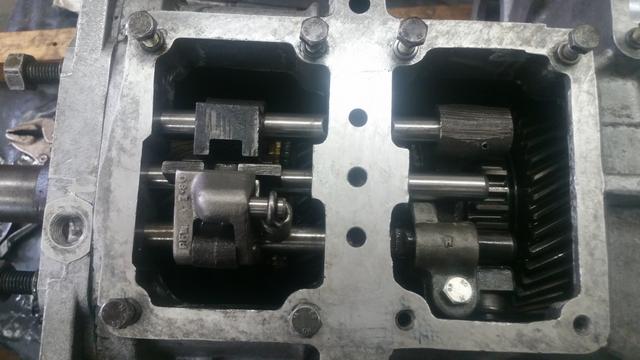
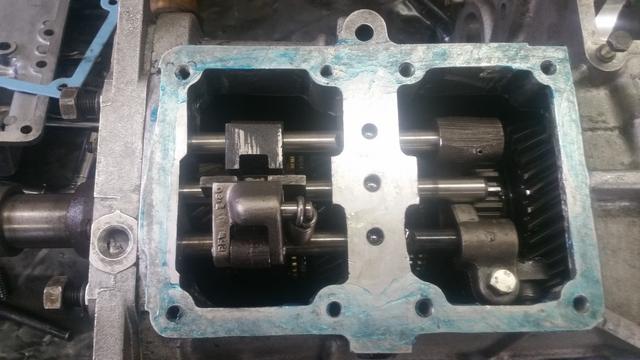
I was then able to fit the layshaft and bearing plate with primary pinion in place. I found this quite straight forward by just lowering it into place with one hand, and guiding the back layshaft bearing into its cup with the other.
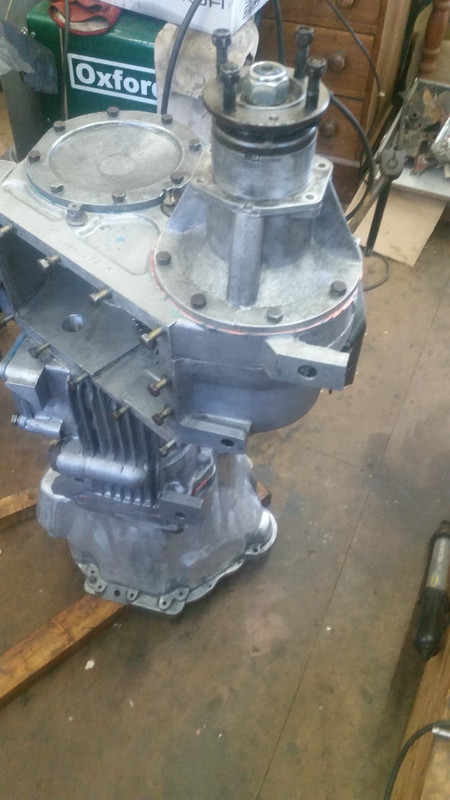
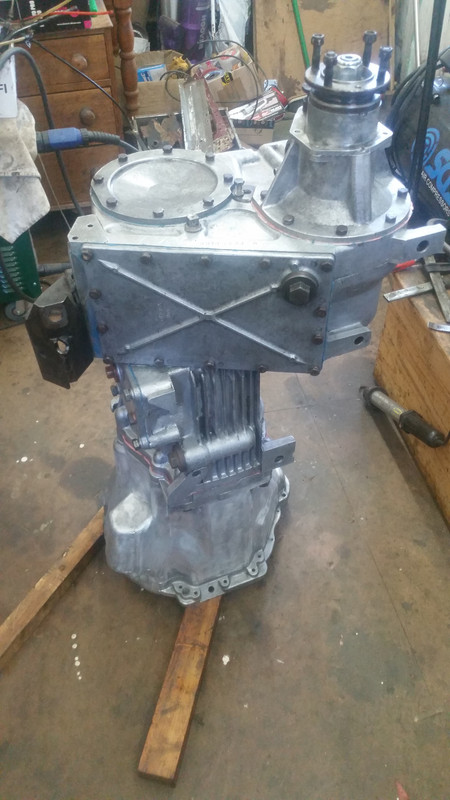
So, I now had a rebuilt main box, well almost, still have the selectors, and reverse to sort, but feeling good having gotten this far.
To be continued.

 [/url]