Page 10 of 24
Re: Restoration
Posted: Sun Apr 12, 2020 9:33 am
by Cliff4WD
Well who knew the world would be turned upside down and interrupt my efforts. What with persistent rain, storms, flooding, my Father passing, Mother needing support, and now a Pandemic and a dear friend dying unexpectedly, and feeling very ill myself, I haven't really had the motivation to get back to work.
I've been reluctant to start ordering stuff and have couriers spreading it around, but I also want the businesses we use to survive, so I've put in my order for a pair of front swivel kits. I don't know if DDE are trading at the moment, but I'll no doubt find out after Easter. I've also ordered myself a nice parts washer as I was struggling cleaning parts in an old garden tub. So hopefully I'll get that lot soon enough and resume work.
I managed to source and collect a set of 5 steel wheels 16"x7J before lockdown for the front disc brake conversion. However, the zeus kits are now out of stock I left it so long. Waiting on word from them on availability.
Plan is to get cracking again, and get on with it. There's so much work to do and I don't want an unfinished project as a permanent garden feature!
Re: Restoration
Posted: Mon Apr 13, 2020 4:59 pm
by Fish
The beauty of restoration is you can always take a break for a sec if you're not feeling it!
Just got my engine out today.. virtually just a chassis, and it still has quite a bit of origional paint left on it!!
Keep safe.
Re: Restoration
Posted: Fri Apr 17, 2020 2:55 pm
by Cliff4WD
Fed up with struggling to clean parts in a washing up bowl, I invested in a nice new parts washer.

All set up...
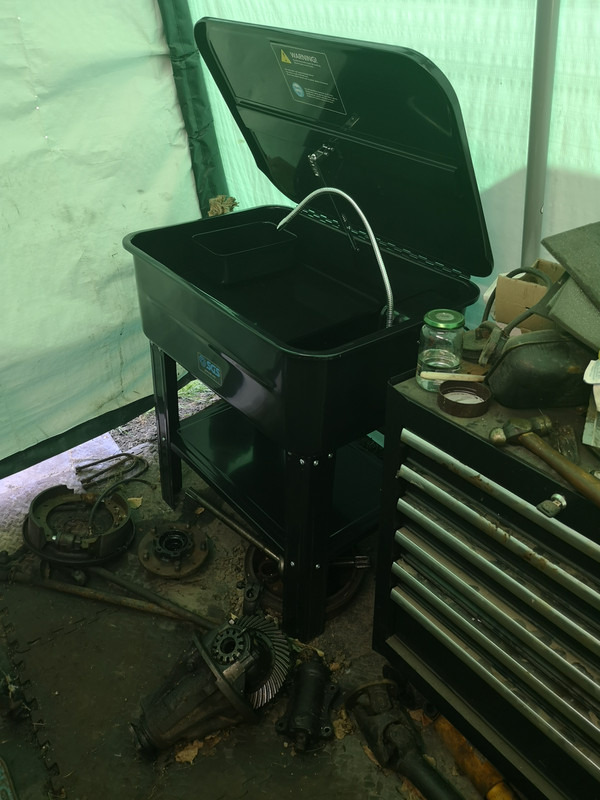
and christened today with 25ltrs of Jizer.
Attacked the pile of front axle parts waiting to be cleaned.

Re: Restoration
Posted: Fri Apr 17, 2020 3:30 pm
by firemanshort
Super nice and jealous..... I want one.
Our Club has an independent shop owner that provides us with really good support. He has this thing that looks like a industrial dishwasher from a submarine that he racks parts in and spins the door shut and it goes through about a 30 minute jet clean cycle with heated cleaning solvent. The parts come out sparkling with no effort or hand scrubbing. Not practical for home application but I sometimes carry larger parts and bigger jobs to him and ask him to put them through a cycle for a few dollars.
Re: Restoration
Posted: Fri Apr 17, 2020 5:30 pm
by Cliff4WD
Hmmmm, hot solvent industrial dishwasher, wonder if I could hook up Mrs Cliff4WD's kitchen dishwasher with parts washer fluid? Might try that one day

Re: Restoration
Posted: Sat Apr 18, 2020 3:12 pm
by Cliff4WD
Spending money like I was a millionaire or something. Took delivery of a pair of shiny new swivel balls from DDE. Nicely packaged.

Open the box...
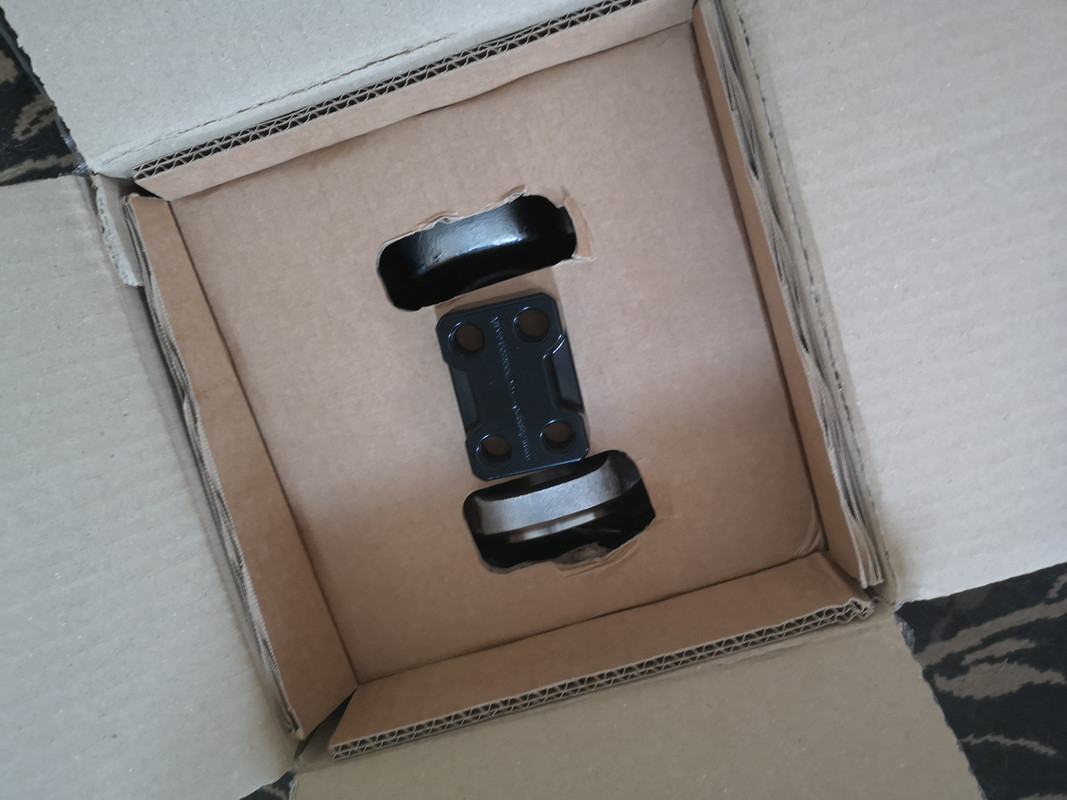
and underneath...
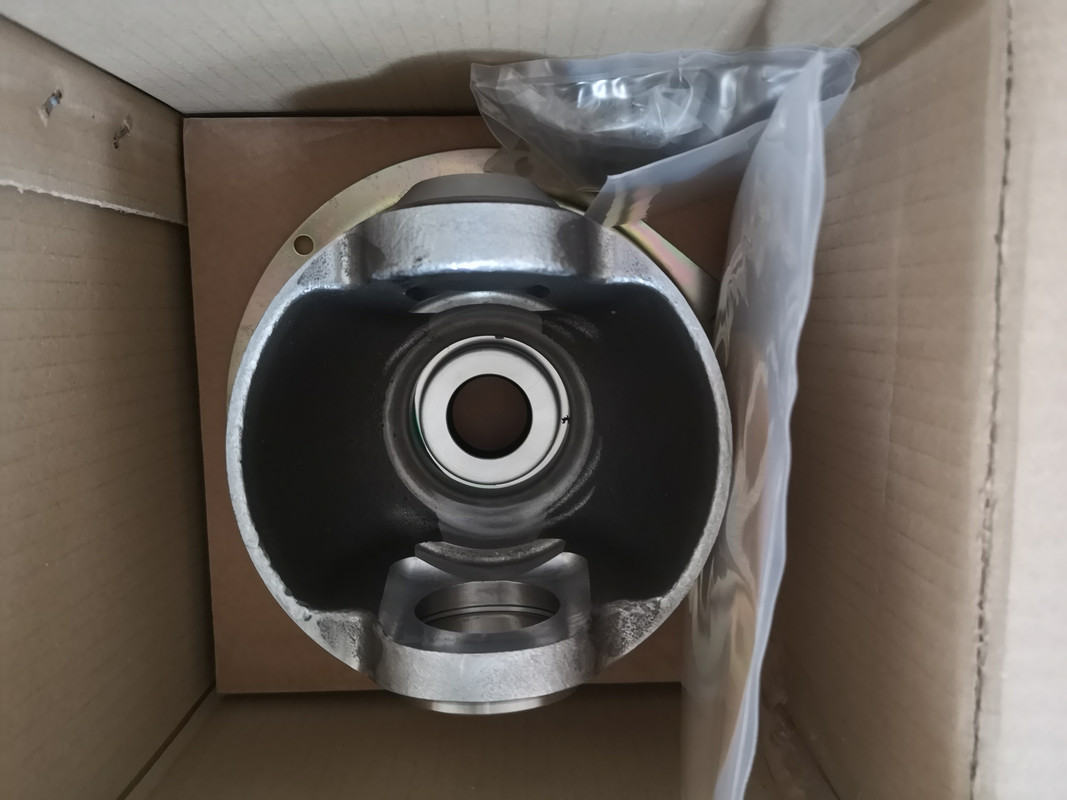
Get em out...

Looking forward to putting these on.
Re: Restoration
Posted: Sat Apr 18, 2020 9:30 pm
by Fish
Oooh looks nice...
Re: Restoration
Posted: Sun Apr 19, 2020 7:31 pm
by disco2hse
Excellent !
Re: Restoration
Posted: Tue Apr 21, 2020 5:58 pm
by Cliff4WD
I got stuck in yesterday and began stripping down the offside ball swivel as it was still on the axle. All coming apart reasonably well until I tried to remove the steering arm, it wouldn't budge for love or money. Nuts off the studs and top pin out, I managed to tilt and remove the housing from the swivel ball but even on the bench, I couldn't get the arm to free up and pull out of the housing. Tried soaking with penetrating fluid, heat, hammering, but it won't budge. I don't understand what's holding it? I may have to leave it in place. Good job the bearing can go on the pin and the ball fitted with it in situ. Put it aside while I attacked the bolts holding the ball to the axle case, gave that up after a while struggling with an inadequately short 3/8" BSF open ended spanner. Ordered some new spanners! and cracked open a beer!
Re: Restoration
Posted: Tue Apr 21, 2020 7:33 pm
by disco2hse
Sounds like you need to put in an order for one of these.
https://www.alibaba.com/showroom/large- ... press.html
Re: Restoration
Posted: Wed Apr 22, 2020 5:02 pm
by firemanshort
Your shiny balls are straight Rover porn. I am super jealous.
Re: Restoration
Posted: Thu Apr 23, 2020 12:47 pm
by Cliff4WD
Ha, my mum warned me about short shiney ball admiring firemen

Seems I ordered the wrong sized spanners

still, where there's a will. Managed to get the old ball off and started to give the axle case a clean.
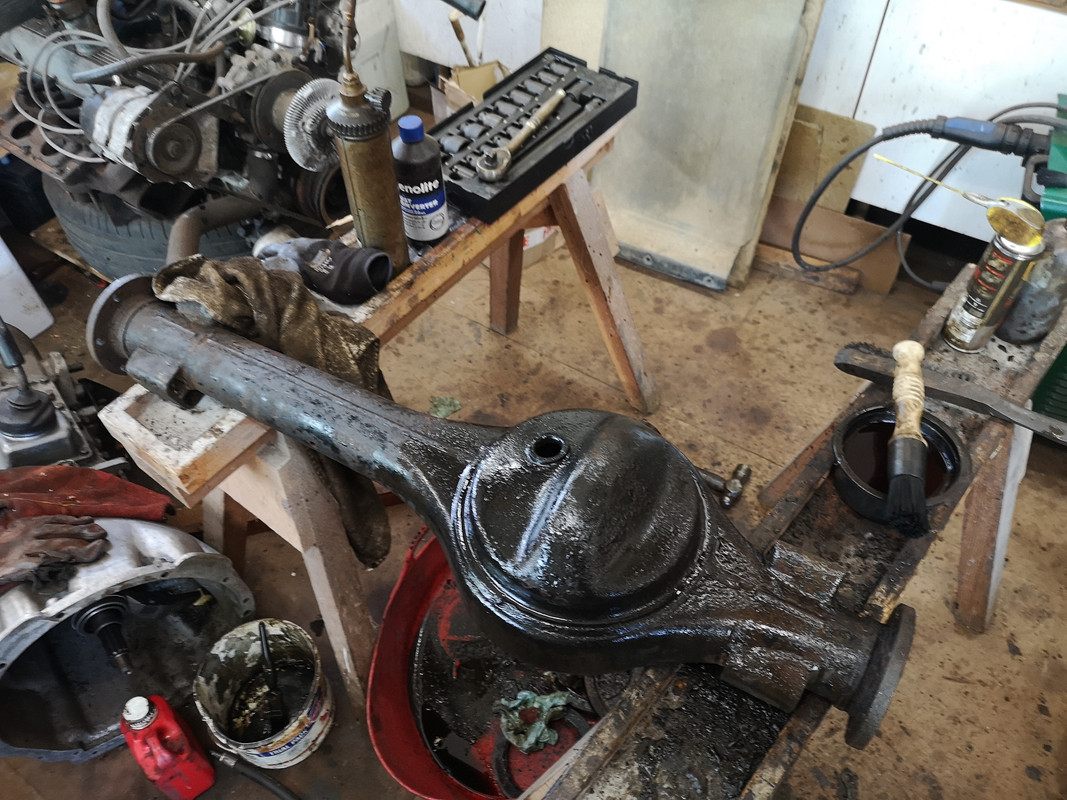
Box of new nuts & bolts, etc., arrived so crack on.
Re: Restoration
Posted: Thu Apr 23, 2020 11:40 pm
by Cliff4WD
Wire brushed and rust converter applied ready for painting.
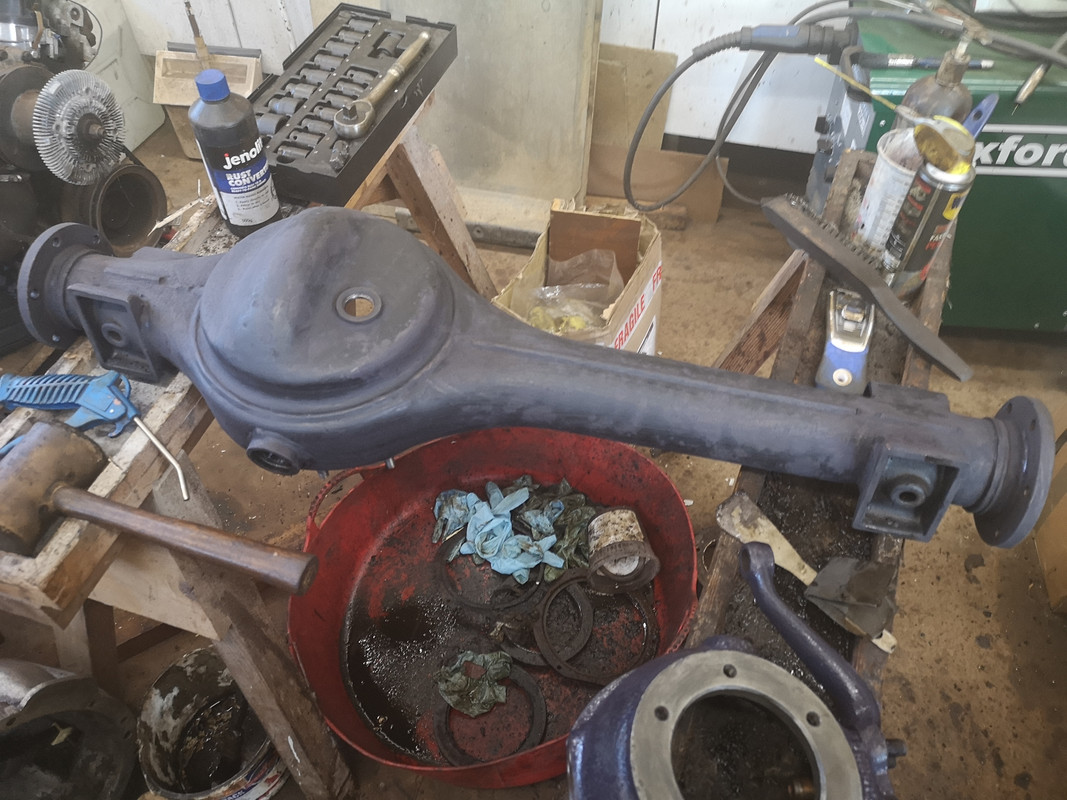
Still not been able to get the arm off the swivel housing, so wire brushed and rust converter with it in place for now.

I'll do the other housing tomorrow and get some paint on ready for the rebuild.
Re: Restoration
Posted: Fri Apr 24, 2020 11:26 pm
by Cliff4WD
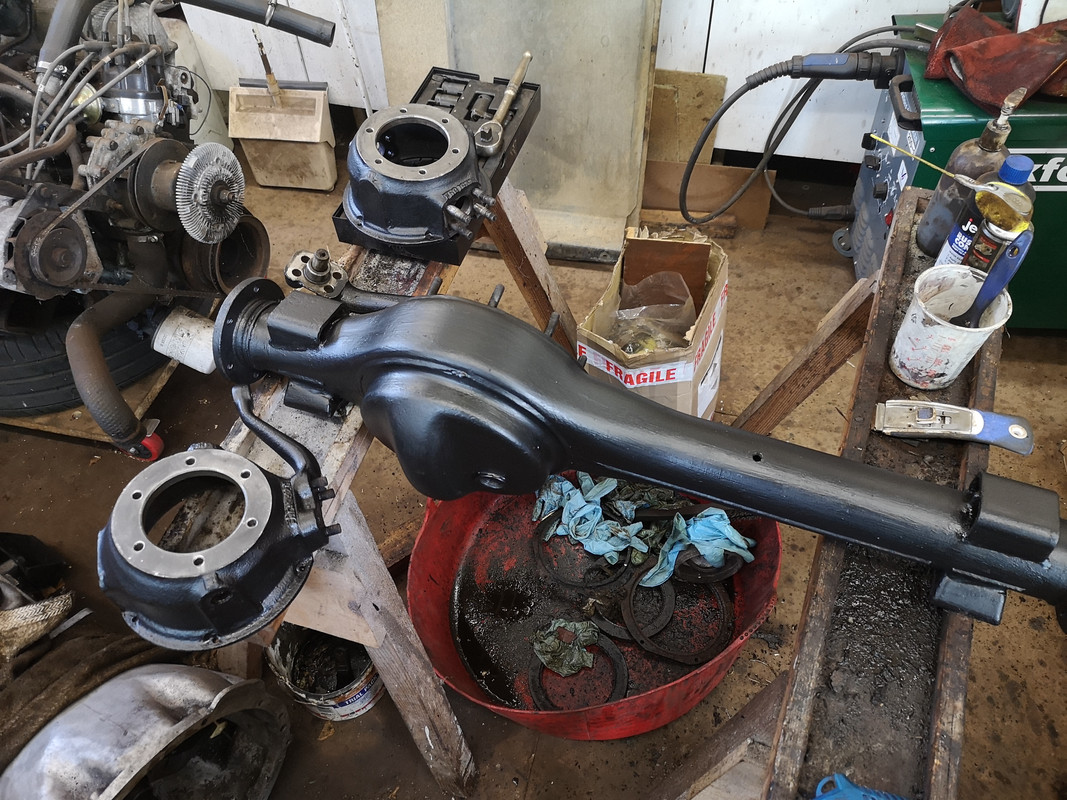
All cleaned, derusted, and painted ready to rebuild.
Re: Restoration
Posted: Mon Apr 27, 2020 11:26 pm
by Cliff4WD
Now that everything is clean and painted, it's time to assemble the swivel ball joints. First off, apply jointing compound between the mating faces and fit the steering arm in place.
Next, lube up the new steering arm pivot bearing...
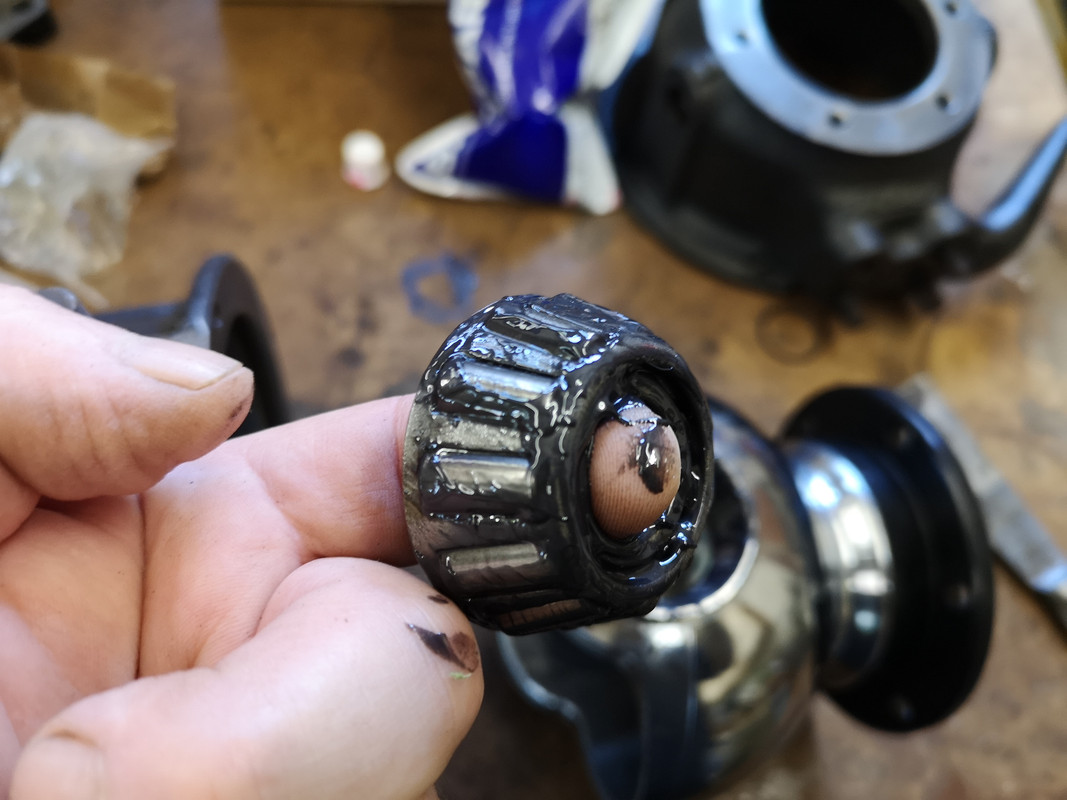
...and check it sits in its race nicely

Fit the bearing onto the pivot pin

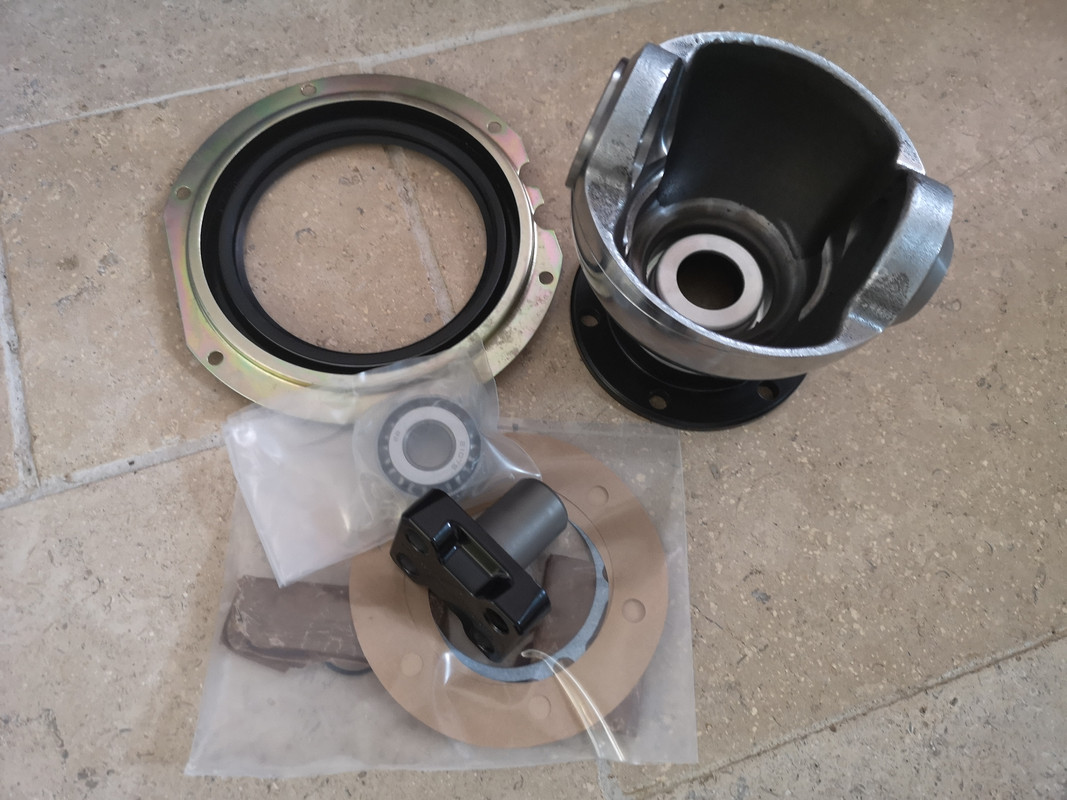
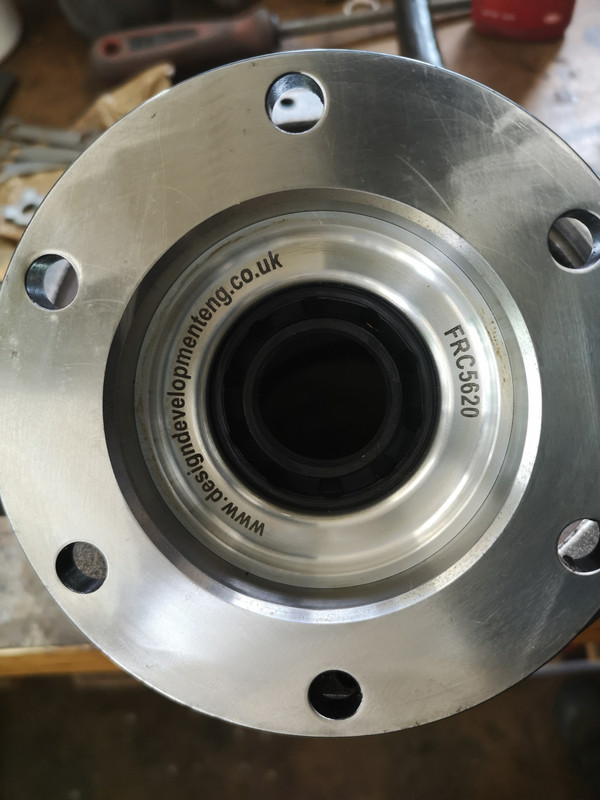
The new DDE machined swivel ball comes with bearing race and their own manufactured Railko bush already pressed in.
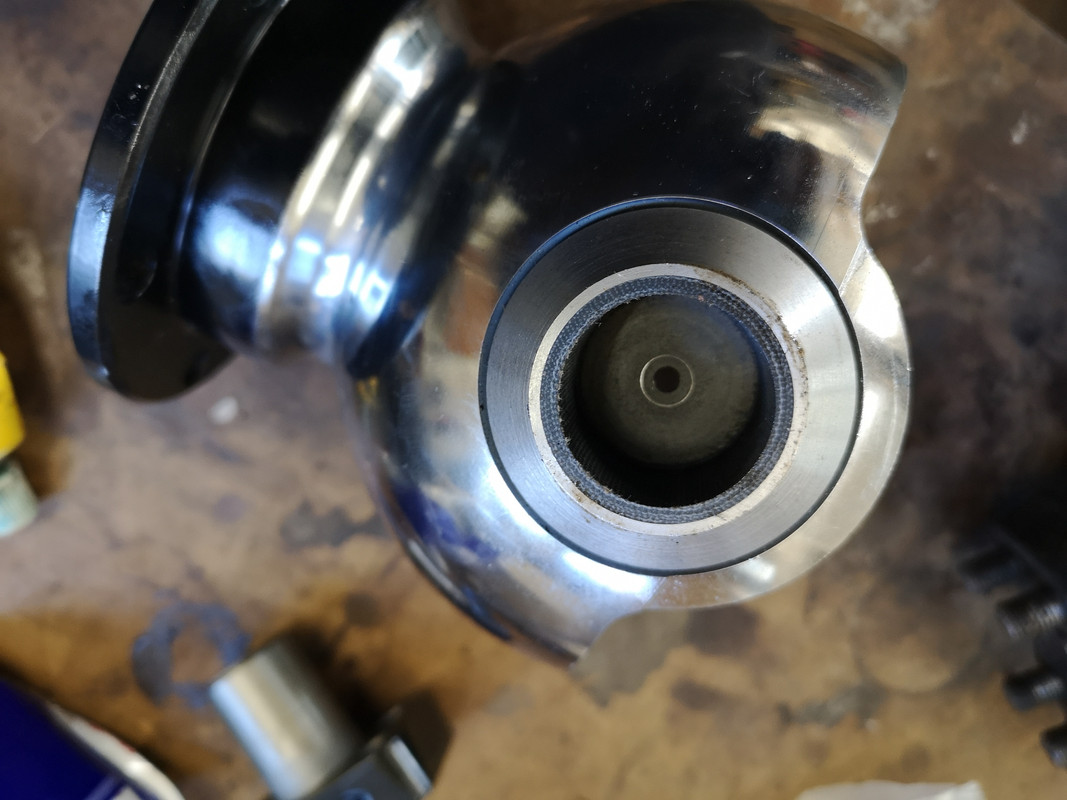
It also has their own manufactured seal holder and oil seal fitted in place.
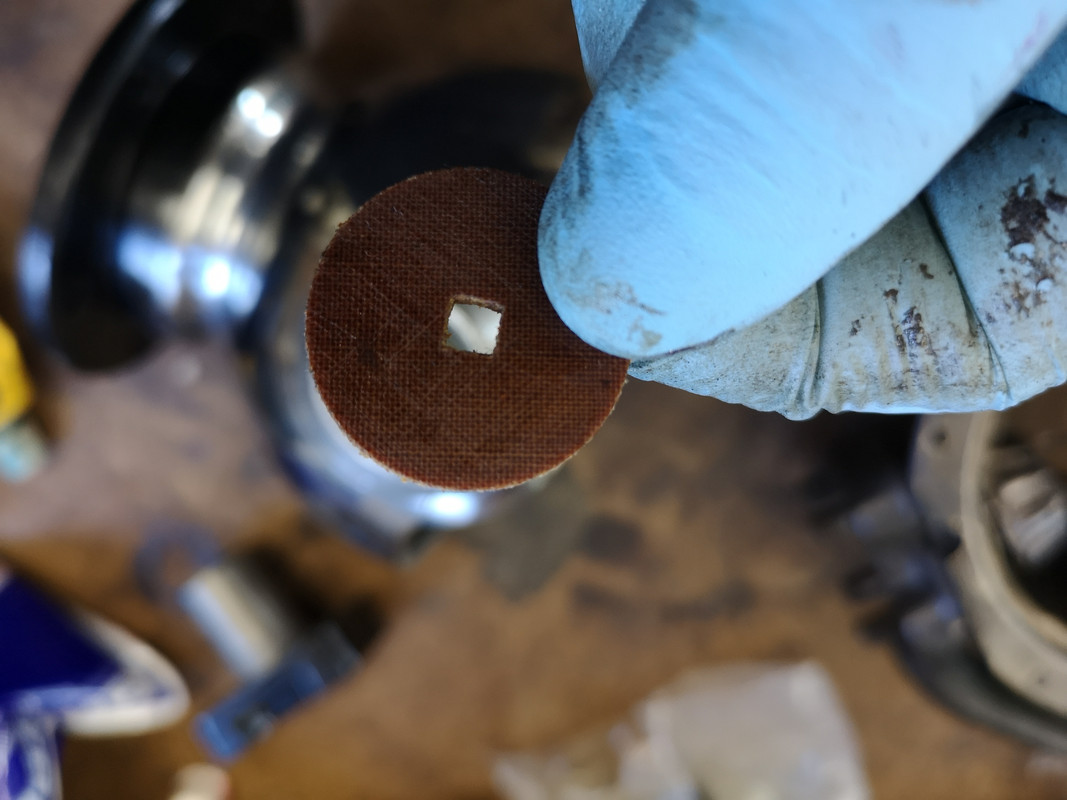
The railko thrust washer needs to go into the bush ...

...now assemble the ball into the housing by locating the bearing into its race

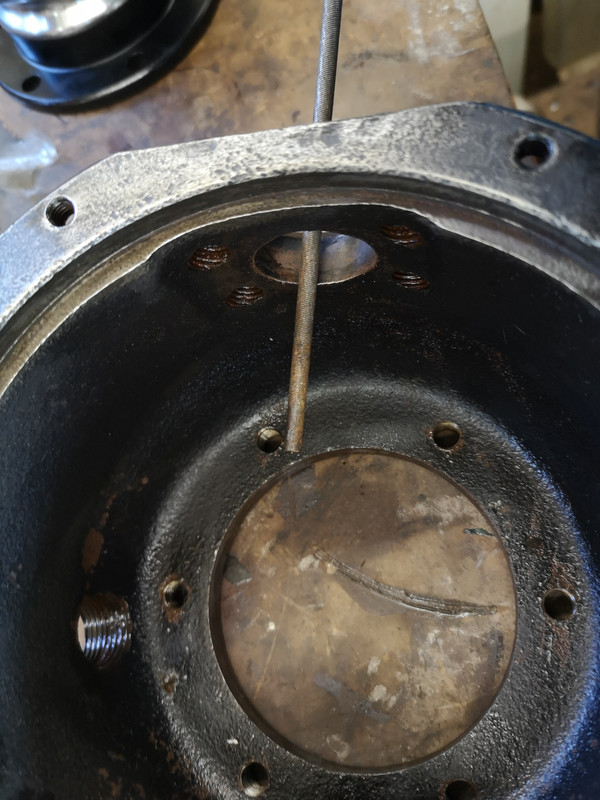
At this stage, the top pivot pin should be inserted holding the joint together ready for preload setup. However, my pin wouldn't go in. I discovered that there was a slight burr on the inside edge of the hole in the housing. This was a consequence of the ill fitting and badly corroded pin that I had removed. I hadn't looked closely enough at the housing when I inspected it after stripping it down and cleaning. The burr was very slight but more than enough to stop the pin sliding in. You can't really see it in the photo it is so slight.

Out came a fine round file and some emery paper and the adjustment made.
I had to carefully work away until the new pin went in without binding. It was time for the solder trick.
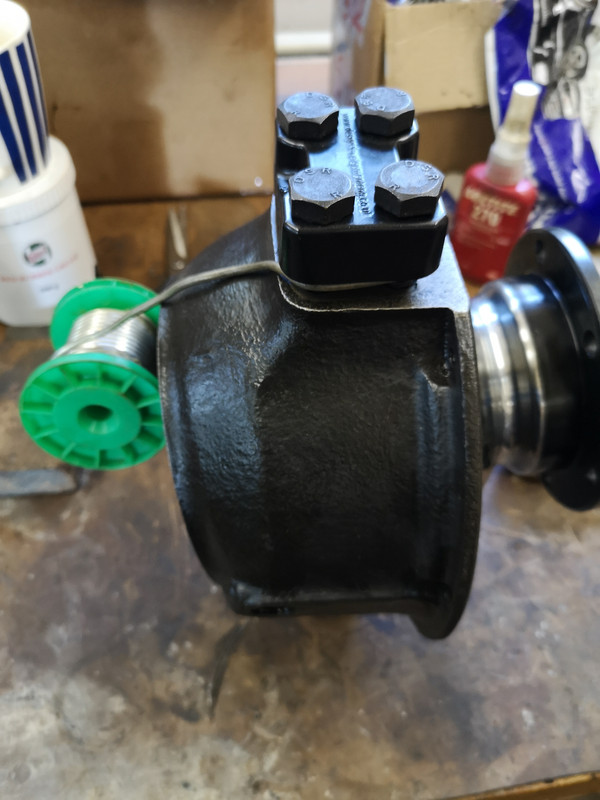
Wrapping the thick solder wire around the pin between the mating surfaces of pin and housing, it is crushed when the pin bolts are tightened down. Using a spring balance to check for the correct pre load and then undoing the bolts to release the flattened solder, it can then be measured to provide the required shim size to set the preload.
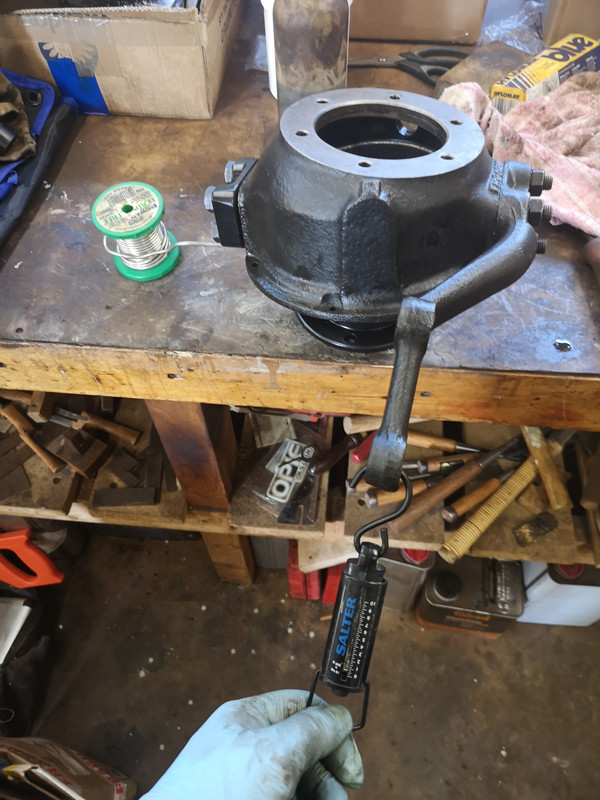
I did of course mount the swivel ball in a soft jawed vice so that I could torque the bolts and measure the preload correctly...
... 8 to 10 lbf

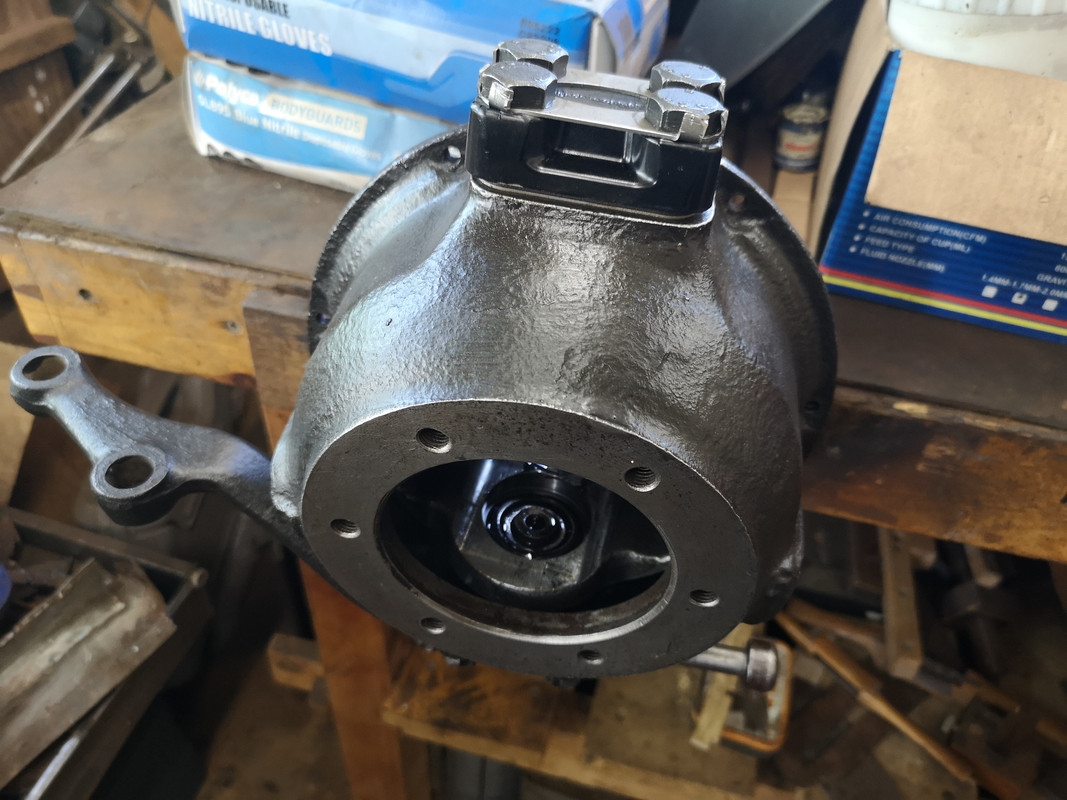
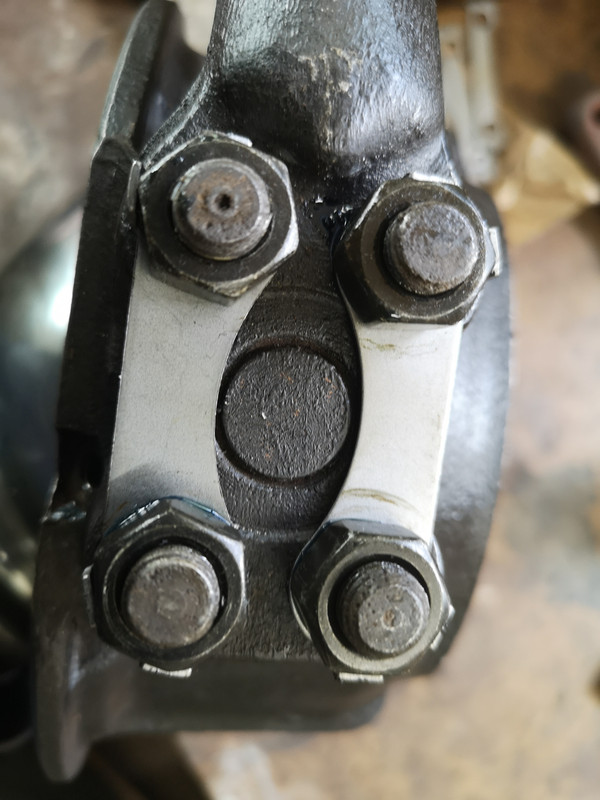
All the lock tabs were now bent over to lock the bolts and nuts in place.
Finally, I could now fit the swivel ball seal. I packed the seal with grease...
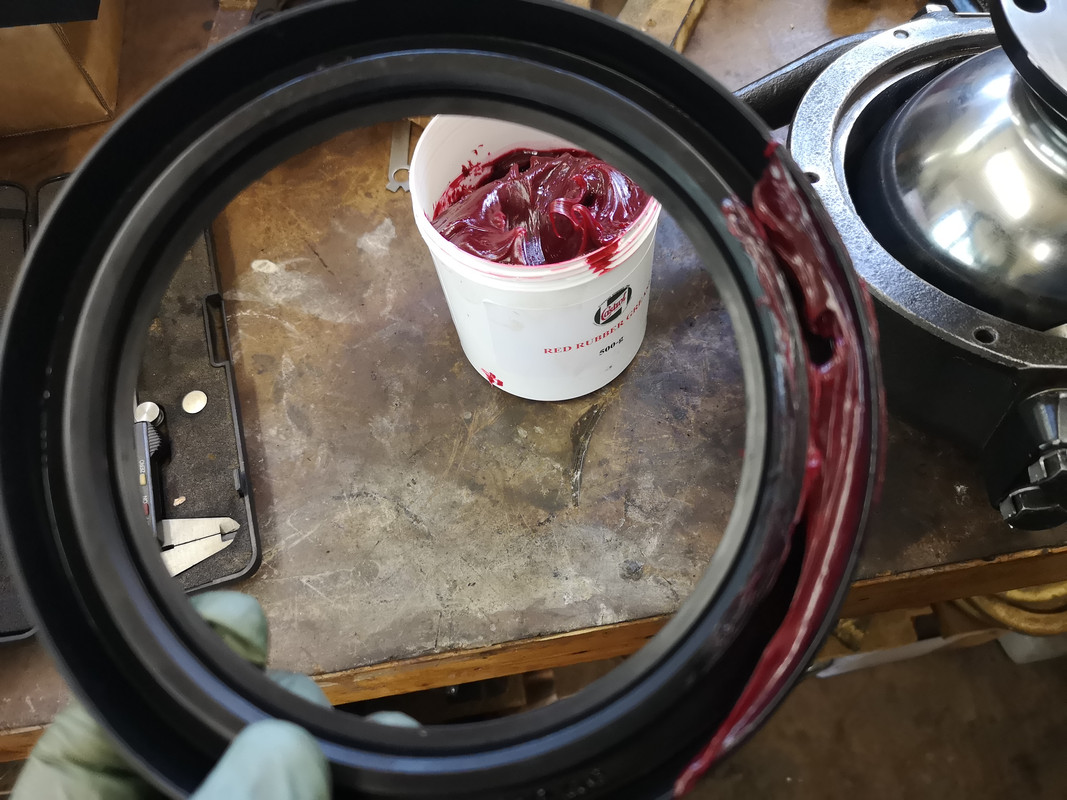
...and then inserted it in place ensuring good even contact with the ball. I used jointing compound to bed the seal and then clamped it in place with the new holding bracket.

Well, one down...
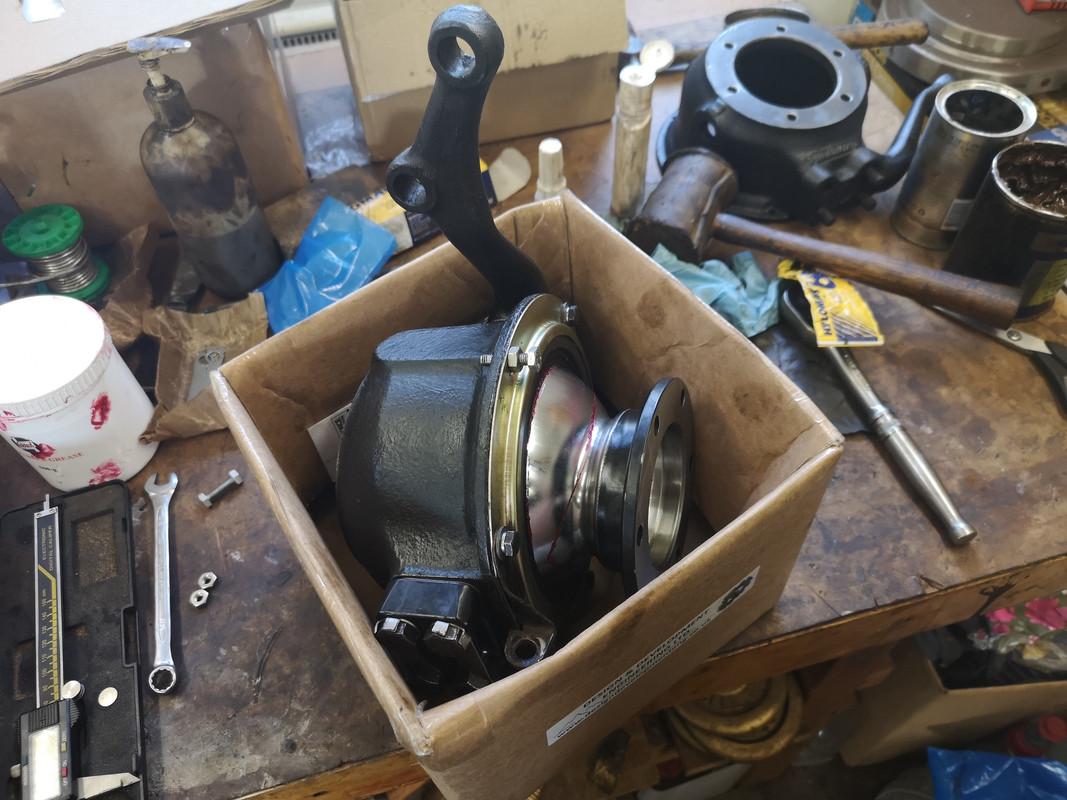
...now need to get on and do the other one.

 still, where there's a will. Managed to get the old ball off and started to give the axle case a clean.