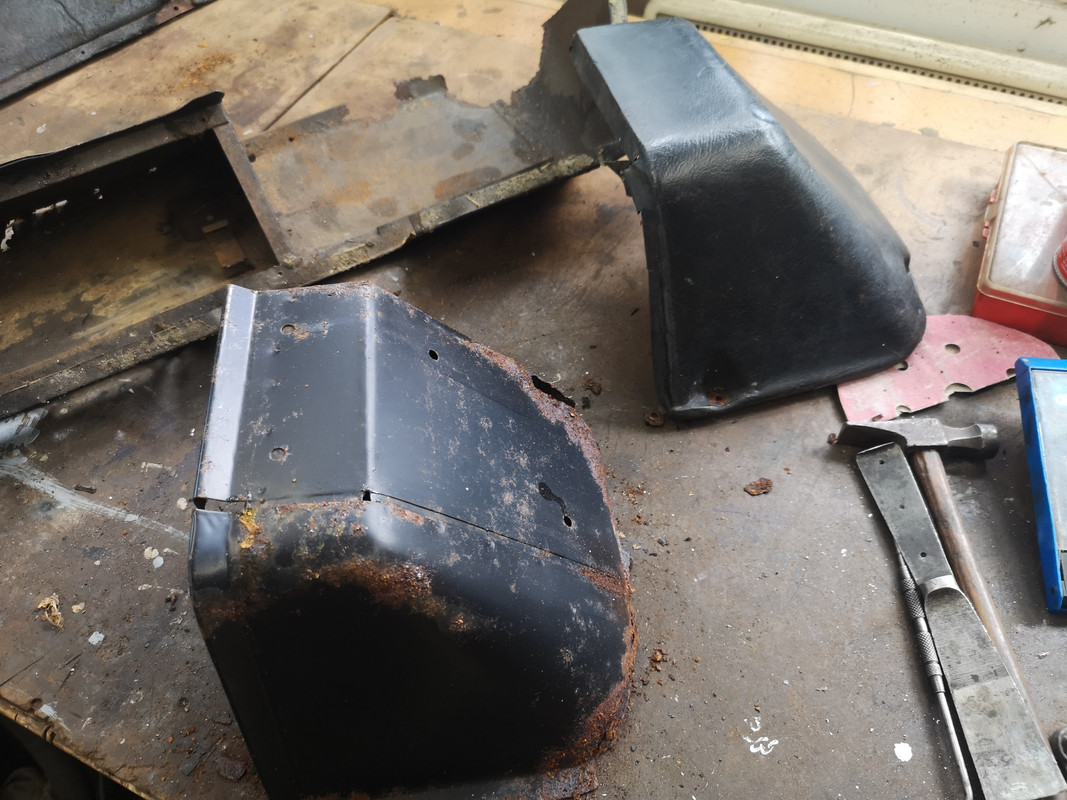
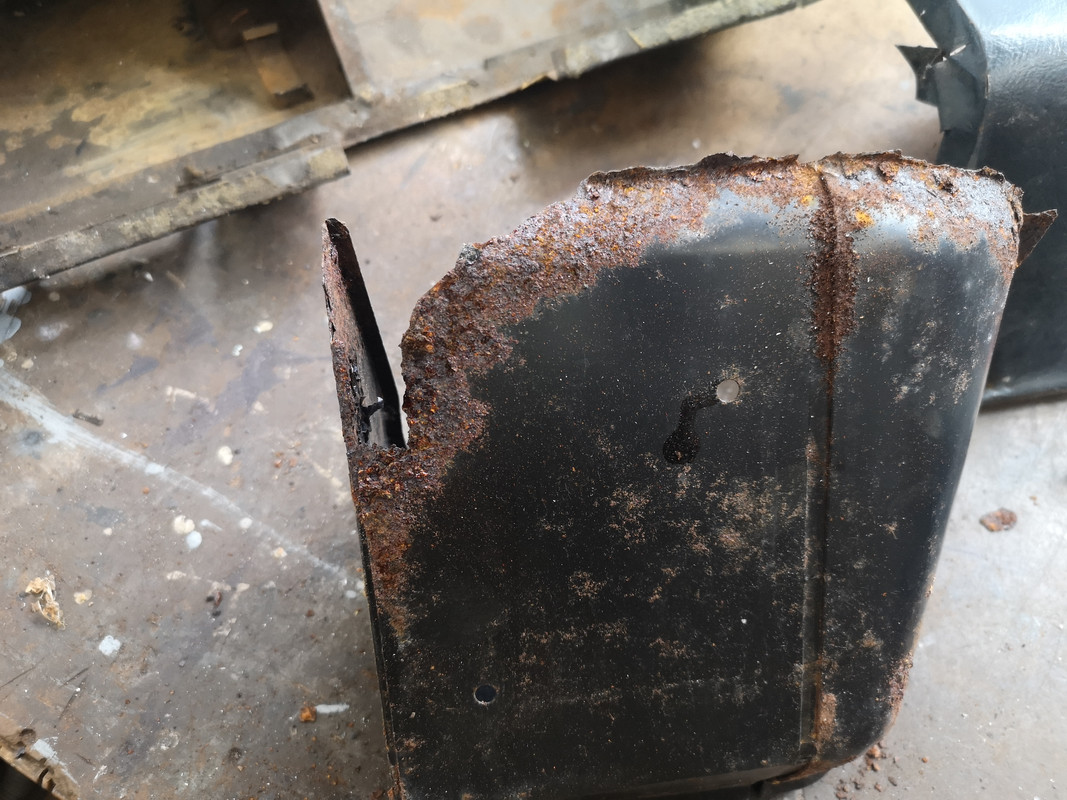
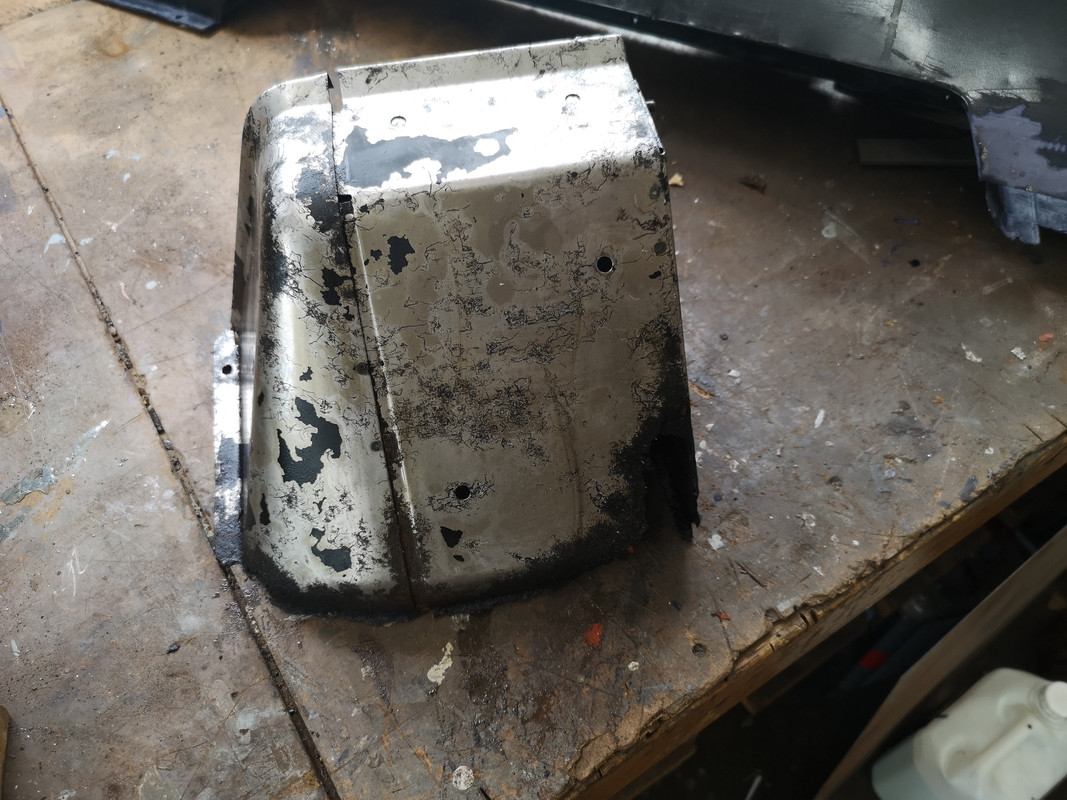
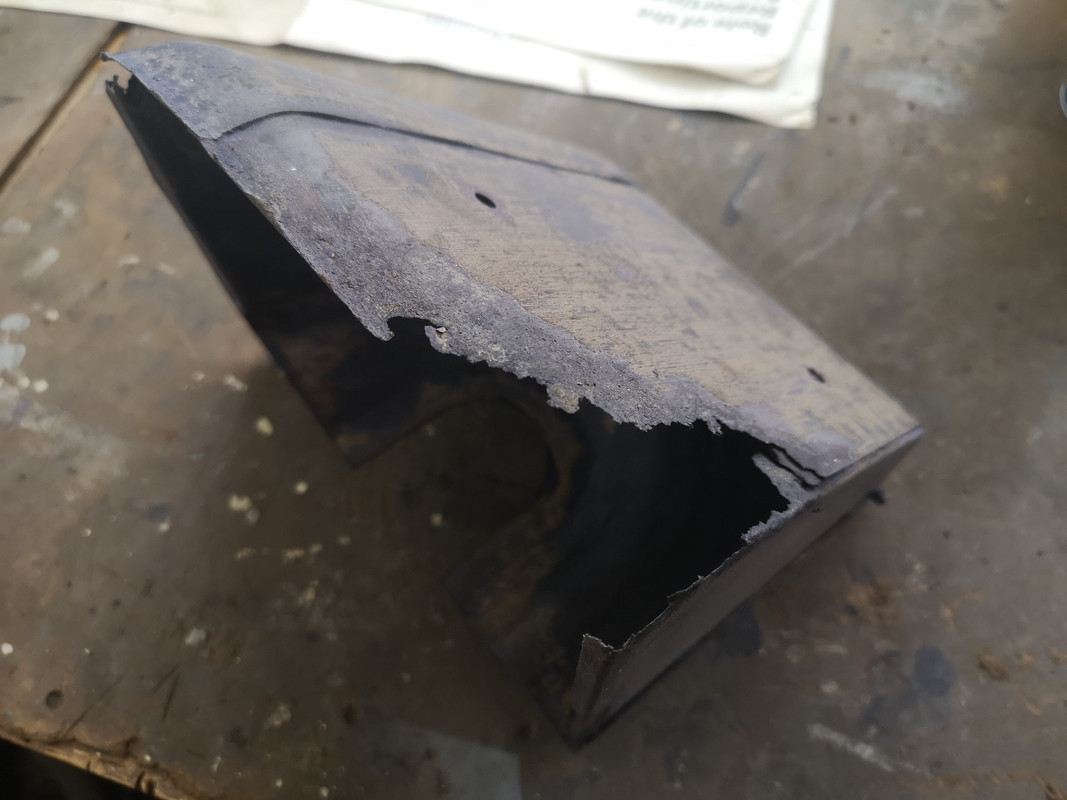
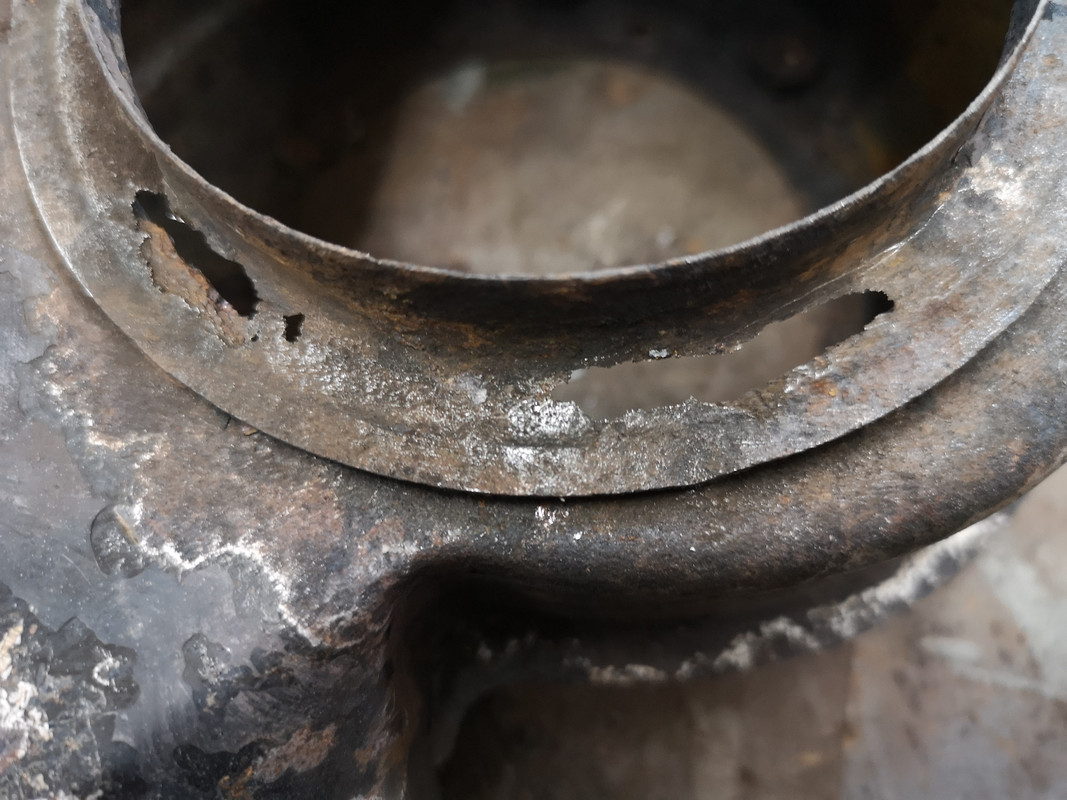
After mulling over what to do with the seat box I decided it would be a whole lot easier to just replace the rusting boxes. I didn't feel motivated enough to remove rust, modify to take a bigger or duel battery setup, and try to make good, so opted to order new aluminium boxes from YRM. I would have been interested in the Emberton boxes had I known about them sooner, but c'est la vie.
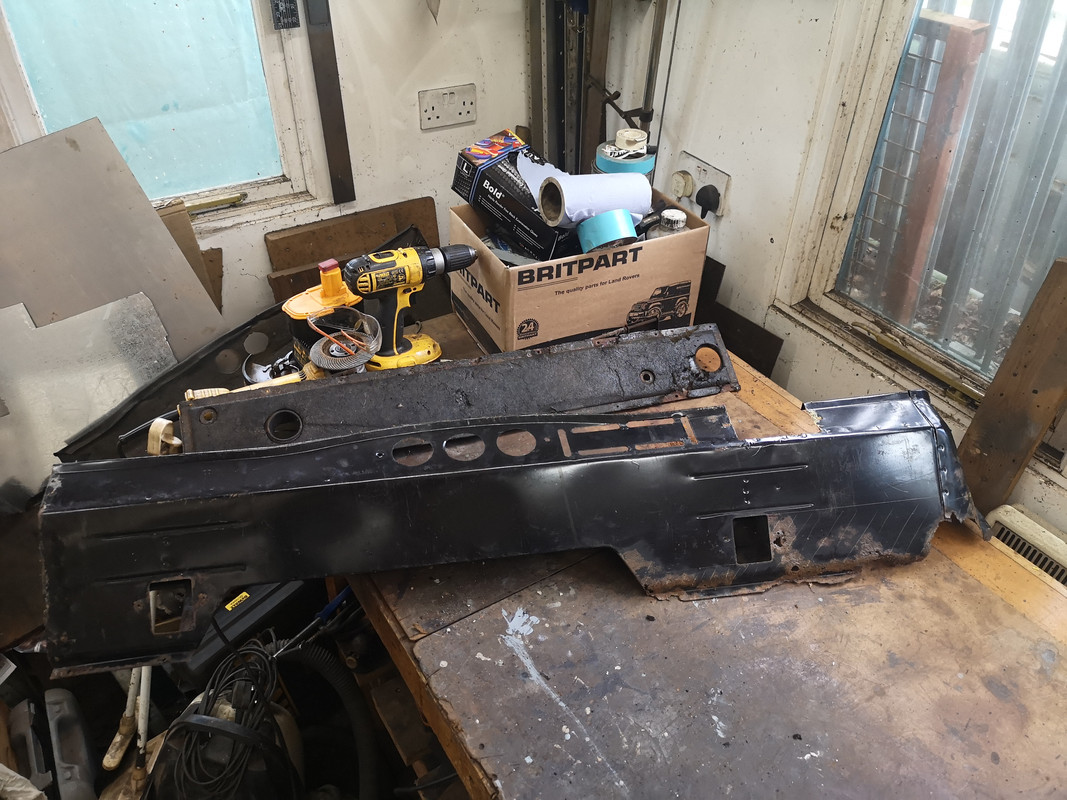
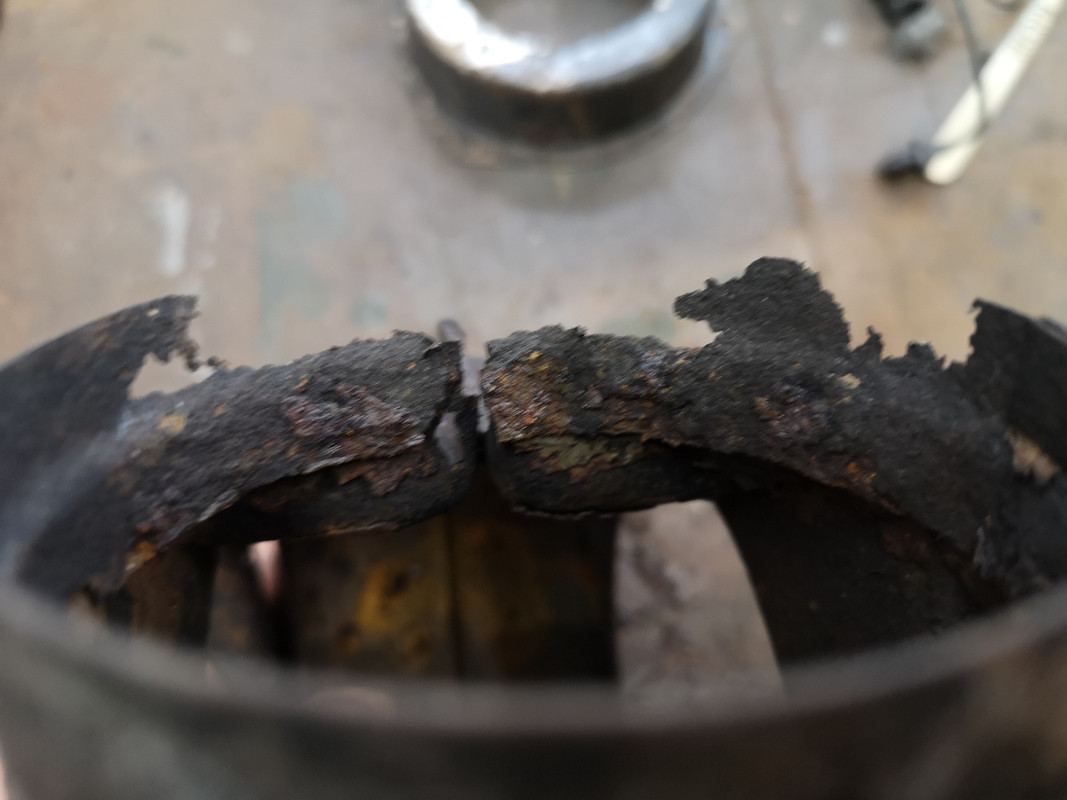
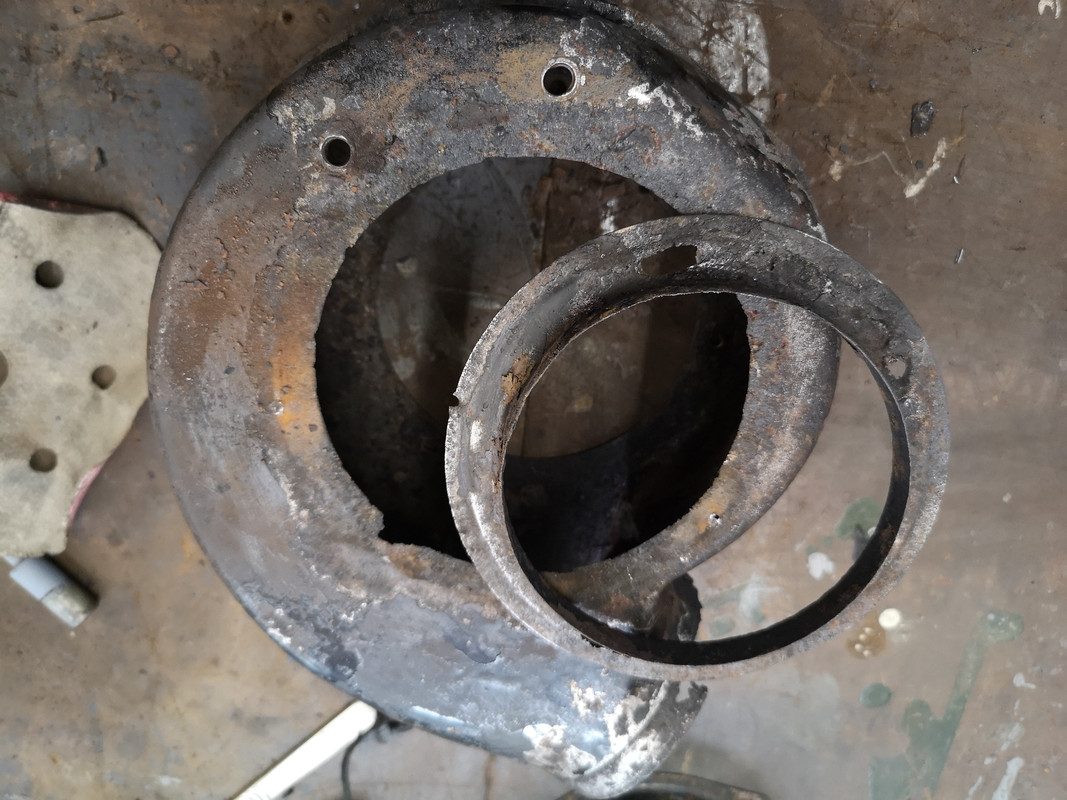
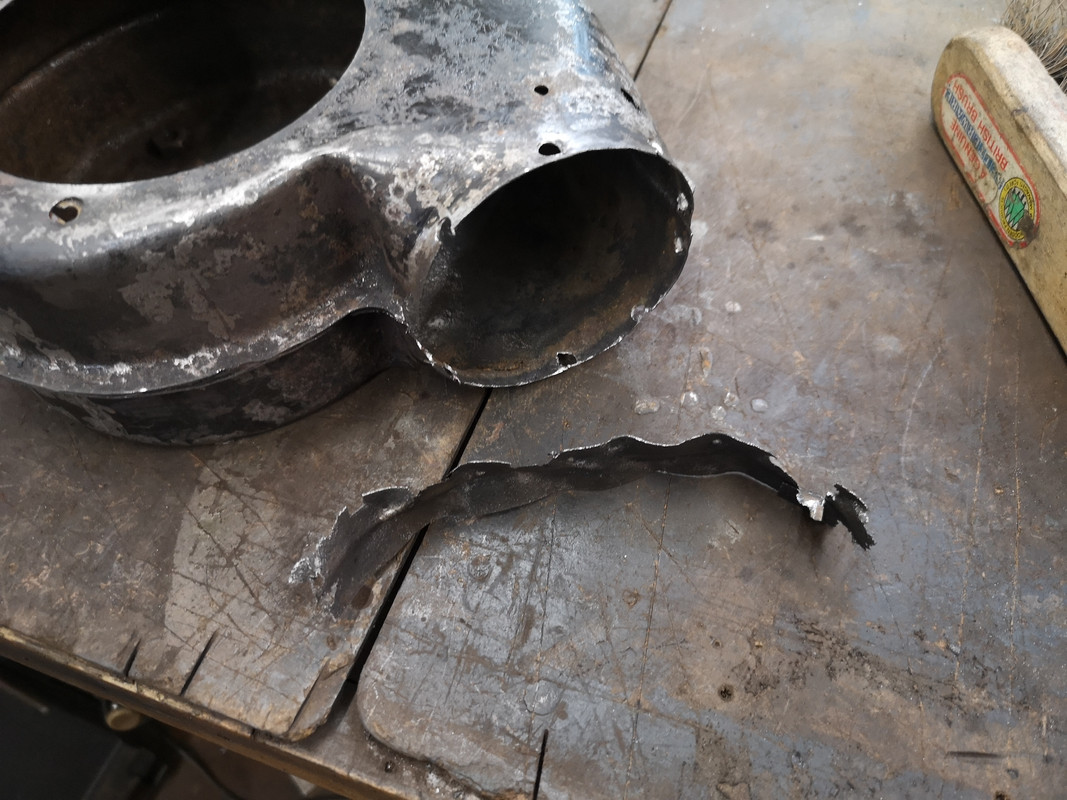
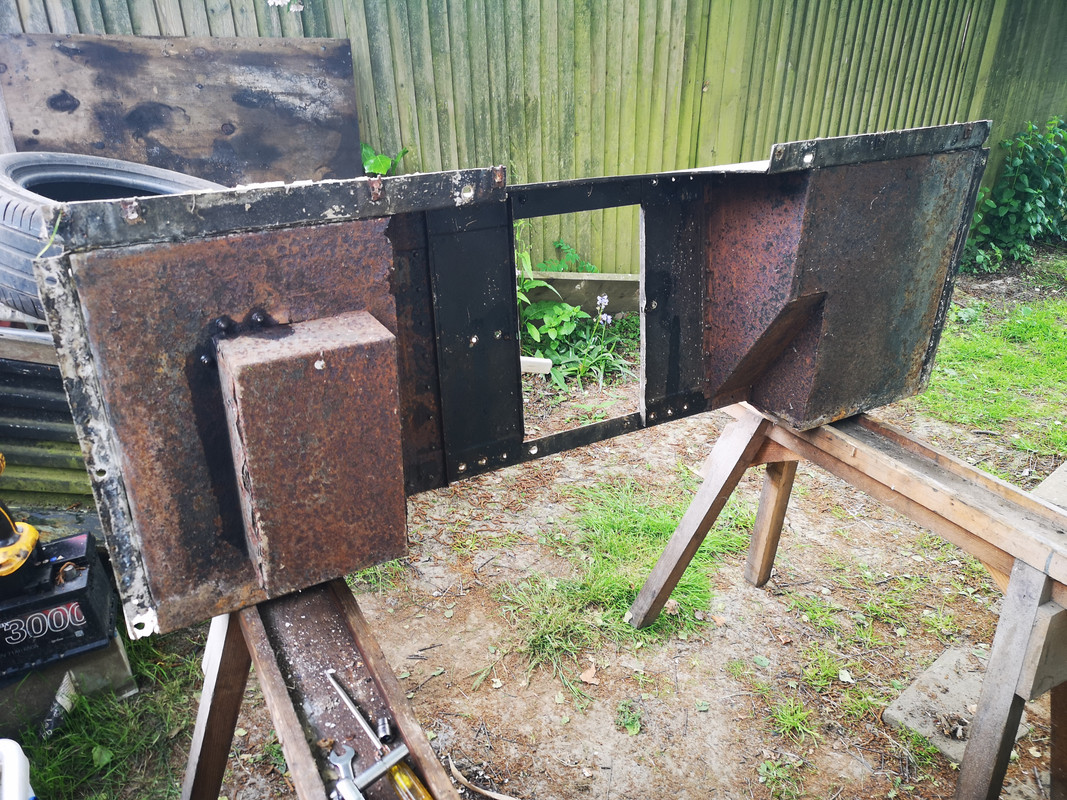
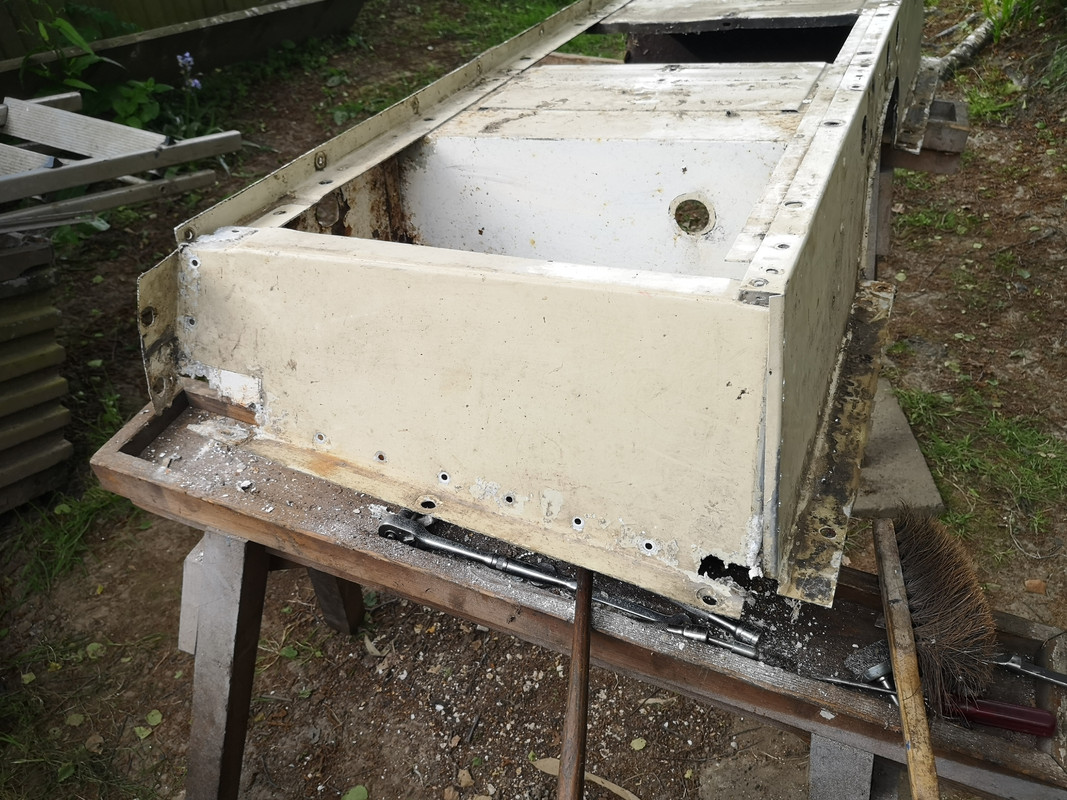
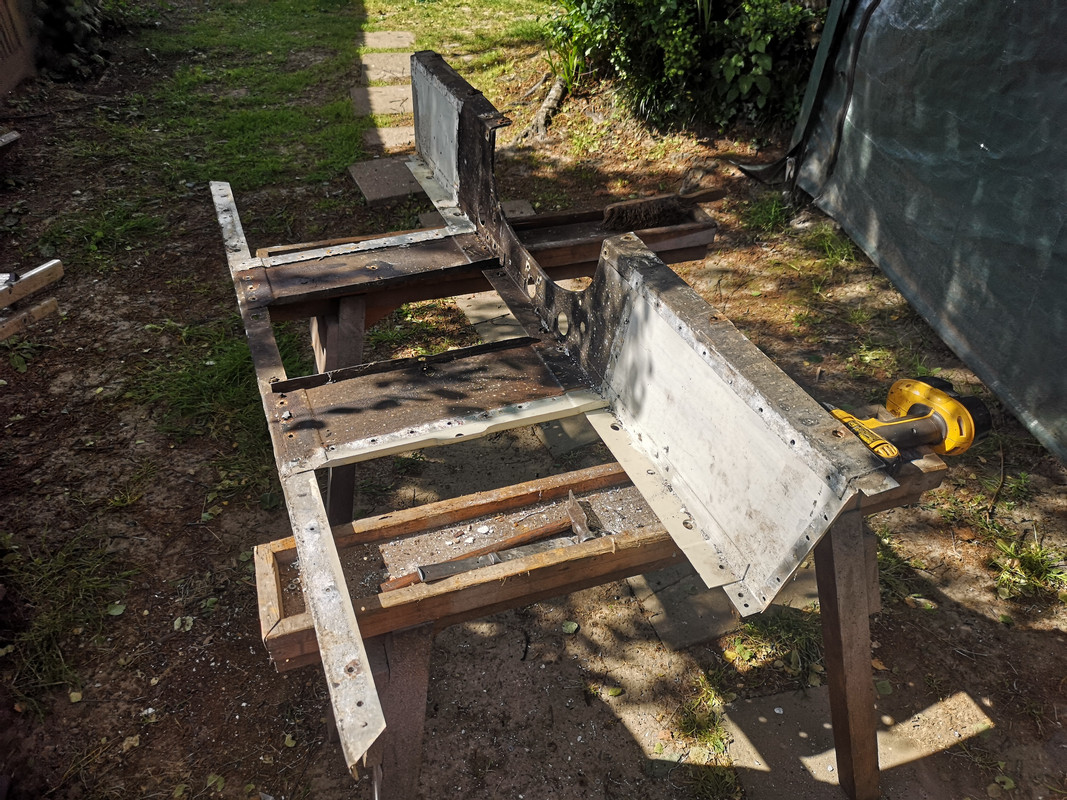
First job then, remove the tool box
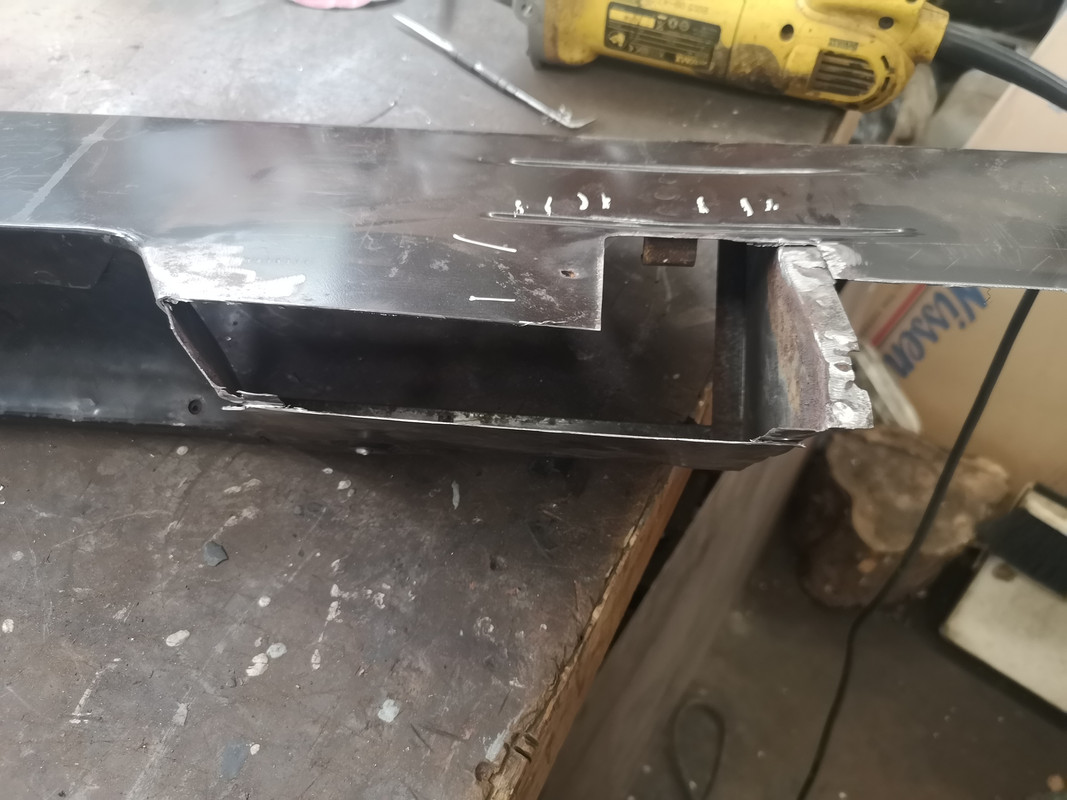
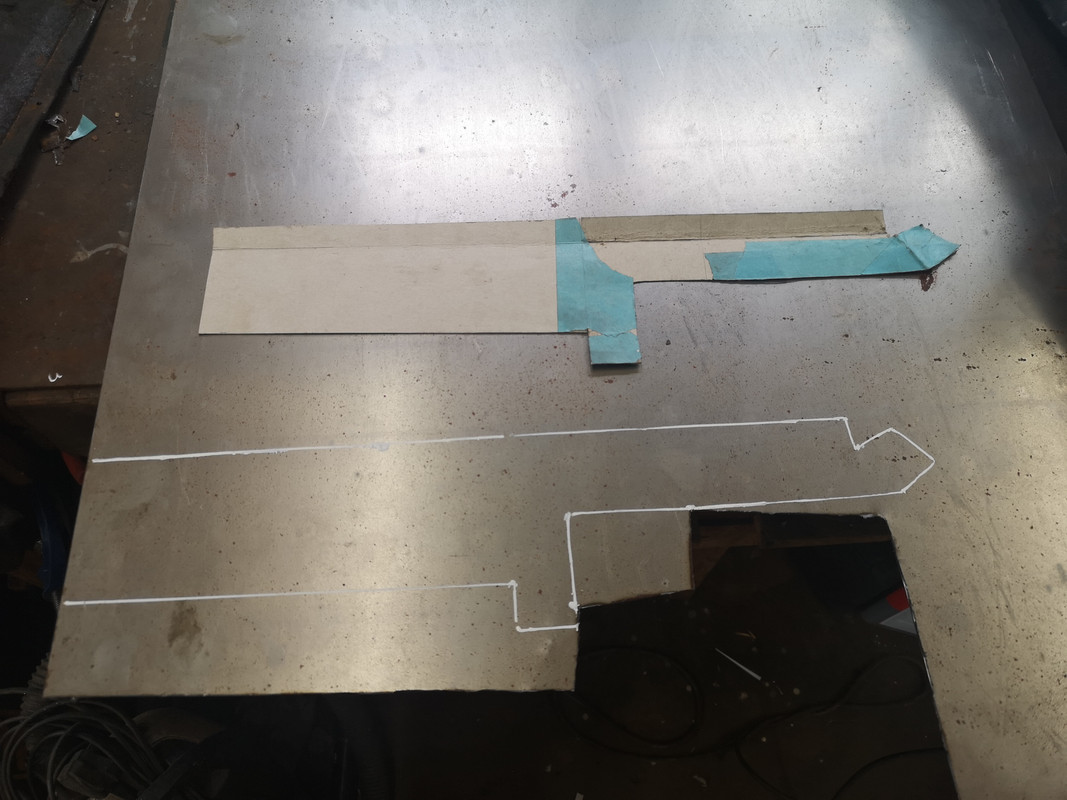
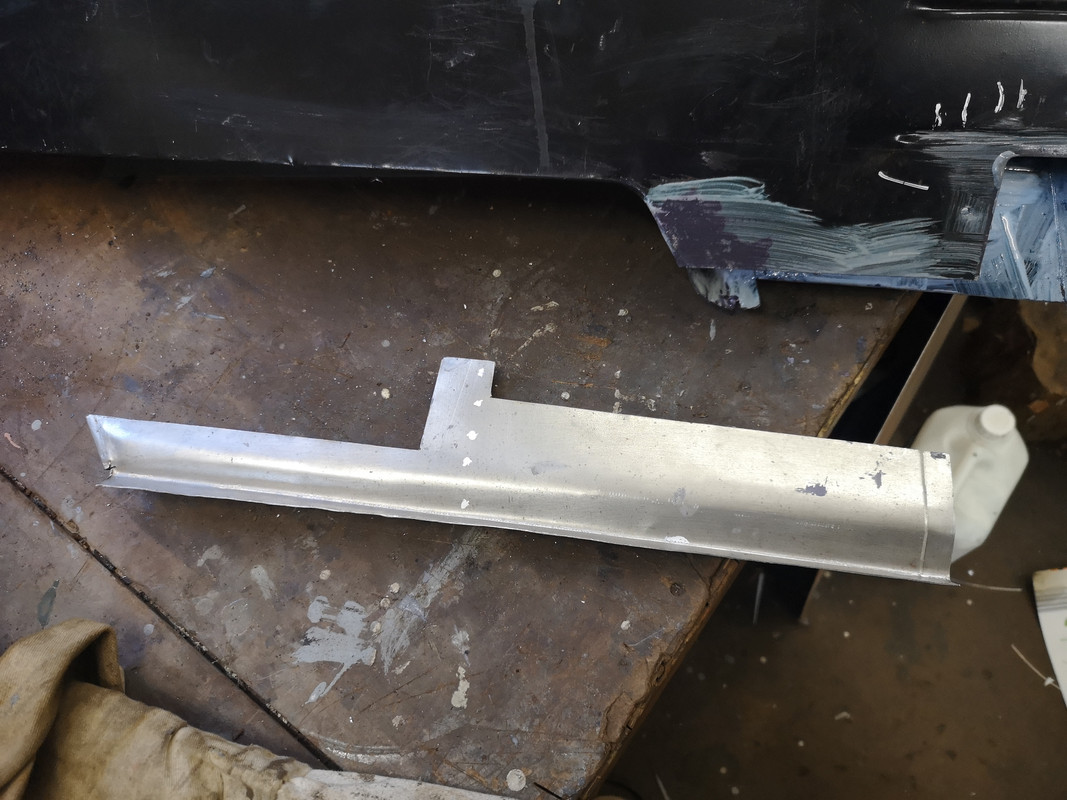
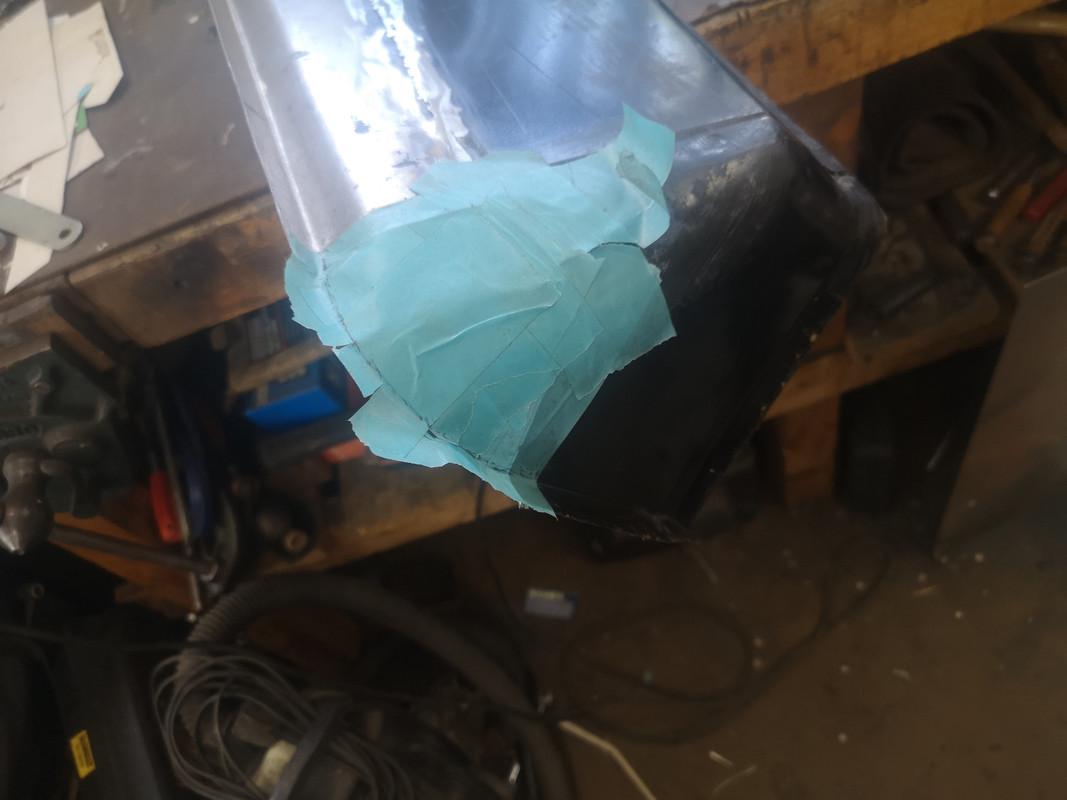
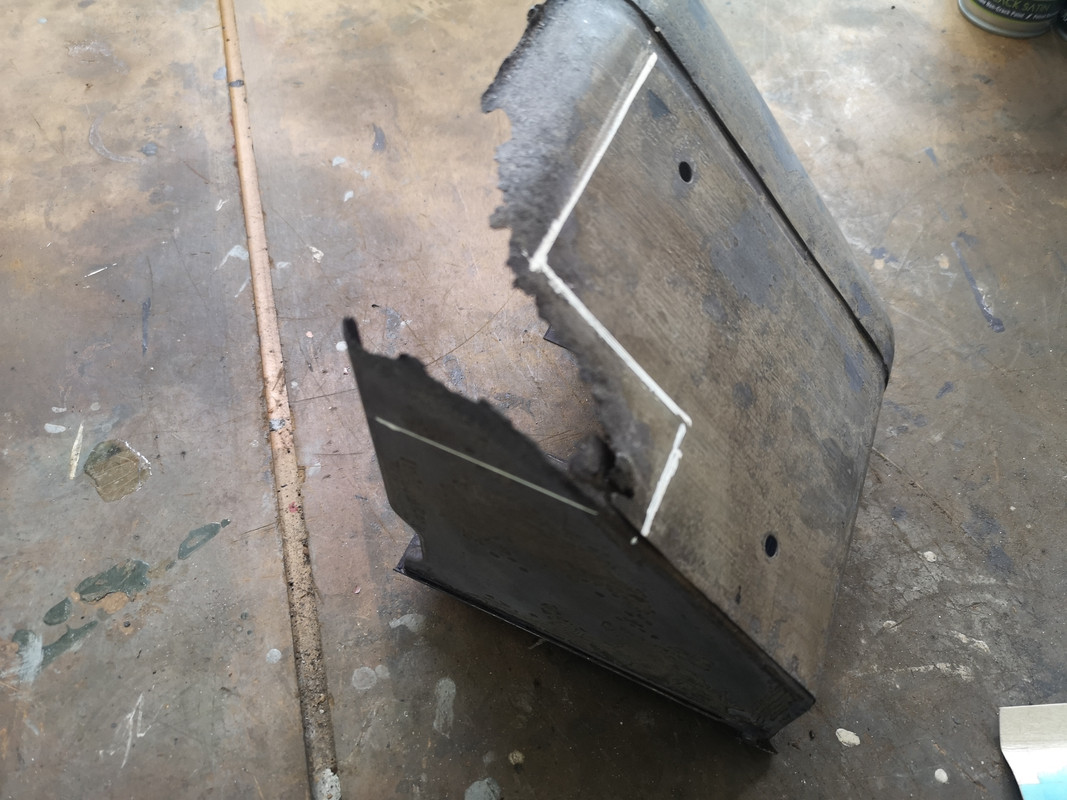
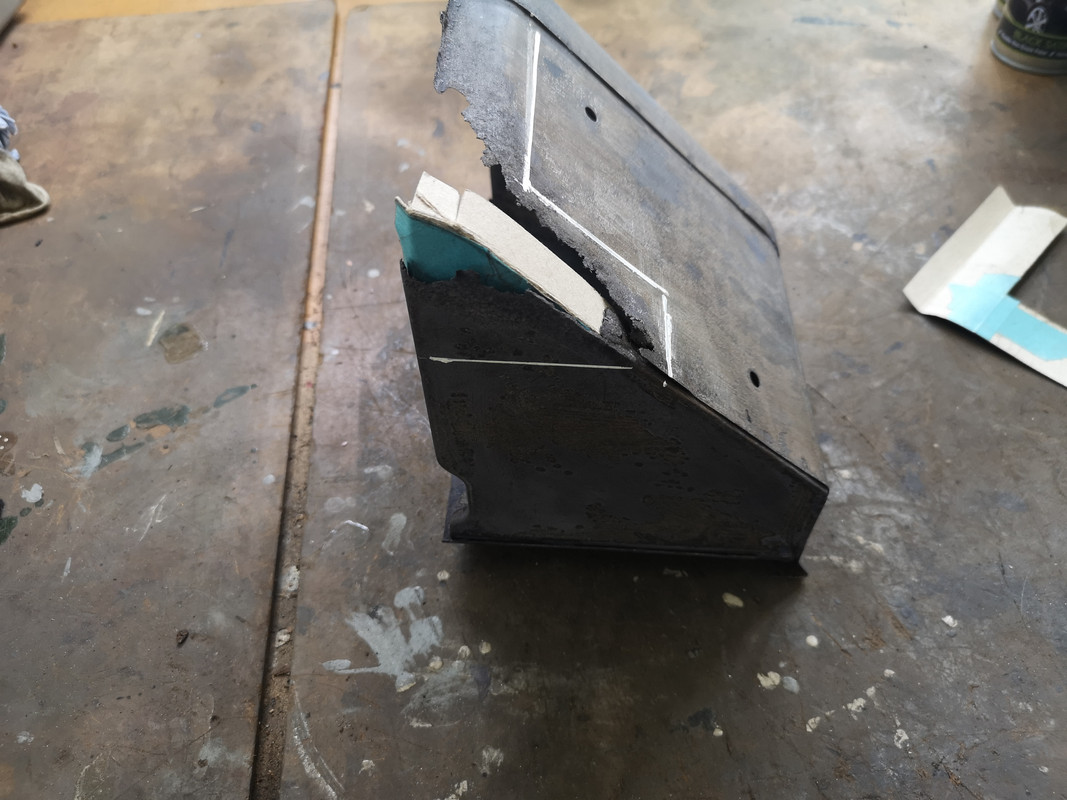
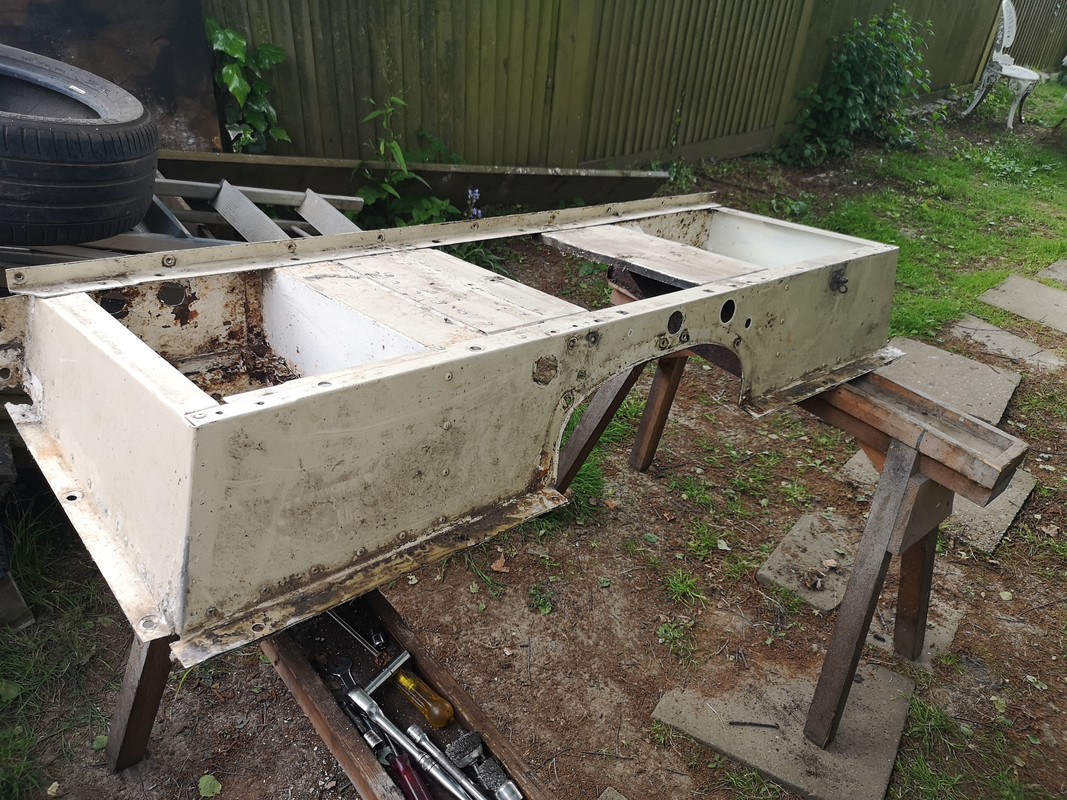
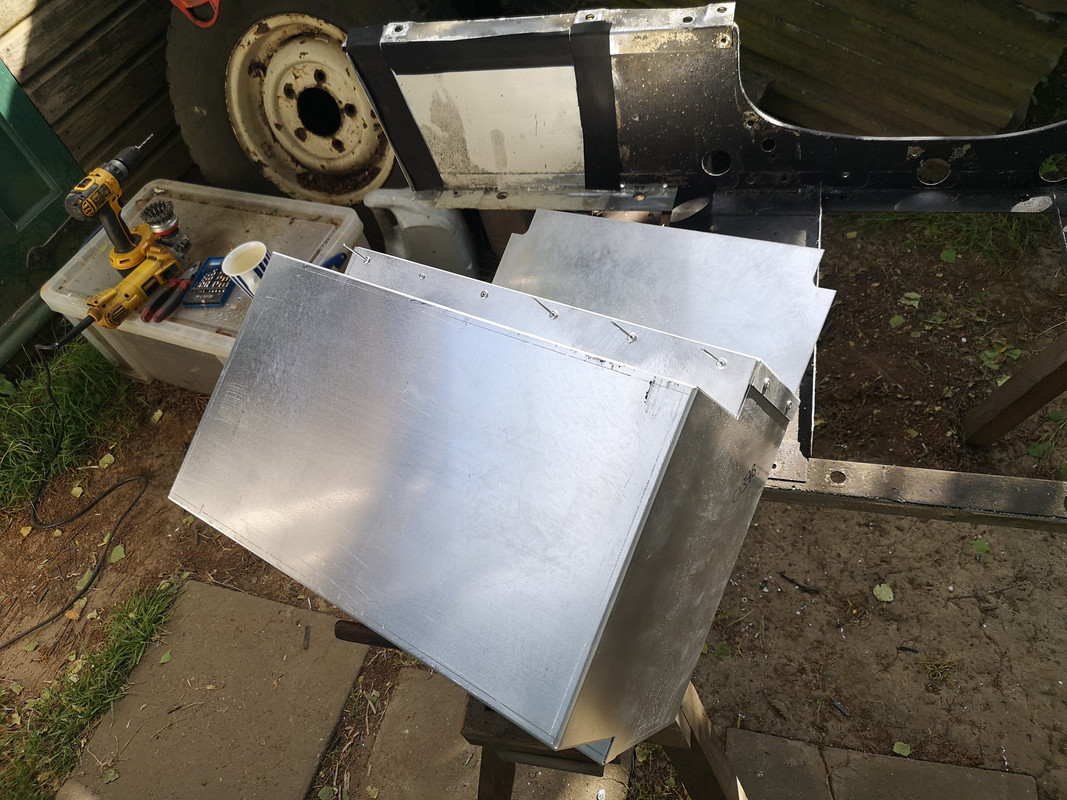
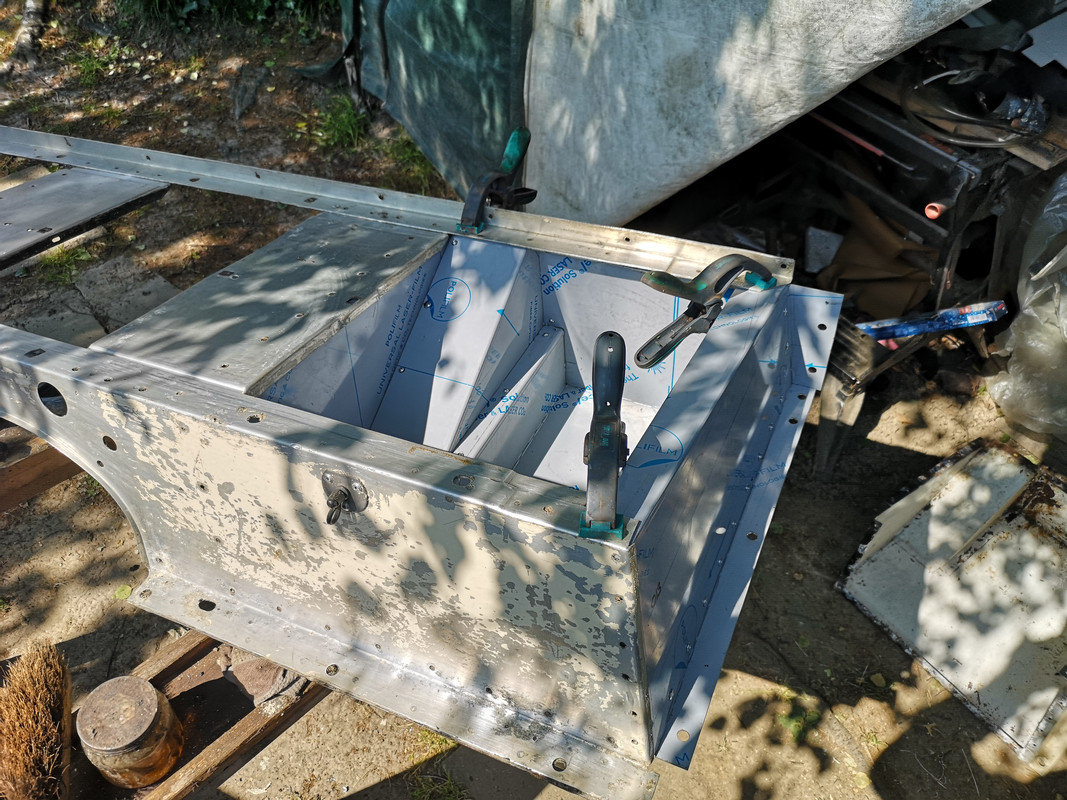
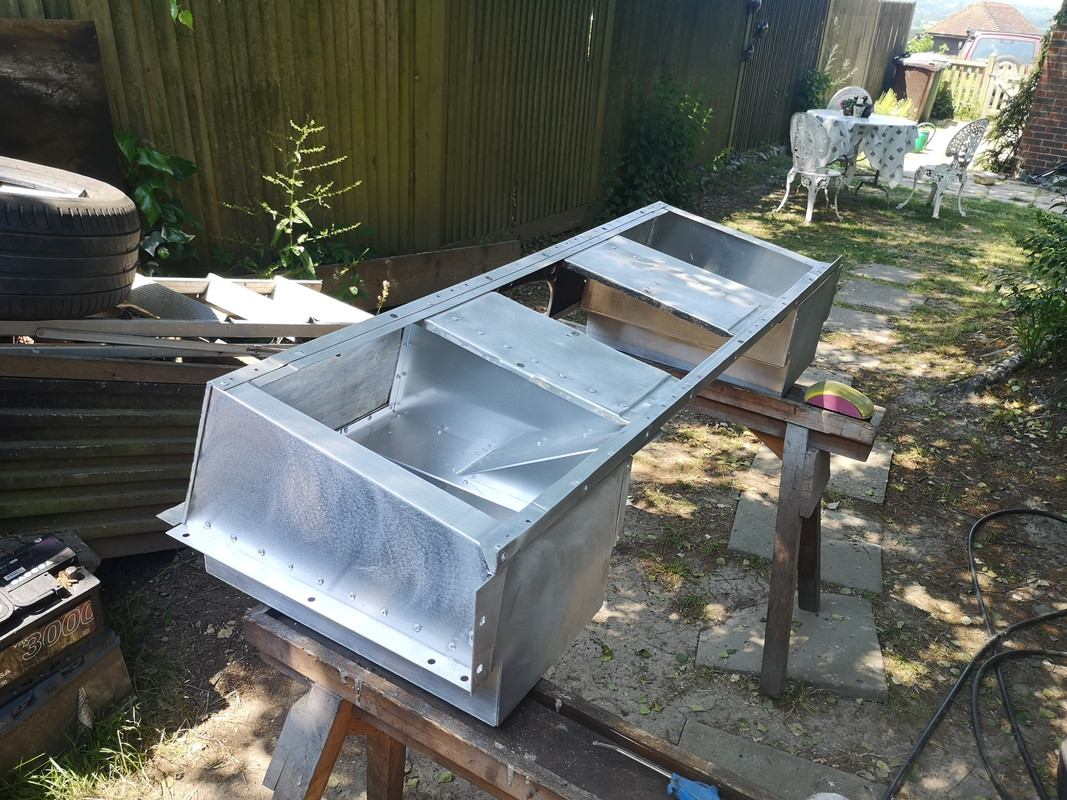
Next, after taking delivery of the new box sections (they come flat-packed

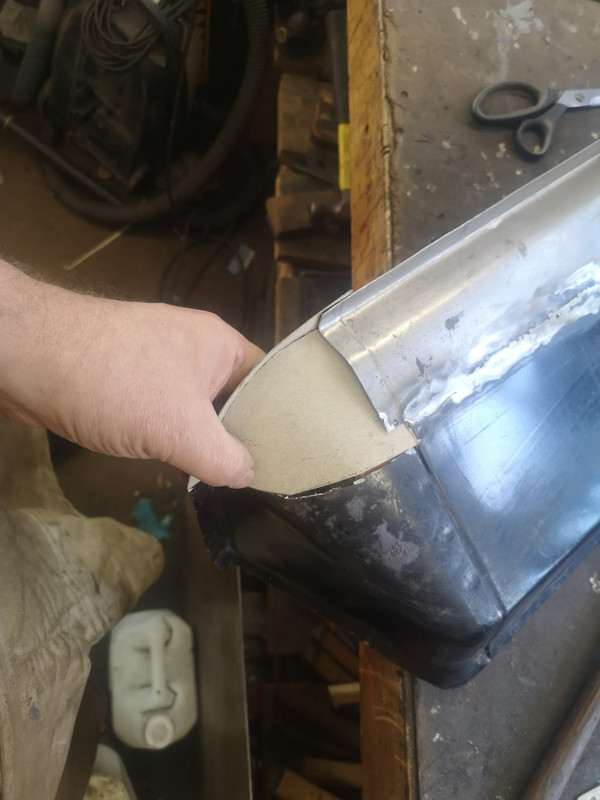
), I assembled the new battery box and checked for fit
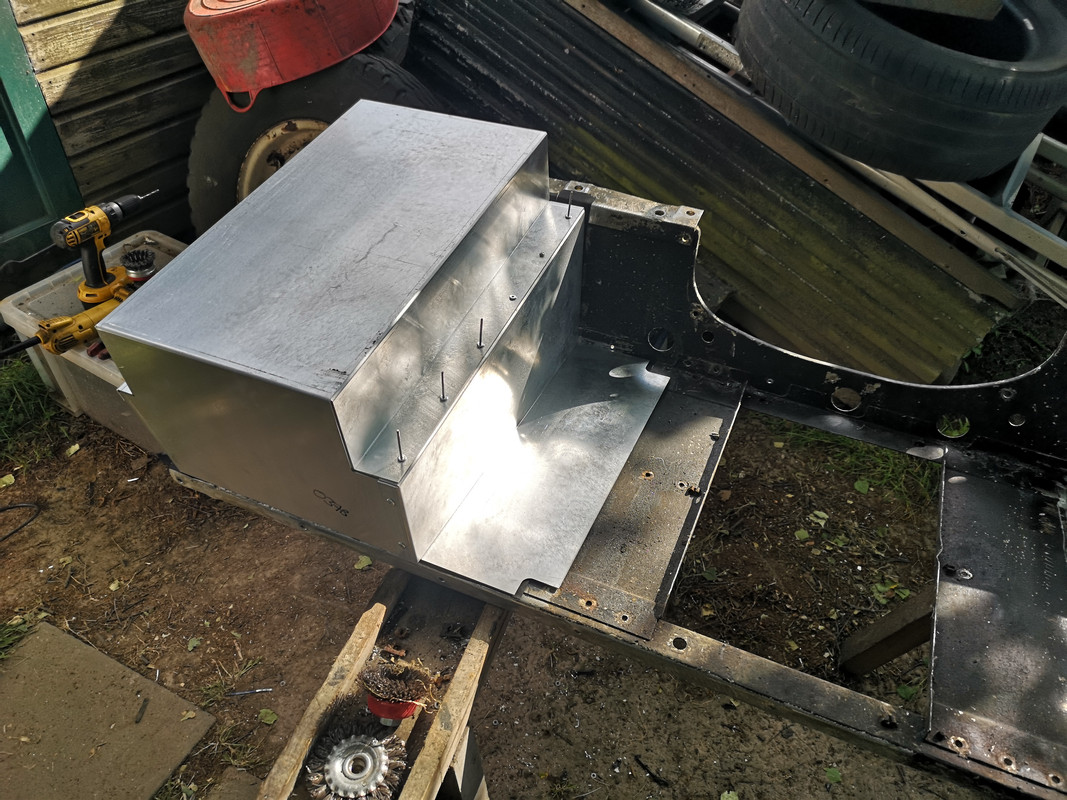
I'd opted for deep boxes both sides so that I have the option of RH or LH battery placement, and it won't hurt to have extra stowage space available. I'll worry about extra fuel tanks when I need to.
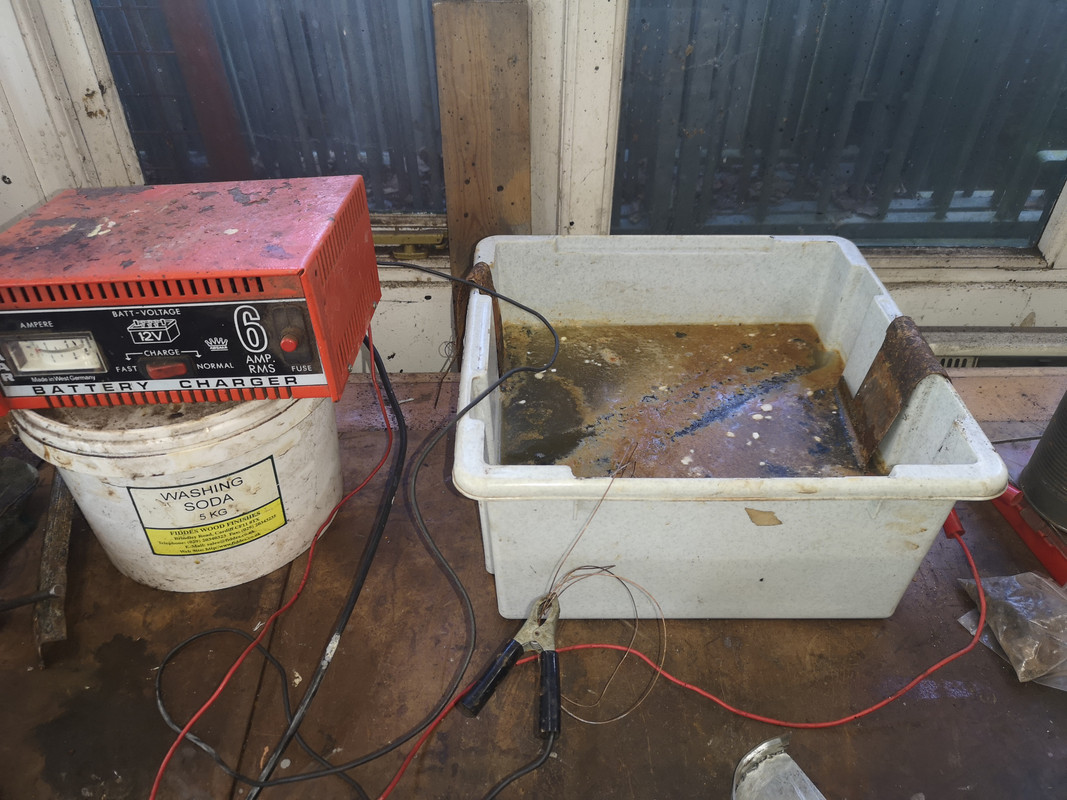
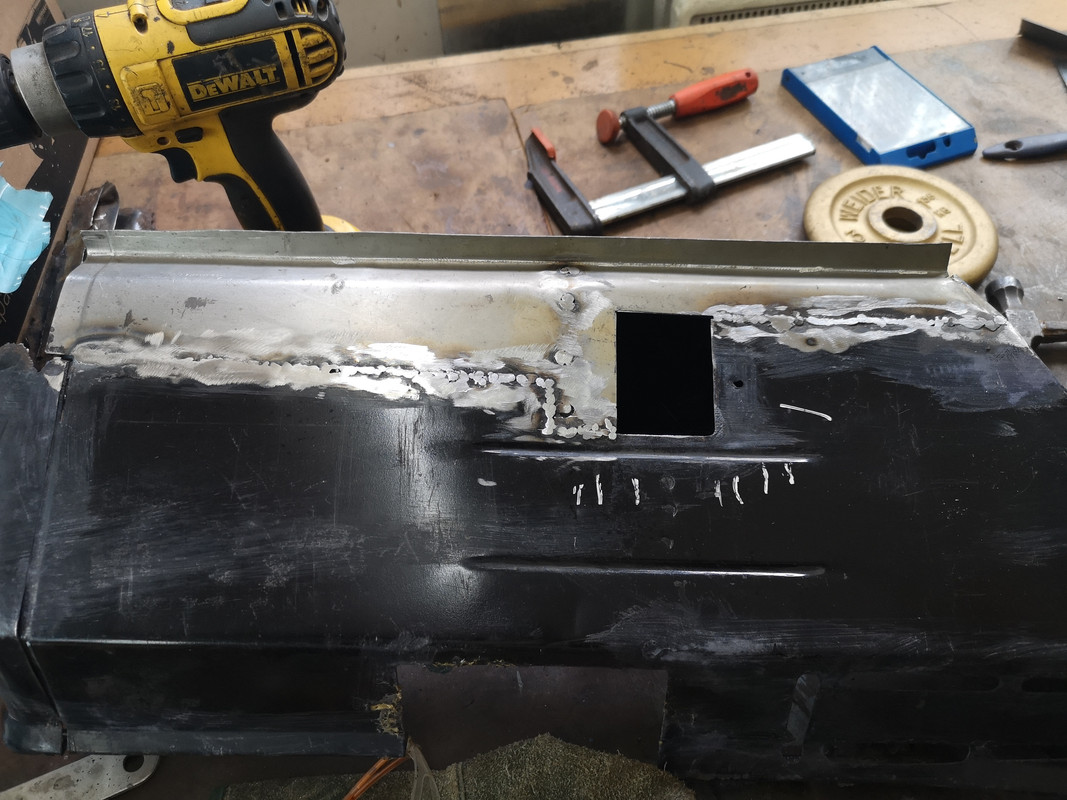
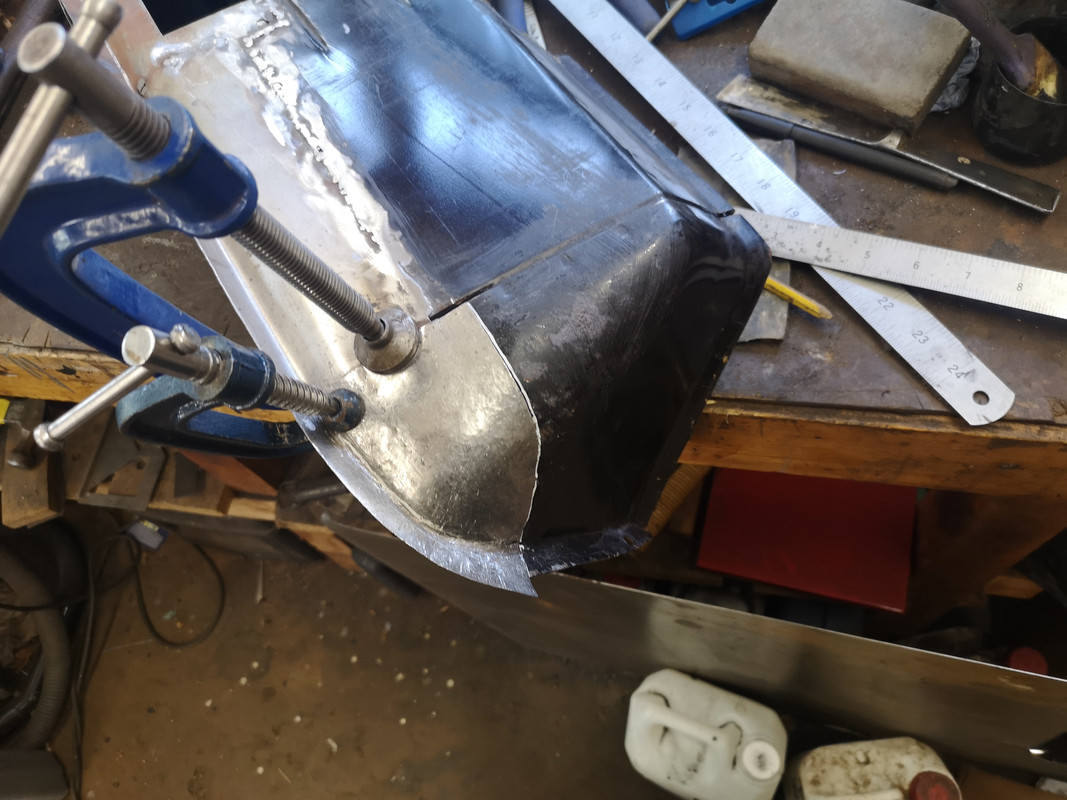
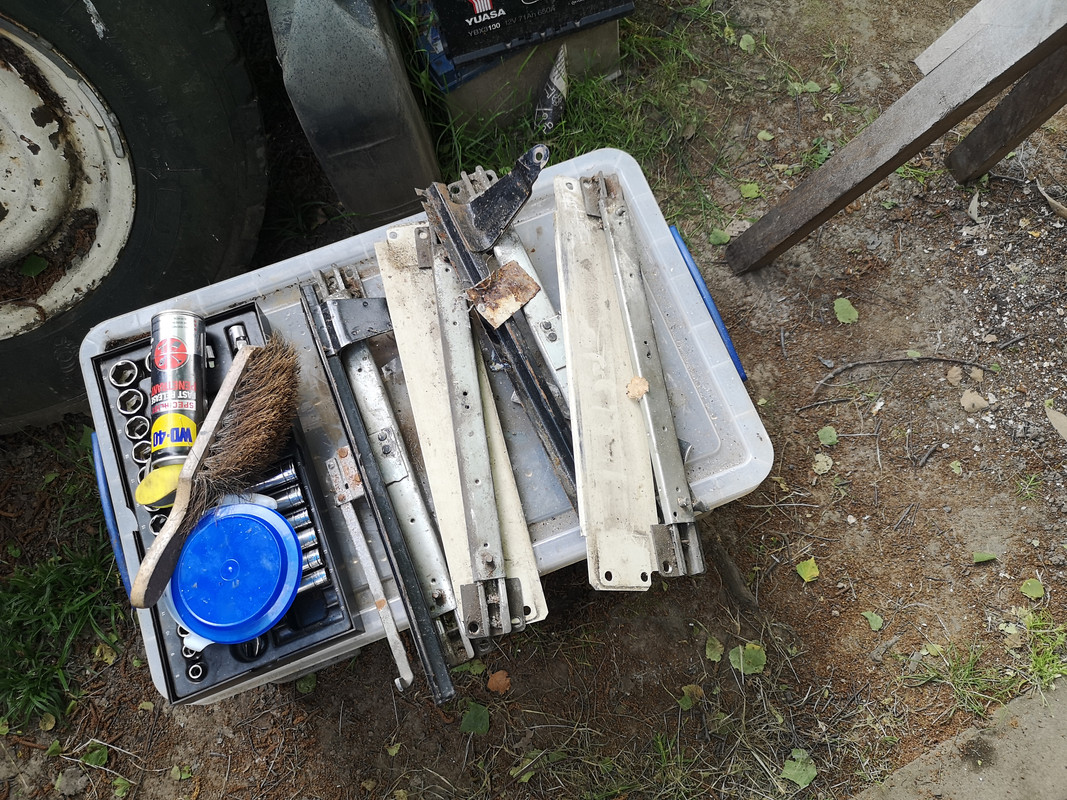
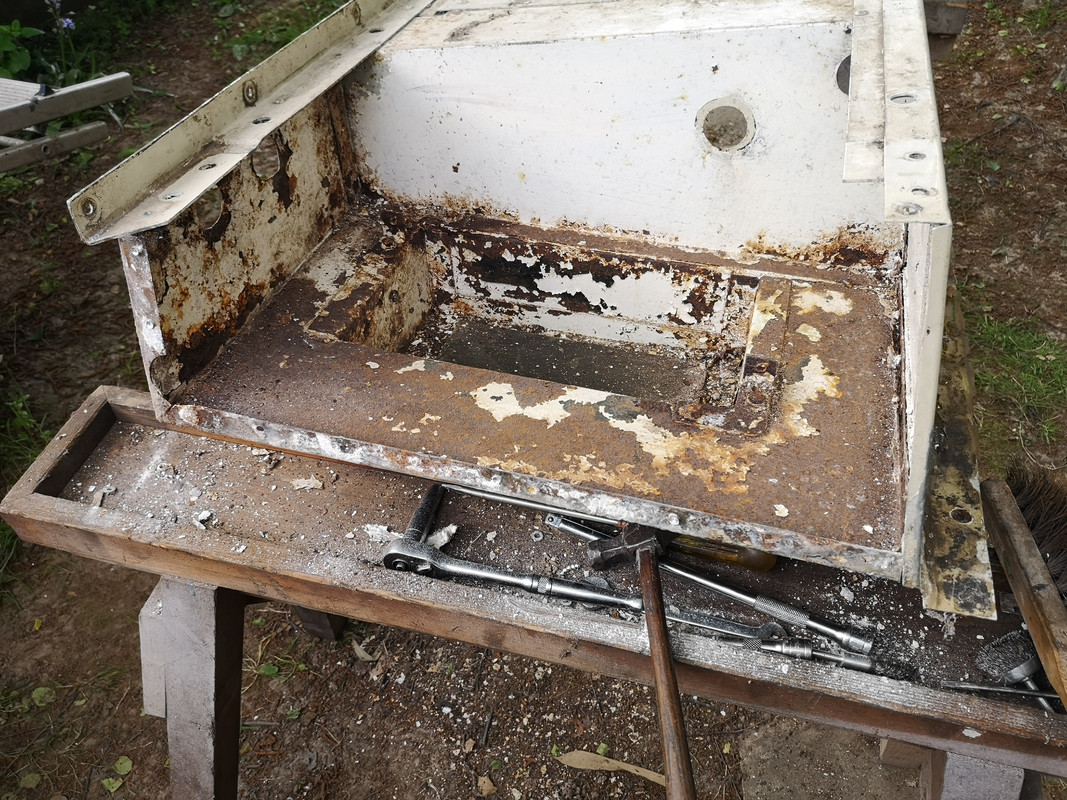
It very quickly became apparent that my hand held rivet gun was inadequate for the job in hand, as I struggled to close the first few pop rivets, so another purchase! I ordered up a HD riveter. While I was waiting for that to be delivered, I got to work cleaning and stripping off the old paint. It had been over-painted in the past so wouldn't provide a decent surface to paint over again.
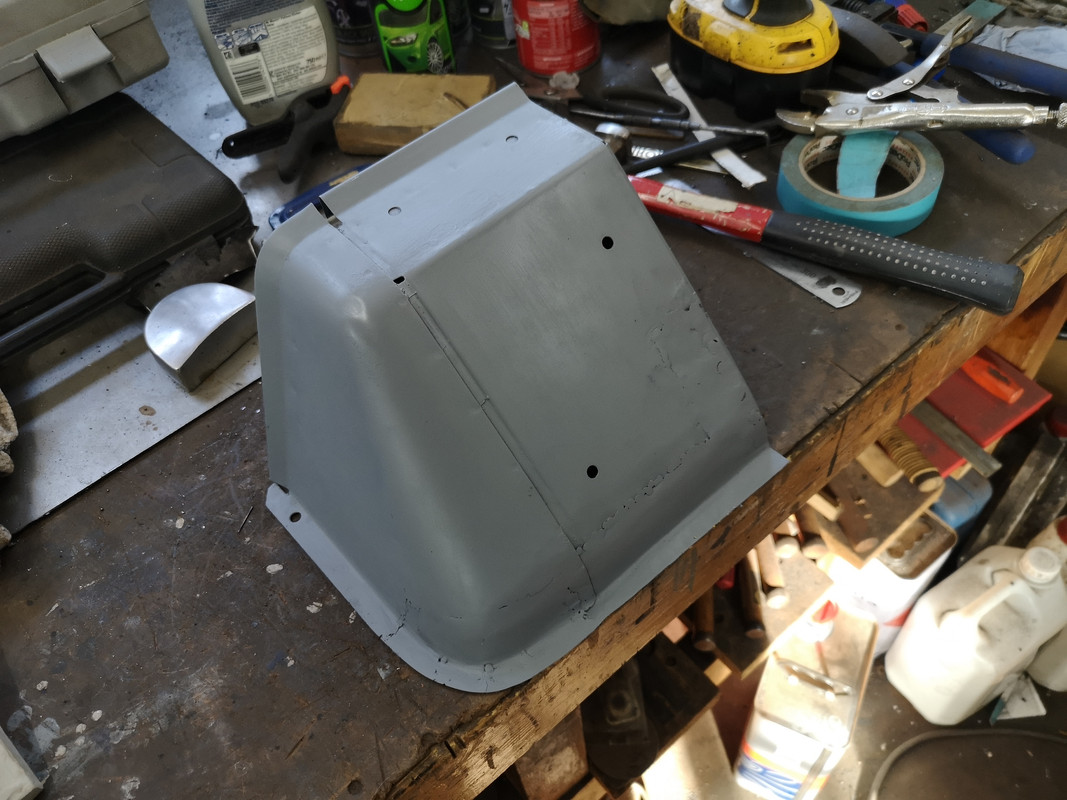
I opted for my trusty paint stripper
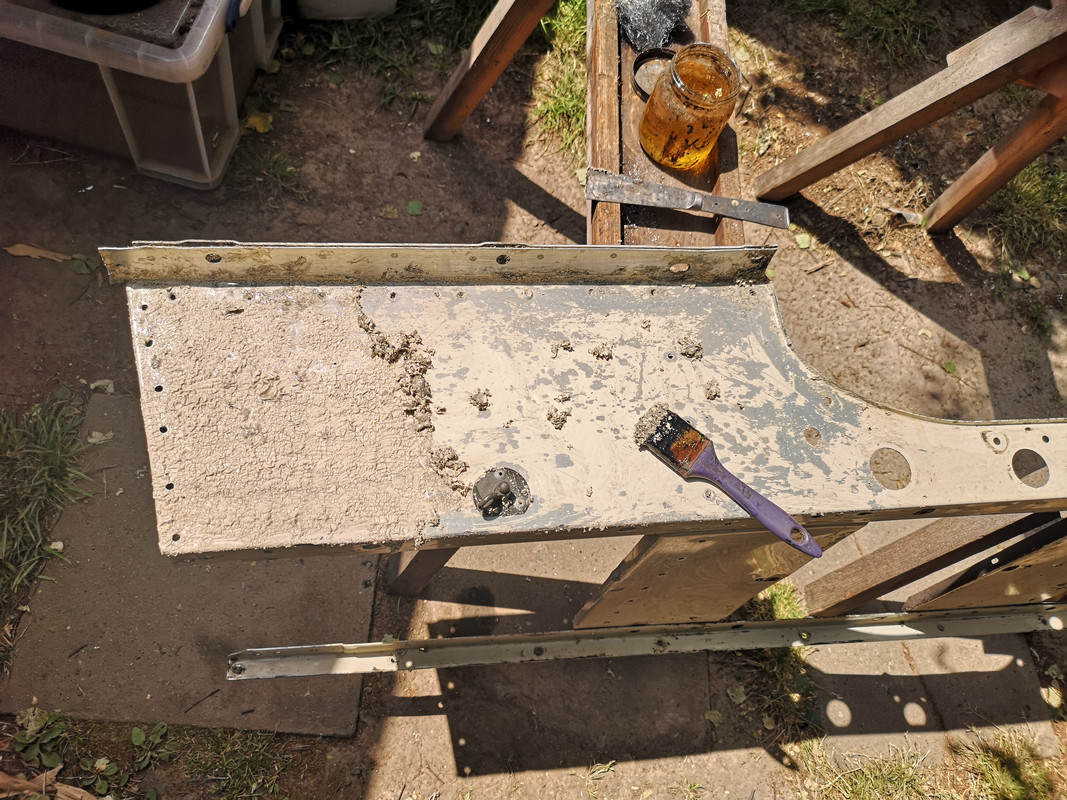
Soon had it nice and clean

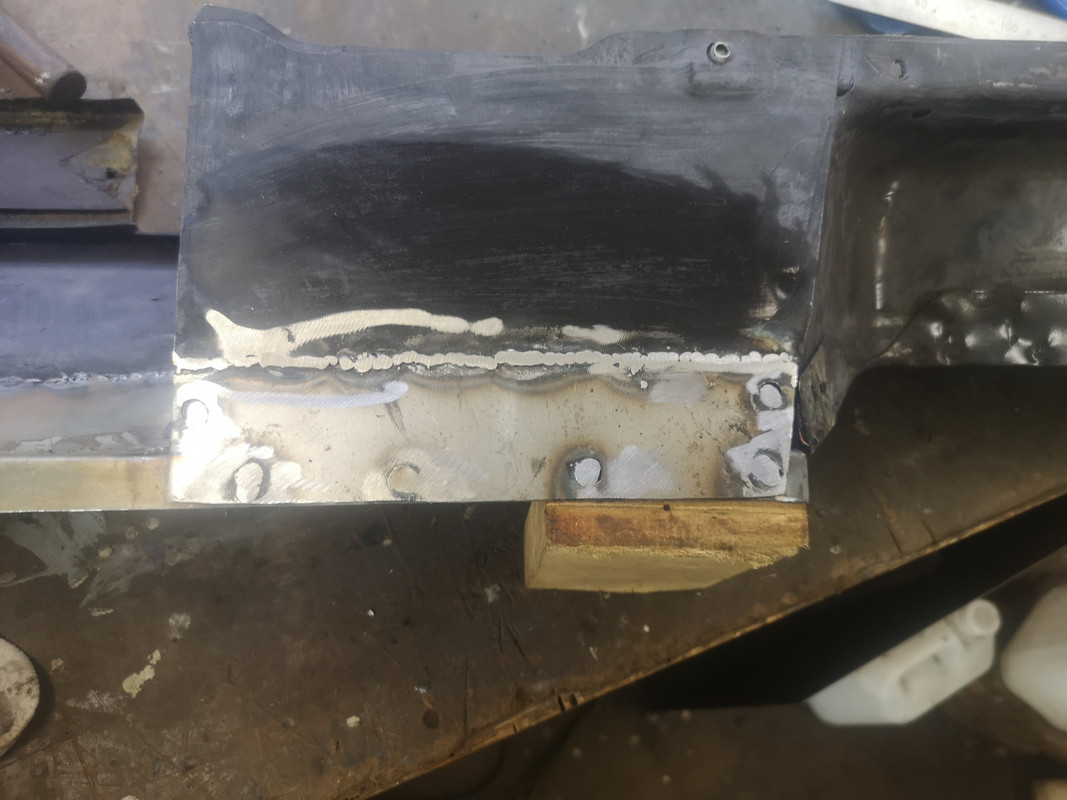
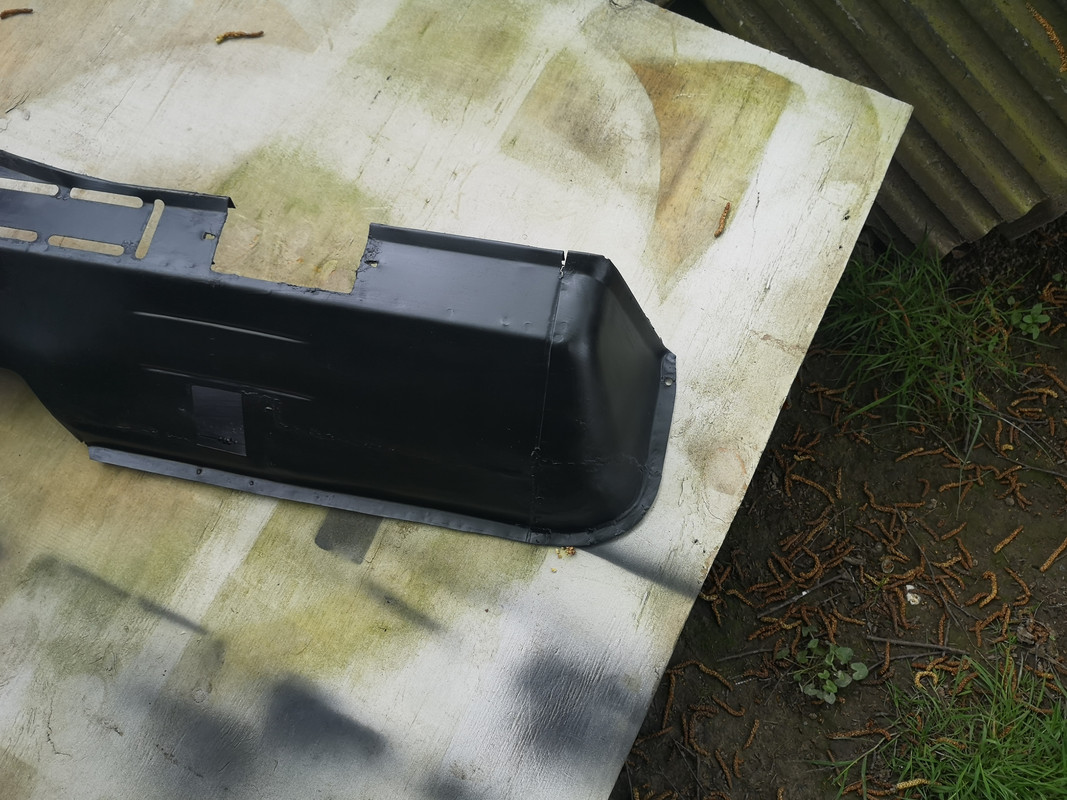
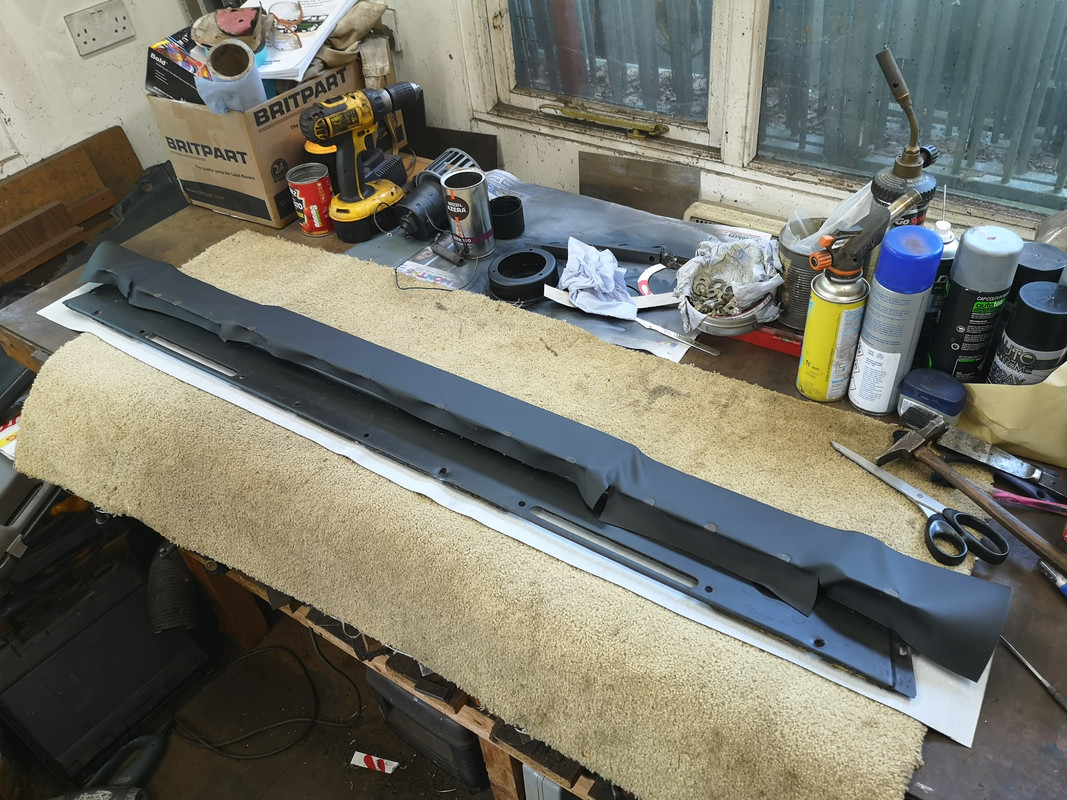
It was then back to fitting it all back together
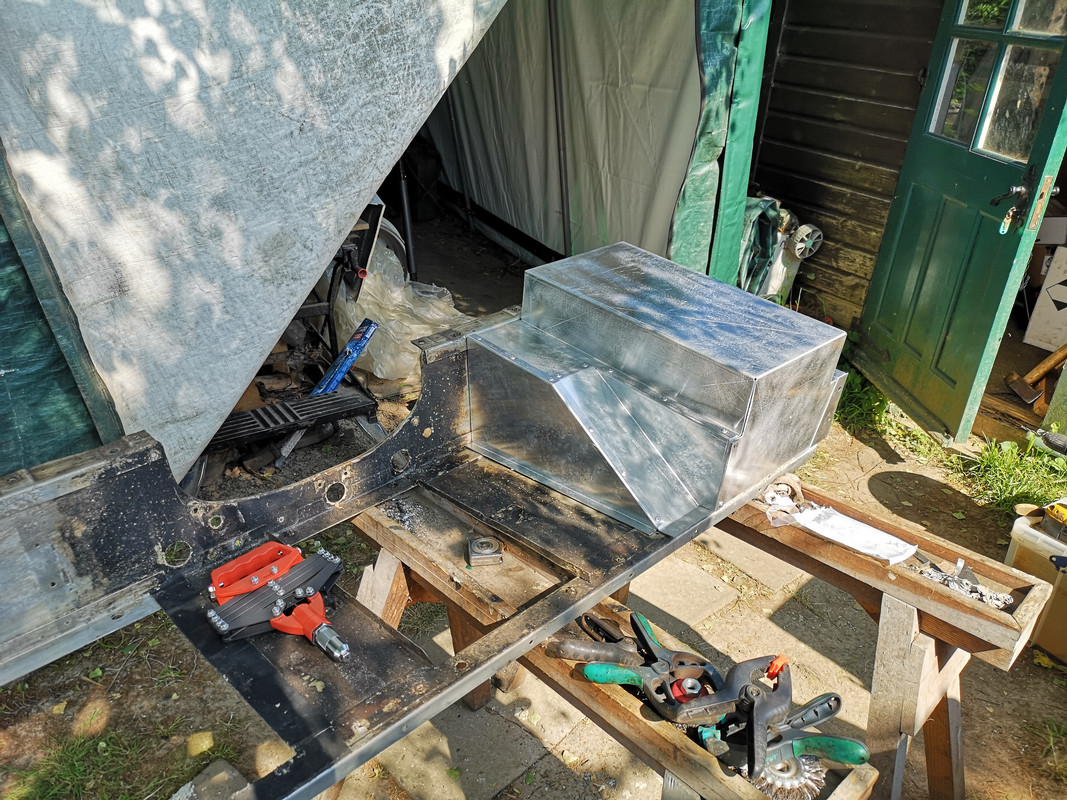
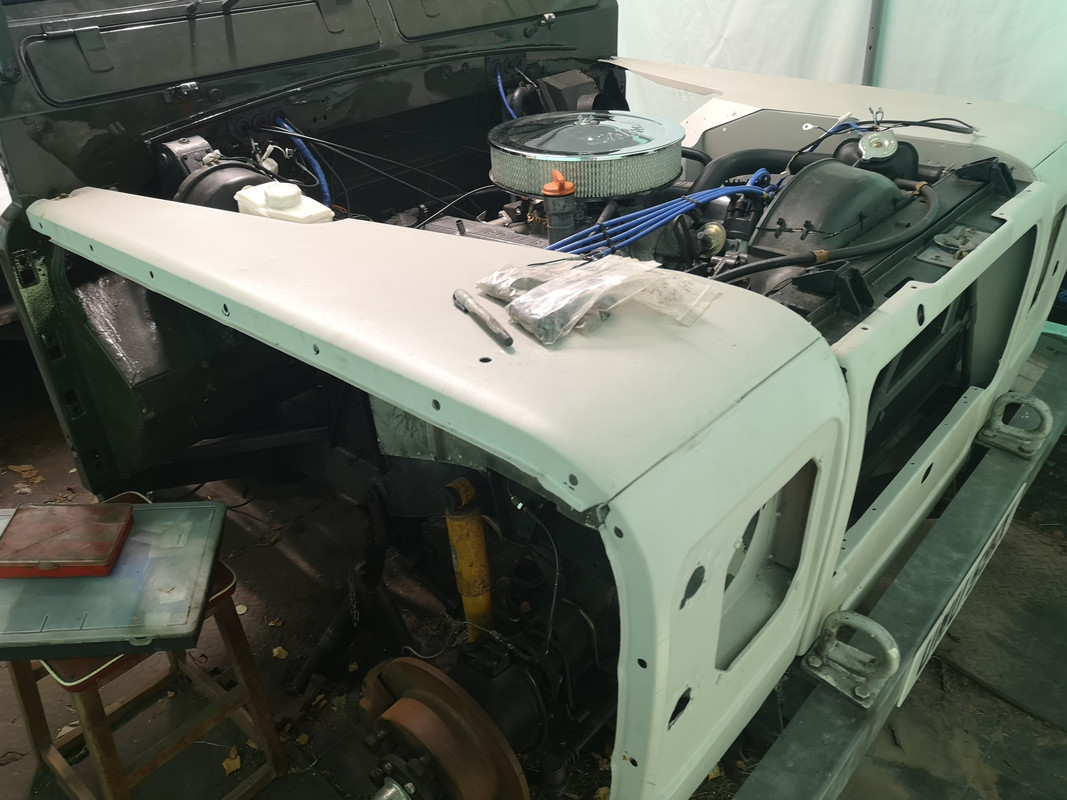
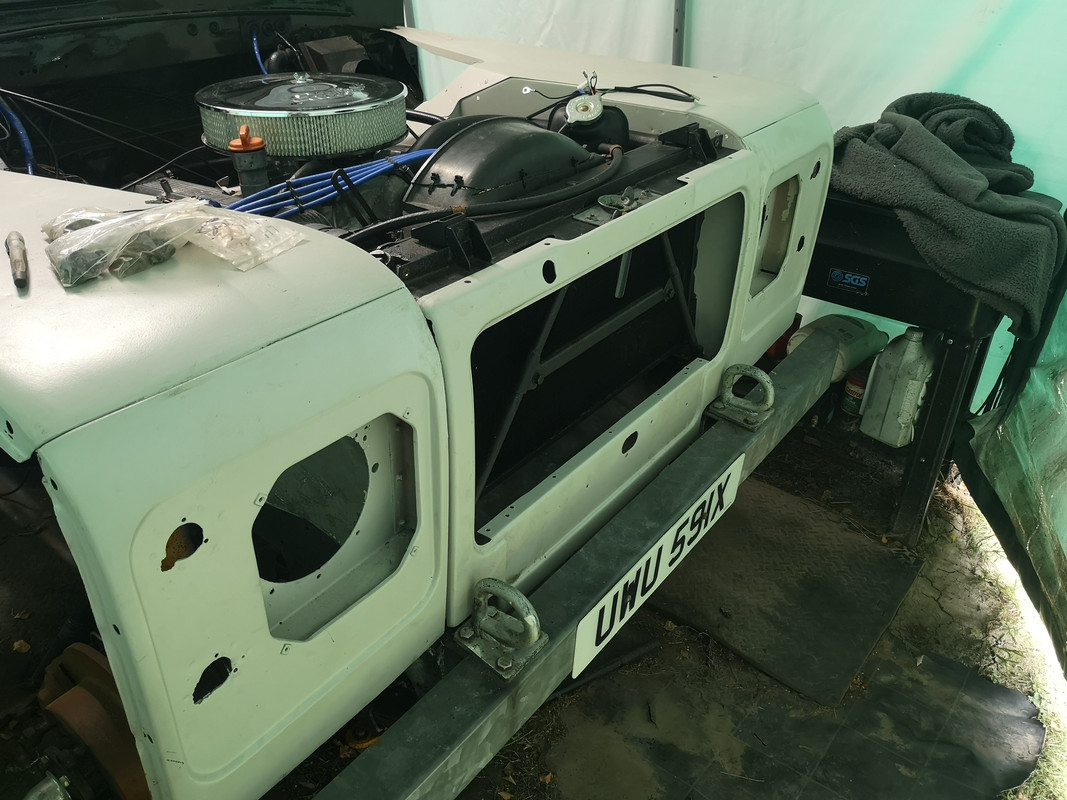
Same was done to other side and both battery box and toolbox fitted
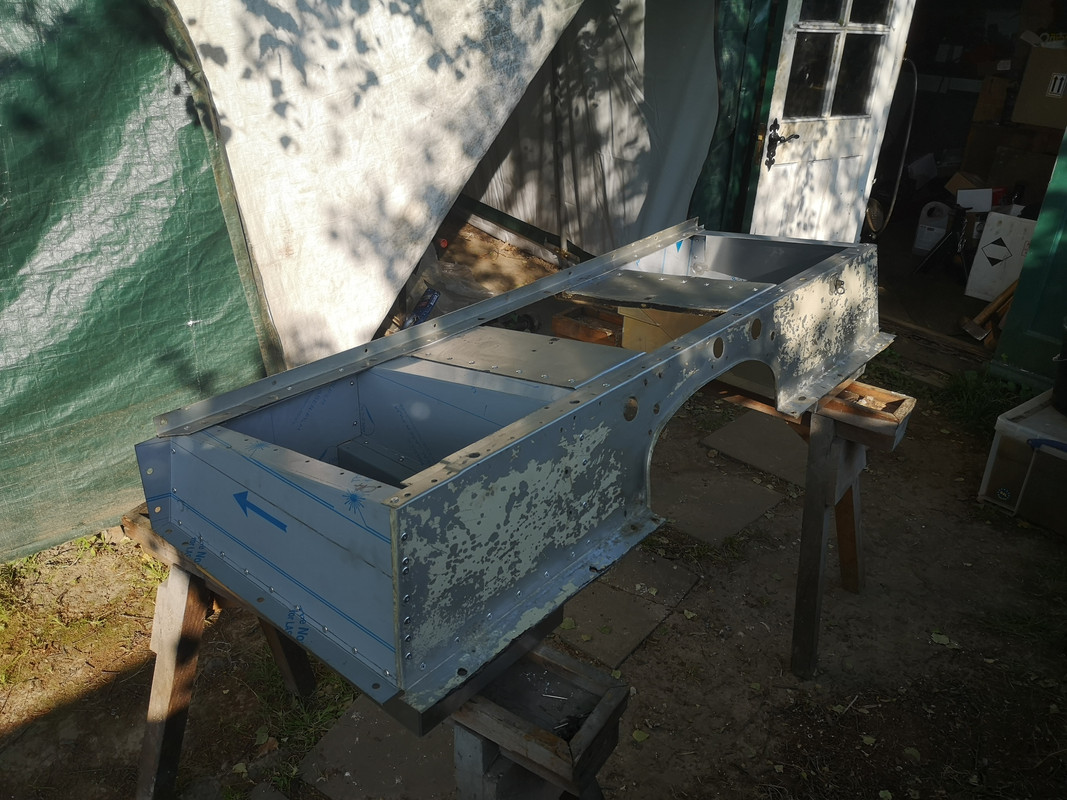
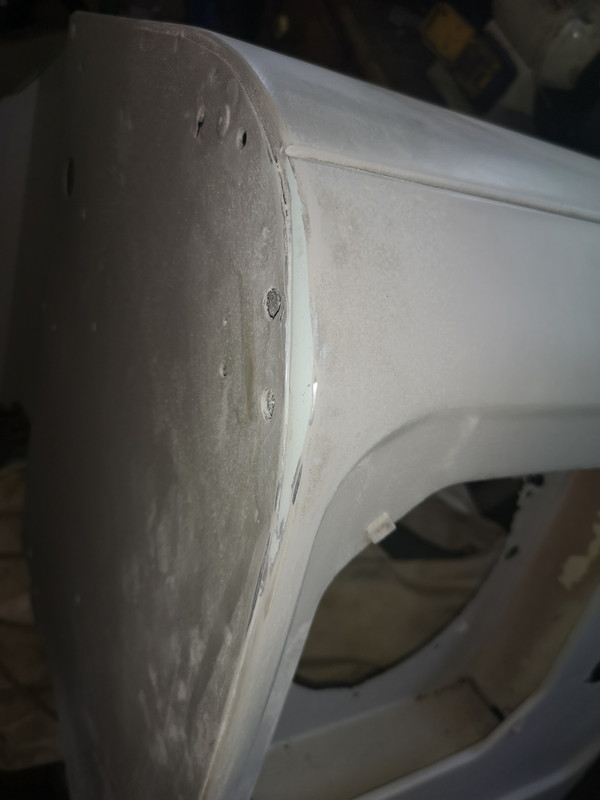
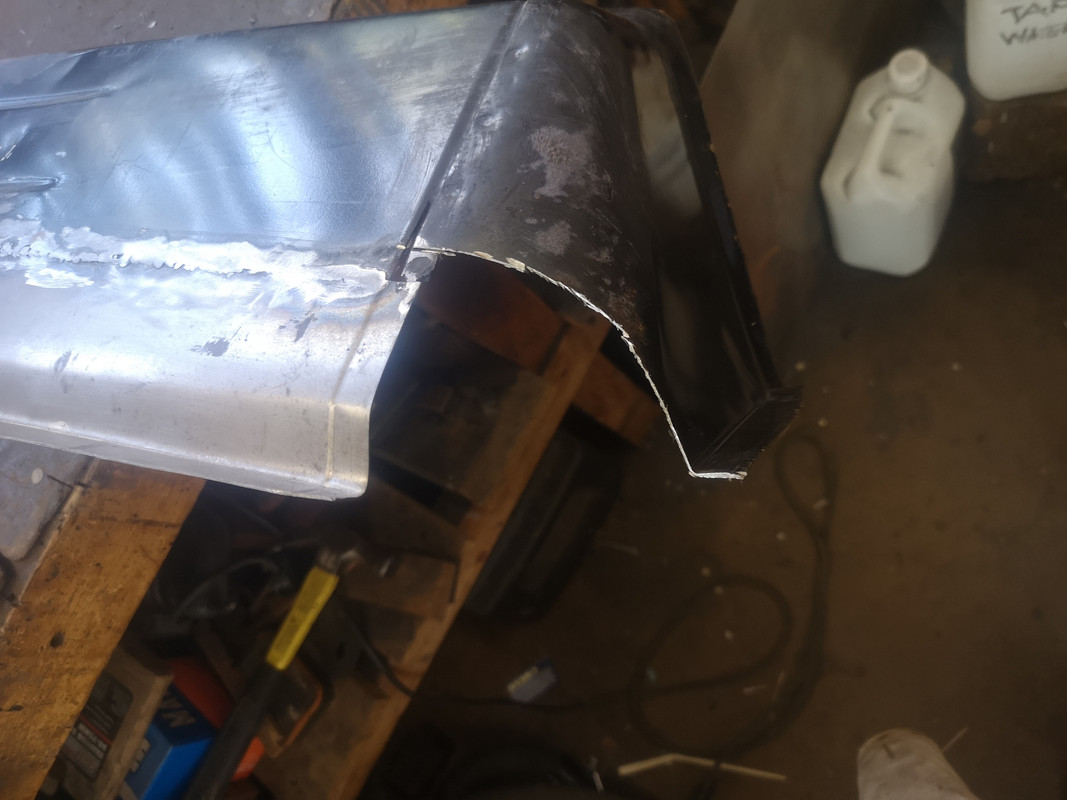
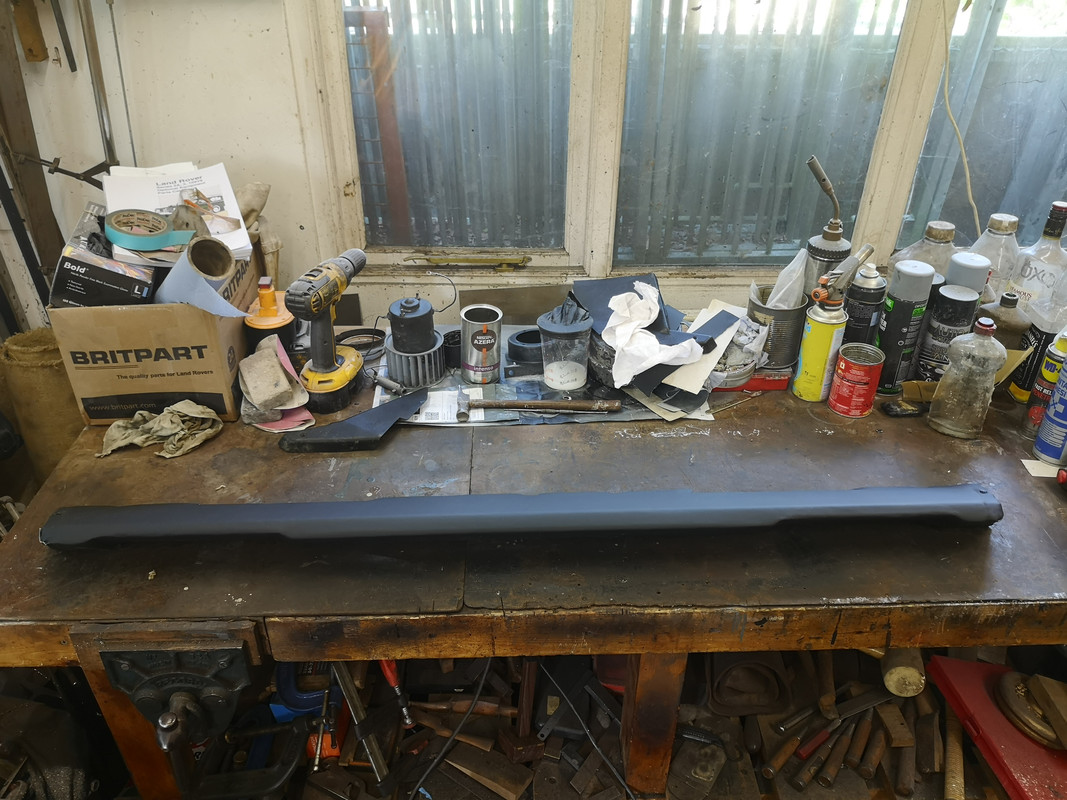
I thought I'd best check it was going to fit back in the vehicle so did a quick check
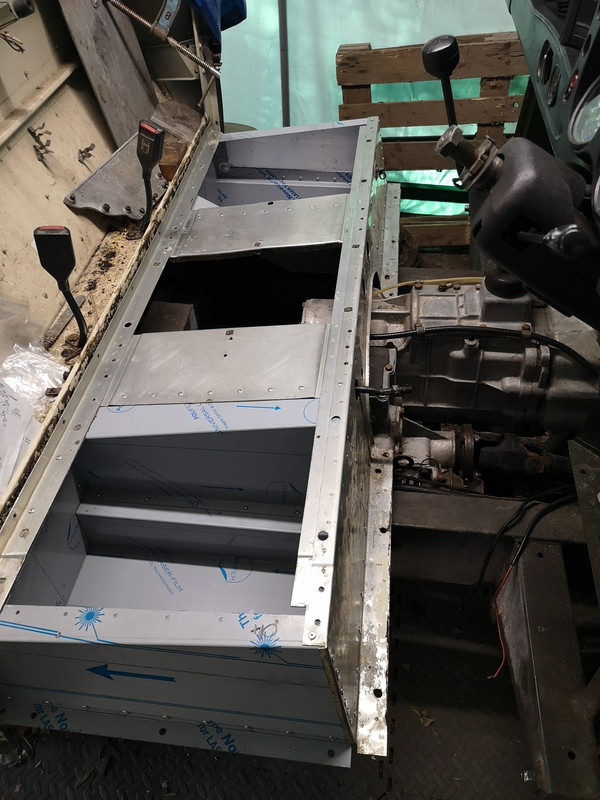
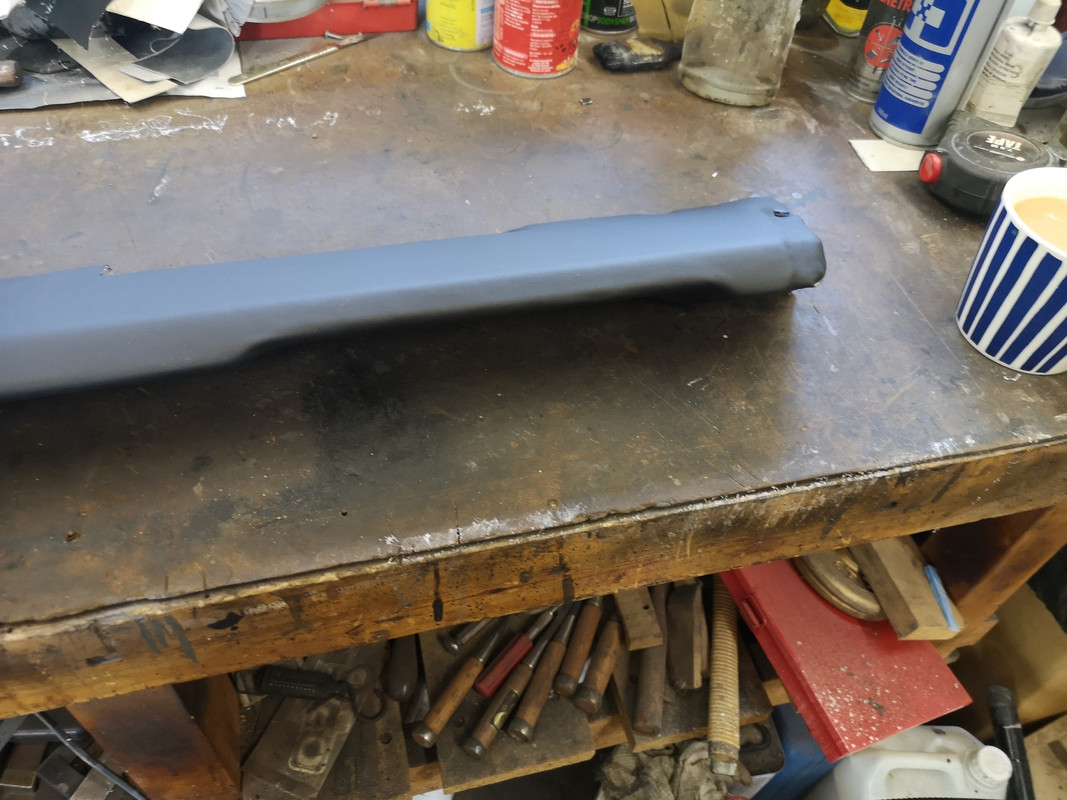
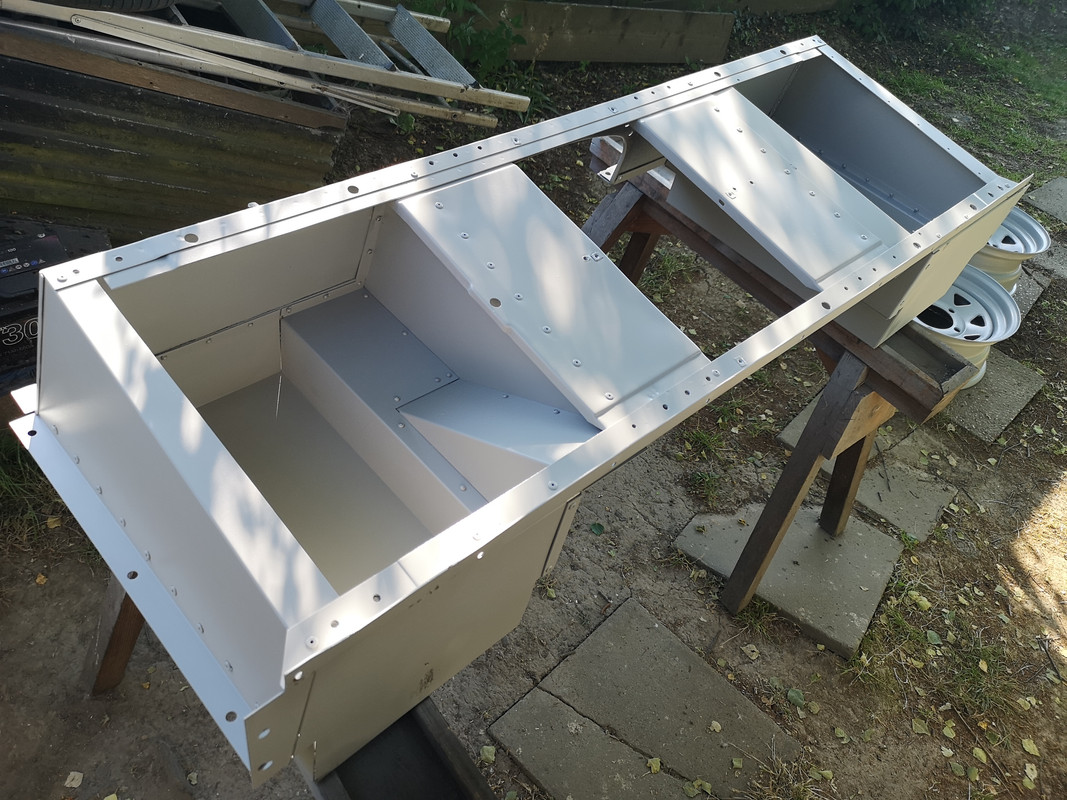
Can't imagine why it wouldn't have really. Next up, remove the protective film and key the surface ready for paint
I'm sticking with epoxy primer for this as I know it will stick well and not interact with the top coat. Etch primer would be easier but I'd have to buy some and already have the epoxy. Also, etch primer can and does cause problems with filler if it's needed, and top coat too unless correctly matched. I'm not sure how the paint man enamel will react, so the epoxy is safe.
It didn't take too long to spray it ...
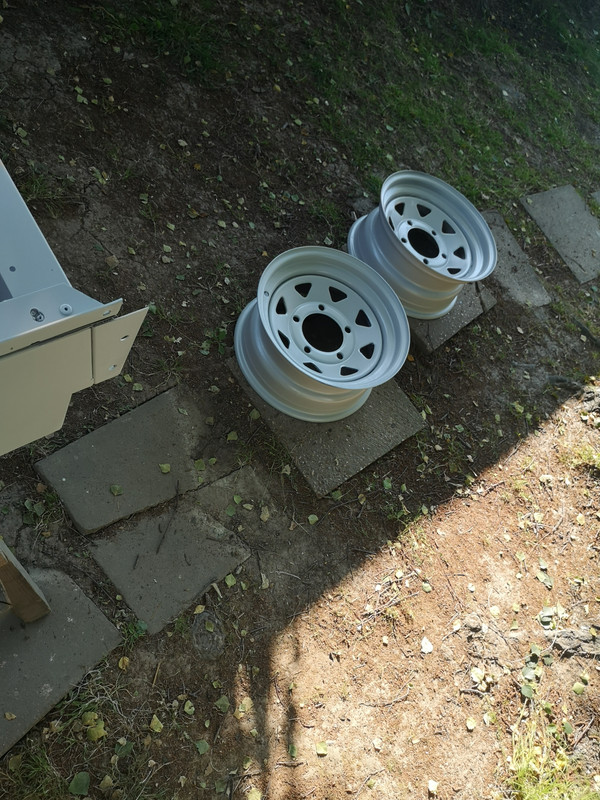
... and had enough paint to spray a couple of the wheels as well
At this point, the hot sun and paint fumes really got the better of me, so enough of that for now, and I'll have a lie down!