Restoration

Technical questions and answers
Cliff4WD
Posts: 311
Joined: Fri Aug 10, 2018 2:39 pm
Location: Rye, East Sussex, UK

Re: Restoration

Post by Cliff4WD »

Didn't get much done today as I was sorting out an overboost issue with my Disco TD5. Just a tiny bit of filler to tidy the wing ...


Image


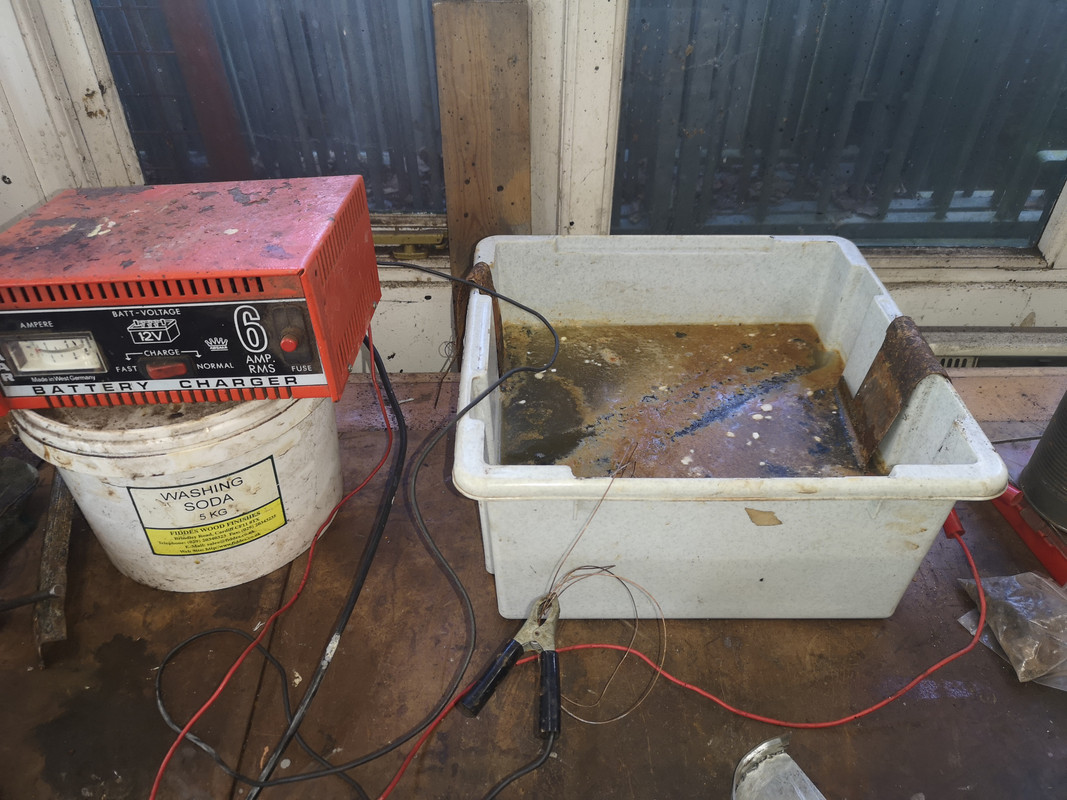
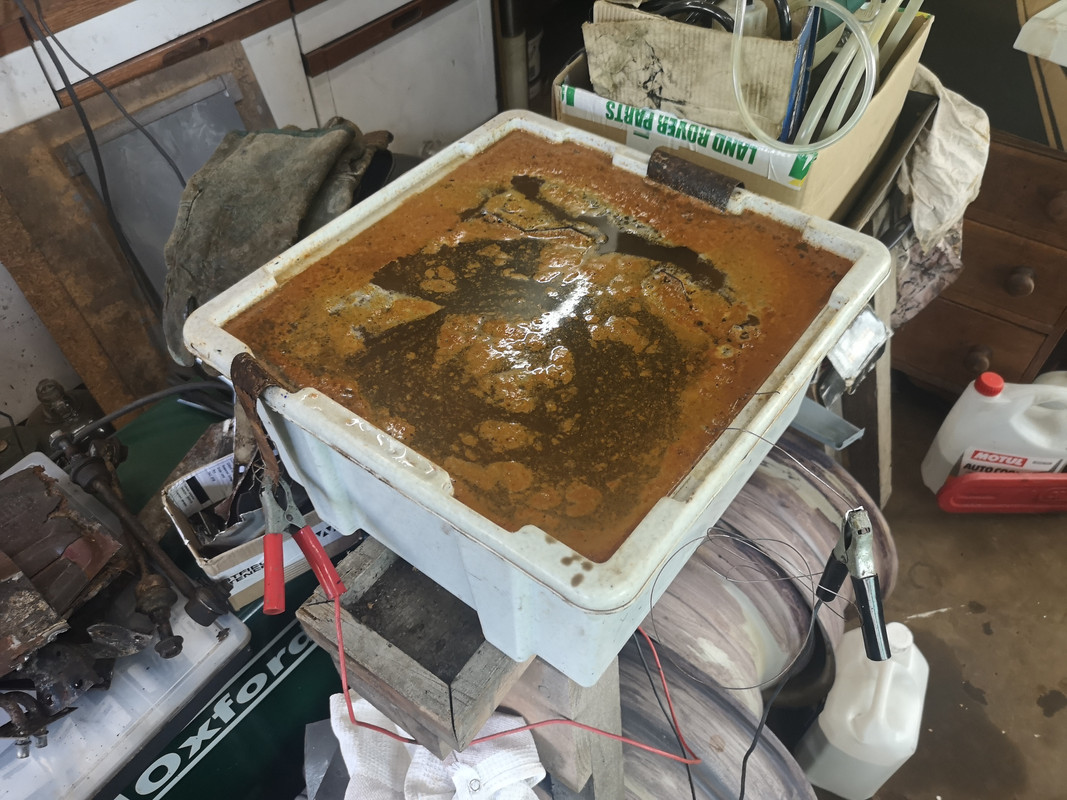
... and got a couple of bits into the electrolysis bath to de-rust


Image
Cliff

1981 109 V8 Stage 1
2000 Discovery 2 Td5

109 V8: viewtopic.php?f=6&t=2161
My Disco Thread: http://www.thed2boysclub.co.uk/viewtopi ... =3&t=58130

LAND ROVER. TURNING OWNERS INTO PAUPERS FOR 70 YEARS
disco2hse
Posts: 1641
Joined: Sun Apr 27, 2008 3:51 am
Location: Auckland NZ

Re: Restoration

Post by disco2hse »

What liquid are you using in the bath?
Alan

1983 ex-army FFR 109 Stage 1
2005 Disco 2 HSE TD5
Cliff4WD
Posts: 311
Joined: Fri Aug 10, 2018 2:39 pm
Location: Rye, East Sussex, UK

Re: Restoration

Post by Cliff4WD »

disco2hse wrote: Tue Apr 18, 2023 9:47 pm What liquid are you using in the bath?
Water with some washing soda (the clue was in the photo) to increase the conductivity, works a treat. I used a much larger version to get the rust off of my disco 2 brake calipers and ARB. I was astonished at just how effective this is, and so simple.
Cliff

1981 109 V8 Stage 1
2000 Discovery 2 Td5

109 V8: viewtopic.php?f=6&t=2161
My Disco Thread: http://www.thed2boysclub.co.uk/viewtopi ... =3&t=58130

LAND ROVER. TURNING OWNERS INTO PAUPERS FOR 70 YEARS
Cliff4WD
Posts: 311
Joined: Fri Aug 10, 2018 2:39 pm
Location: Rye, East Sussex, UK

Re: Restoration

Post by Cliff4WD »

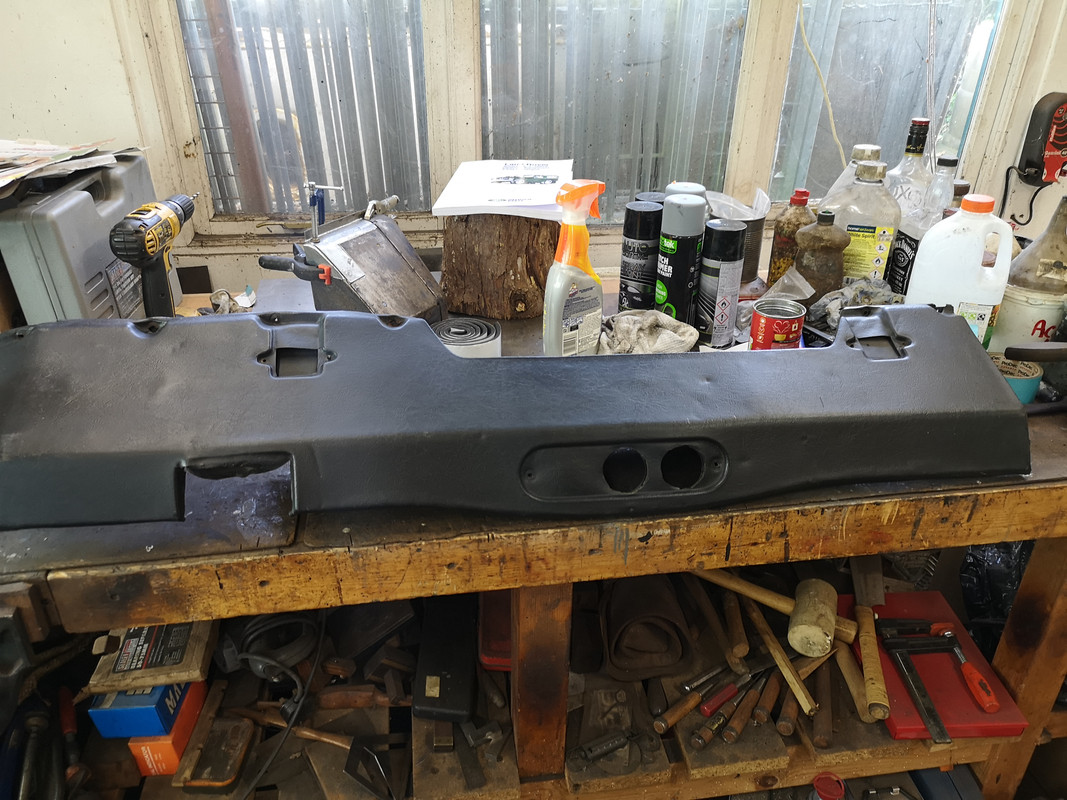
Finally got back to restoring the parcel shelf and crash pad, etc. I put this aside Summer 2020 when I moved onto the engine work. I can't believe that nearly 3 full years have passed by. Scroll down to bottom of page 13 if you're wanting a recap :lol:

When I put this aside, I had decided to cut out rotten areas and patch with new steel, I'd even ordered a sheet of steel for it, so it should be a simple matter of picking up where I left off.

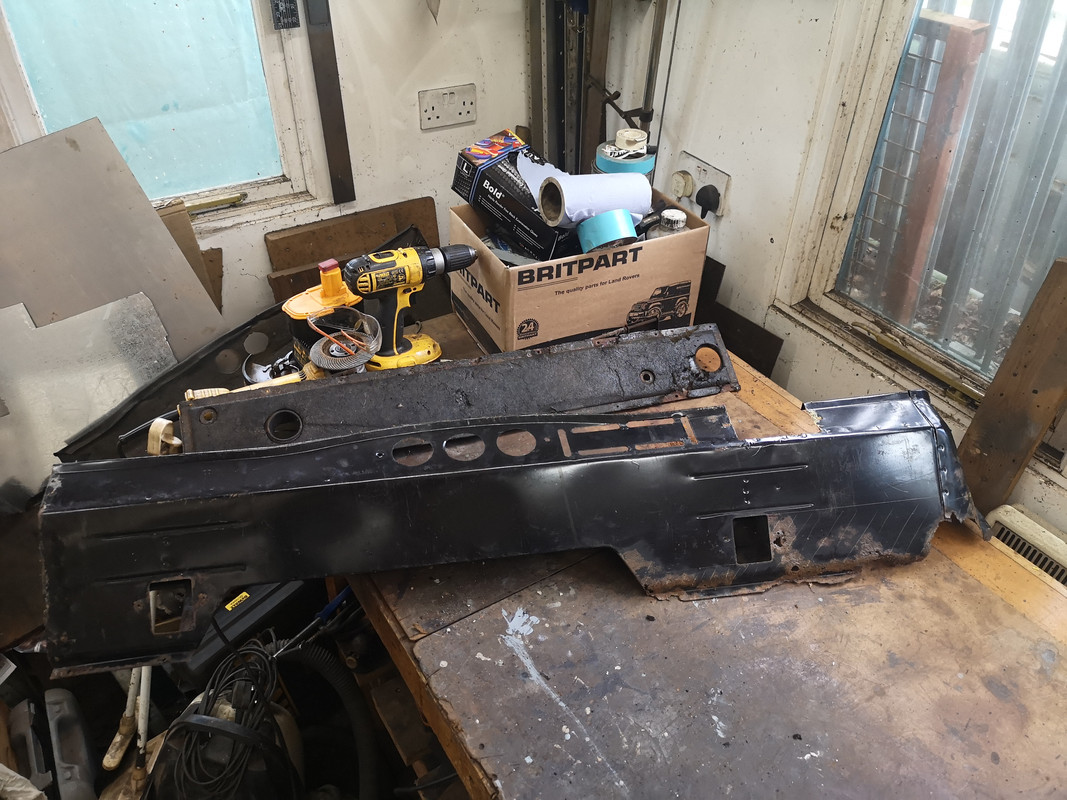
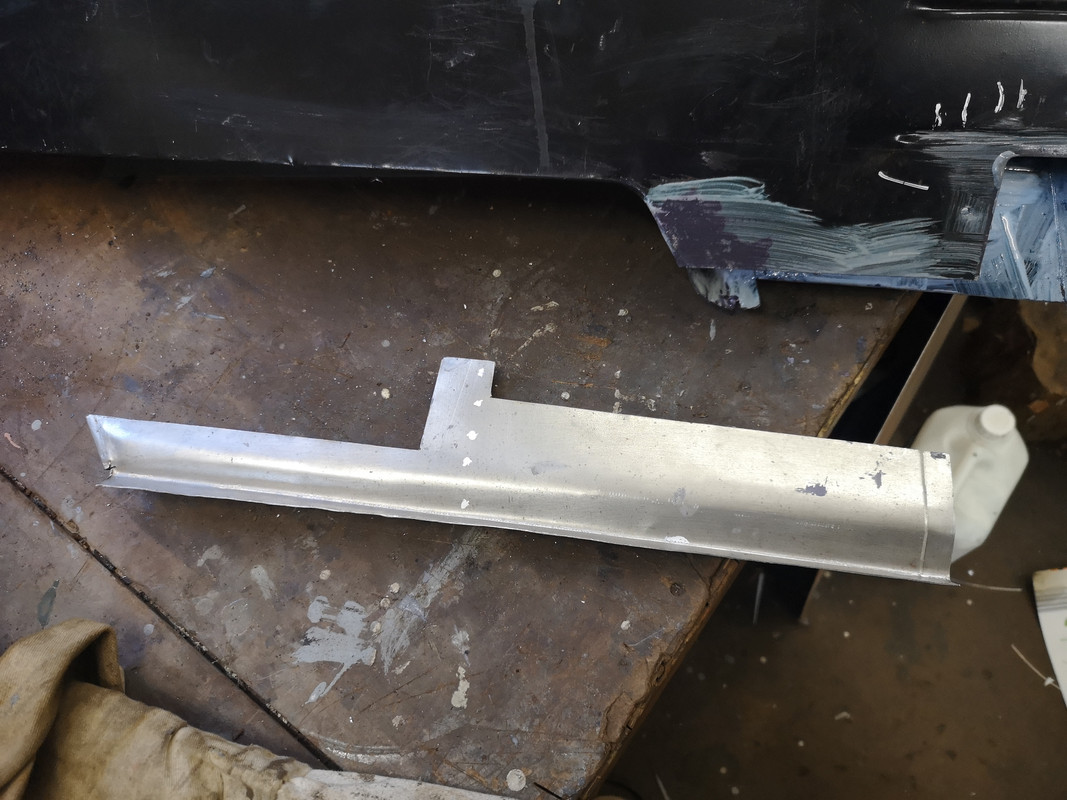
Got the first bit up on the bench.

Image

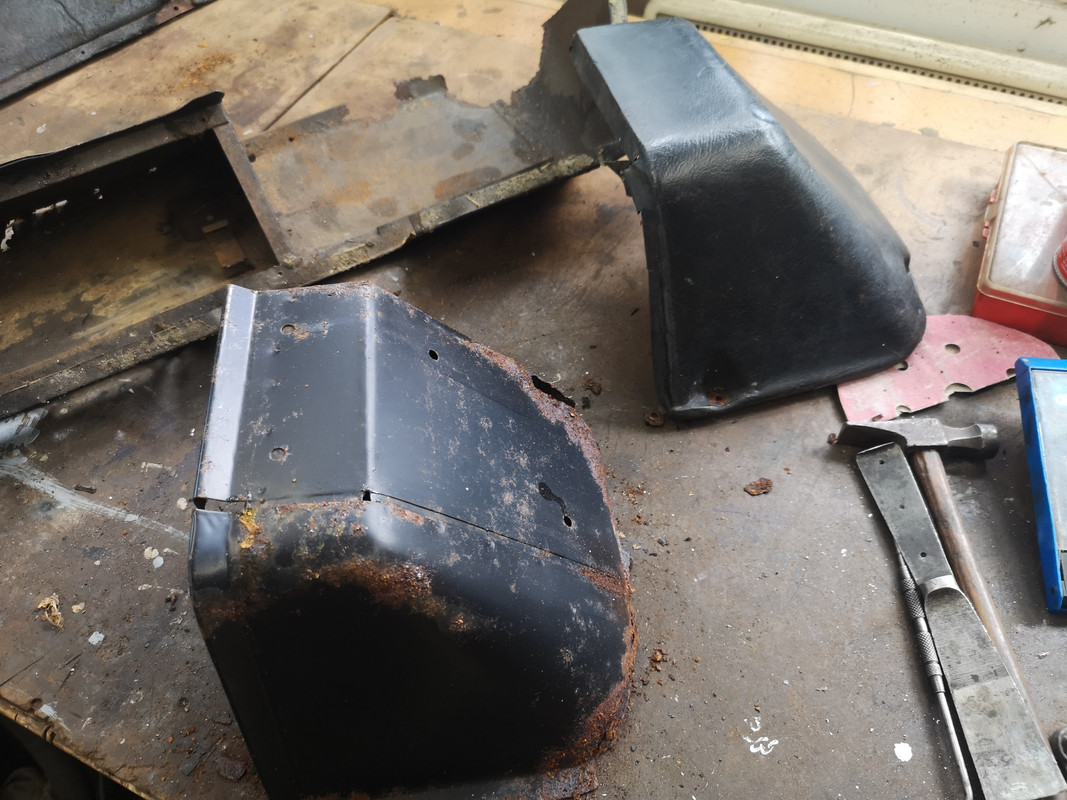
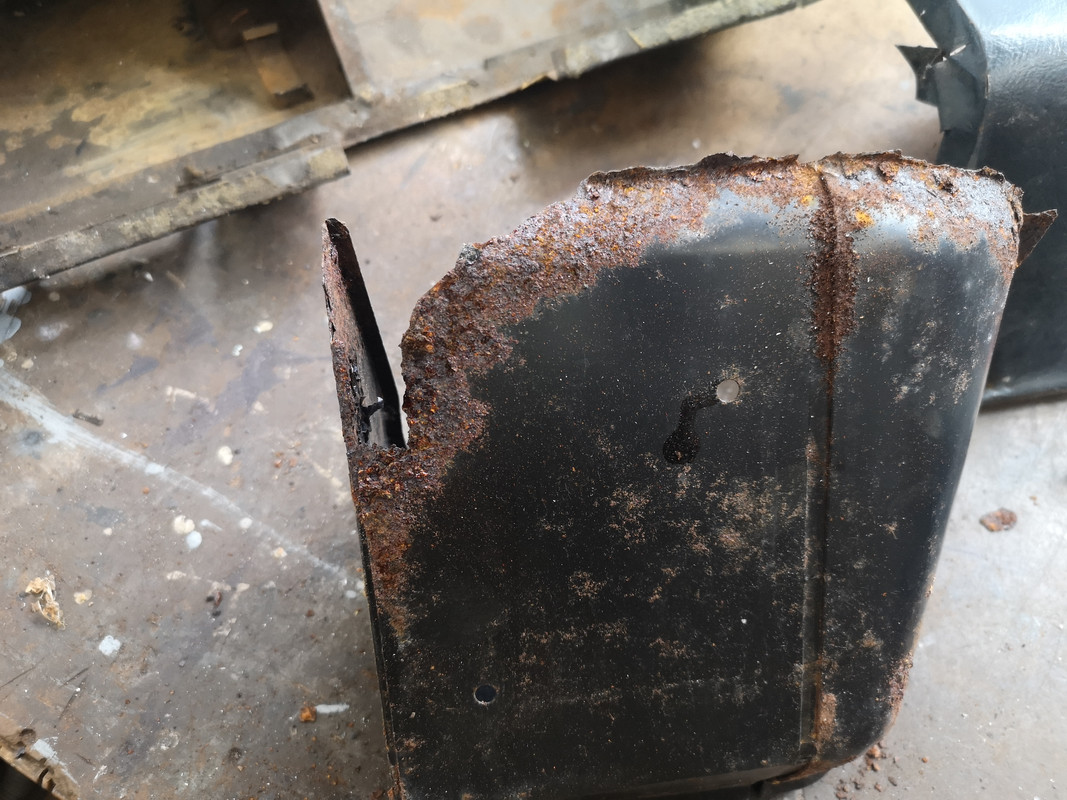
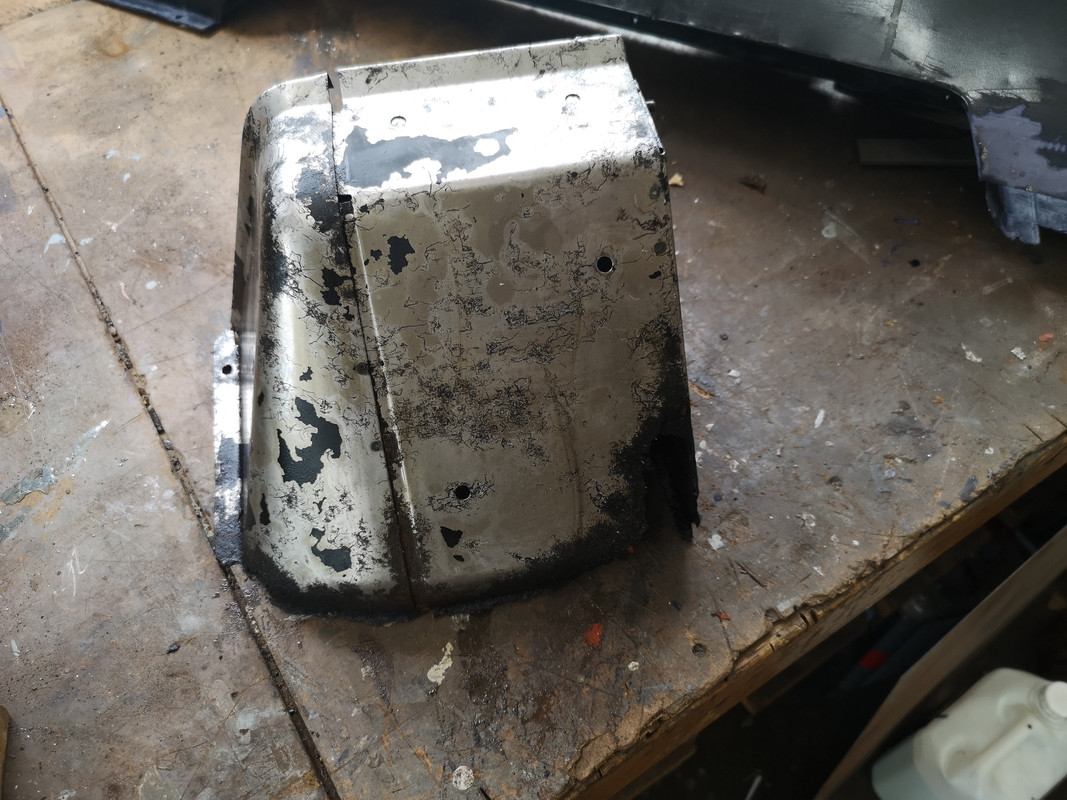
Ah yes, I remember. Also got the end cover out of storage ...

Image

... and removed the covering

Image

It's pretty messy just like everyone else's I've seen.

Image

I put this in the electrolysis bath since it's small enough to fit

Image

Time to cut out some rot ...

Image

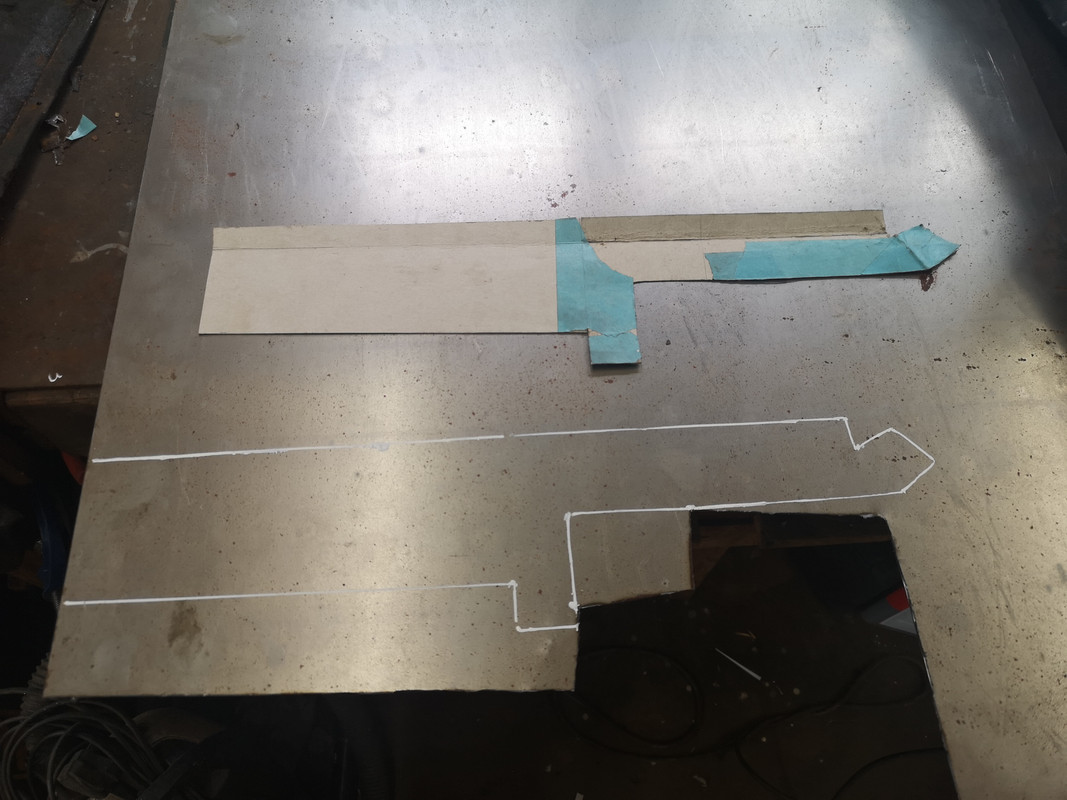
... and make templates, etc.

Image

Then cut out steel, shape bend and fettle

Image

After quite a bit of fiddling and fettling, I managed to get the patch piece to fit fairly decently

Image

That's it for today. I slapped on some phosphoric rust converter and got it ready for weldup.
Cliff

1981 109 V8 Stage 1
2000 Discovery 2 Td5

109 V8: viewtopic.php?f=6&t=2161
My Disco Thread: http://www.thed2boysclub.co.uk/viewtopi ... =3&t=58130

LAND ROVER. TURNING OWNERS INTO PAUPERS FOR 70 YEARS
Cliff4WD
Posts: 311
Joined: Fri Aug 10, 2018 2:39 pm
Location: Rye, East Sussex, UK

Re: Restoration

Post by Cliff4WD »

Welding today.

First, I got the end cover out of the electrolysis bath and gave it a rinse off

Image

Looks a lot cleaner now and I can better see what needs doing

Image

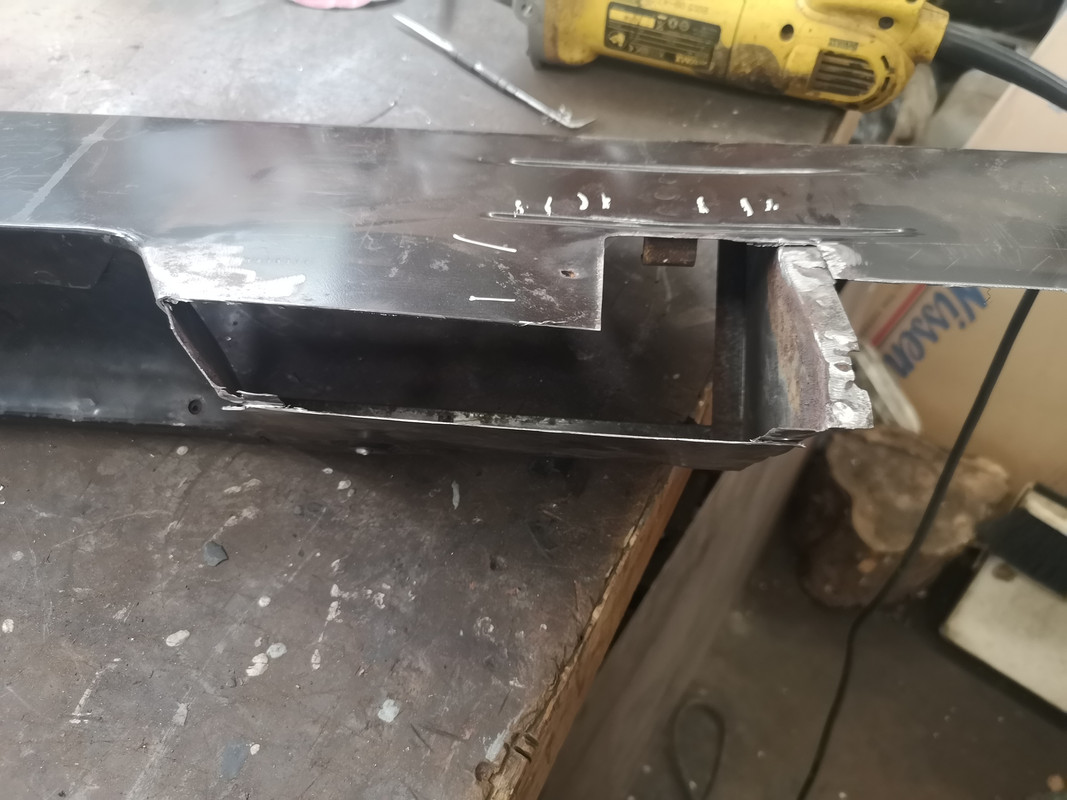
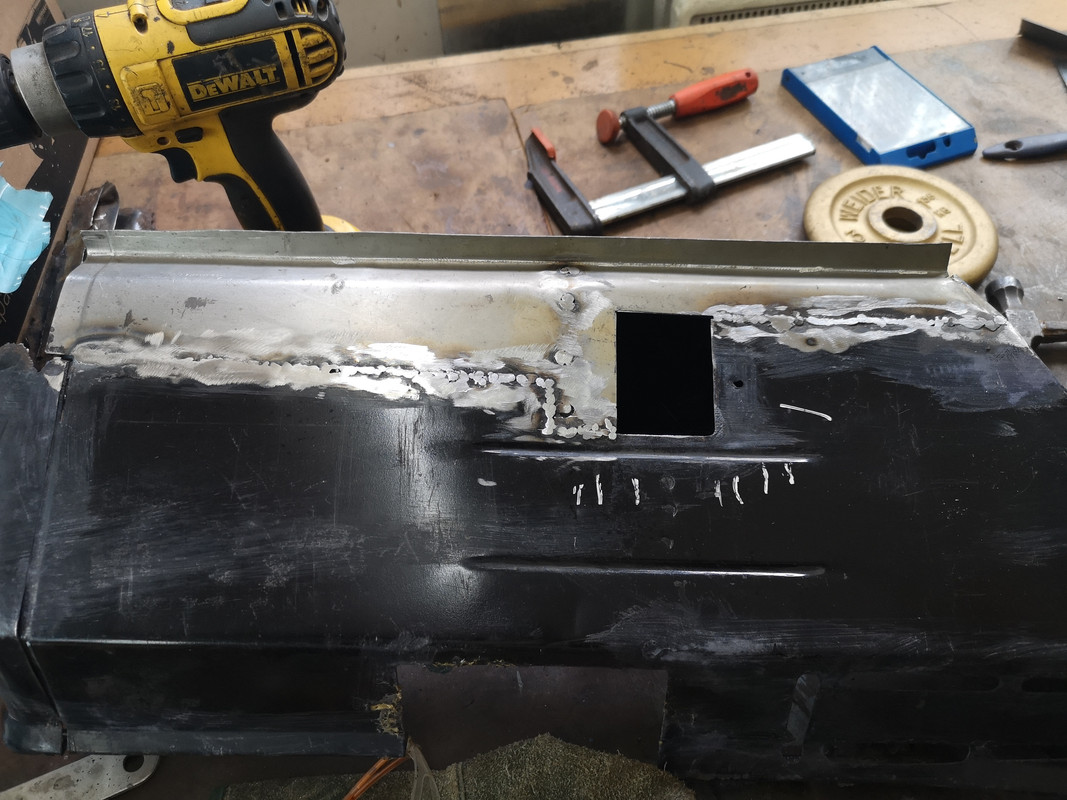
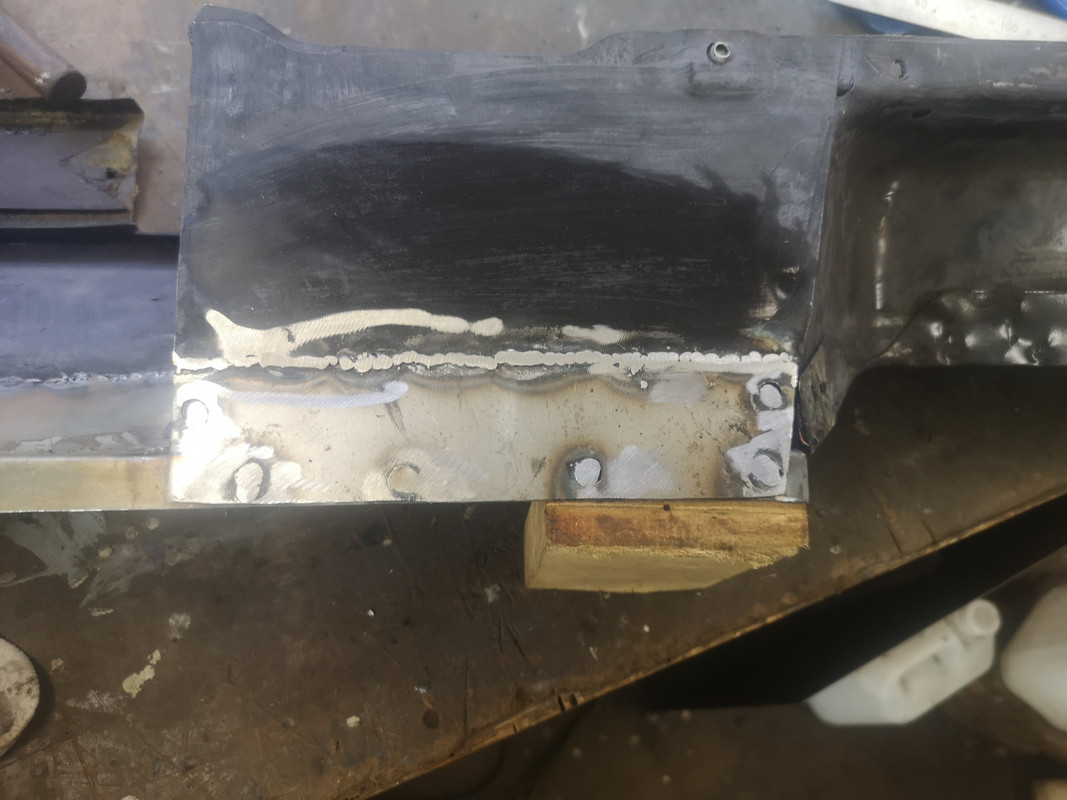
Welding the patch in place was straight forward enough although I did have a bit of trouble finding the sweet spot for welding such thin steel. I had ordered slightly thicker gauge steel than the flimsy thin stuff the shelf is made from, so there was the mismatch to contend with.

Image

Image

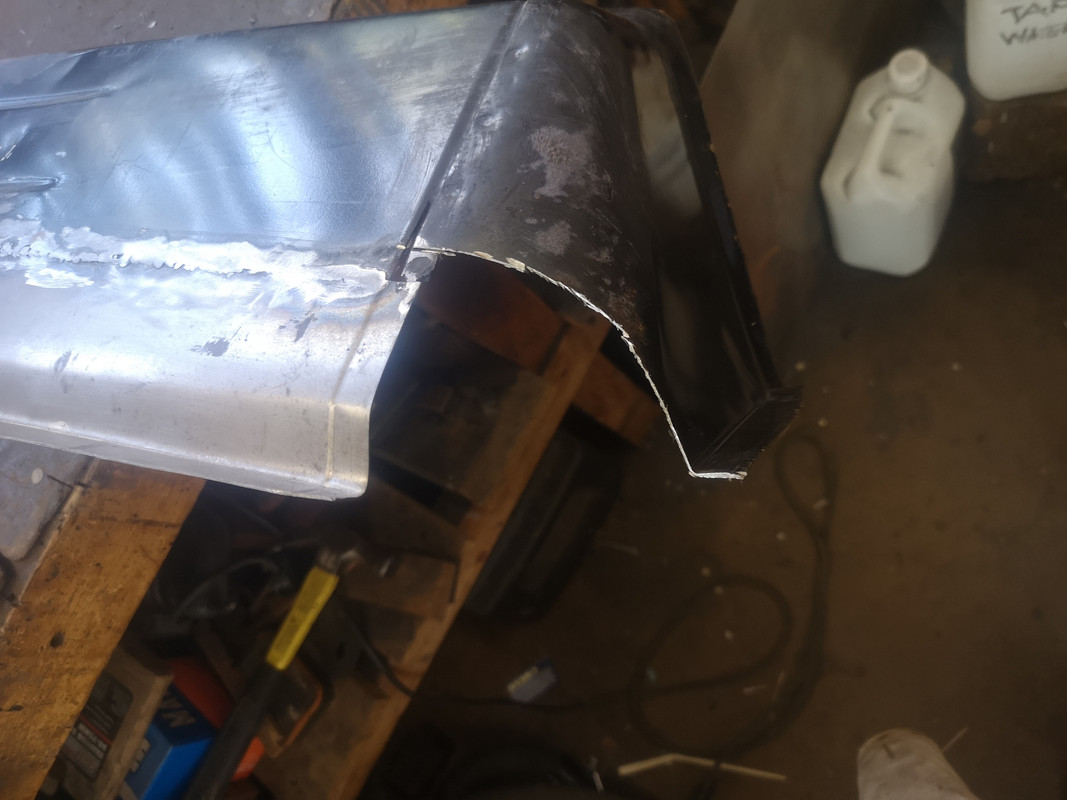
Moving on to the curved end, I cut out the rot ...

Image

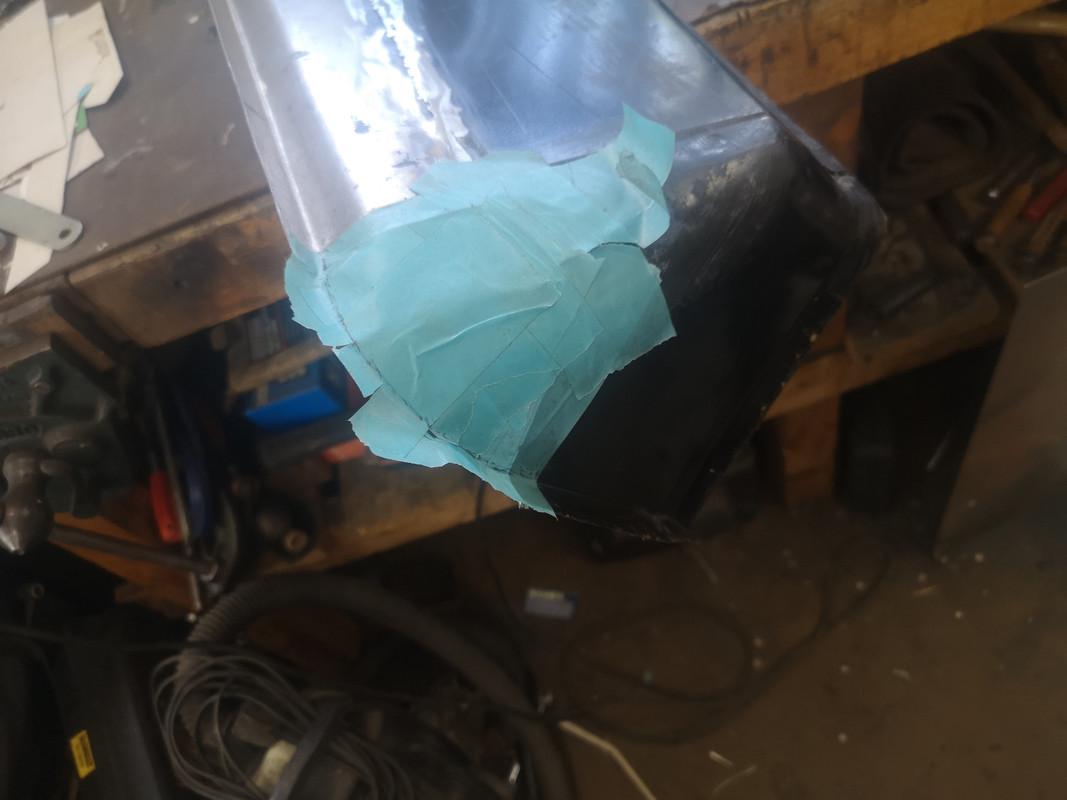
... and made the template using some tape ...

Image

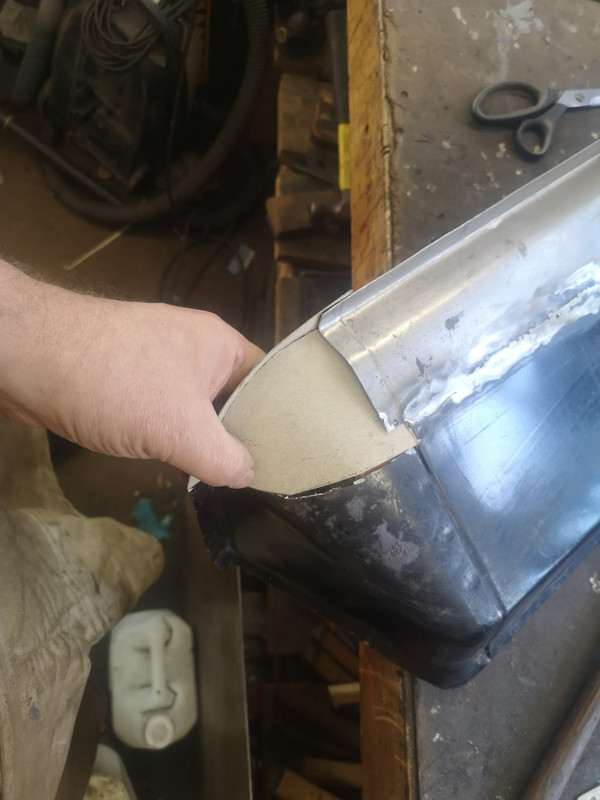
... and some card

Image

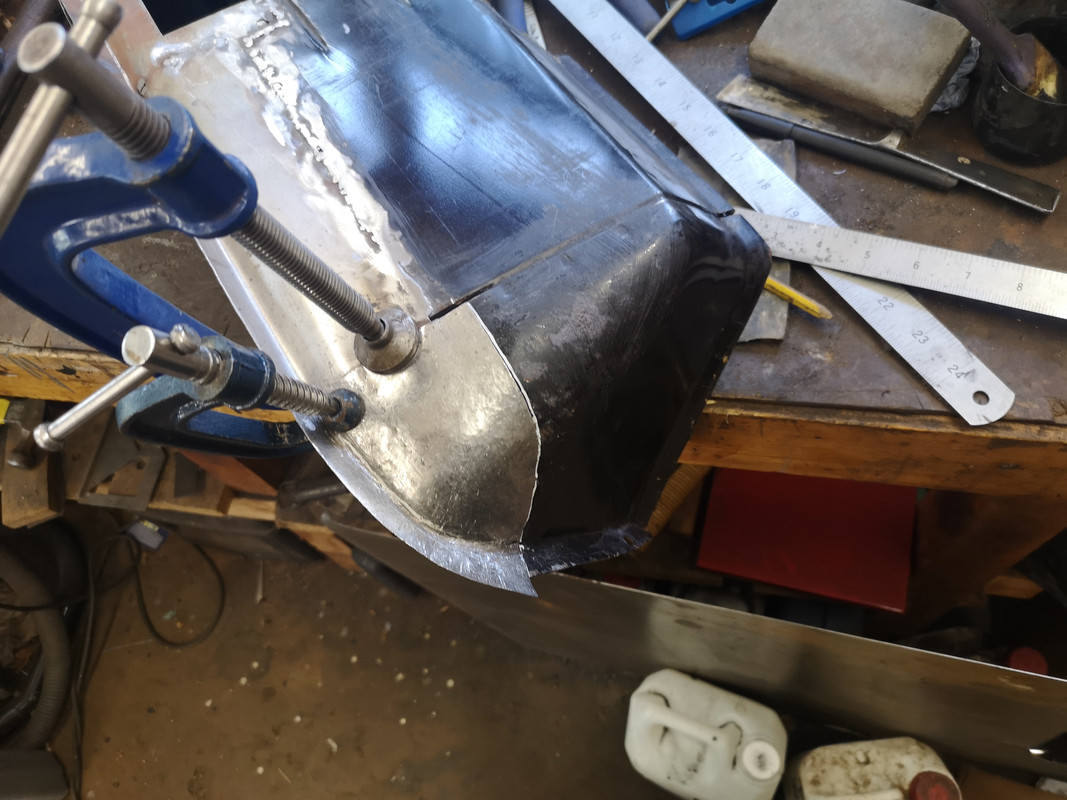
I cut out a piece of steel ...

Image

... and started hammering away at it to get it to shape. This is proving a bit tricky to get just right and is taking a lot of time messing with it. I'll resume tomorrow .
Cliff

1981 109 V8 Stage 1
2000 Discovery 2 Td5

109 V8: viewtopic.php?f=6&t=2161
My Disco Thread: http://www.thed2boysclub.co.uk/viewtopi ... =3&t=58130

LAND ROVER. TURNING OWNERS INTO PAUPERS FOR 70 YEARS
Cliff4WD
Posts: 311
Joined: Fri Aug 10, 2018 2:39 pm
Location: Rye, East Sussex, UK

Re: Restoration

Post by Cliff4WD »

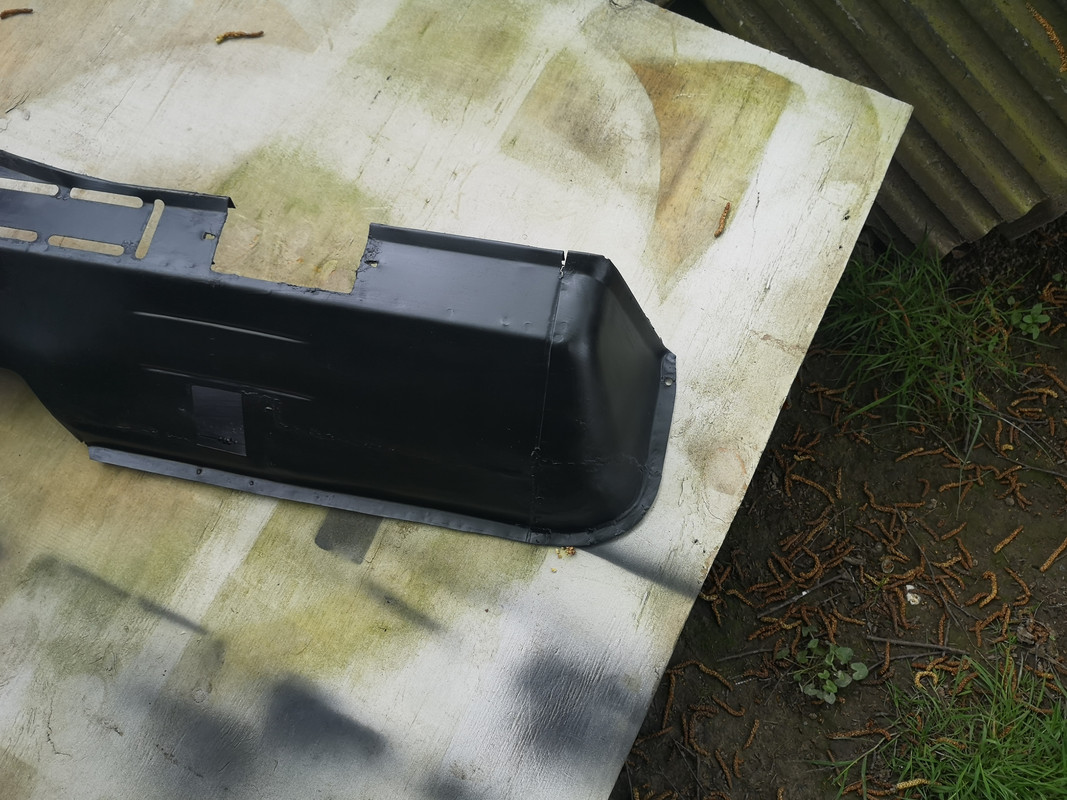
After a lot of hammering and swearing, I managed to fashion a piece of steel to fit

Image

soon had it welded dressed and primed

Image

then a coat of black satin

Image

Not my best work, but it gets covered over so no need to go mad striving for perfection on this.

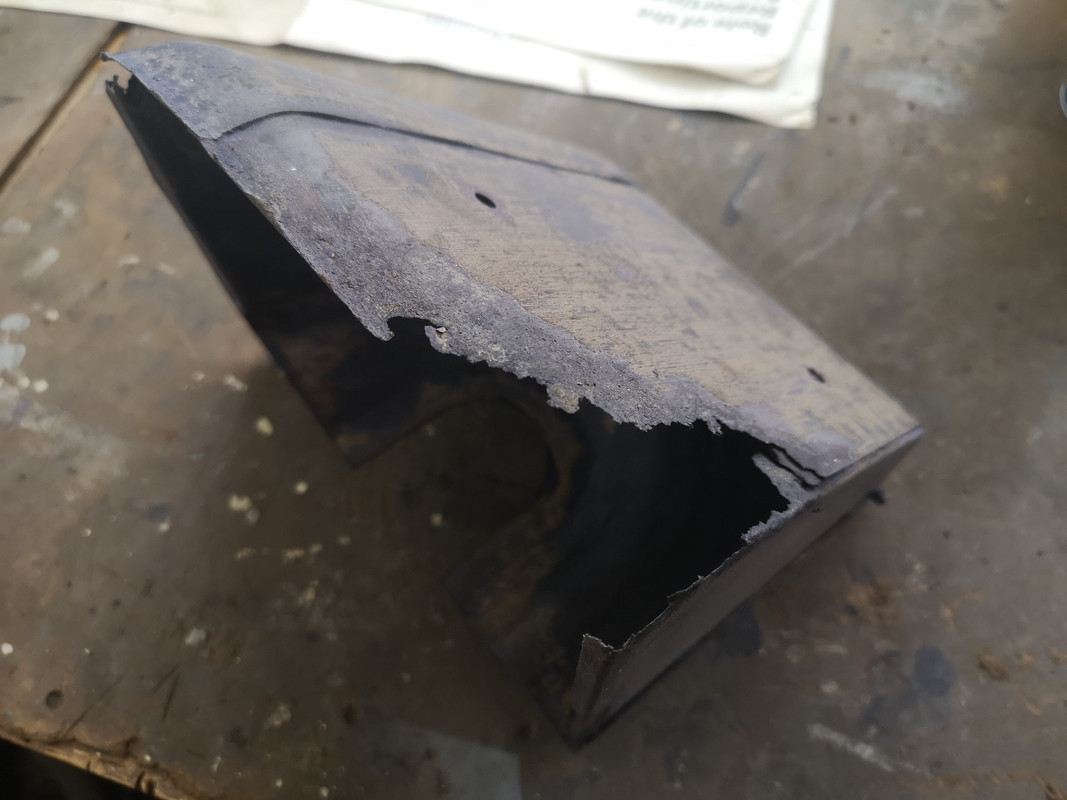
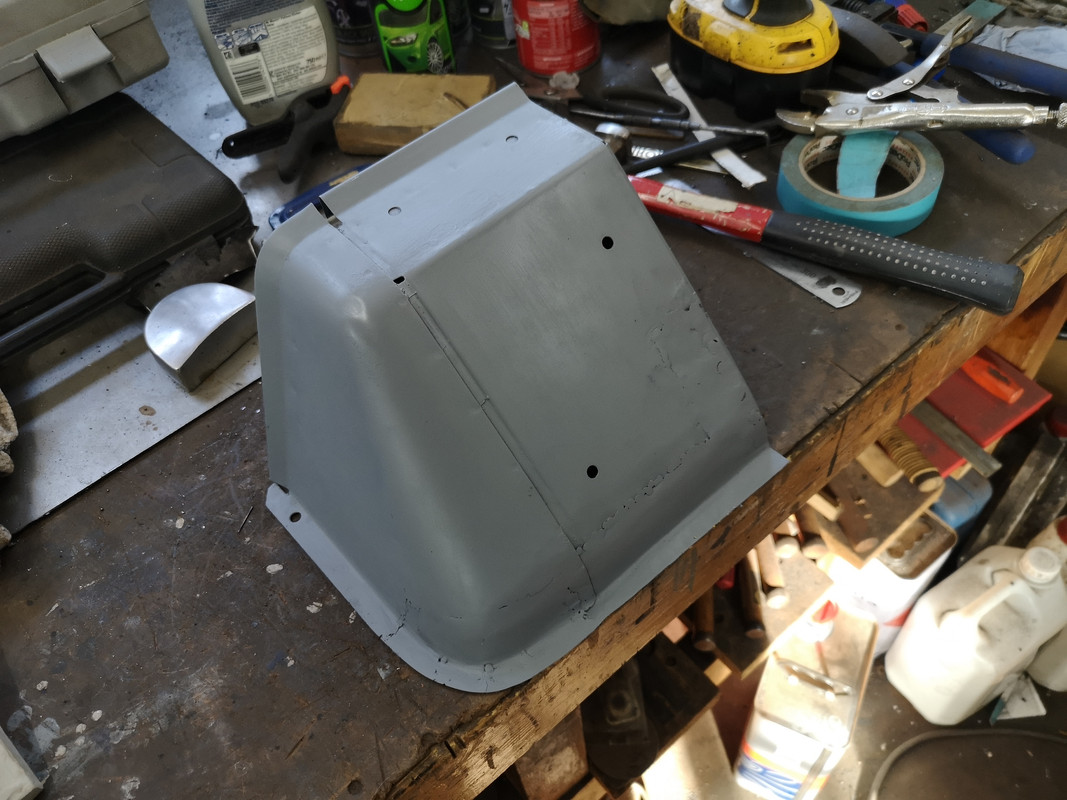
Next up, that wiper motor cover

Image

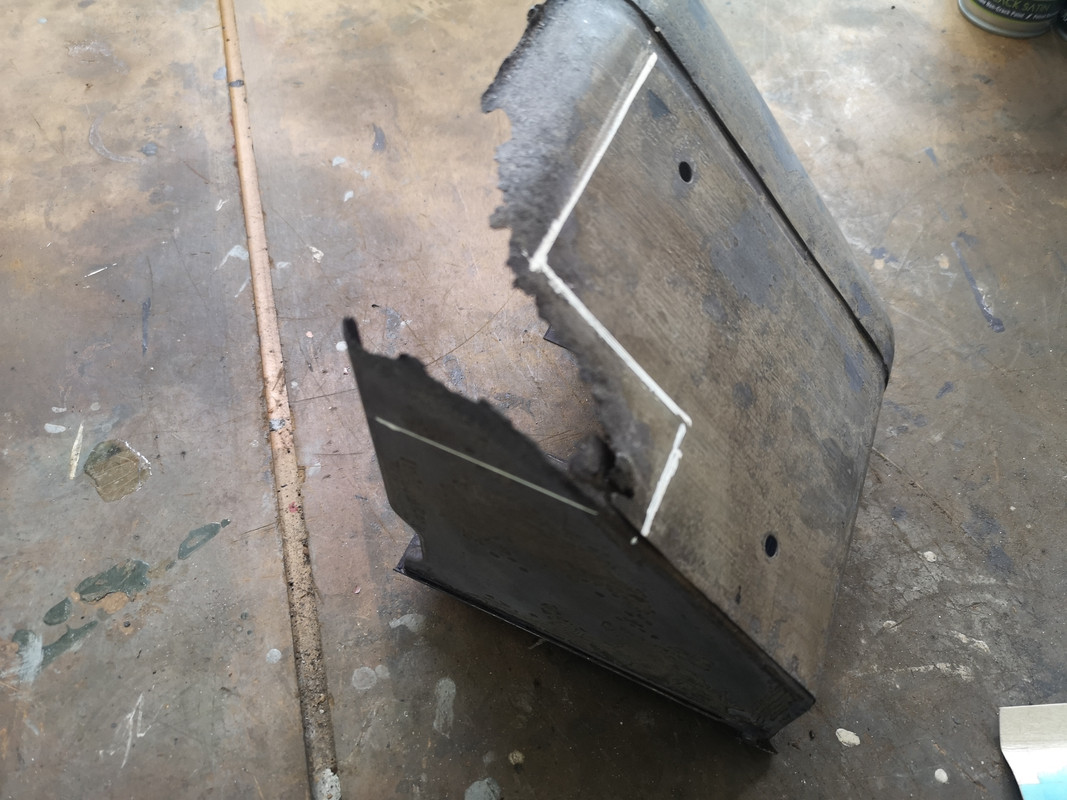
I decided where to cut and marked it ready to do the cutting

Image

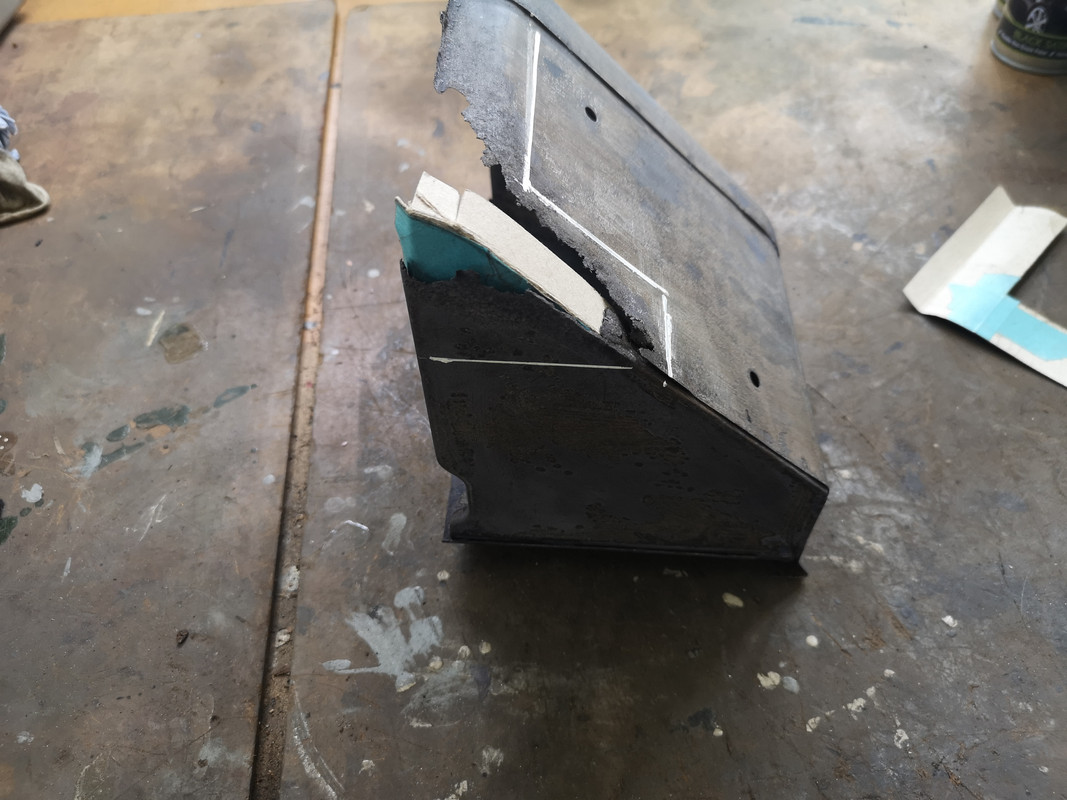
Cut it and then made the usual templates to fit

Image

Image

then made the new replacement pieces and adjusted to fit

Image

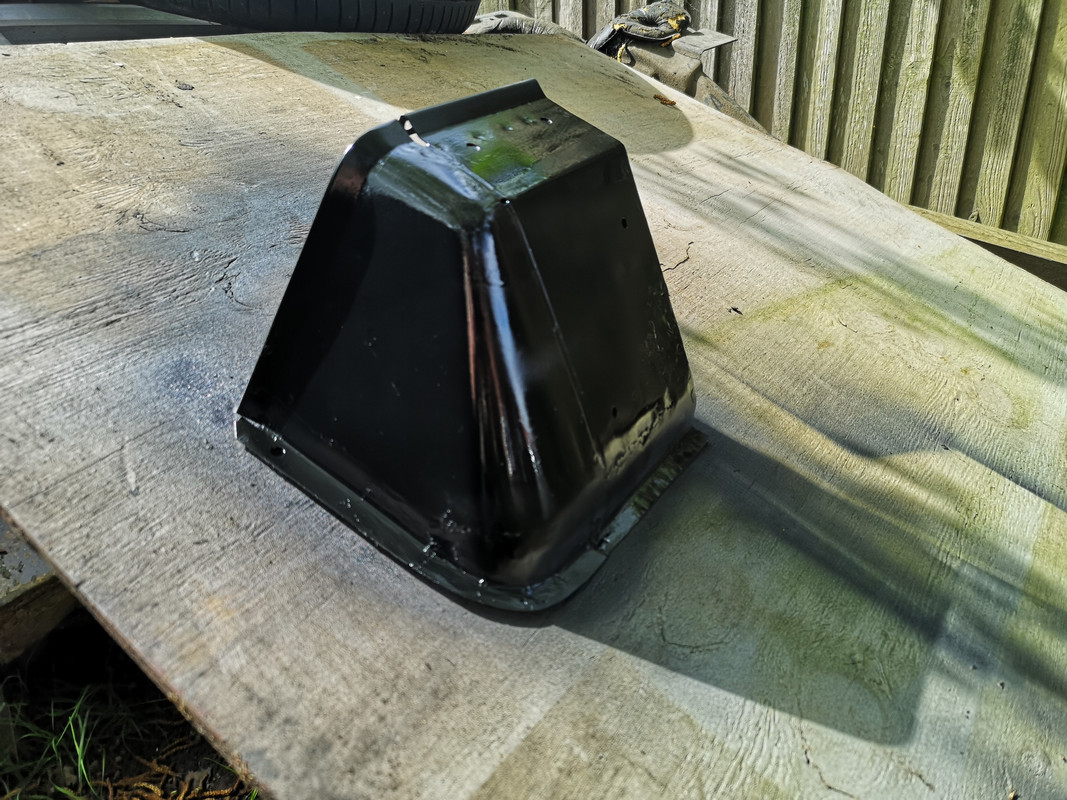
Welded it and then repeated the process for the remaining radiused corner

Image

A coat of primer

Image

and black satin

Image

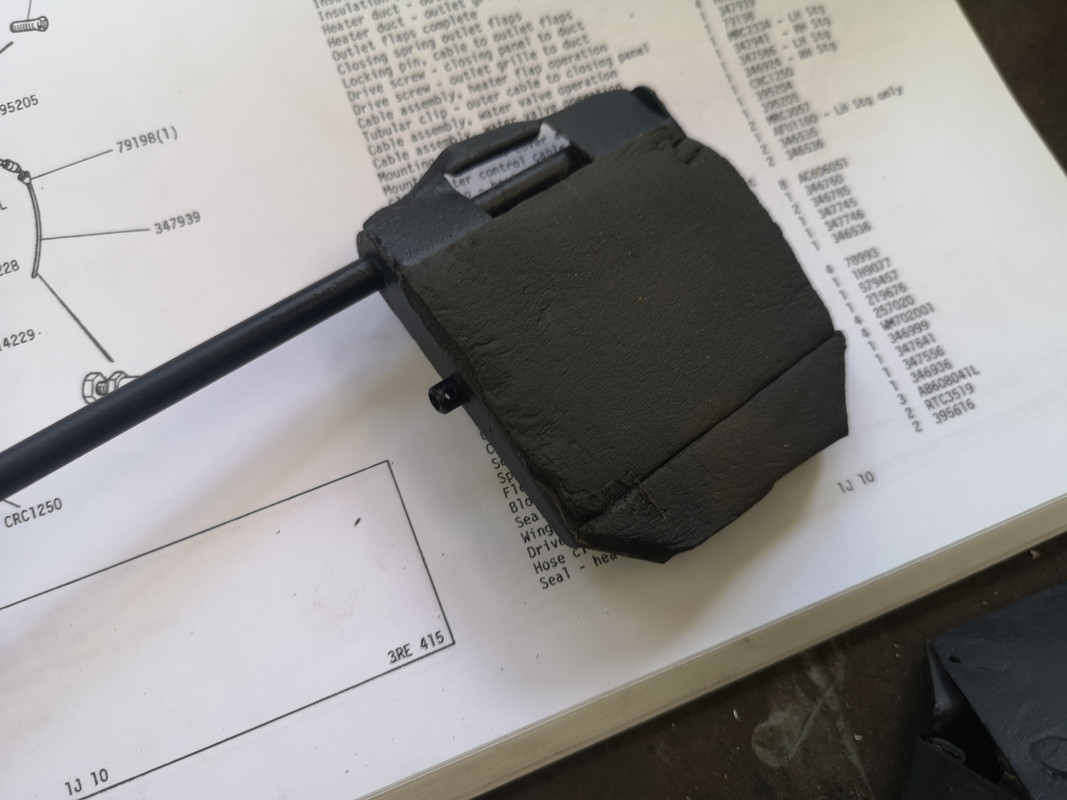
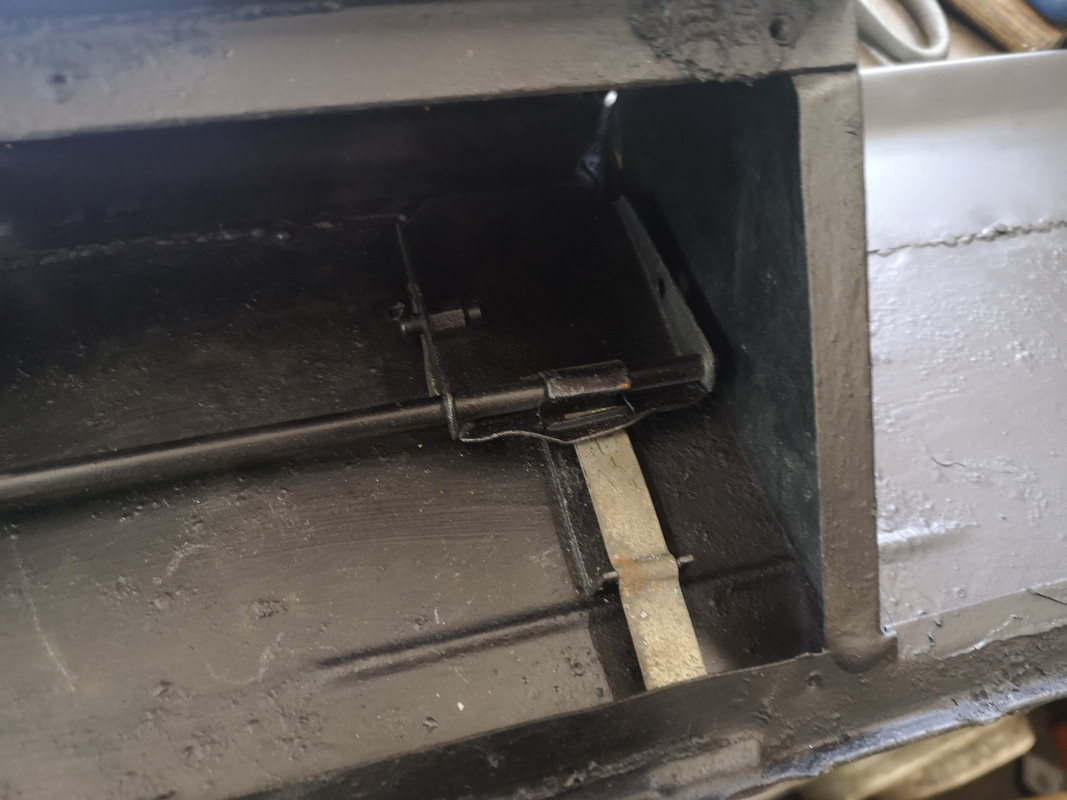
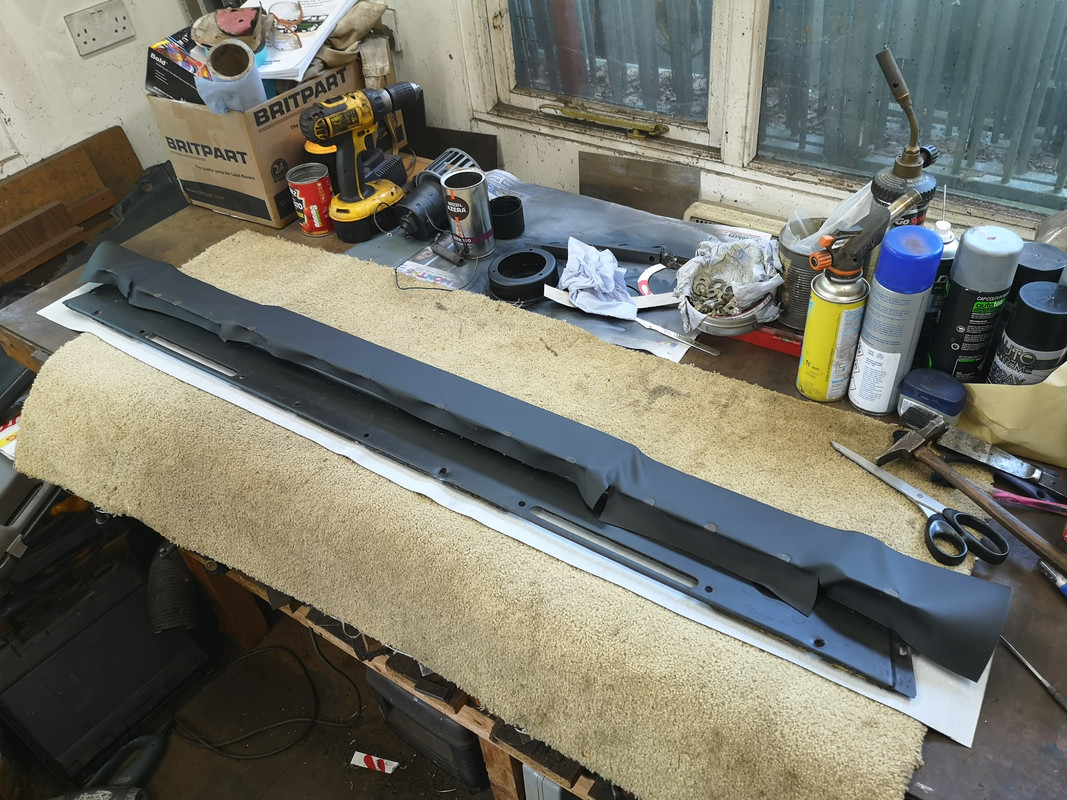
Next I turned my attention to the air plenum and the paddles. I'd had the paddles stewing in the electrolysis bath. After a good rinse and painting, I replaced the long perished foam with some self stick neoprene foam

Image

refitted with the spring clips

Image

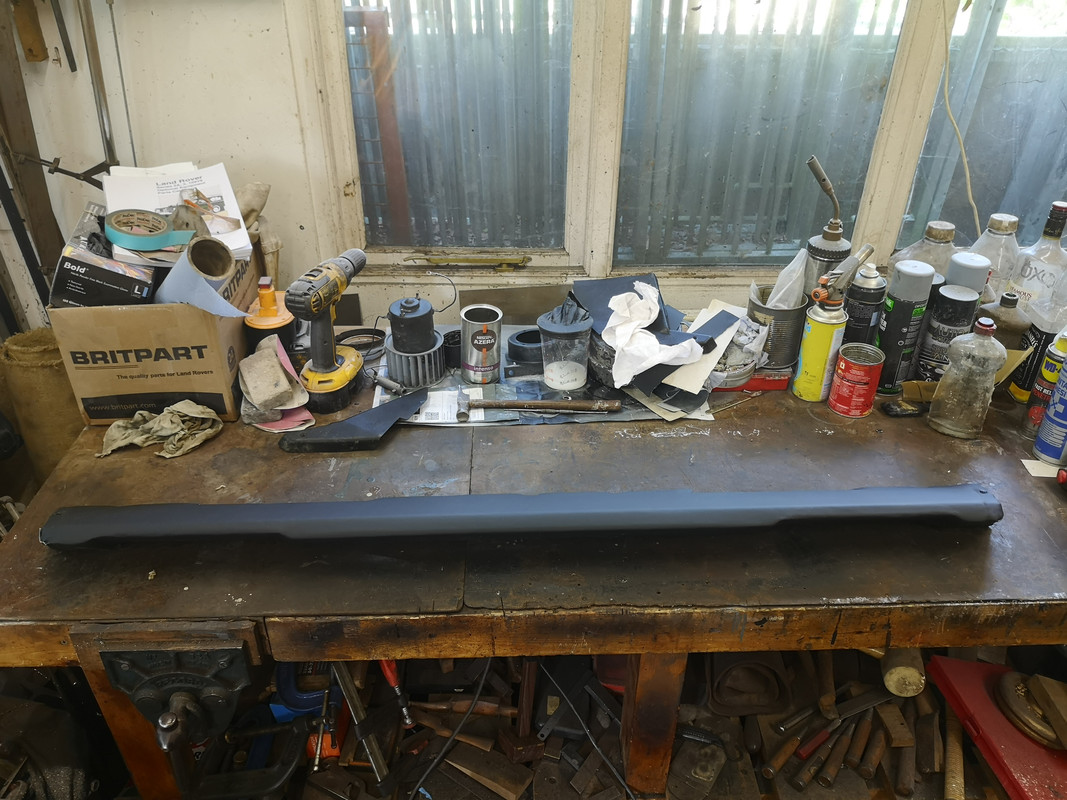
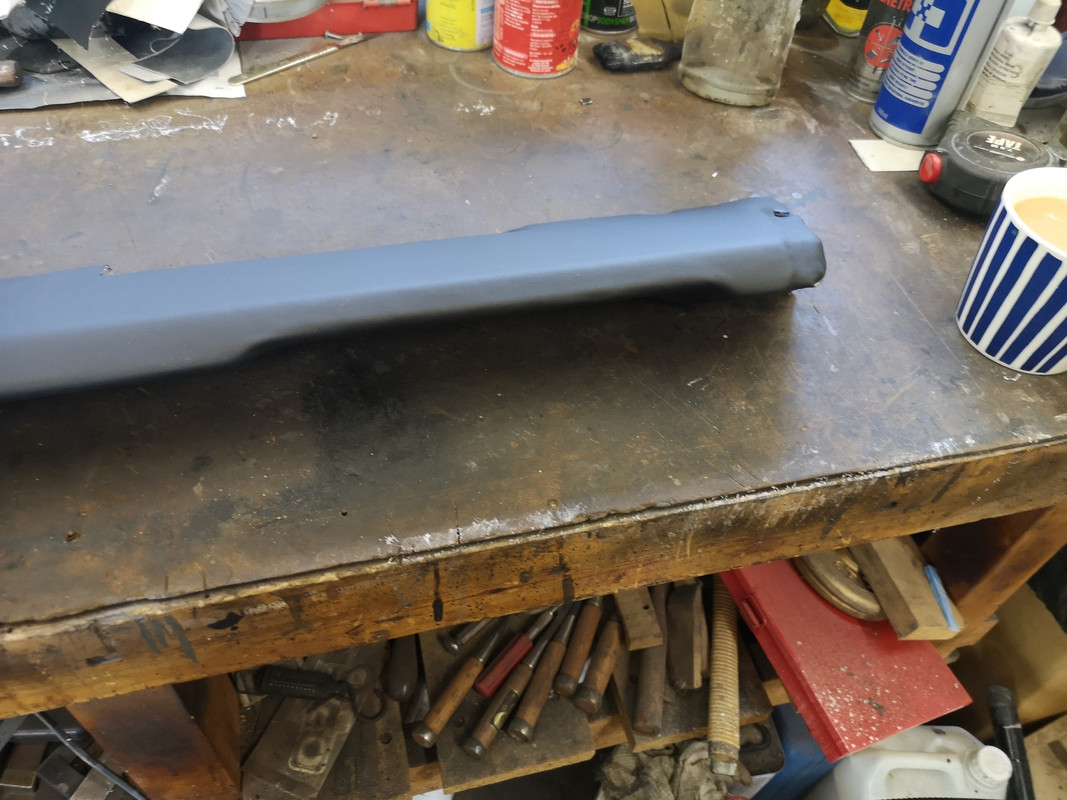
I decided to reuse the original covering as it's in reasonable condition and already molded to fit. I did toy with re-dong everything in leather, and I might do later on, but I want to make progress, so after giving the vinyl a good scrub clean, it went back on.

Image


I'm just waiting for a sheet of flat neoprene foam to arrive and I'll refit the top cover to the plenum complete with cable for the flaps.
Cliff

1981 109 V8 Stage 1
2000 Discovery 2 Td5

109 V8: viewtopic.php?f=6&t=2161
My Disco Thread: http://www.thed2boysclub.co.uk/viewtopi ... =3&t=58130

LAND ROVER. TURNING OWNERS INTO PAUPERS FOR 70 YEARS
Cliff4WD
Posts: 311
Joined: Fri Aug 10, 2018 2:39 pm
Location: Rye, East Sussex, UK

Re: Restoration

Post by Cliff4WD »

What a palavar. Getting the inner cable attached to the flaps and the outer cable to anchor tight in the cover. The tubular clip that holds it in place was slipping and wouldn't stay tight, the hole in the cover was worn loose, and it was driving me potty messing with it. I kept dropping the clip and losing it and then I did really start to "lose it"; Enough! I cut a thread in the end of the cable end fixing, used a couple of washers and a nylock nut; sorted.
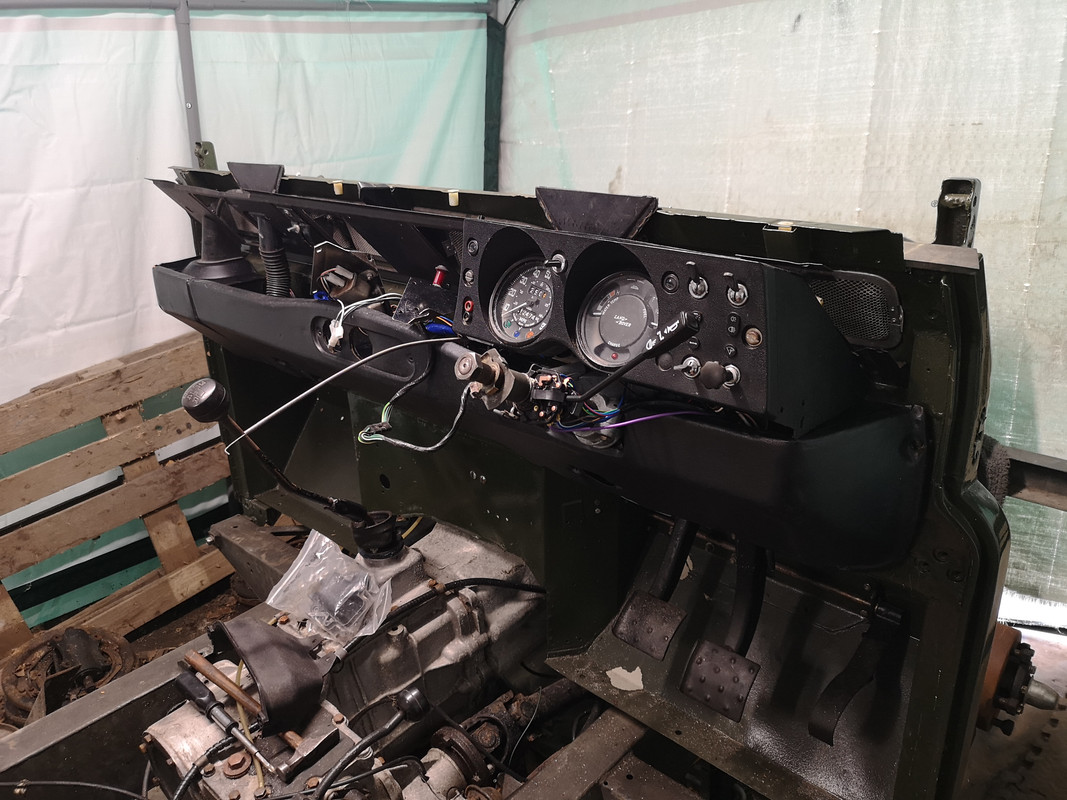
Fitting the lower fascia to the bulkhead was the next problem as I needed to drill holes in the bulkhead where I'd lost the originals during welding repairs. Holding it in place and marking the holes positions was "awkward". Anyway, all in place now.

Image
Cliff

1981 109 V8 Stage 1
2000 Discovery 2 Td5

109 V8: viewtopic.php?f=6&t=2161
My Disco Thread: http://www.thed2boysclub.co.uk/viewtopi ... =3&t=58130

LAND ROVER. TURNING OWNERS INTO PAUPERS FOR 70 YEARS
Cliff4WD
Posts: 311
Joined: Fri Aug 10, 2018 2:39 pm
Location: Rye, East Sussex, UK

Re: Restoration

Post by Cliff4WD »

I've been discussing this in another thread, but for the sake of completeness:

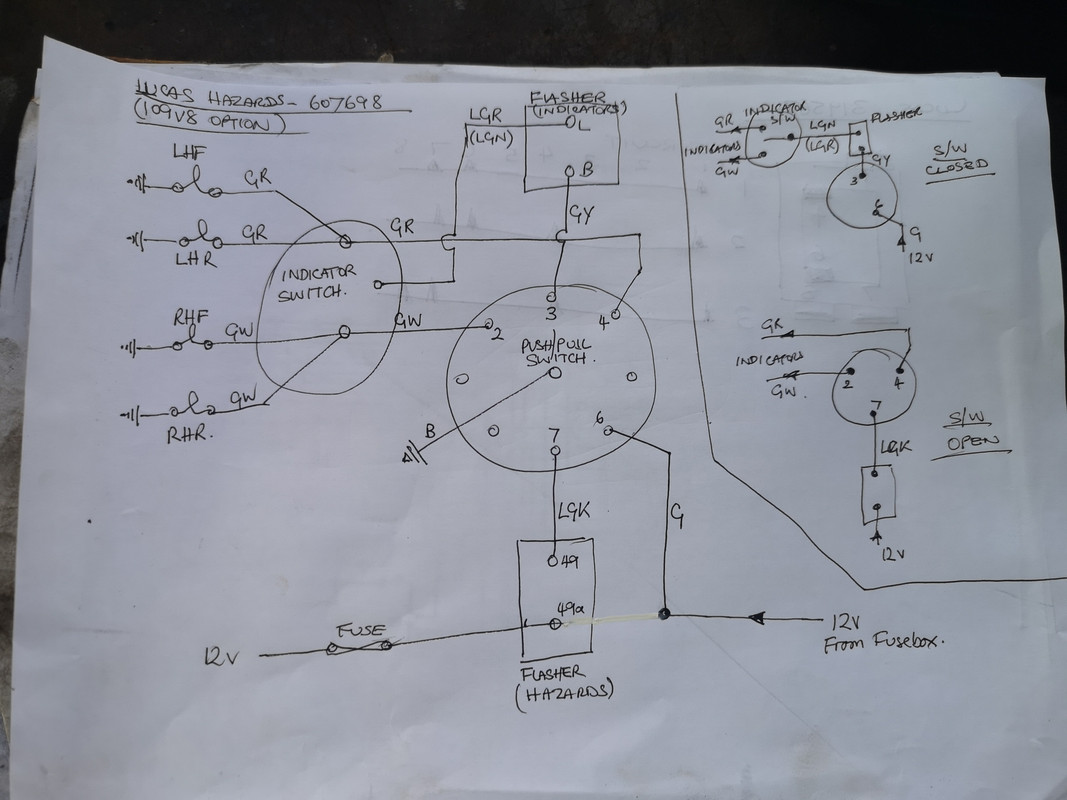
I got back onto wiring as fitting the lower fascia, etc. back in place, so making sure I have loom and option wiring all running in the right place. It should all be straightforward really, but it's a bit confusing here and there since I've also replaced the loom, so identifying each lamp, and instrument switch connector has caused some head scratching. Of course, the circuit diagram for the 109V8 doesn't include the hazard switch; I've been working out how it all works with my multimeter. My confusion is due to a couple of colour code discrepancies, a new Lucas indicator stalk, 40 year old switch contacts, an aftermarket hazard flasher unit, and my ignorance of auto electrics. :lol: It's taken far more head scratching than it ever should have.


I think I finally sussed it out. Just had to take time, sit down, and think about which wires were going where. I think I have it correct.

Image

Of course, I don't have any lights installed yet, so just relying on multimeter for now.
Cliff

1981 109 V8 Stage 1
2000 Discovery 2 Td5

109 V8: viewtopic.php?f=6&t=2161
My Disco Thread: http://www.thed2boysclub.co.uk/viewtopi ... =3&t=58130

LAND ROVER. TURNING OWNERS INTO PAUPERS FOR 70 YEARS
Cliff4WD
Posts: 311
Joined: Fri Aug 10, 2018 2:39 pm
Location: Rye, East Sussex, UK

Re: Restoration

Post by Cliff4WD »

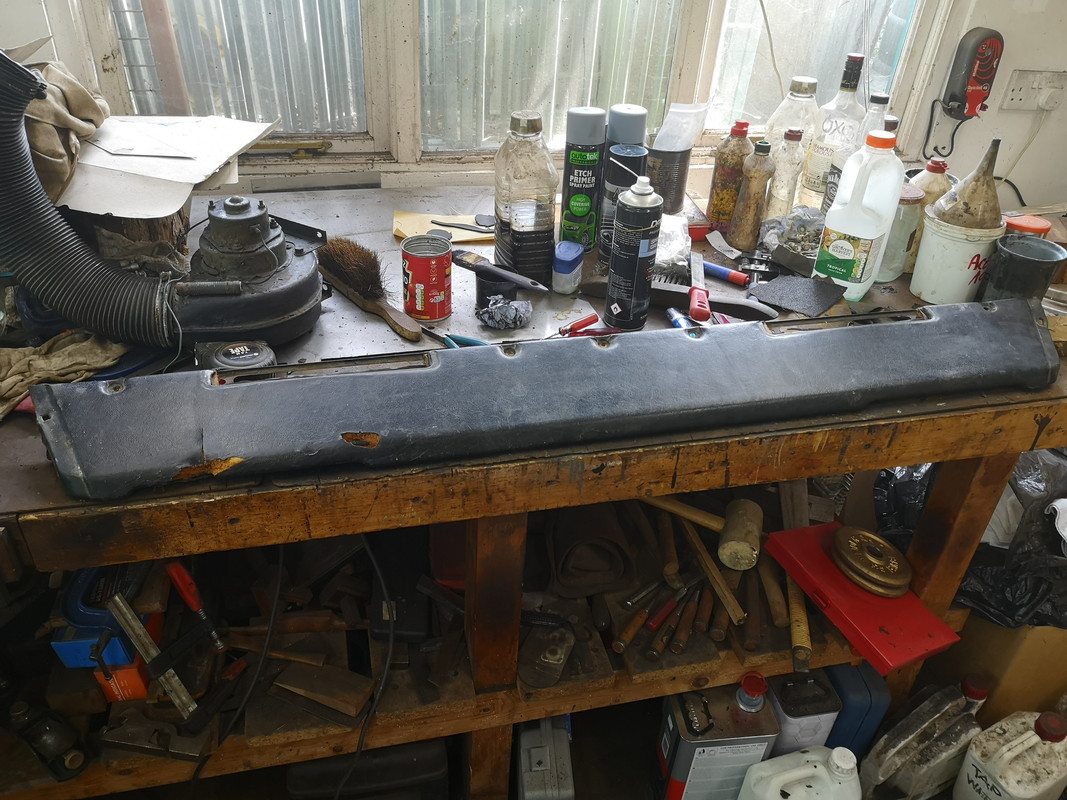
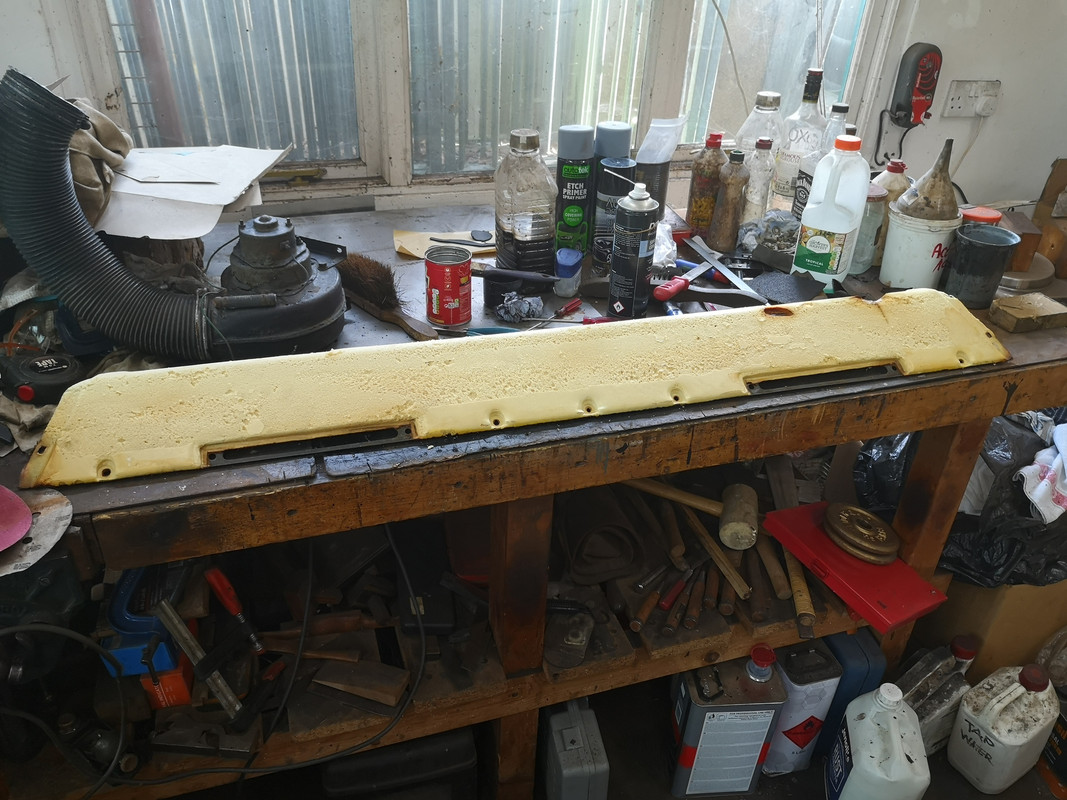
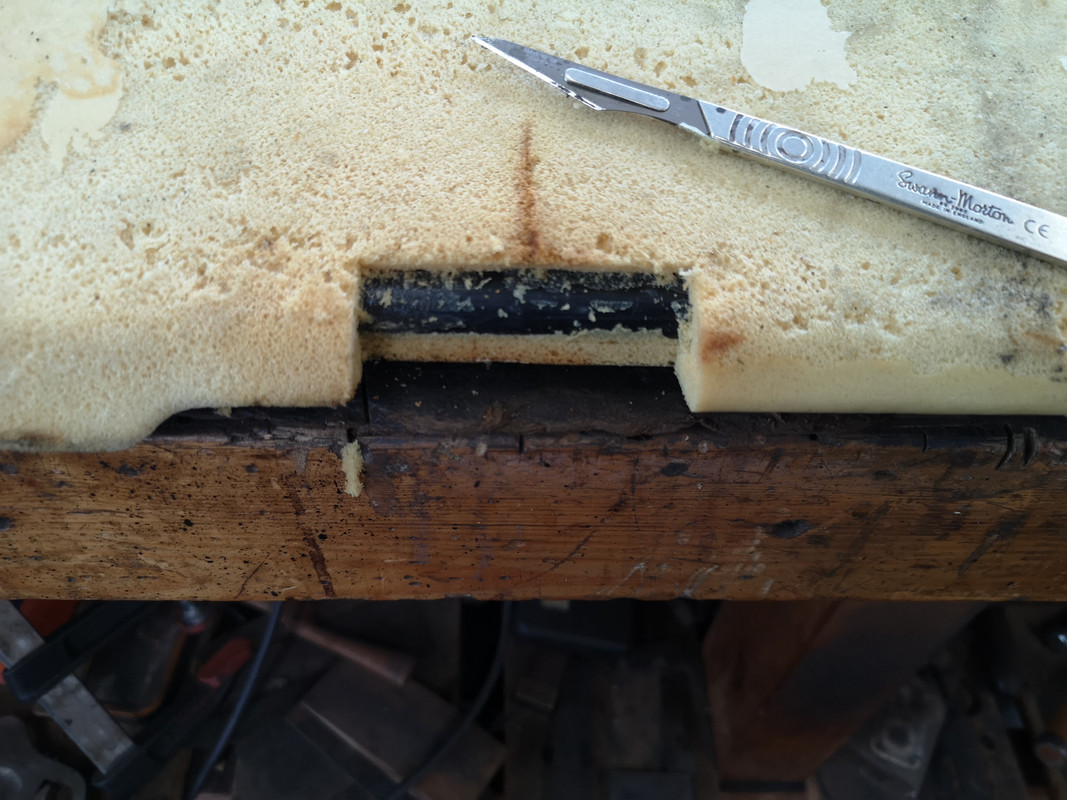
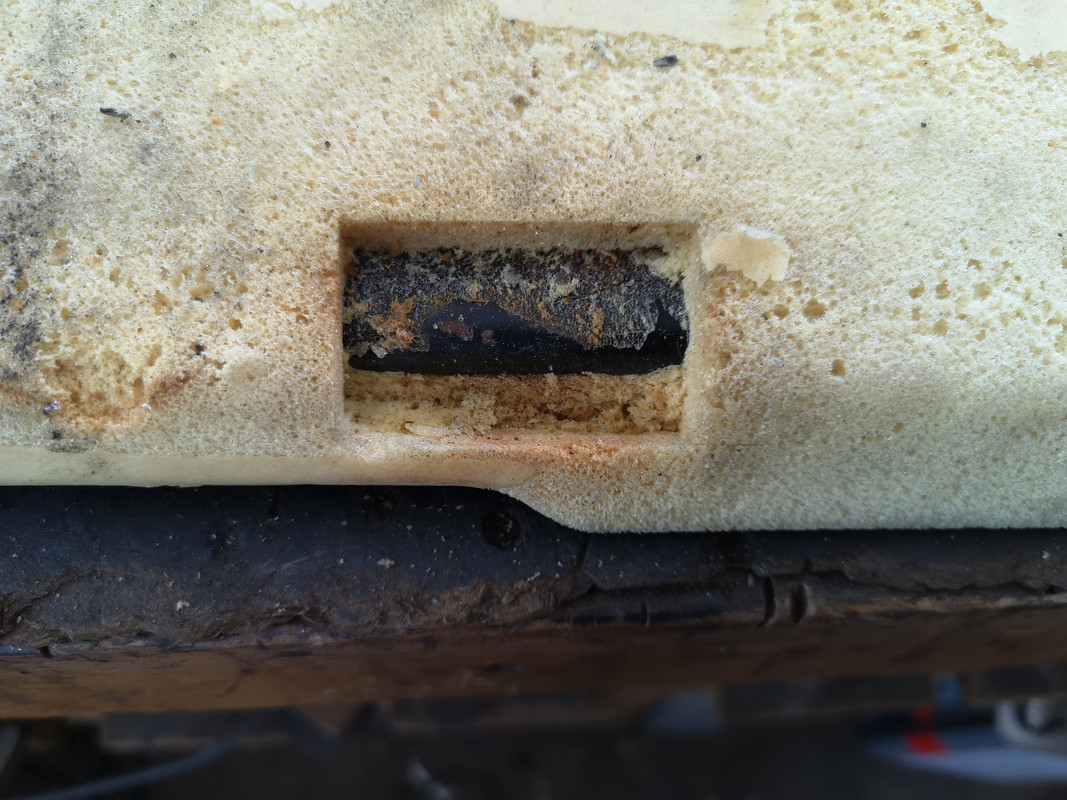
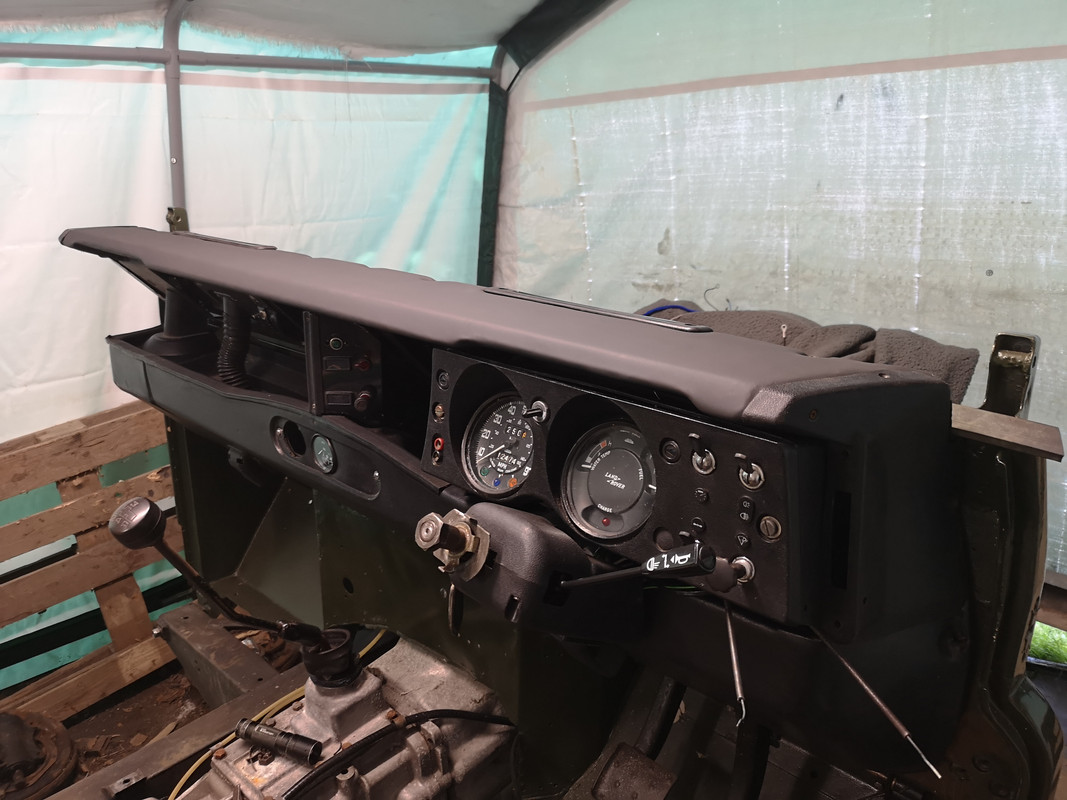
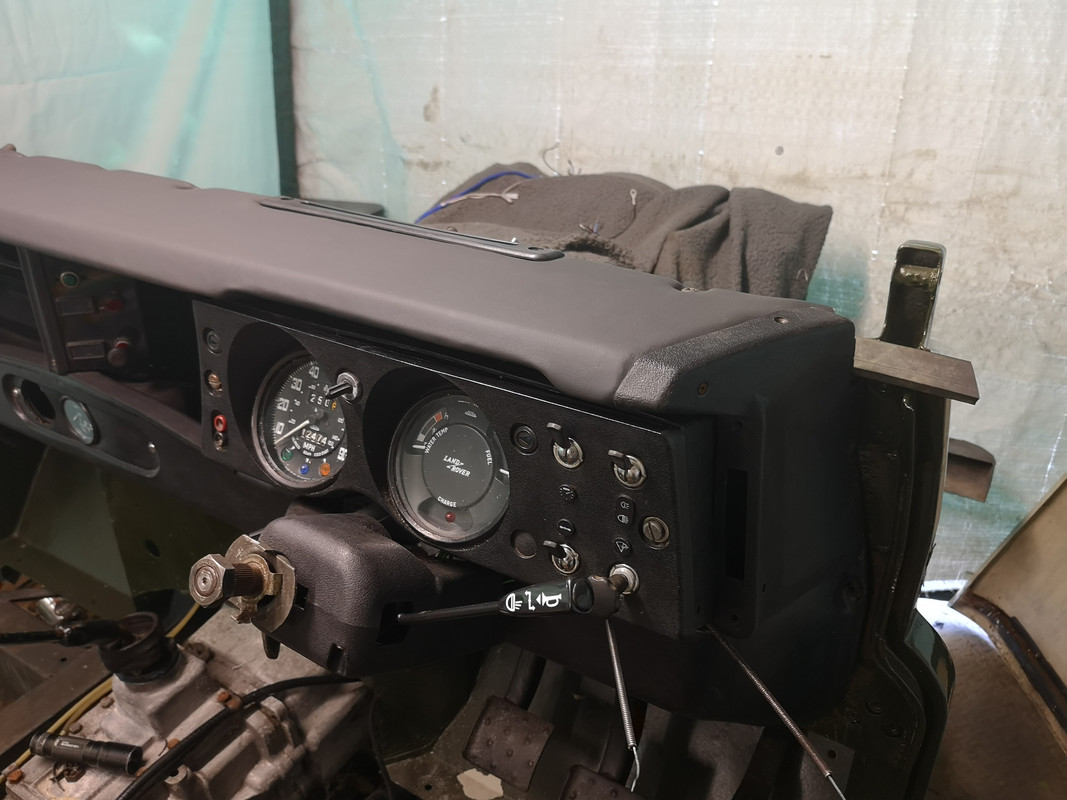
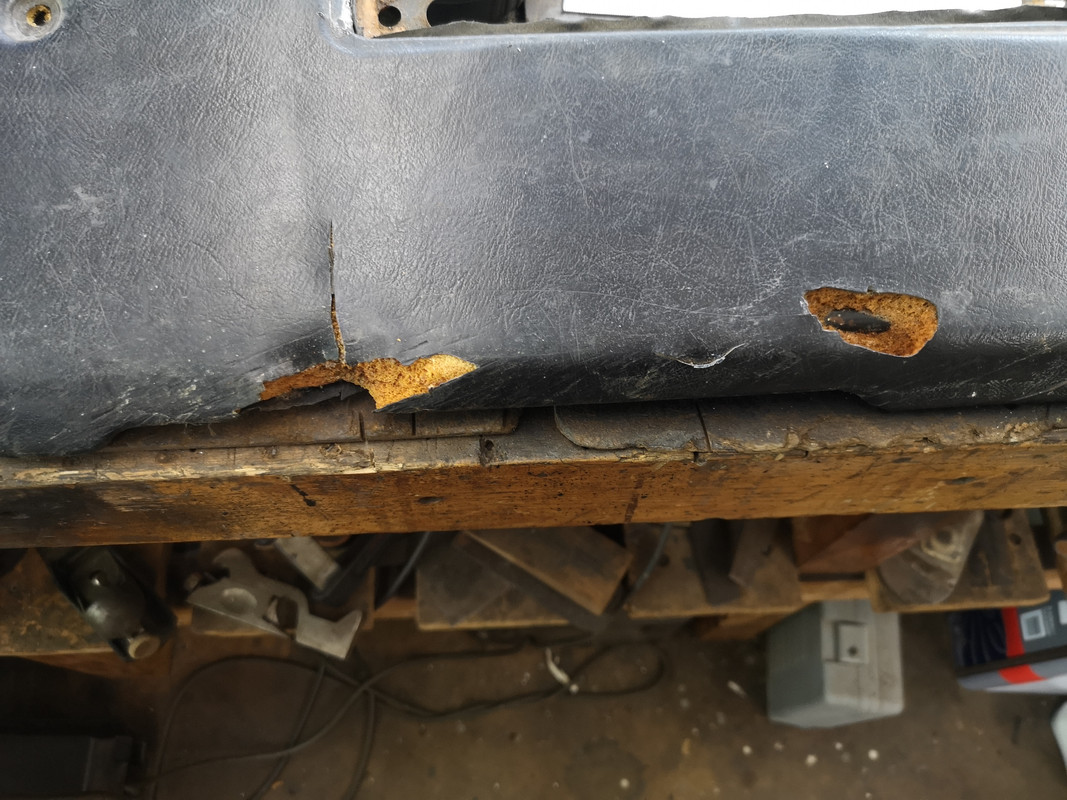
Carrying on with repairs. Next on the list is the upper dash crash padding. Like so many, mine has cracked and has damage to the foam padding. A previous owner had made an extremely poor attempt at a repair with some god awful silicone. I pulled that off and cleared the damage so that I could better see what needs to be done.
Image

Image

I'll be patching up the foam and replacing the covering. Next step is to strip the heavy vinyl covering off and see what's underneath.

Image

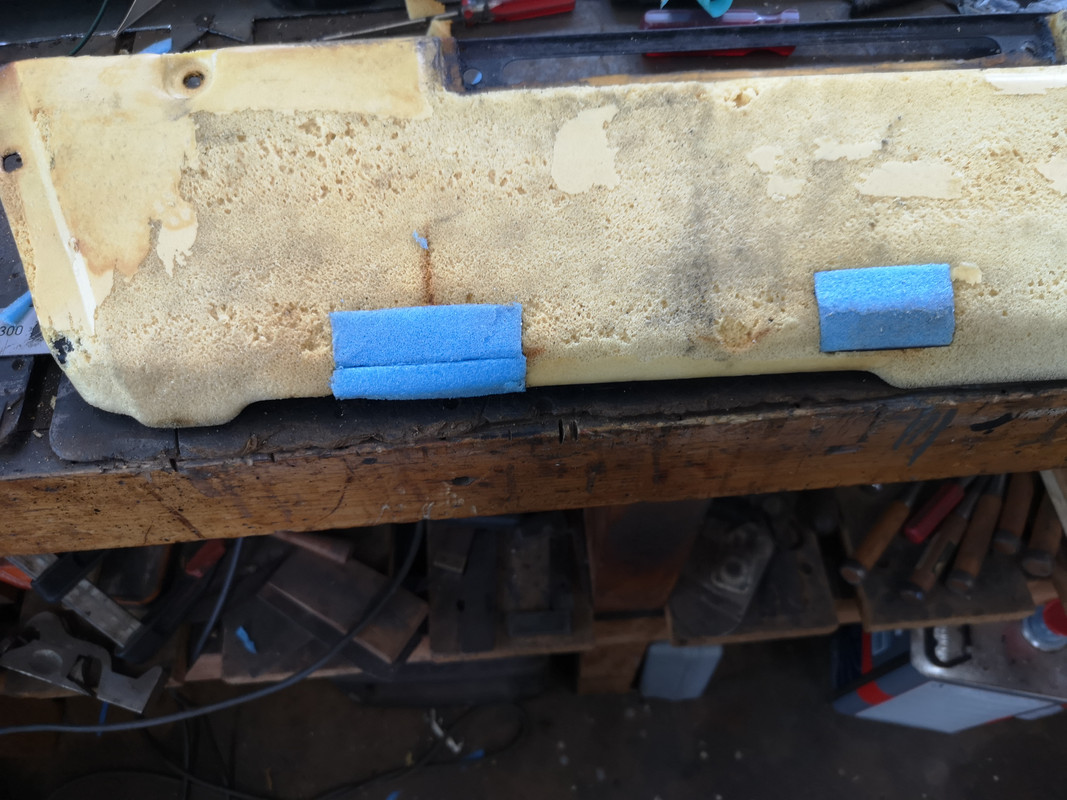
Not too bad, lost the smooth finish and of course, there's the damage. I cut the damaged sections out to give a clean shape for patching.

Image

Image

I didn't have any expanding foam to fill the holes and I wanted to get on with the job, so I managed to find some HD foam from some left over packaging. It should do the job well enough for this small area of damage. I cut some to size and glued in place.

Image

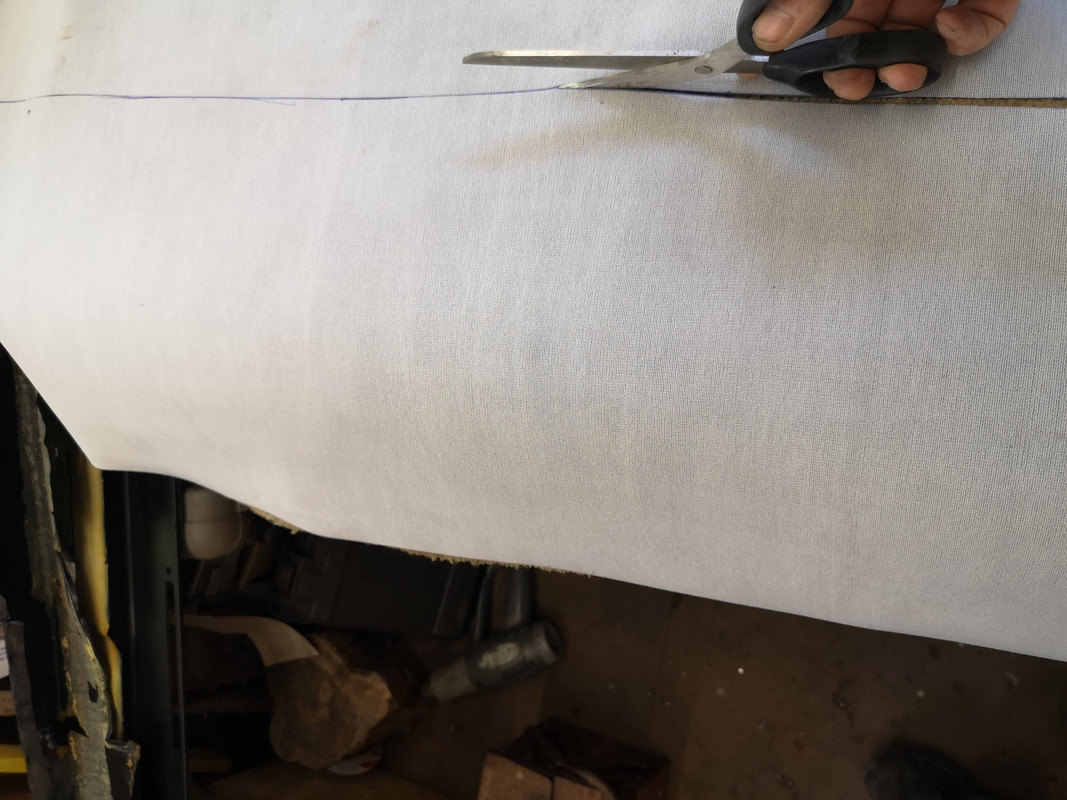
I'd ordered up some 4 -way stretch vinyl ready for recovering, so measured out what I needed and cut it to size.

Image

Now, this is the point where I made a right mess of it. I laid the pad onto the vinyl and glued and clipped it in place. All was going well until I realised that the surface of the foam having been roughed up removing the old covering, was now showing through the vinyl and looking absolutely awful! We learn by our mistakes. After scratching my head for a while and wondering how I was ever going to sort this mess, I opted to strip the vinyl off again (discard it now ruined) and to start again with another piece. First though, what to do about the surface of the foam? It needed to have a good smooth surface and to continue to serve its purpose as crash padding. I'd seen various YouTube videos of people doing this repair using expanded foam, but they invariably end up with quite an untidy looking result since achieving that smooth surface is difficult without some kind of mould. I decided that a skin of fine surface filler would do the job, as it would give the surface I needed and can be sanded smooth, so that's what I did, I skimmed it over and rubbed it down until I had a nice smooth surface with no holes. It retained its flexibility and mimicked the original surface quite nicely. I was concerned that the surface might not accept the spray contact adhesive so I sealed it first with a PVA wash. This stops the filler if porous from sucking up the adhesive solvent and causing yet more problems.

This time, I was able to lay the pad on the vinyl and glue and clip it in place and achieve a decent flat smooth surface.

Image

Image

Image

Being an absolute amateur car upholsterer, I was pretty pleased with the result as it looks halfway decent to my eyes.

Image

Image

One interesting thing I hadn't realised; the demister vent covers are not the originals that went with this dash. I assume that they are the later type (or maybe 110, Defender?) as the screw holes don't line up. On closer inspection I see that they have been filed away so that they fit in the gap and mate with the demisters. Actually, thinking about it as I write this, the holes in the crash pad don't align with the screw fixings in the bulkhead, which further confirms that the bulkhead was replaced before and isn't an original Stage One although a Series 3. The previous restoration by whoever did it keeps catching me out.
Cliff

1981 109 V8 Stage 1
2000 Discovery 2 Td5

109 V8: viewtopic.php?f=6&t=2161
My Disco Thread: http://www.thed2boysclub.co.uk/viewtopi ... =3&t=58130

LAND ROVER. TURNING OWNERS INTO PAUPERS FOR 70 YEARS
Cliff4WD
Posts: 311
Joined: Fri Aug 10, 2018 2:39 pm
Location: Rye, East Sussex, UK

Re: Restoration

Post by Cliff4WD »

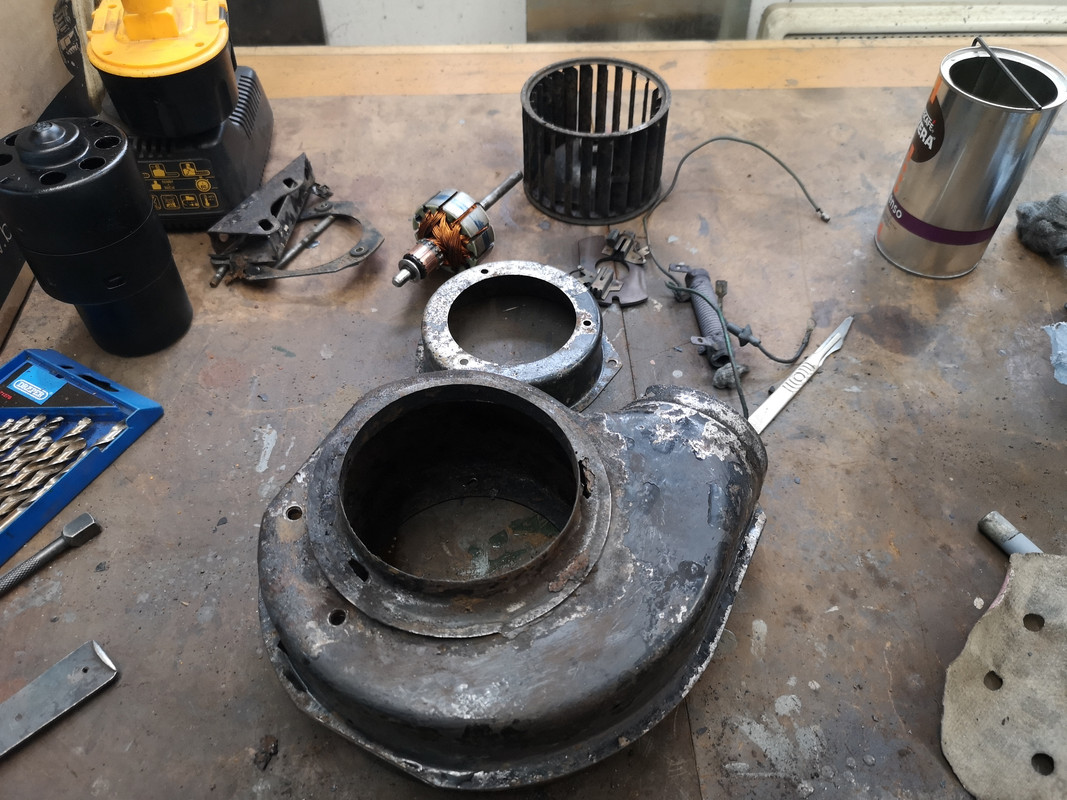
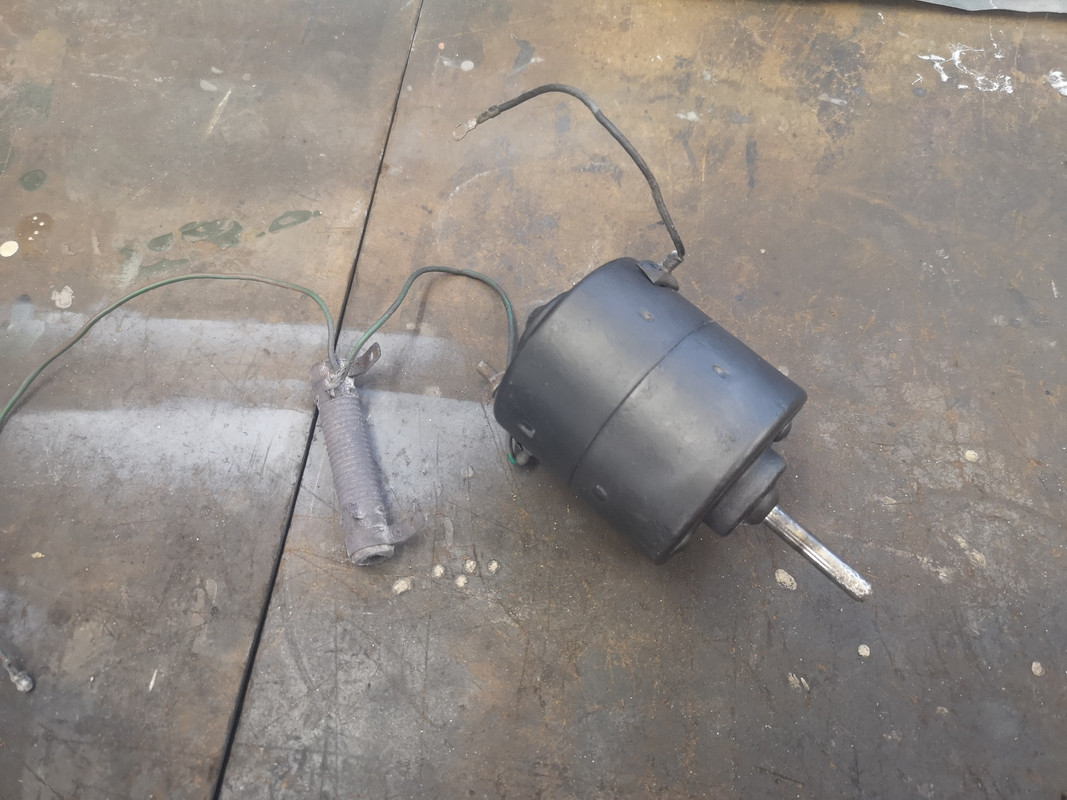
Heater Blower

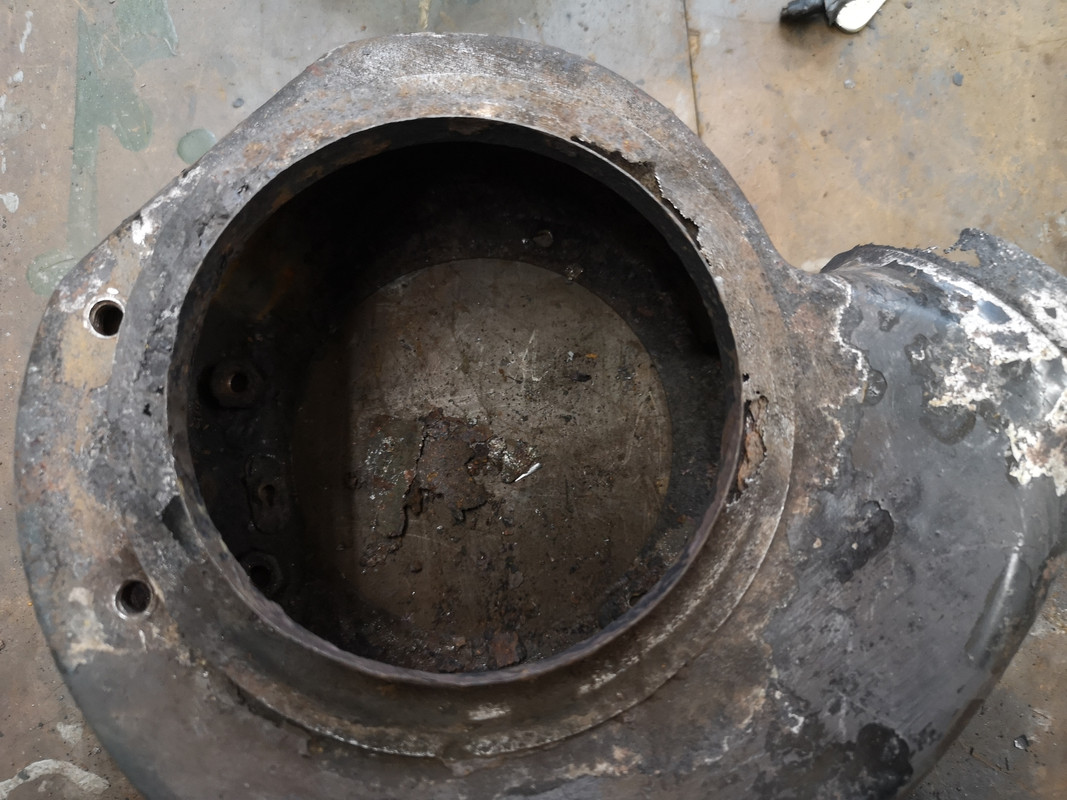
The last part that had been sitting in the pile with the dash parts was the heater blower. I made a start on this while I was doing the crash pad repair. I stripped it down and put the snail and some brackets, etc., in the electrolysis bath to de-rust. Not sure what happened, but I can't find all the photos. Maybe I thought it was all a bit too boring to take pics, I don't remember now. Anyway, stripped and cleaned. I also took the motor apart and inspected. Ah, found some pics.

Image

The snail is in poor shape but not too far gone.
Image

Image

Image

I drilled or chiseled the spot welds and removed the rotten flange and nozzle piece.

Image

Image

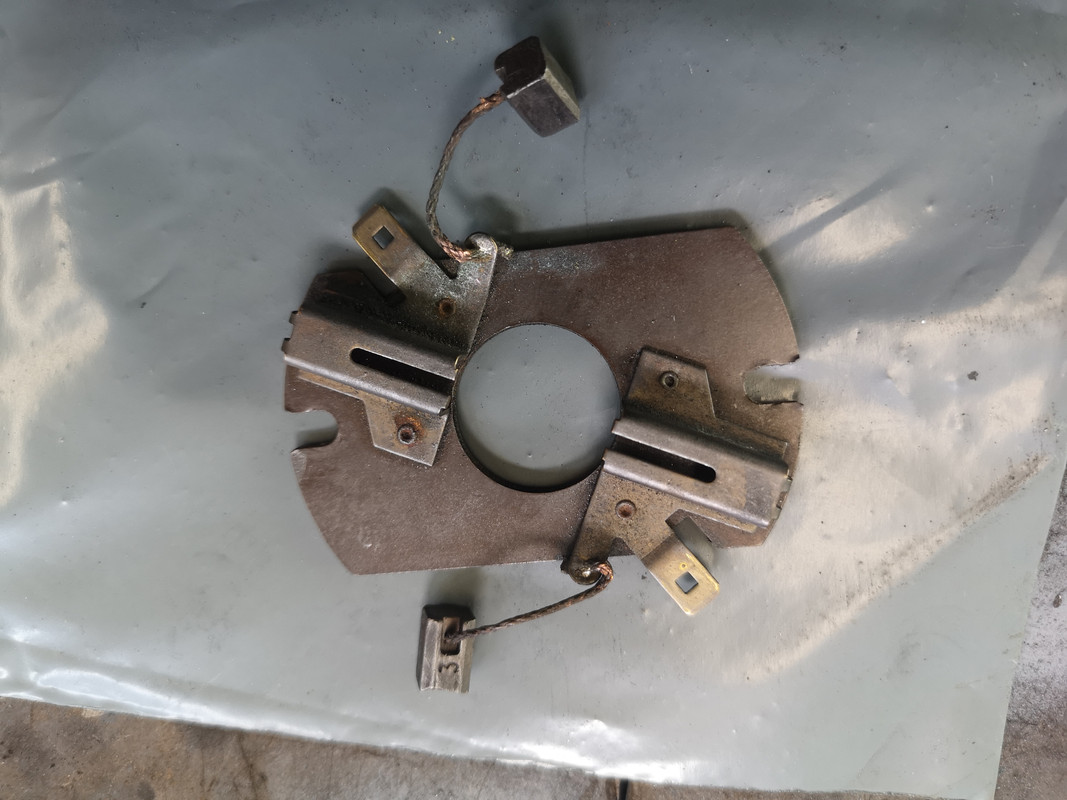
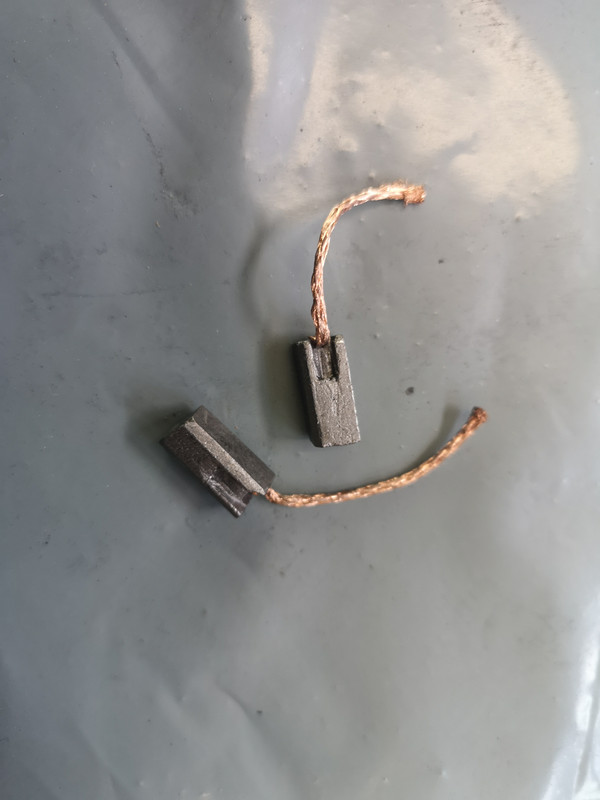
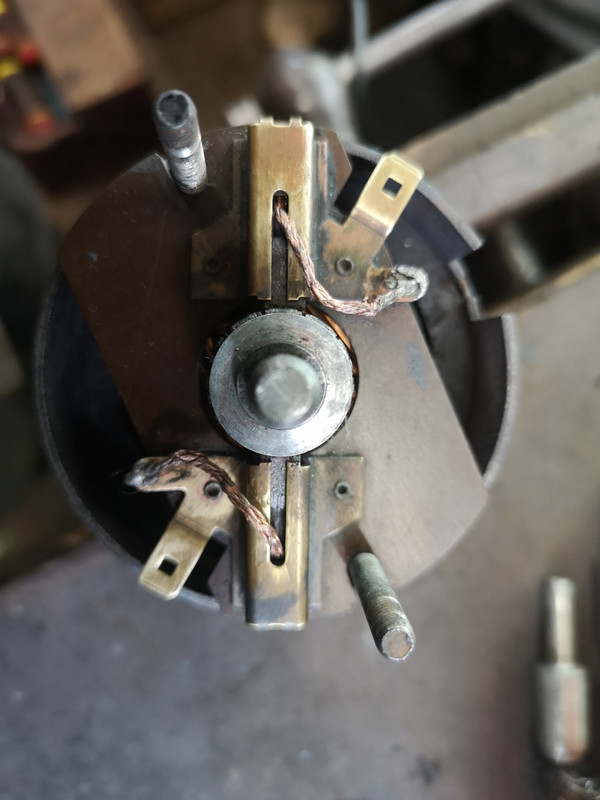
I let all this stew and de-rust and turned my attention to the motor. The motor itself is fine, just a bit old and dirty. The motor brushes were worn, not too far, but enough to warrant replacing them.

Image

Now, finding the correct size to fit the old Smith's motor was like everything else, not available. Fortunately, carbon brushes are made from soft graphite (like pencil lead) and can easily be filed and ground to size, so I ordered a pair that were close to the 1/4" square originals and set to work with my files. Soon had a pair to fit (and some very black hands!)

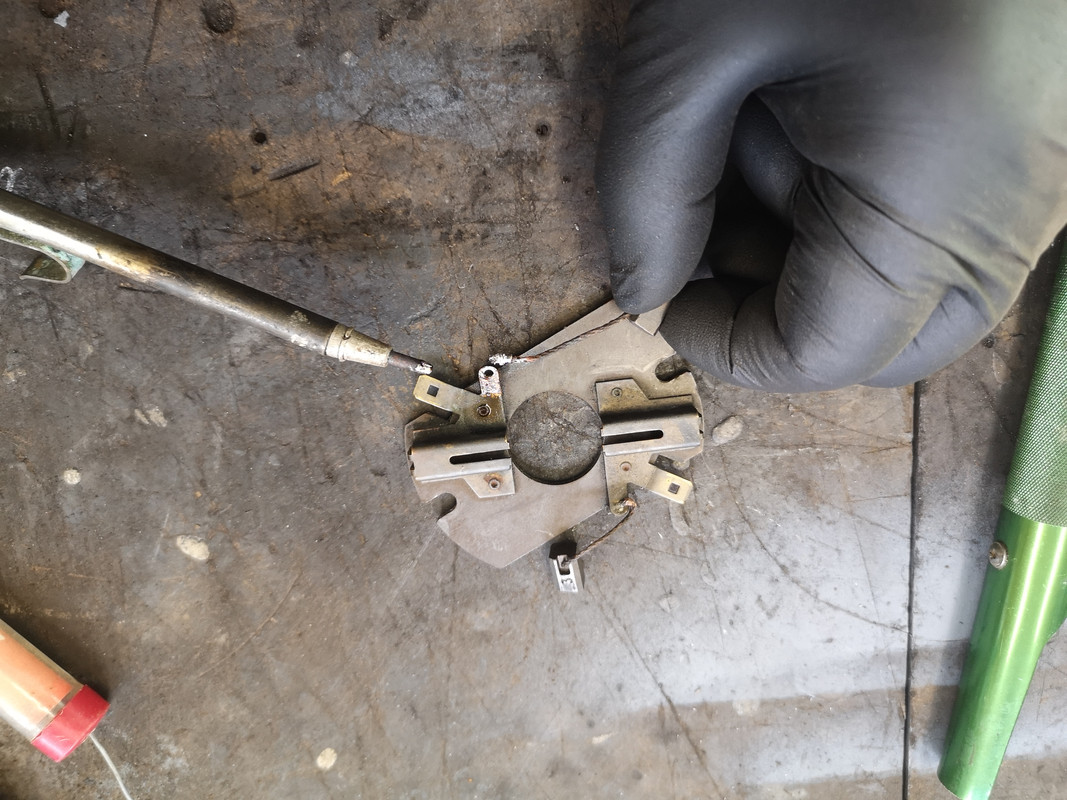
Image

A bit of work with the soldering iron and it was out with the old...

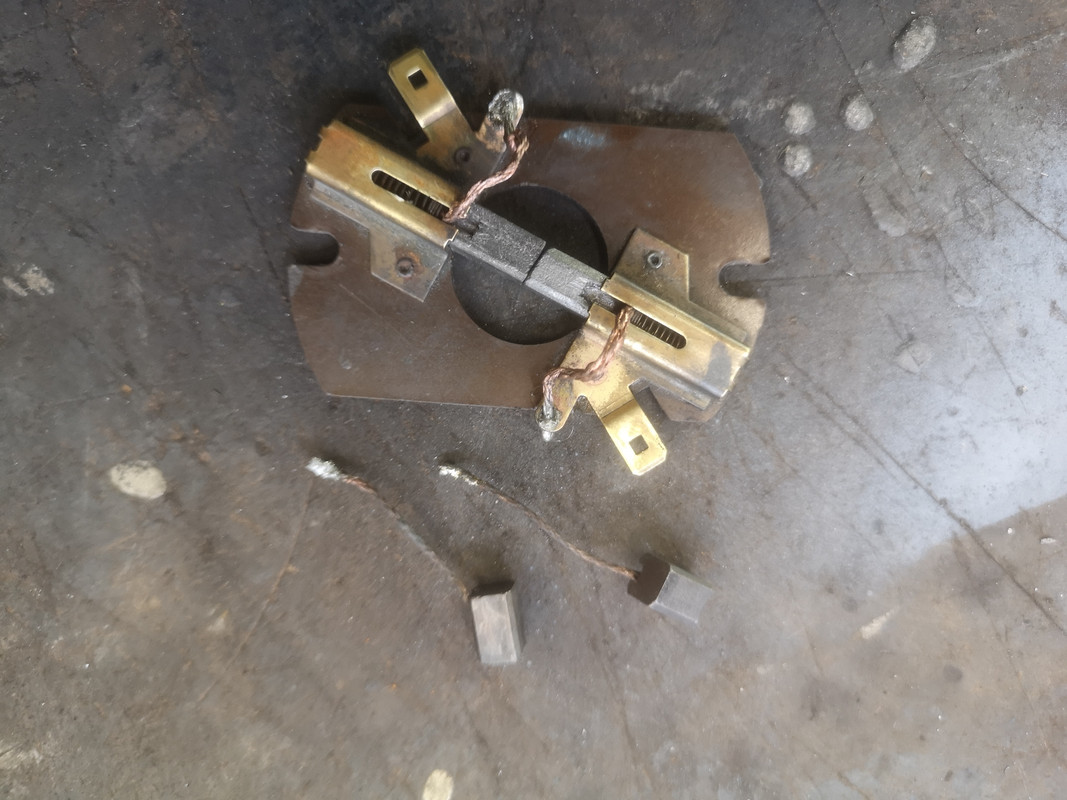
Image

... and in with the new

Image

I had to adjust for length, but all soon back in place, cleaned and electrical contact all made good.

Image

Put it back together and tested 2 speeds through that old resistor.

Image

Next job, a bit of metalwork and welding and I'll have the snail sorted.
Cliff

1981 109 V8 Stage 1
2000 Discovery 2 Td5

109 V8: viewtopic.php?f=6&t=2161
My Disco Thread: http://www.thed2boysclub.co.uk/viewtopi ... =3&t=58130

LAND ROVER. TURNING OWNERS INTO PAUPERS FOR 70 YEARS
Cliff4WD
Posts: 311
Joined: Fri Aug 10, 2018 2:39 pm
Location: Rye, East Sussex, UK

Re: Restoration

Post by Cliff4WD »

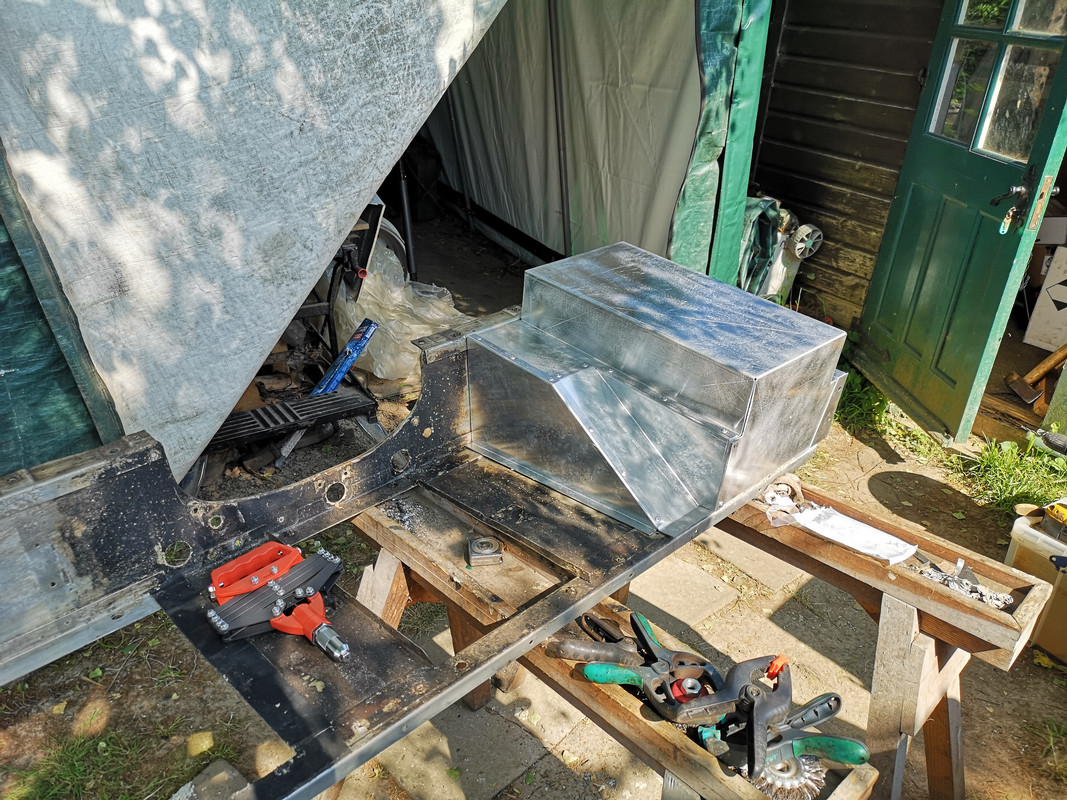
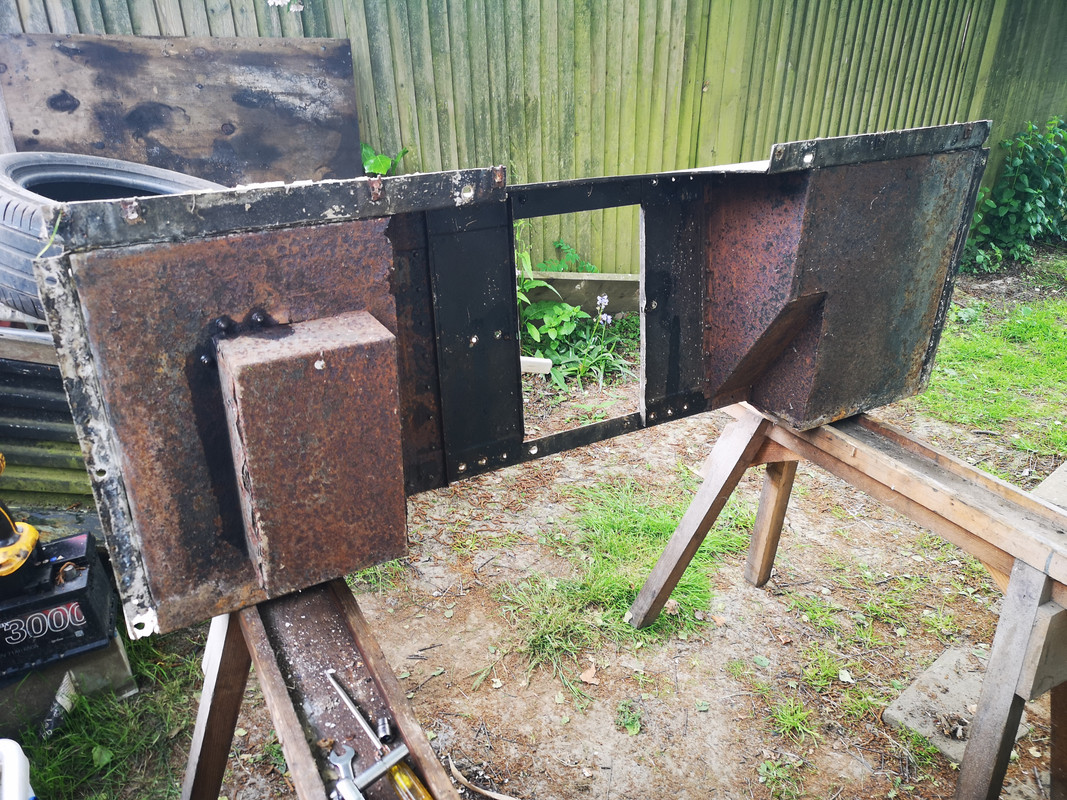
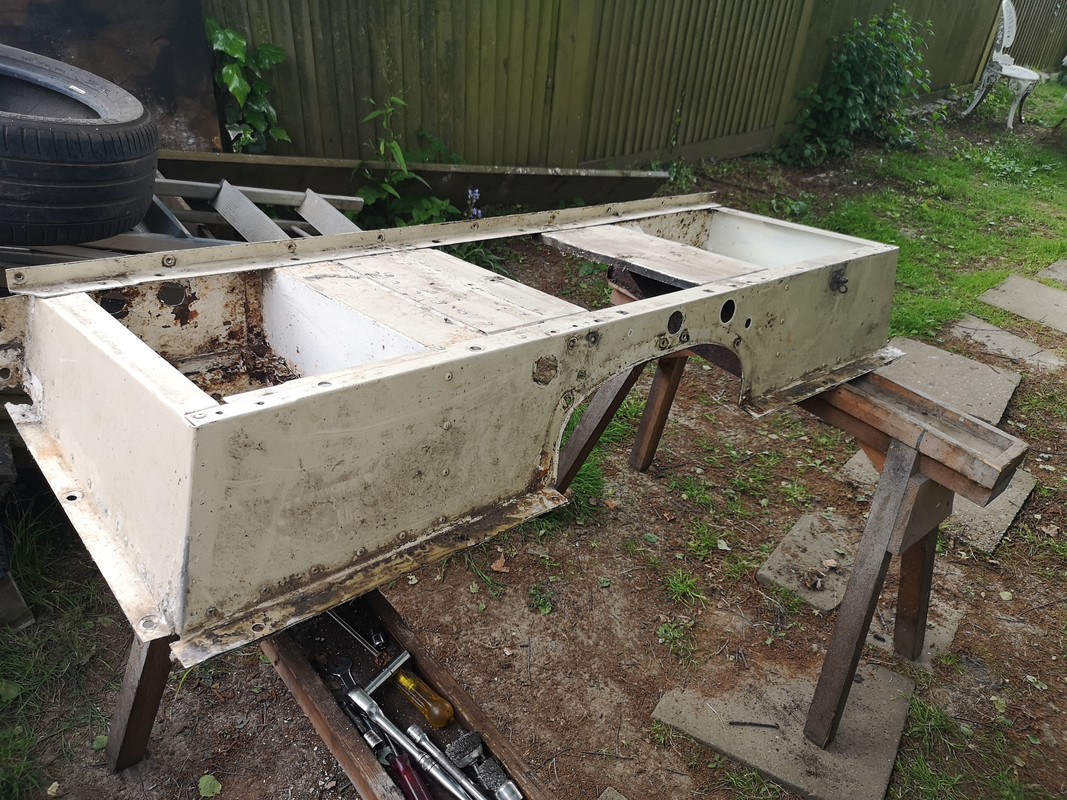
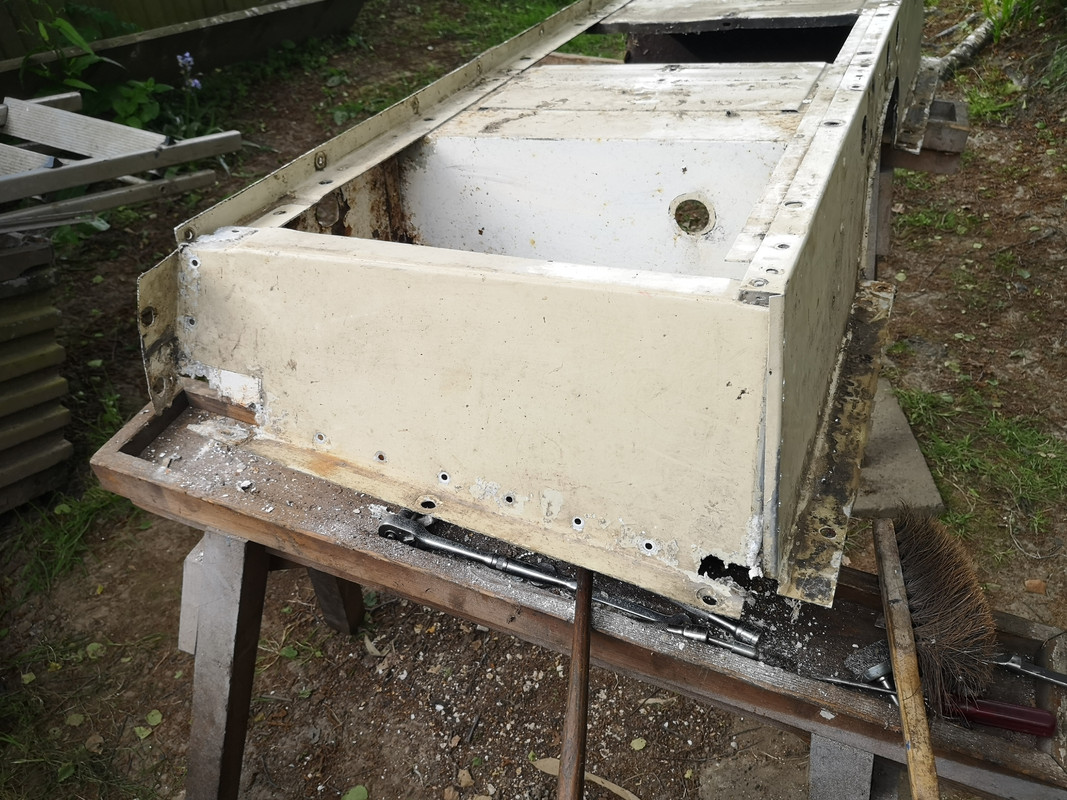
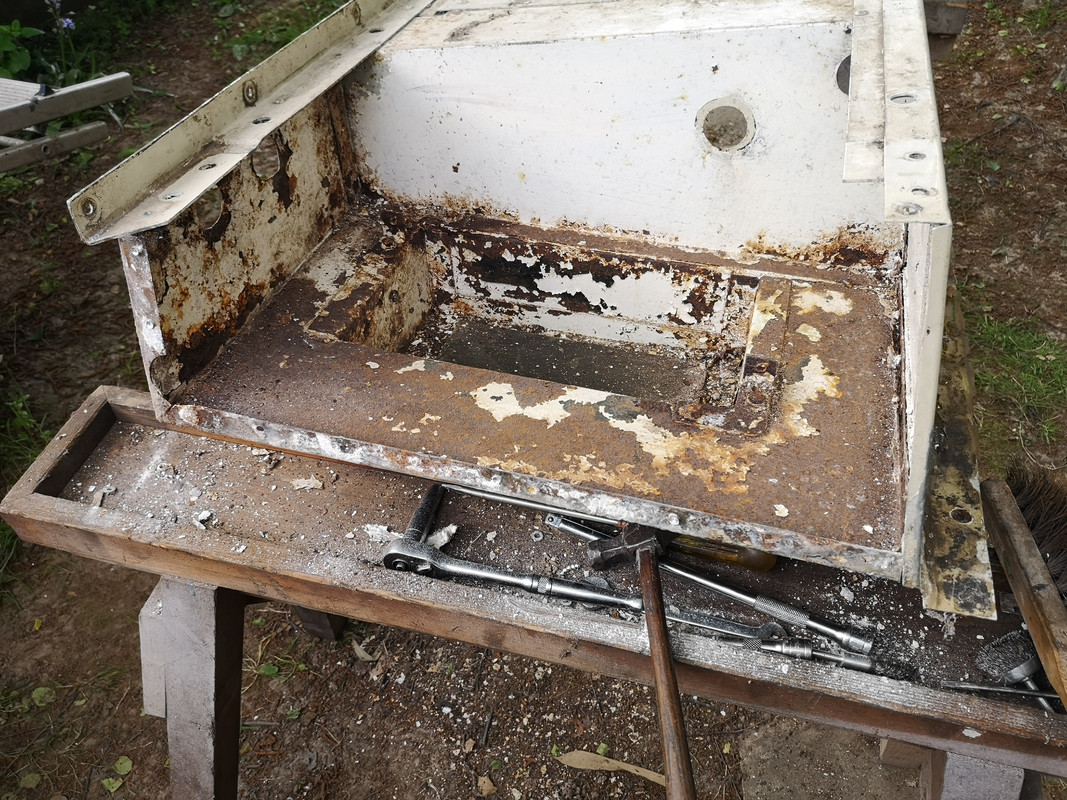
The heater blower is not really a priority right now and I want to push on, so turned my attention to the seat box. It's in good condition apart from one end panel that has some corrosion damage, and a lot of surface rust on the outside of the battery and tool boxes.

Image

Image

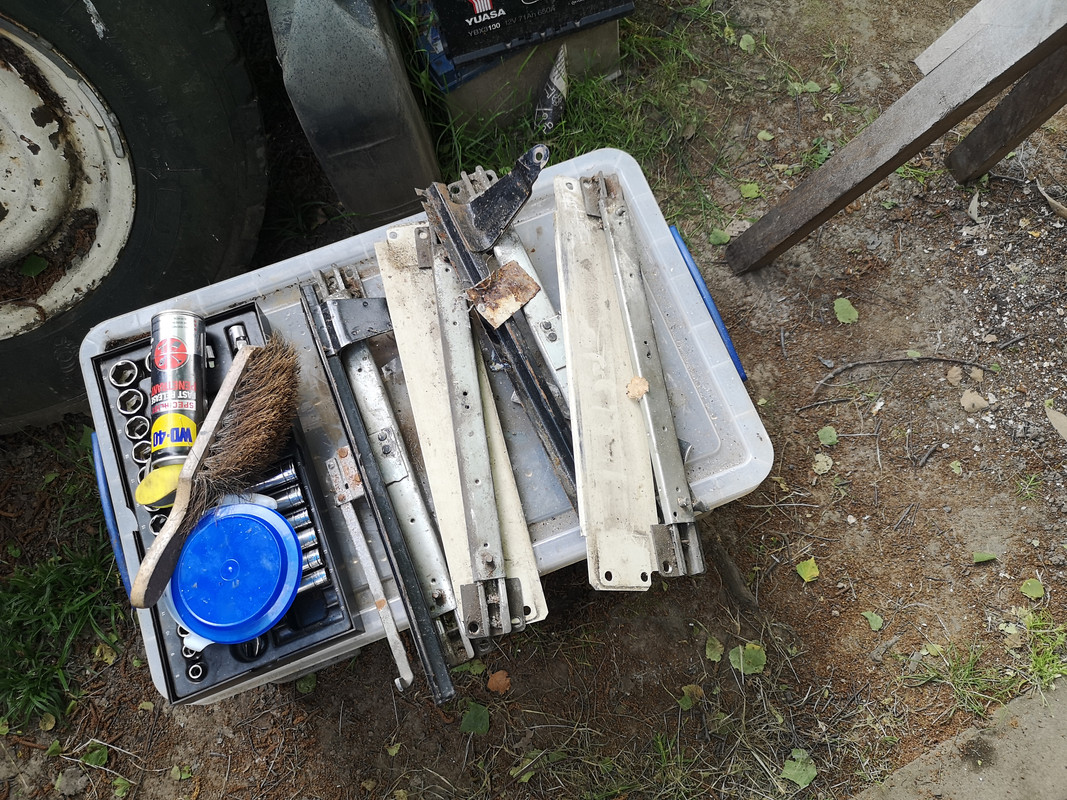
Set about stripping it down; unbolting the seat runners

Image

Image

It was then the end panel's turn to come off, so drilled out the rivets ...

Image

... and off it came

Image

But why stop there, soon had the battery box out

Image

Looking at it, the steel is still pretty solid, I was thinking to replace it altogether and might do yet. YRM make a replacement in 2mm aluminium but of course, the Series 3 has the toolbox under the RH seat (in UK at least). The YRM replacement Series 3 toolbox is the same as the Stage One apart from the battery well that sits in it; however, they also do a separate well for the battery that will fit in and thus be a direct replacement for what is in the Stage One. In fact the box is a tad bigger so will be ideal for a larger battery than standard. The cost of it all though is significant and I will very likely want to go for a split charged second battery setup, so maybe I'd be better off biting the bullet now and replacing with YRM's extra deep toolbox section. They also do a double battery box for under the LH seat and that would be the other option, but I do have in mind that I should fit an auxiliary fuel tank there. Decisions, decisions, :lol:

While I ponder, I've put the steel battery box in the electrolysis bath to de-rust, well half of it anyway, other half when I turn it over (it's not that big a bath!). If it still looks solid after cleaning, I can make a new bigger well myself and save the expense of replacing everything new.
Cliff

1981 109 V8 Stage 1
2000 Discovery 2 Td5

109 V8: viewtopic.php?f=6&t=2161
My Disco Thread: http://www.thed2boysclub.co.uk/viewtopi ... =3&t=58130

LAND ROVER. TURNING OWNERS INTO PAUPERS FOR 70 YEARS
Grib
Posts: 3
Joined: Mon Mar 07, 2022 12:14 am

Re: Restoration

Post by Grib »

The battery tray on my stage 1 was worse than yours, I cut it out and fitted a new one from Emberton Imperial - £33;

https://embertonimperial.com/products/r ... s=e&_v=1.0

The tray is well made and is a perfect fit with the holes for the battery hold down bracket lining up with the holes in the existing seat box.

I also drilled out all of the rivets and de-rusted the steel parts separately before painting them and riveting it all back together, final painting of the seat box was done after re-assembly. I will take a picture and post it.
Cliff4WD
Posts: 311
Joined: Fri Aug 10, 2018 2:39 pm
Location: Rye, East Sussex, UK

Re: Restoration

Post by Cliff4WD »

After mulling over what to do with the seat box I decided it would be a whole lot easier to just replace the rusting boxes. I didn't feel motivated enough to remove rust, modify to take a bigger or duel battery setup, and try to make good, so opted to order new aluminium boxes from YRM. I would have been interested in the Emberton boxes had I known about them sooner, but c'est la vie.

First job then, remove the tool box
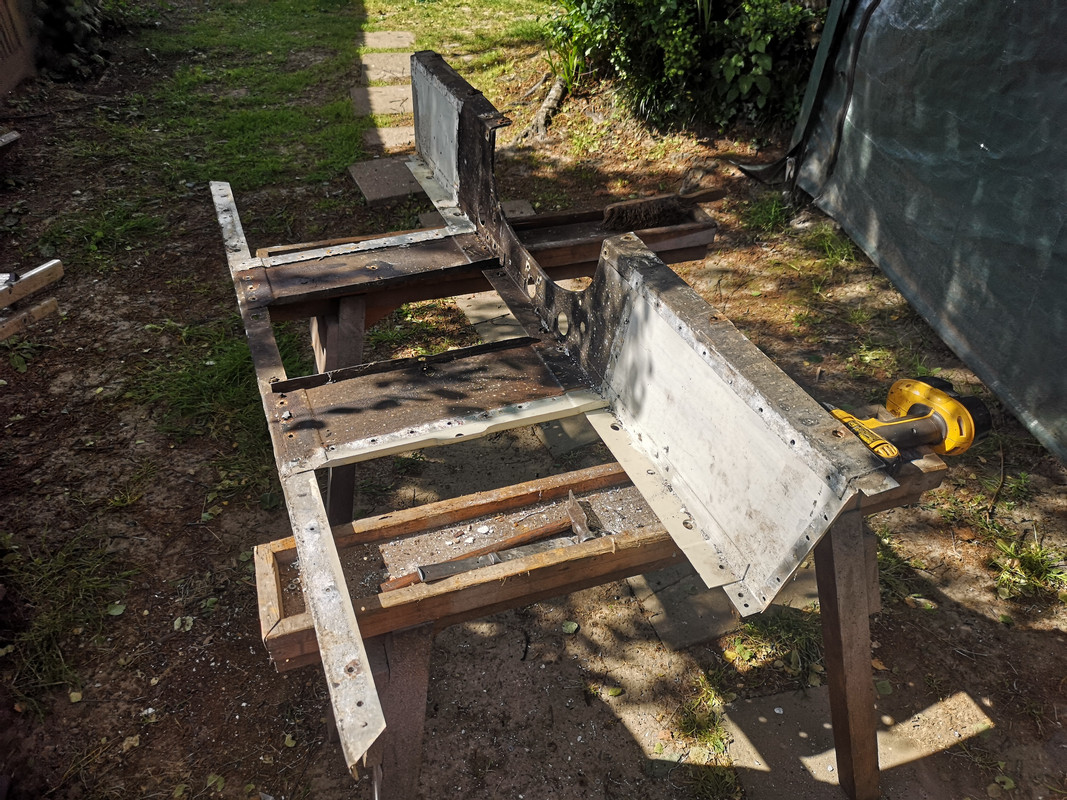
Image

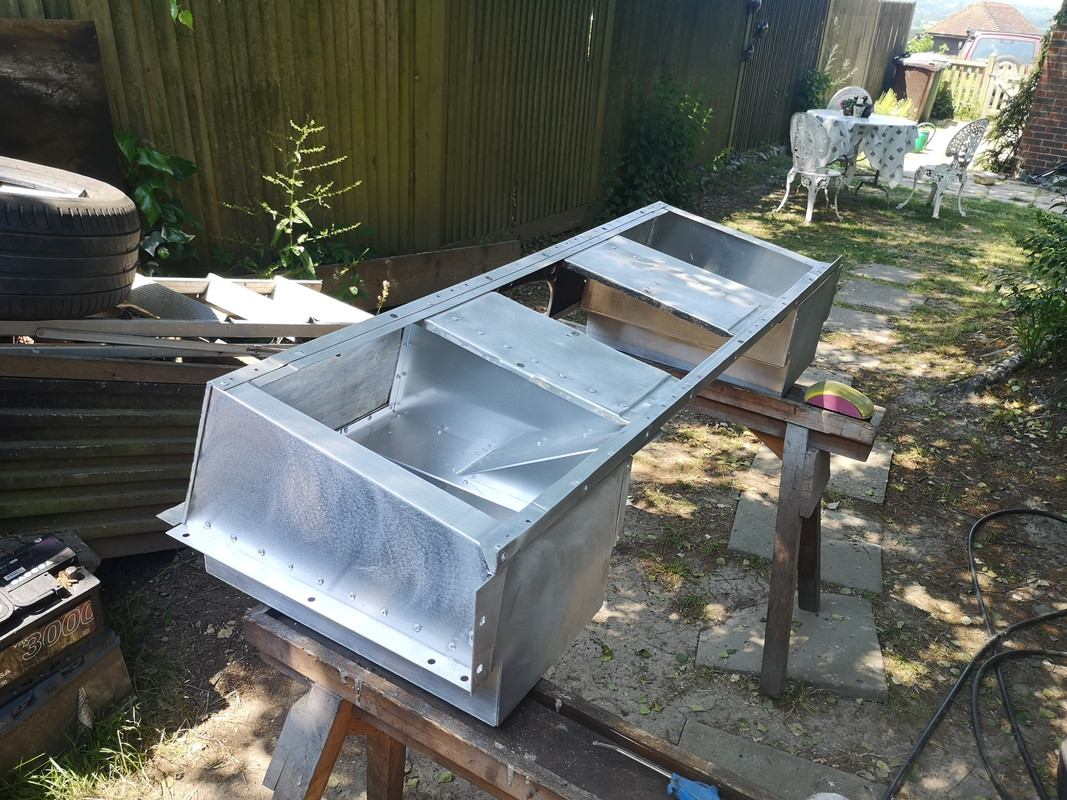
Next, after taking delivery of the new box sections (they come flat-packed :lol: ), I assembled the new battery box and checked for fit
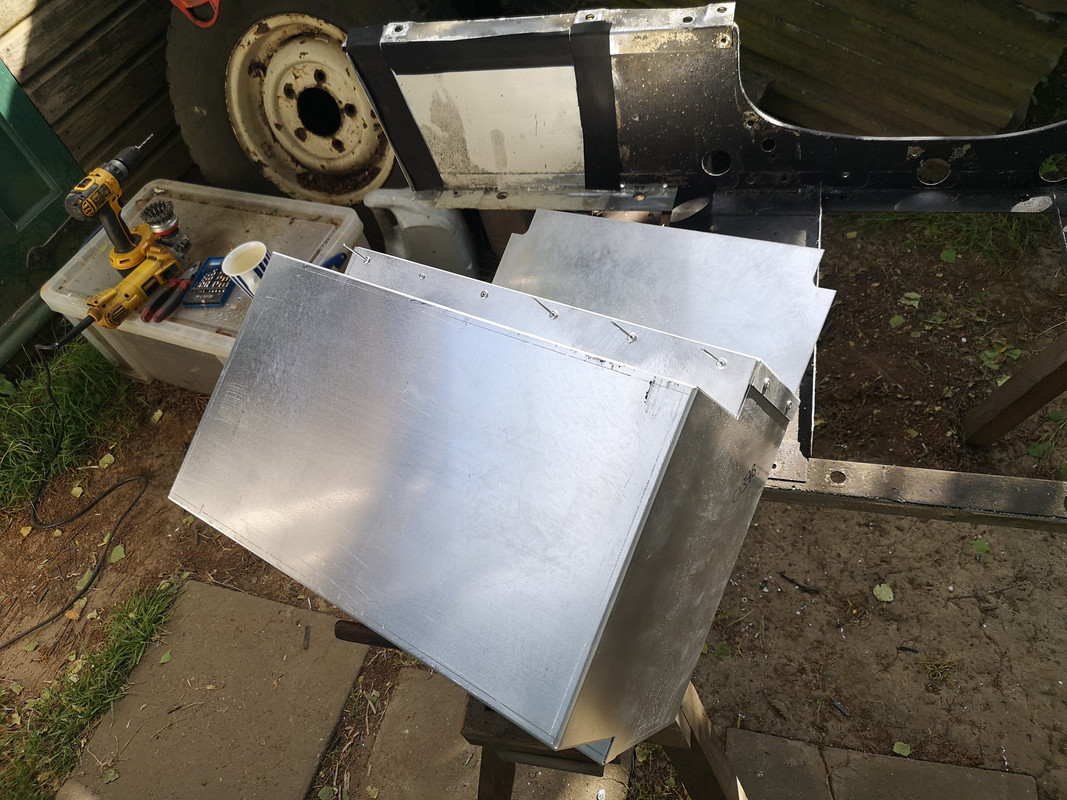
Image

Image

I'd opted for deep boxes both sides so that I have the option of RH or LH battery placement, and it won't hurt to have extra stowage space available. I'll worry about extra fuel tanks when I need to.
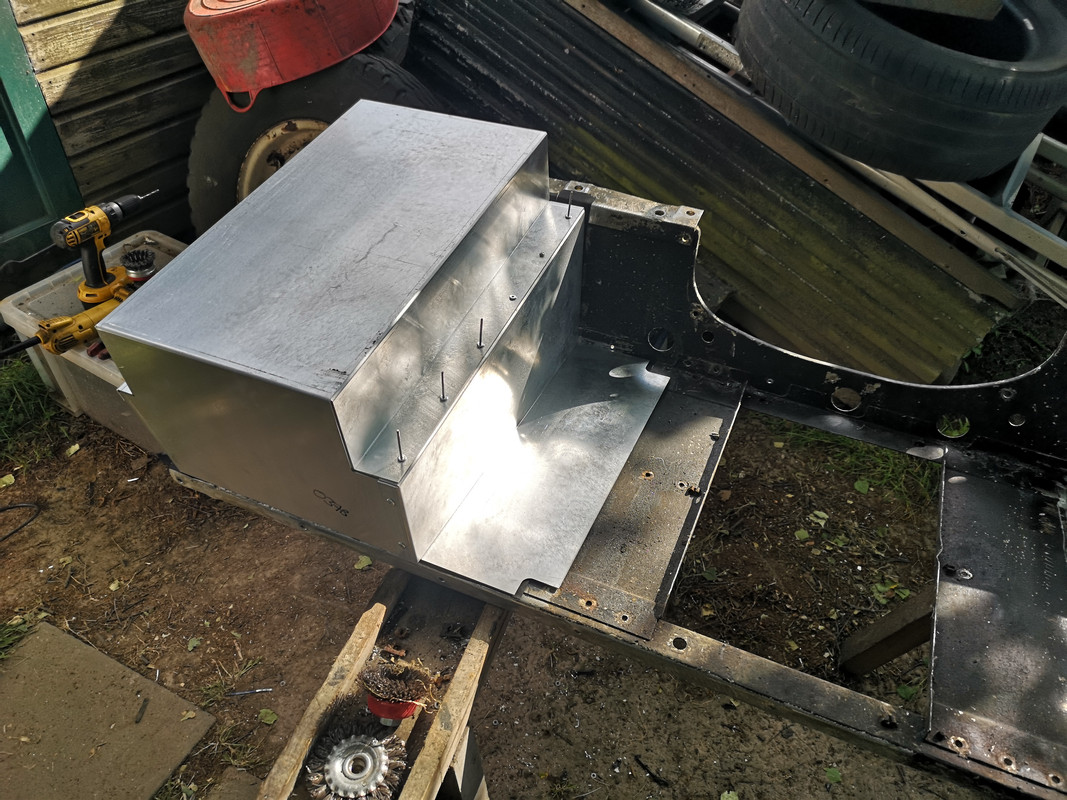
Image

It very quickly became apparent that my hand held rivet gun was inadequate for the job in hand, as I struggled to close the first few pop rivets, so another purchase! I ordered up a HD riveter. While I was waiting for that to be delivered, I got to work cleaning and stripping off the old paint. It had been over-painted in the past so wouldn't provide a decent surface to paint over again.

I opted for my trusty paint stripper
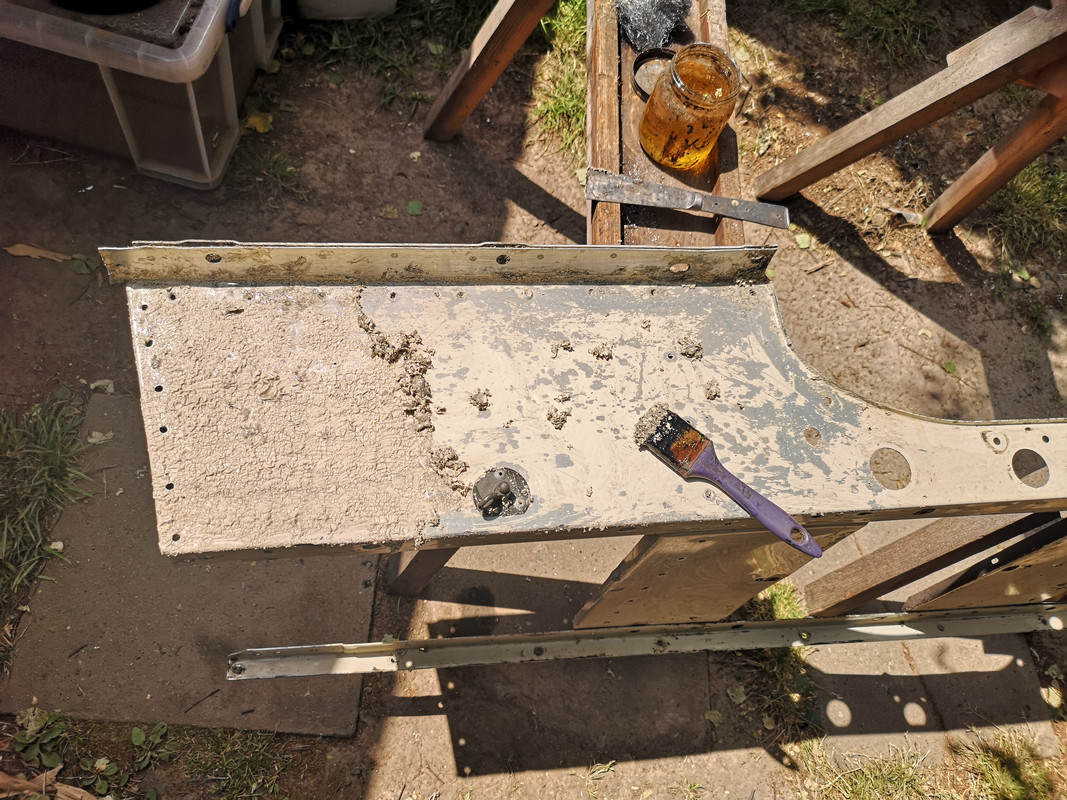
Image

Soon had it nice and clean

Image

It was then back to fitting it all back together
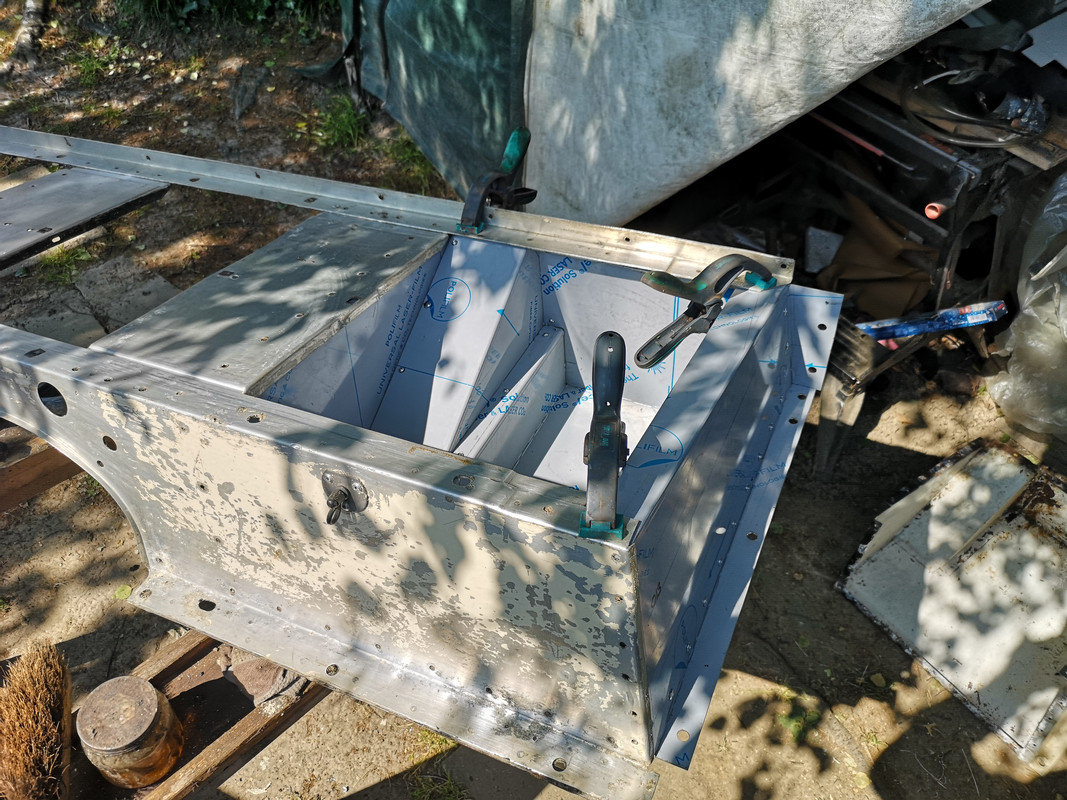
Image

Image

Same was done to other side and both battery box and toolbox fitted
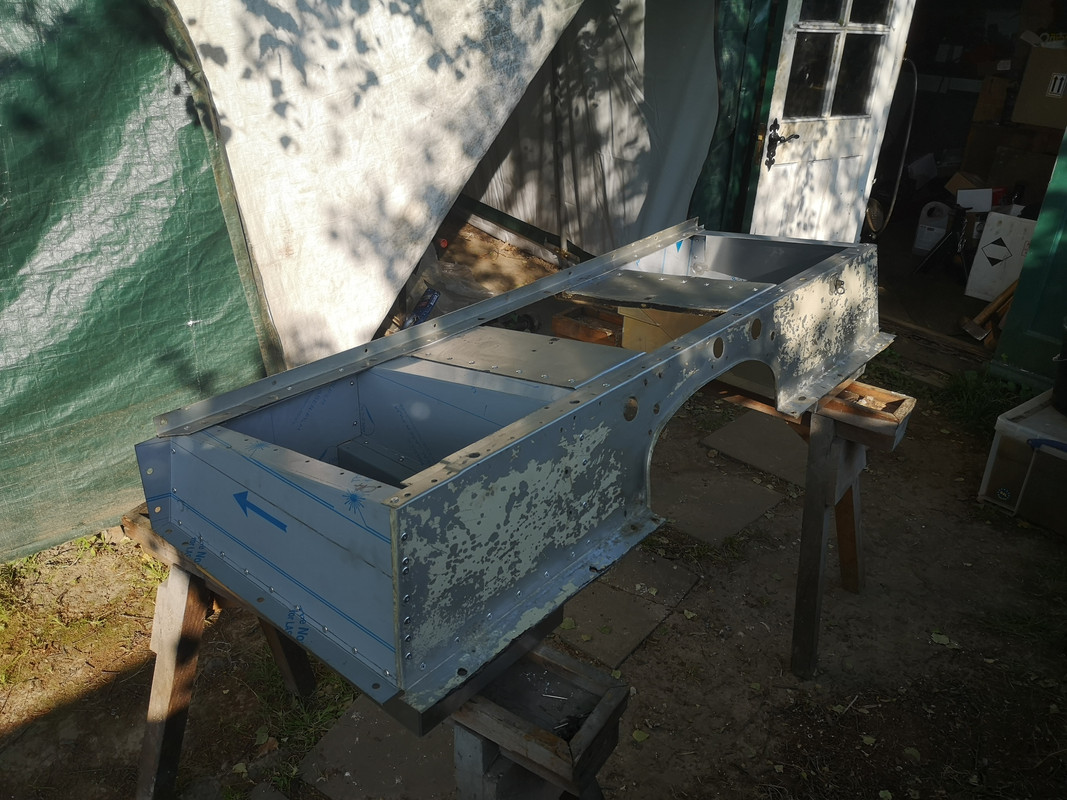
Image

I thought I'd best check it was going to fit back in the vehicle so did a quick check
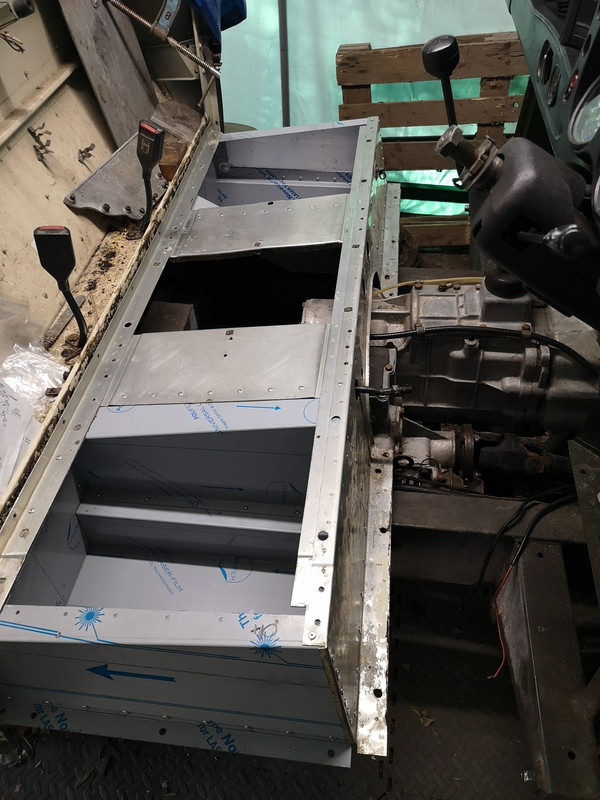
Image

Can't imagine why it wouldn't have really. Next up, remove the protective film and key the surface ready for paint
Image

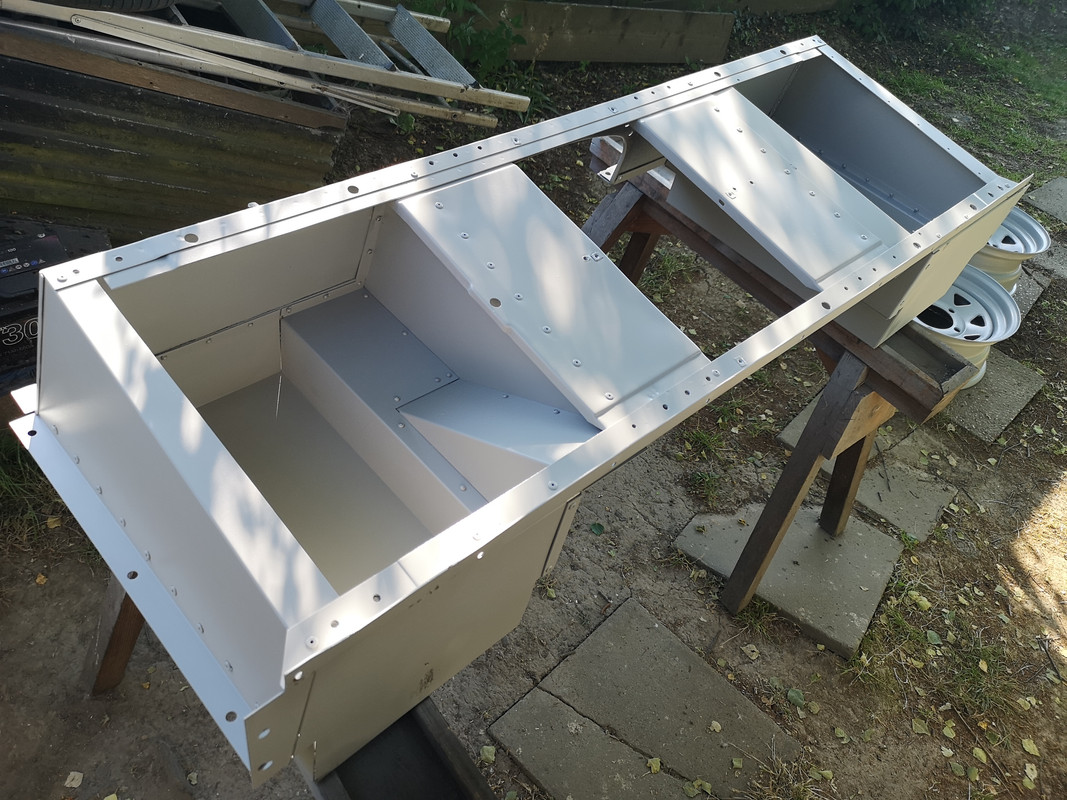
I'm sticking with epoxy primer for this as I know it will stick well and not interact with the top coat. Etch primer would be easier but I'd have to buy some and already have the epoxy. Also, etch primer can and does cause problems with filler if it's needed, and top coat too unless correctly matched. I'm not sure how the paint man enamel will react, so the epoxy is safe.

It didn't take too long to spray it ...
Image

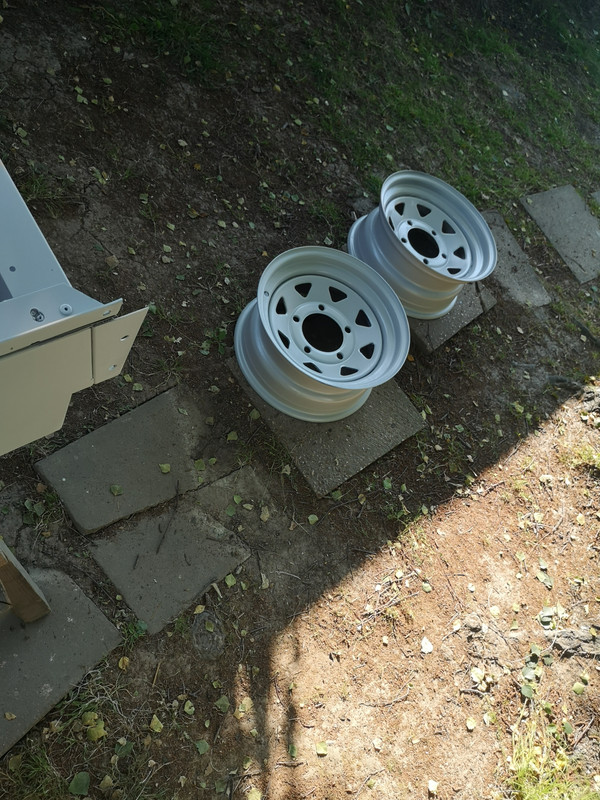
... and had enough paint to spray a couple of the wheels as well
Image

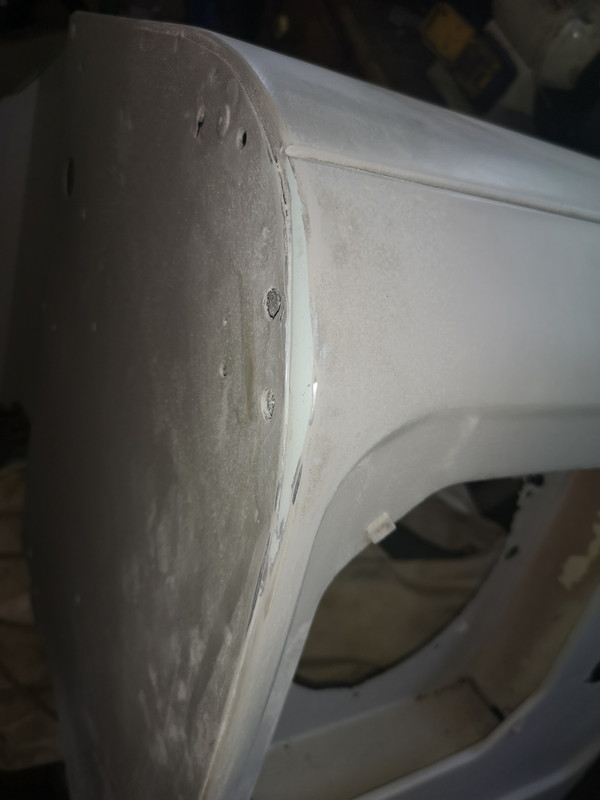
At this point, the hot sun and paint fumes really got the better of me, so enough of that for now, and I'll have a lie down!
Cliff

1981 109 V8 Stage 1
2000 Discovery 2 Td5

109 V8: viewtopic.php?f=6&t=2161
My Disco Thread: http://www.thed2boysclub.co.uk/viewtopi ... =3&t=58130

LAND ROVER. TURNING OWNERS INTO PAUPERS FOR 70 YEARS
User avatar
Mik
Posts: 256
Joined: Wed Sep 20, 2006 10:25 am
Location: Denmark

Re: Restoration

Post by Mik »

Looks fantastic!
Michael
1965 109 FC SIIA
1982 109 V8 SIII CSW Stage One
1982 109 V8 SIII HCPU Stage One
1990 RRC Vogue SE
Cliff4WD
Posts: 311
Joined: Fri Aug 10, 2018 2:39 pm
Location: Rye, East Sussex, UK

Re: Restoration

Post by Cliff4WD »

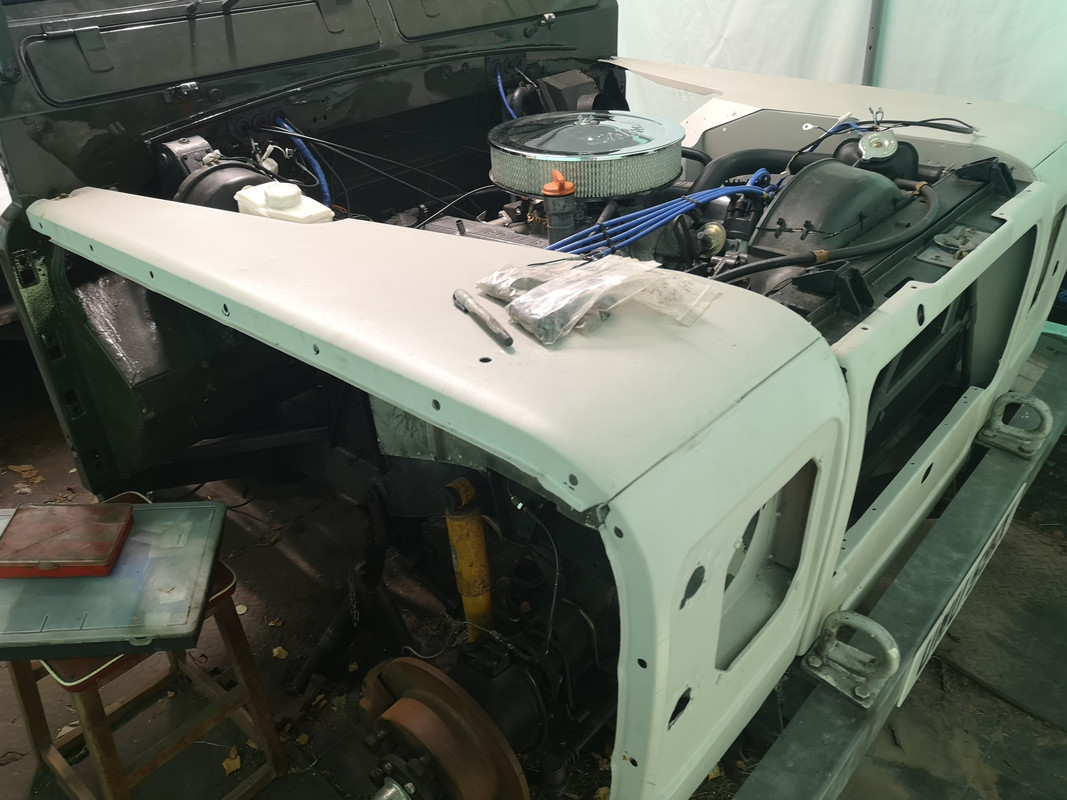
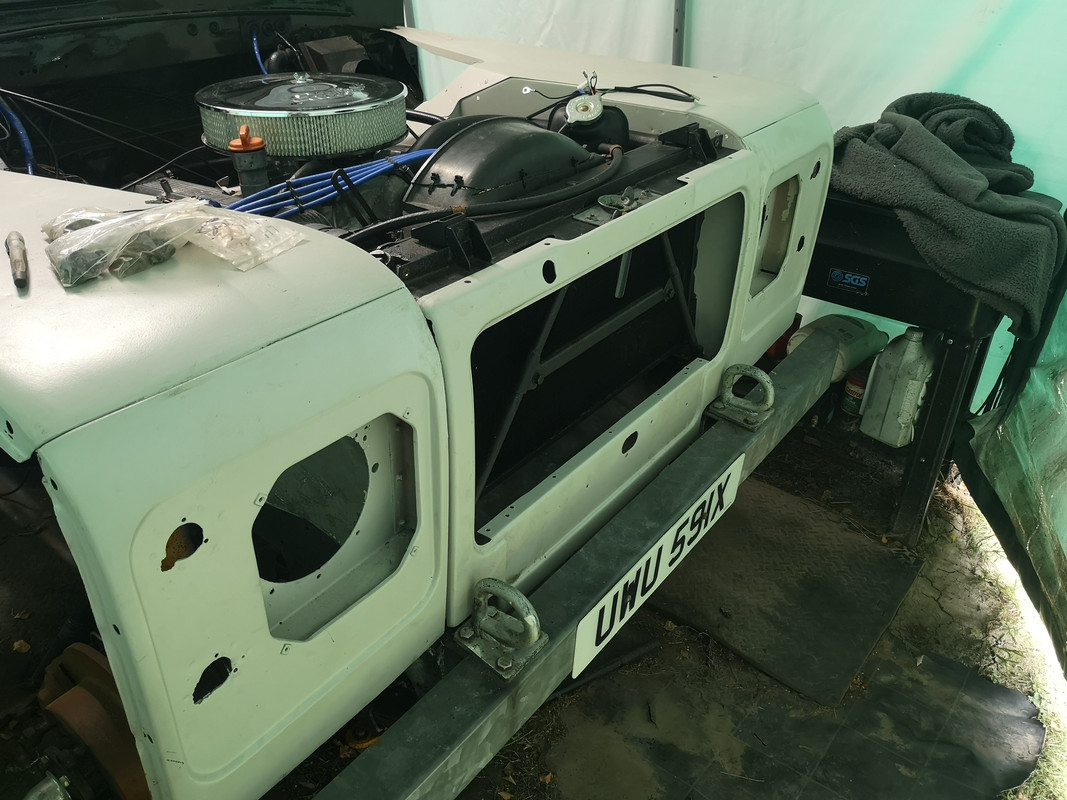
I've been dry fitting the front wings and panel to make sure it all goes where it's supposed to before I commit to paint. I've spent more time searching for the 2 front angle brackets that secure the front grill to the panel than actually fitting anything. I took them off but have no idea where they are now. I guess I'll just have to make a pair myself (not the hardest thing in the world). It's been quite puzzling why the previous restorer fitted things the way that he did, makes no sense to me. He had the radiator and bonnet slam doodah misaligned by about an inch and had added a pair of diy brackets to fix to the wings. I don't get this at all since there are already 4 M8x20 bolts fixing the wings to the radiator mounting. He'd cut away a section from each side of the front panel presumably because it was fouling the bolts due to his mispositioning of the slam panel. Talk about a botch up! Anyway, it now all seems to be going back where intended and thankfully, the internal struts with captive nuts that I fabricated, are just about spot on.


Image


Image


I'm going to replace the inner mud shields and steering box cover with galvanised ones, as after looking at what's left of what I took off, I don't fancy wasting time patch welding these. Seems like a bit of a waste of time and effort for something easily replaced.
Cliff

1981 109 V8 Stage 1
2000 Discovery 2 Td5

109 V8: viewtopic.php?f=6&t=2161
My Disco Thread: http://www.thed2boysclub.co.uk/viewtopi ... =3&t=58130

LAND ROVER. TURNING OWNERS INTO PAUPERS FOR 70 YEARS
Post Reply