Restoration

Technical questions and answers
Cliff4WD
Posts: 311
Joined: Fri Aug 10, 2018 2:39 pm
Location: Rye, East Sussex, UK

Re: Restoration

Post by Cliff4WD »

Those missing brackets where driving me insane; where the hell are they? Sorted through my photos and look ...


Image


... they're there. I took them off the panel stripping it apart.

I have searched through my bags of bits taken off, boxes of bits that live in the tub, unpacked everything from store; twice! Like a dog with a bone I started looking inside every bag of bolts, nuts, and bits, and hey presto, 2 brackets hiding in a bag labelled seatbox/seatbelt fixings.


Image


Now I can sleep again.
Cliff

1981 109 V8 Stage 1
2000 Discovery 2 Td5

109 V8: viewtopic.php?f=6&t=2161
My Disco Thread: http://www.thed2boysclub.co.uk/viewtopi ... =3&t=58130

LAND ROVER. TURNING OWNERS INTO PAUPERS FOR 70 YEARS
Cliff4WD
Posts: 311
Joined: Fri Aug 10, 2018 2:39 pm
Location: Rye, East Sussex, UK

Re: Restoration

Post by Cliff4WD »

Back to doing some work then. The bonnet is next on the list. There's a bit of corrosion on the steel support frame so it will need to come out and have some work done.

Image

It's quite eaten away at the front ends

Image

I drilled out the rivets holding it on but the hinge screws were not going to undo. I did try heat and penetrant but a bit of a waste of time, so cut through the nuts and had done with it; however, that frame was not shifting. It seems it was also glued to the skin. I had to resort to heating to free the adhesive and wedge it away from the skin, then separating the ladder section from the rear cross-member by drilling out the spot welds and cutting through 2 welds. Eventually after some serious profanity, it came apart.

Image

This is going to require some wire brushing and rust treatment and a bit of welding, but it's in relatively good condition. I decided to put the wire wheel work to one side for the moment and turned my attention to prepping the tunnel and floor panels for painting.

Image

Seemed like a nice day for paint stripping!

Image


much elbow grease later

Image

This should all fit back nicely after it's been patched to sort the rusty bits.

Image

I'd had enough for today so time for the dog walk.
Cliff

1981 109 V8 Stage 1
2000 Discovery 2 Td5

109 V8: viewtopic.php?f=6&t=2161
My Disco Thread: http://www.thed2boysclub.co.uk/viewtopi ... =3&t=58130

LAND ROVER. TURNING OWNERS INTO PAUPERS FOR 70 YEARS
disco2hse
Posts: 1641
Joined: Sun Apr 27, 2008 3:51 am
Location: Auckland NZ

Re: Restoration

Post by disco2hse »

Interesting point about the glue on the bonnet skin. I have had to take the spare off the front because the glue failed and now I have to pull the bonnet apart and figure out how to straighten the panel, frame, and a suitable aircraft glue.
Alan

1983 ex-army FFR 109 Stage 1
2005 Disco 2 HSE TD5
User avatar
Mik
Posts: 256
Joined: Wed Sep 20, 2006 10:25 am
Location: Denmark

Re: Restoration

Post by Mik »

That looks great Cliff :)
Michael
1965 109 FC SIIA
1982 109 V8 SIII CSW Stage One
1982 109 V8 SIII HCPU Stage One
1990 RRC Vogue SE
Cliff4WD
Posts: 311
Joined: Fri Aug 10, 2018 2:39 pm
Location: Rye, East Sussex, UK

Re: Restoration

Post by Cliff4WD »

Guess who forgot to reconnect his wiper wash jets! :roll:
Cliff

1981 109 V8 Stage 1
2000 Discovery 2 Td5

109 V8: viewtopic.php?f=6&t=2161
My Disco Thread: http://www.thed2boysclub.co.uk/viewtopi ... =3&t=58130

LAND ROVER. TURNING OWNERS INTO PAUPERS FOR 70 YEARS
disco2hse
Posts: 1641
Joined: Sun Apr 27, 2008 3:51 am
Location: Auckland NZ

Re: Restoration

Post by disco2hse »

:lol:

How did you find out? :P :lol:
Alan

1983 ex-army FFR 109 Stage 1
2005 Disco 2 HSE TD5
Cliff4WD
Posts: 311
Joined: Fri Aug 10, 2018 2:39 pm
Location: Rye, East Sussex, UK

Re: Restoration

Post by Cliff4WD »

Reading a forum post about fitting new jets, I thought to myself, oh shite, I forgot to put the tube back. Sorted it out today. :oops:
Cliff

1981 109 V8 Stage 1
2000 Discovery 2 Td5

109 V8: viewtopic.php?f=6&t=2161
My Disco Thread: http://www.thed2boysclub.co.uk/viewtopi ... =3&t=58130

LAND ROVER. TURNING OWNERS INTO PAUPERS FOR 70 YEARS
disco2hse
Posts: 1641
Joined: Sun Apr 27, 2008 3:51 am
Location: Auckland NZ

Re: Restoration

Post by disco2hse »

At least it wasn't on test :wink:
Alan

1983 ex-army FFR 109 Stage 1
2005 Disco 2 HSE TD5
Cliff4WD
Posts: 311
Joined: Fri Aug 10, 2018 2:39 pm
Location: Rye, East Sussex, UK

Re: Restoration

Post by Cliff4WD »

I've only managed to fit in a few jobs since last update. The transmission tunnel steel sections needed a bit of TLC where corrosion had done its thing. The so called 'gearbox diaphragm' (MRC5357), was rotten both ends where it supports the floor panels

Image

Seemed a fairly straight forward task to cut off and fabricate new replacement pieces.

Image

Image

You know the drill, make a card template to fit then cut out the steel sheet and bend to required shape.

Image

All sound simple (which it is really) but it takes a while getting the steel to the correct shape and accurately fitting. Also, it has to be correct height, etc. so that the final repaired item fits correctly.

When satisfied I had the piece about right, it was weldup time

Image

both sides of course

Image

Image

Next was drilling the 'square holes' to take the plastic lock nuts

Image

Image

That was that job ticked off the the list. Checked for fit and spray primed it.

The transfer box tunnel section (MRC5356) had faired much better and only had small perforations each side, again at the bottom where the floor panels attach, so I decided to just patch these with some fibreglass filler. This seems to have worked well enough and so that's another job done.

I'm going to sort out the bonnet next.
Cliff

1981 109 V8 Stage 1
2000 Discovery 2 Td5

109 V8: viewtopic.php?f=6&t=2161
My Disco Thread: http://www.thed2boysclub.co.uk/viewtopi ... =3&t=58130

LAND ROVER. TURNING OWNERS INTO PAUPERS FOR 70 YEARS
Cliff4WD
Posts: 311
Joined: Fri Aug 10, 2018 2:39 pm
Location: Rye, East Sussex, UK

Re: Restoration

Post by Cliff4WD »

Bonnet

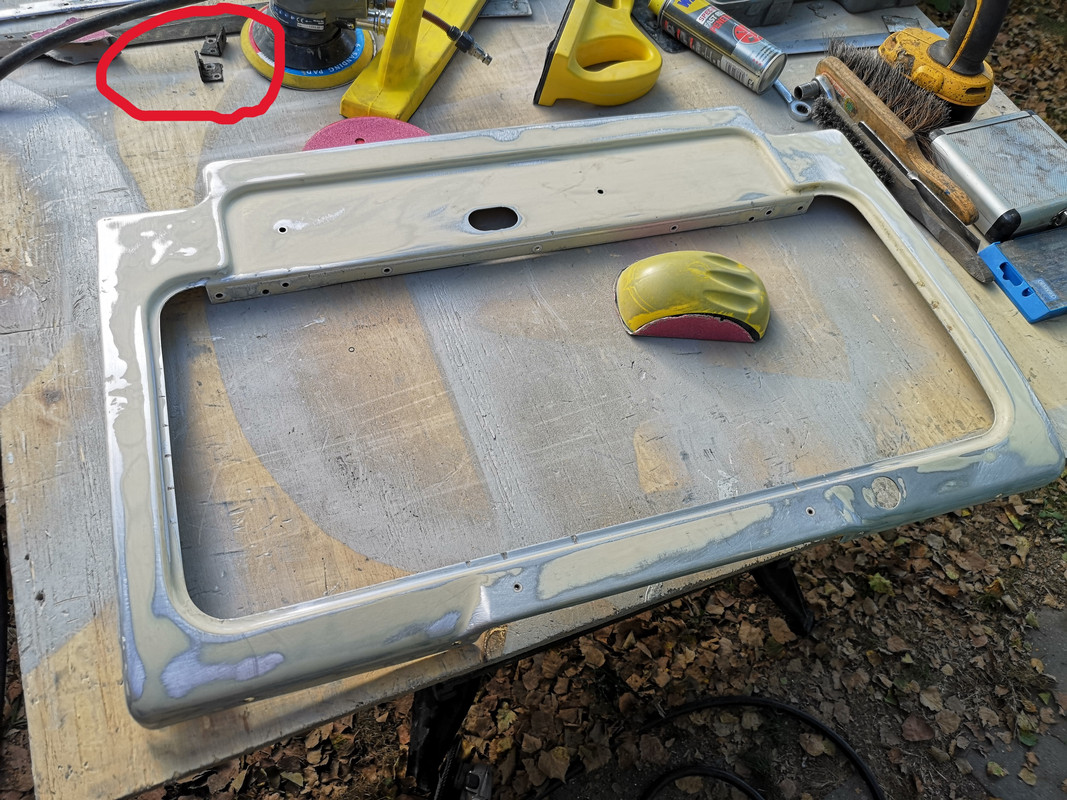
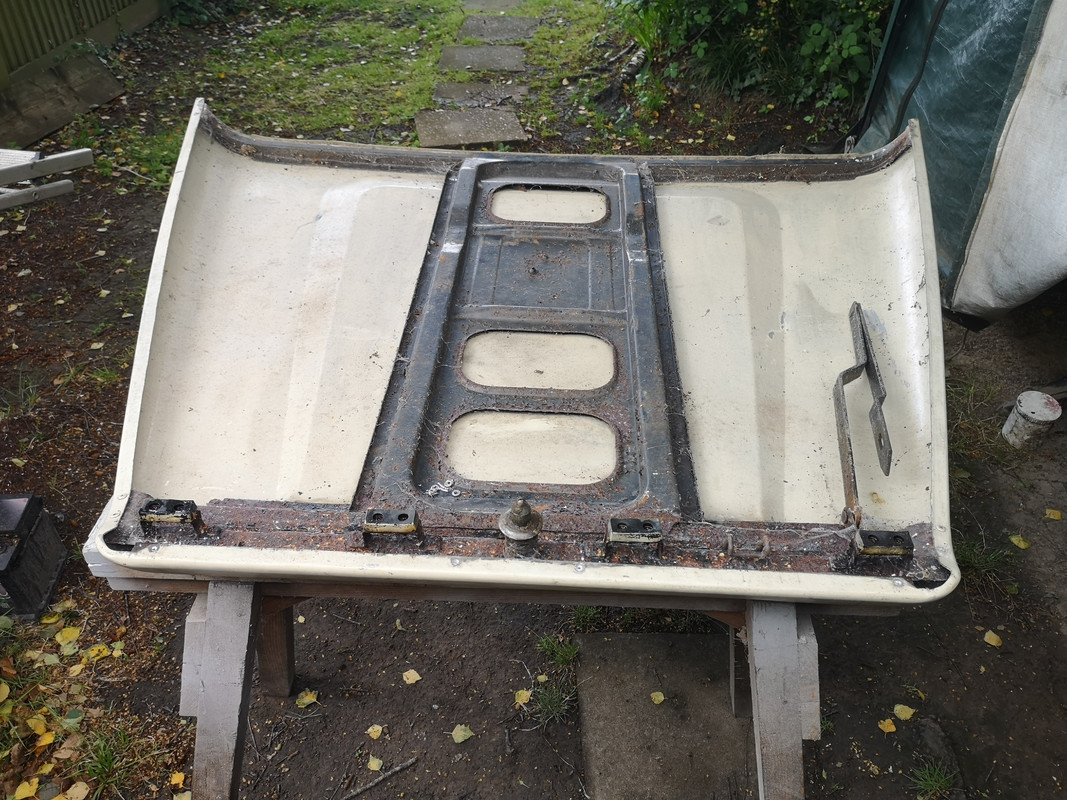
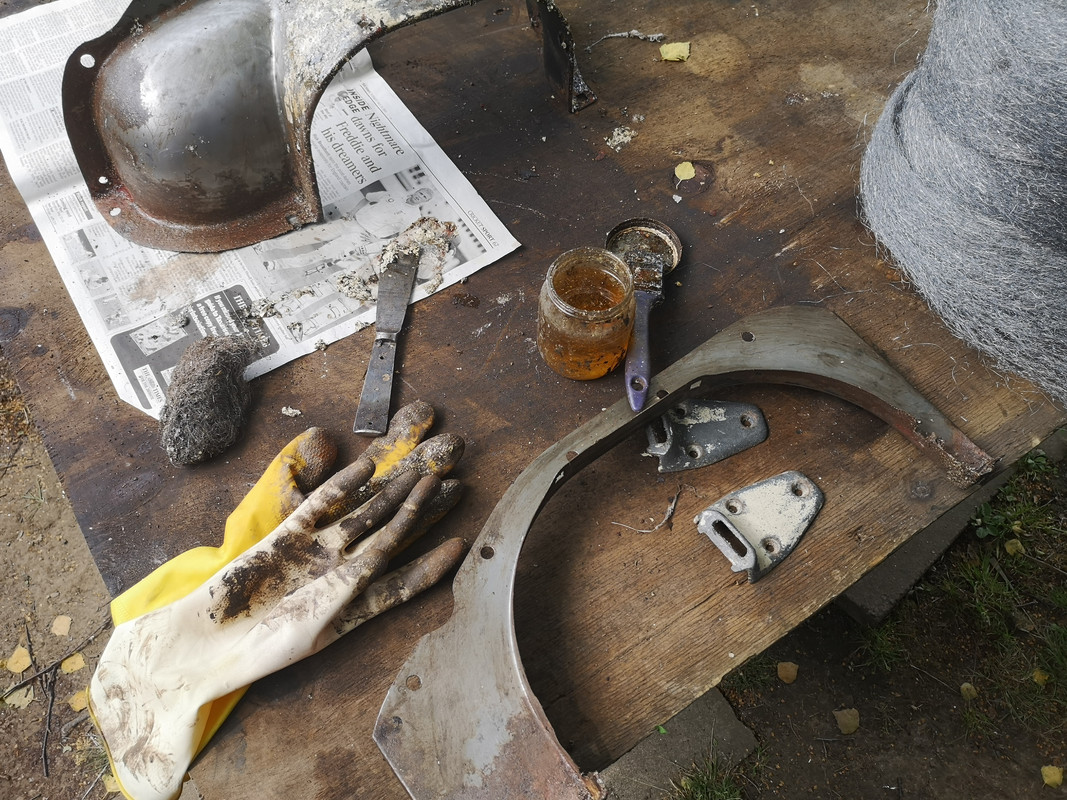
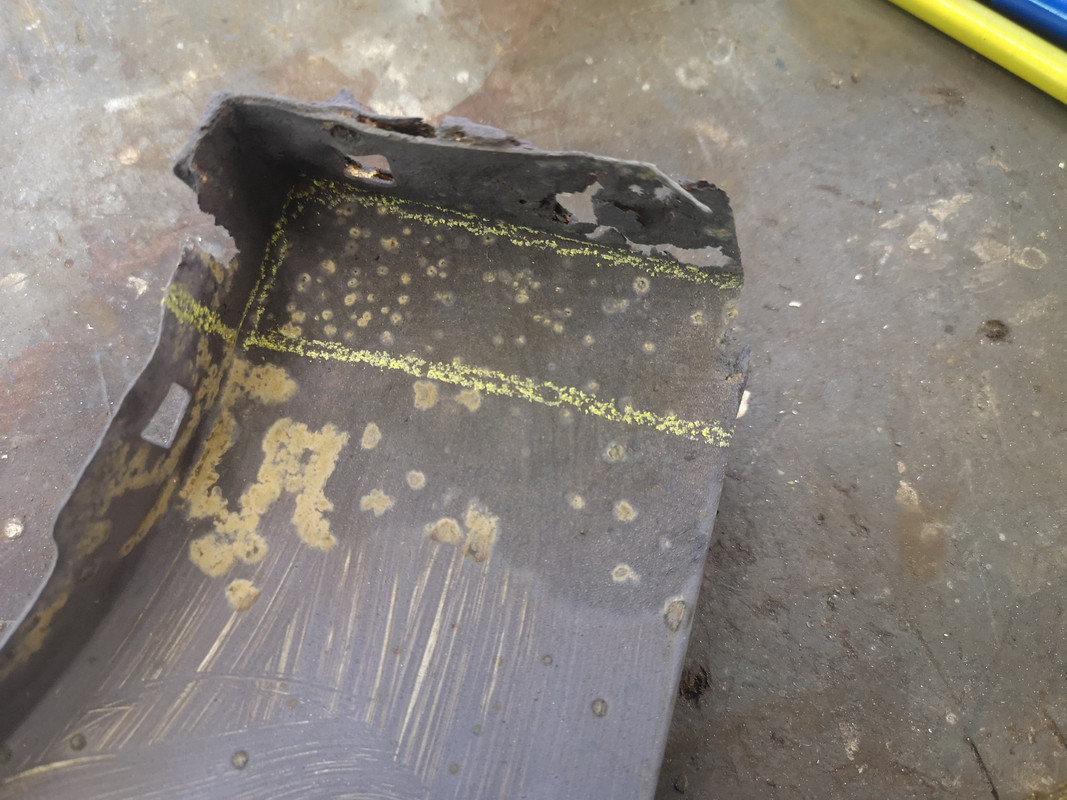
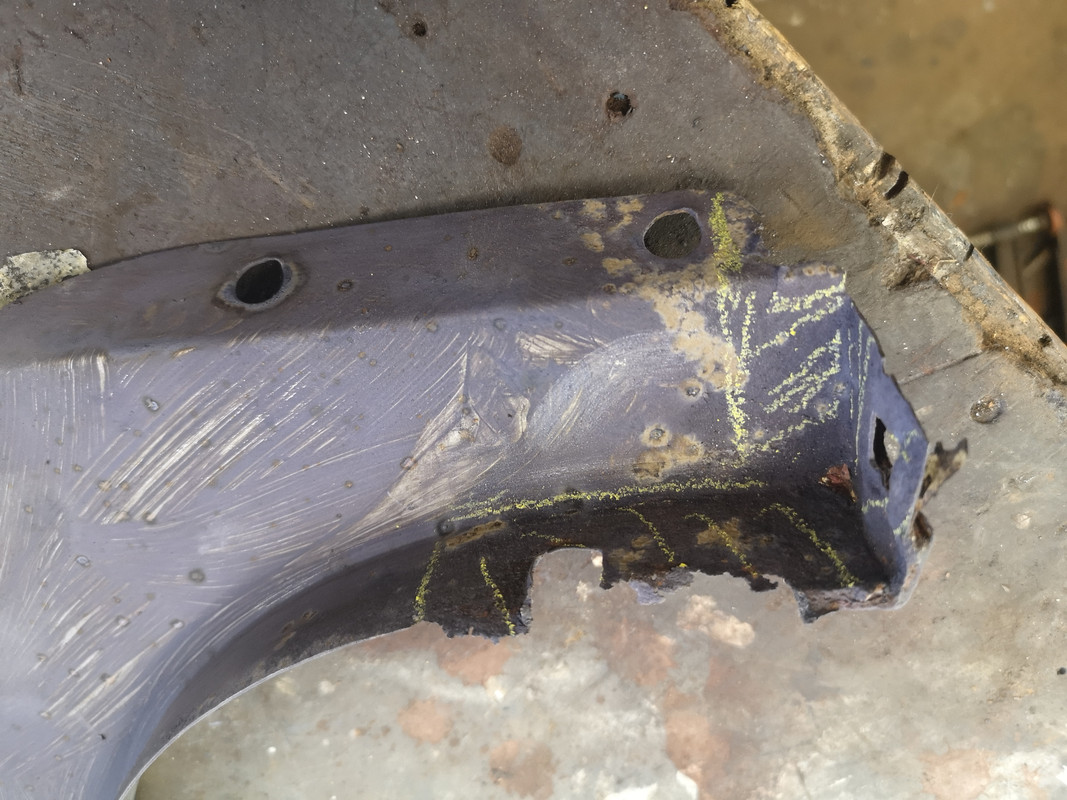
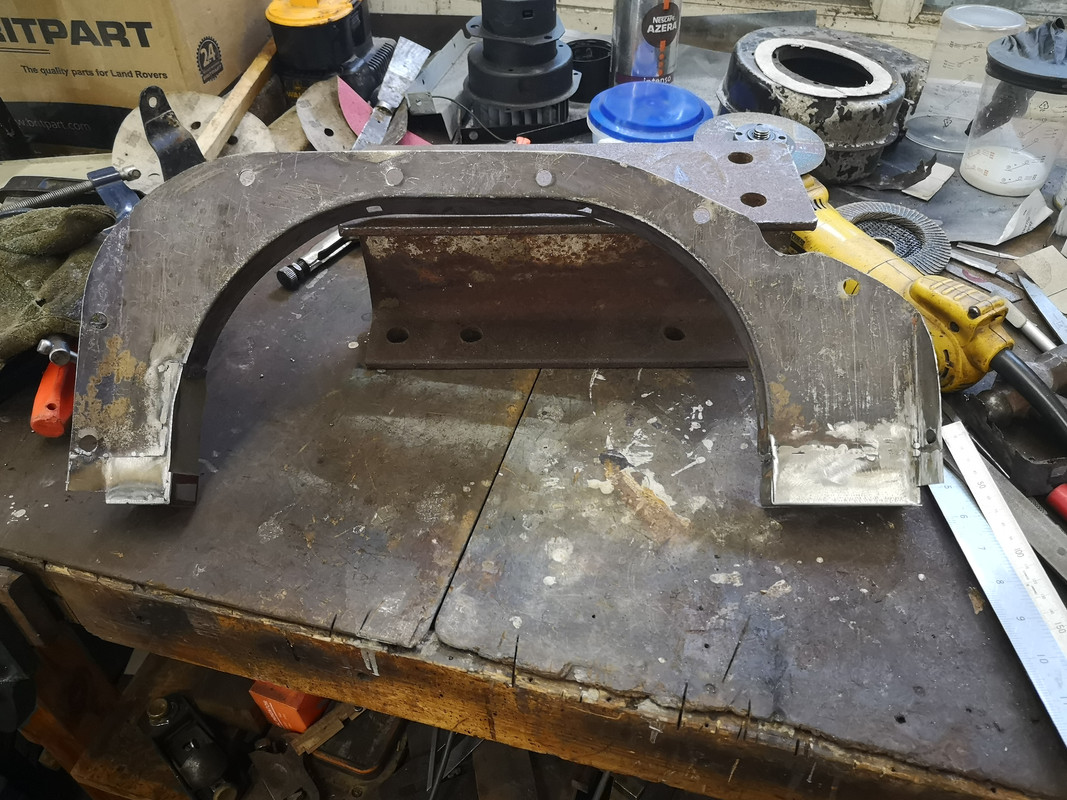
I had left the bonnet aside after removing the steel support frame from the Birmabright skin.

Image

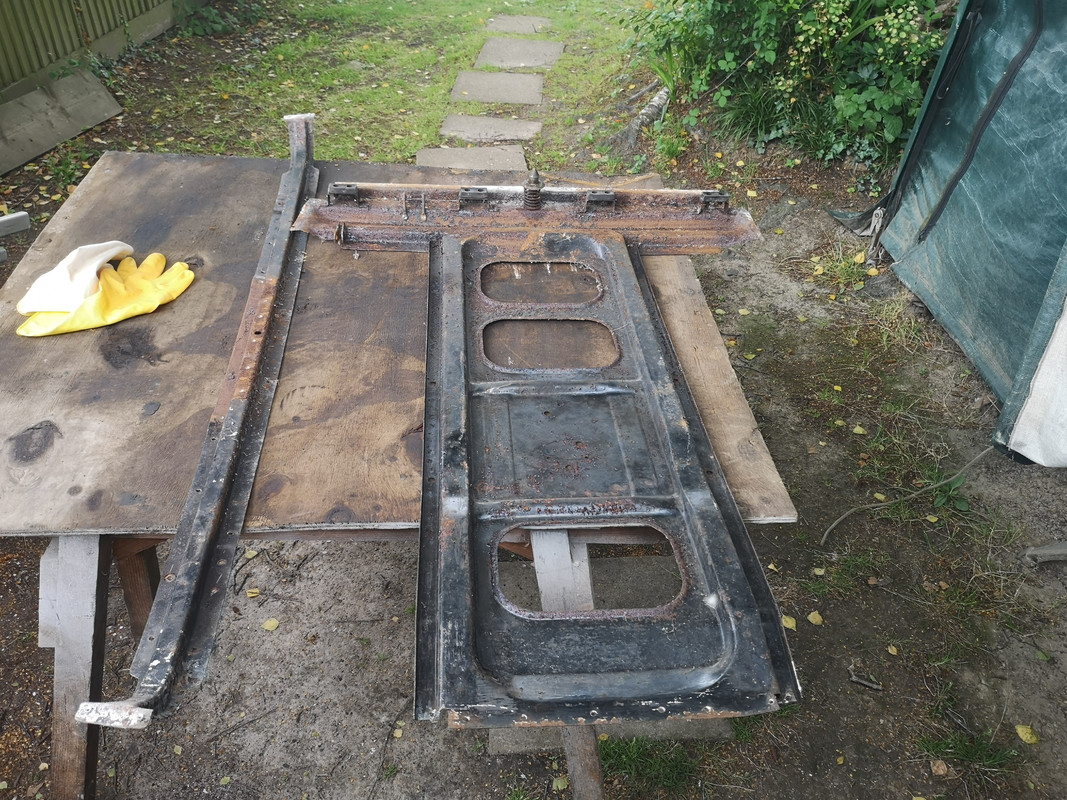
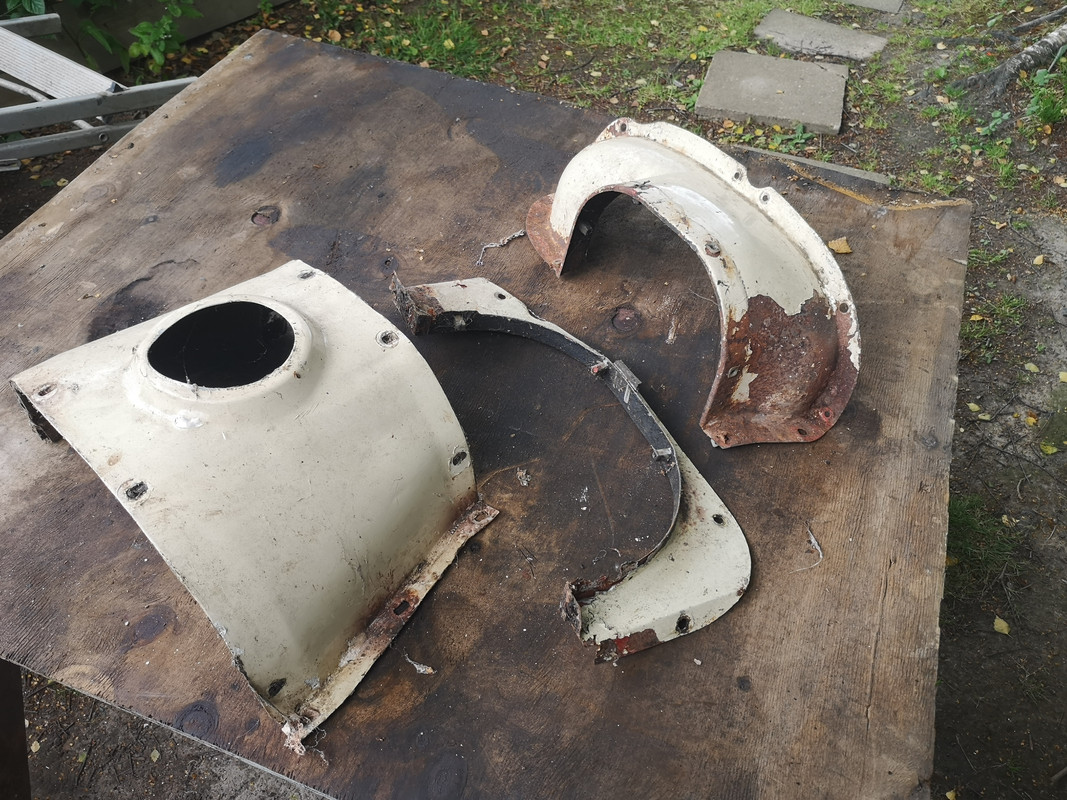
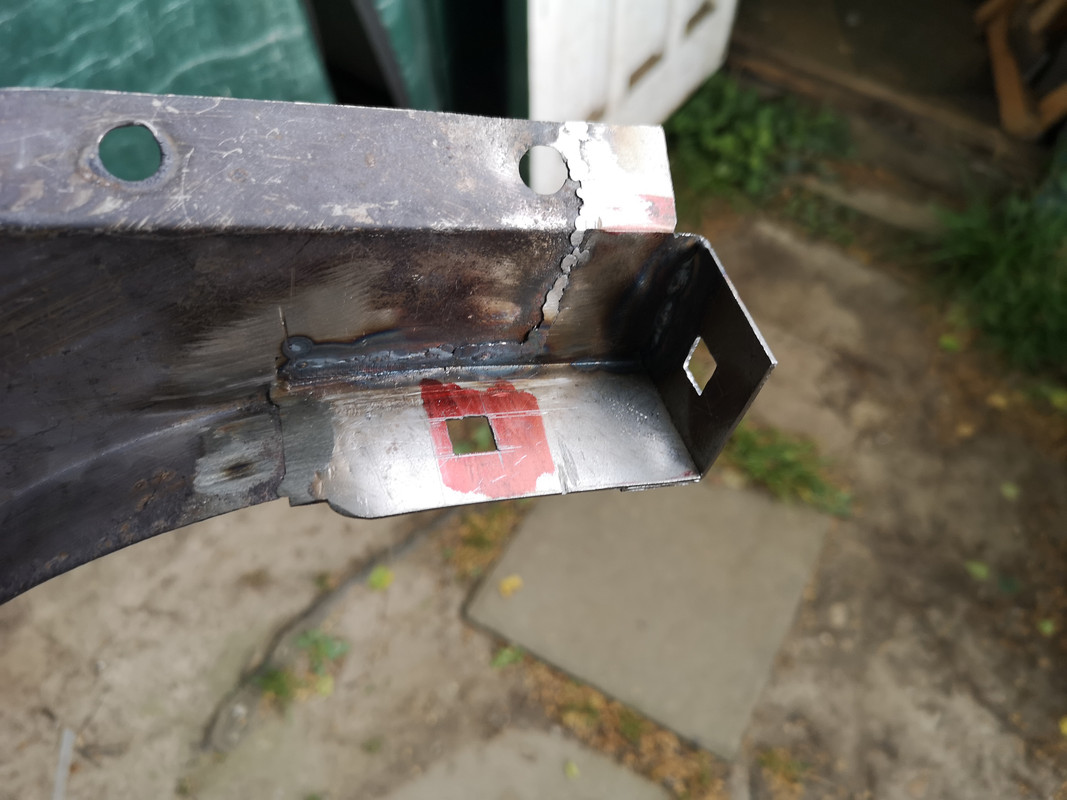
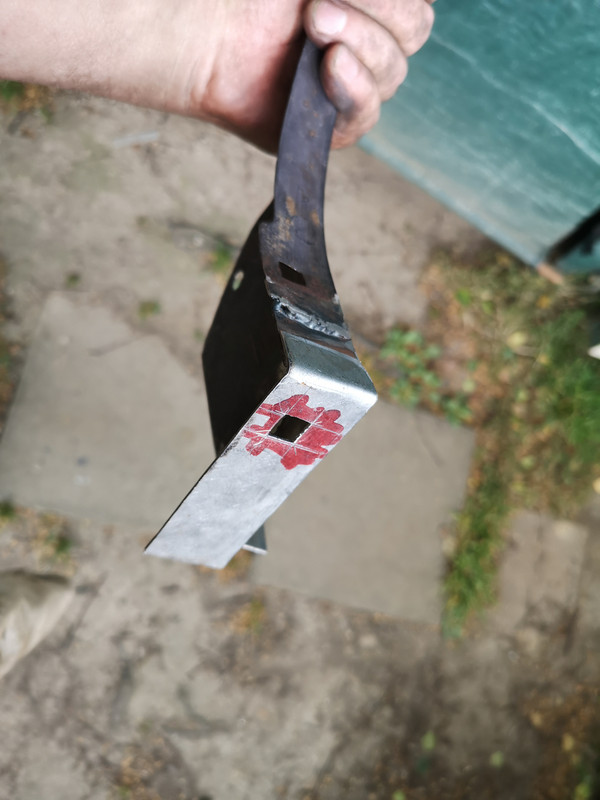
The frame is like most of the steel parts after their 42 years of exposure to air, cold, heat, and moisture. Not too bad as it happens, but definitely in need of its share of TLC. I've been contemplating how best to go about rust removal on this and the remaining disassembly. I was thinking sand blasting would be effective although it won't get inside the welded together u sections that form a box section. Same with the wire wheel on grinder, not to mention the noise, dirt, and effort involved. I might have to yet, but I decided to first have a go at setting up an electrolysis bath.
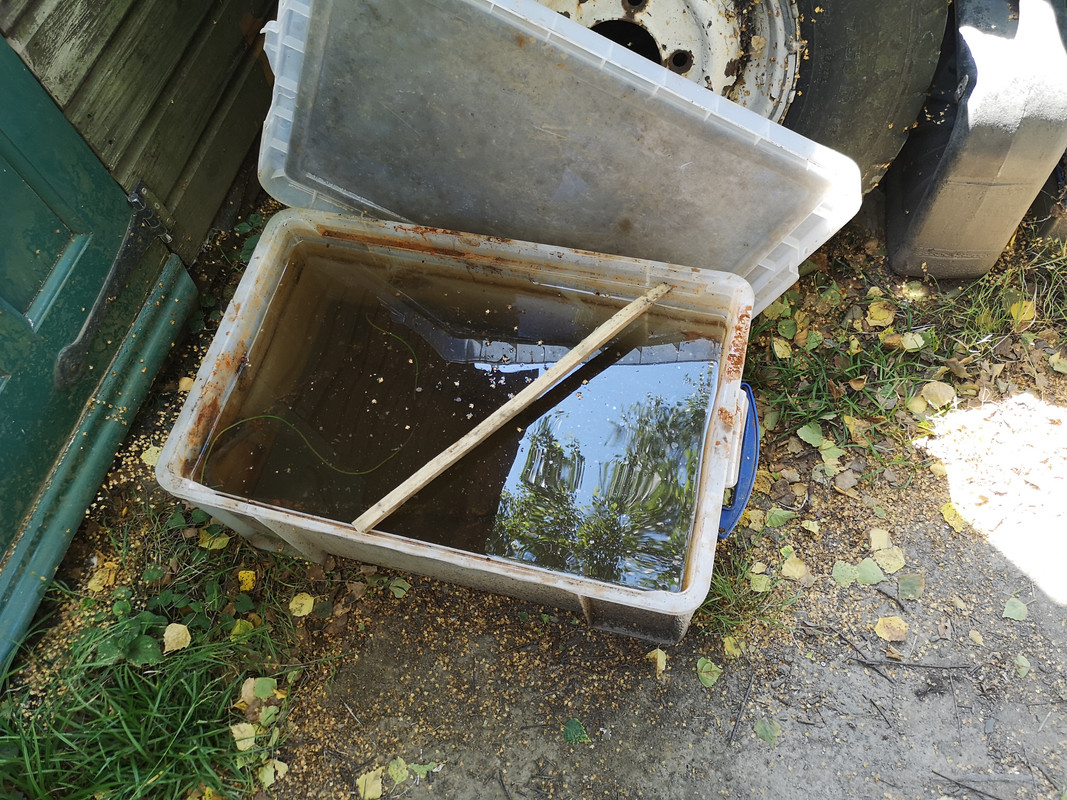
My existing bath is nowhere near big enough ...

Image

... so after some head scratching and thinking about what I could utilise, I came up with the following; a temporary bath made up from some left over DPM sheet and timber from an old bed frame I took apart (from my "it might come in useful" stash).

Image

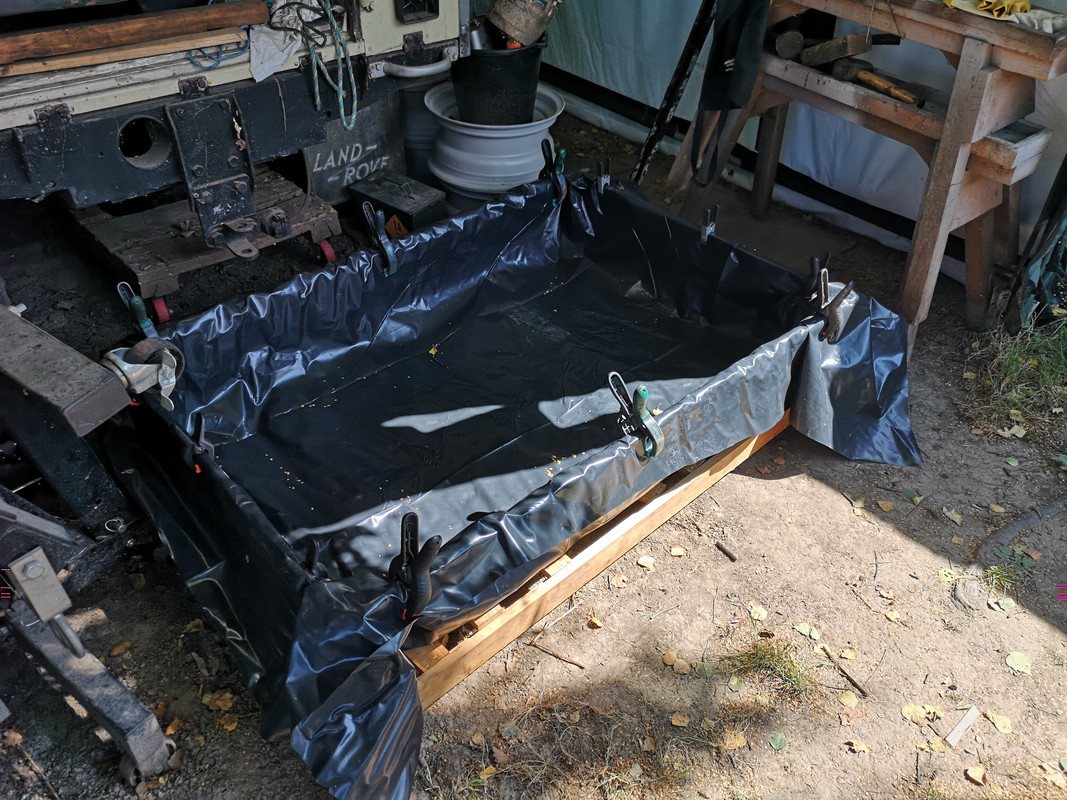
Now, I have to confess, this is a photo of the MK1 version, which after filling with water and loading the frame, I managed to puncture the DPM and then had a catastrophic flood as the whole thing collapsed and half drowned me! I kind of threw my toys out the pram and went and sulked for a week before resuming with the MK2. I added a bit more side support and and extra layer of DPM.

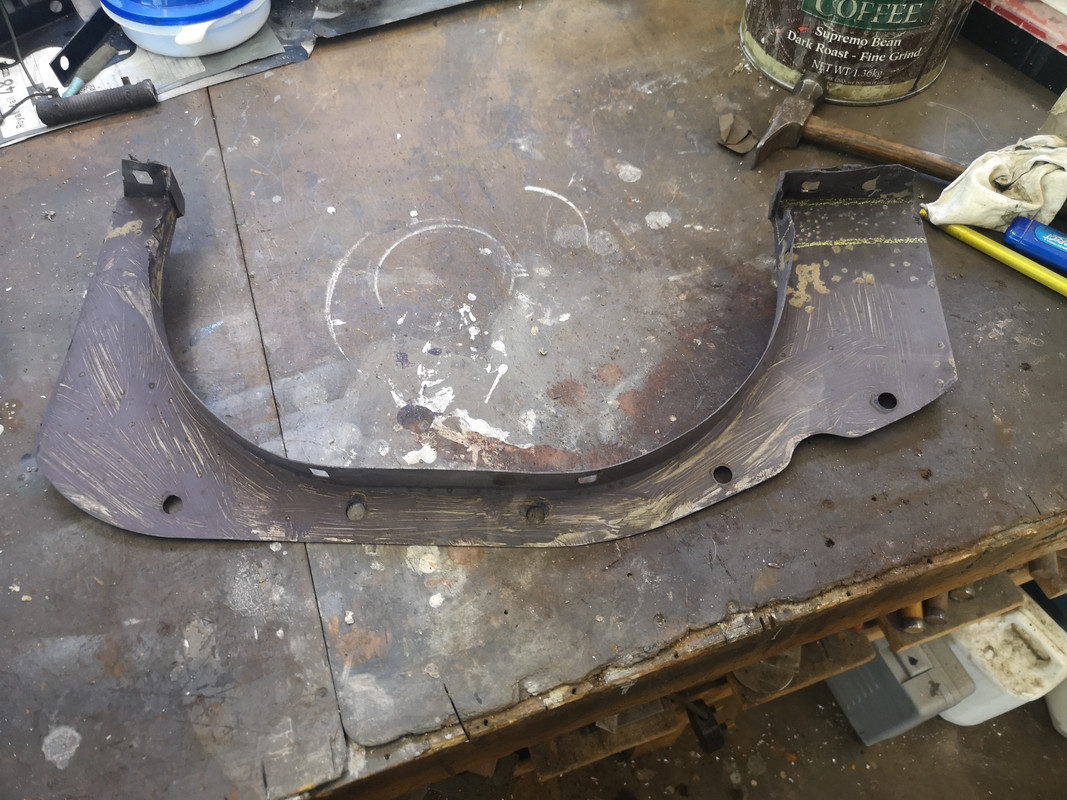
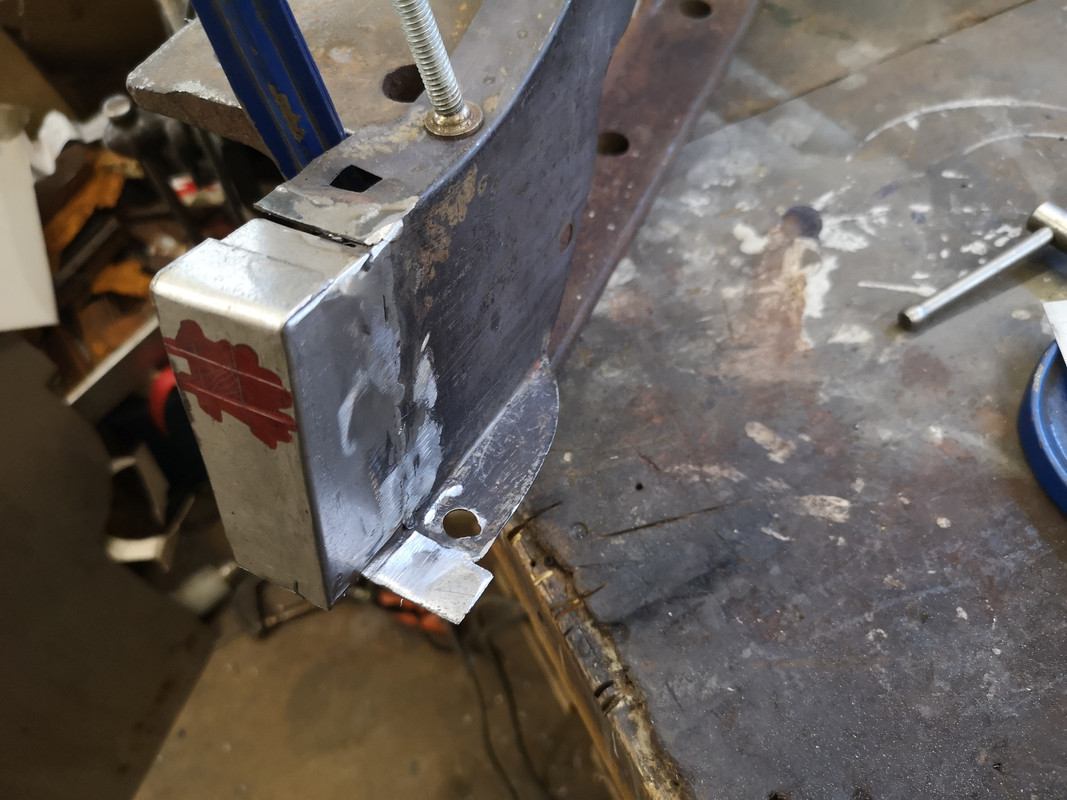
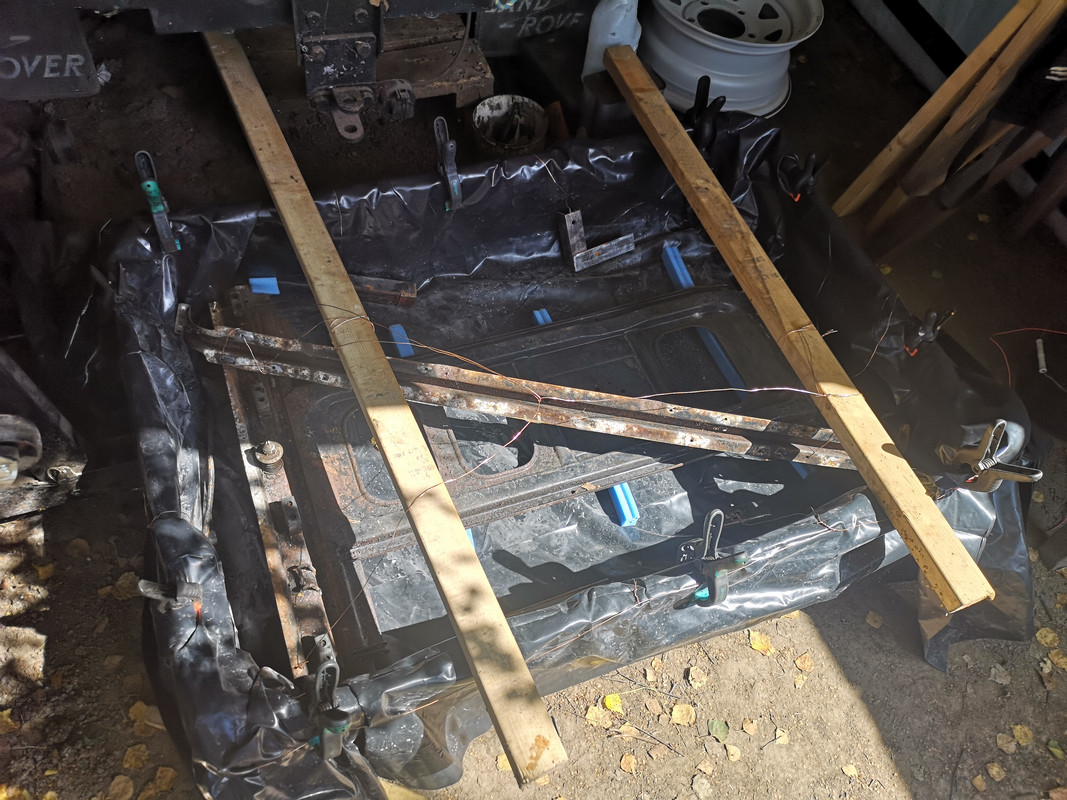
I loaded the frame carefully having removed the sharp edges that had caused the problem before

Image

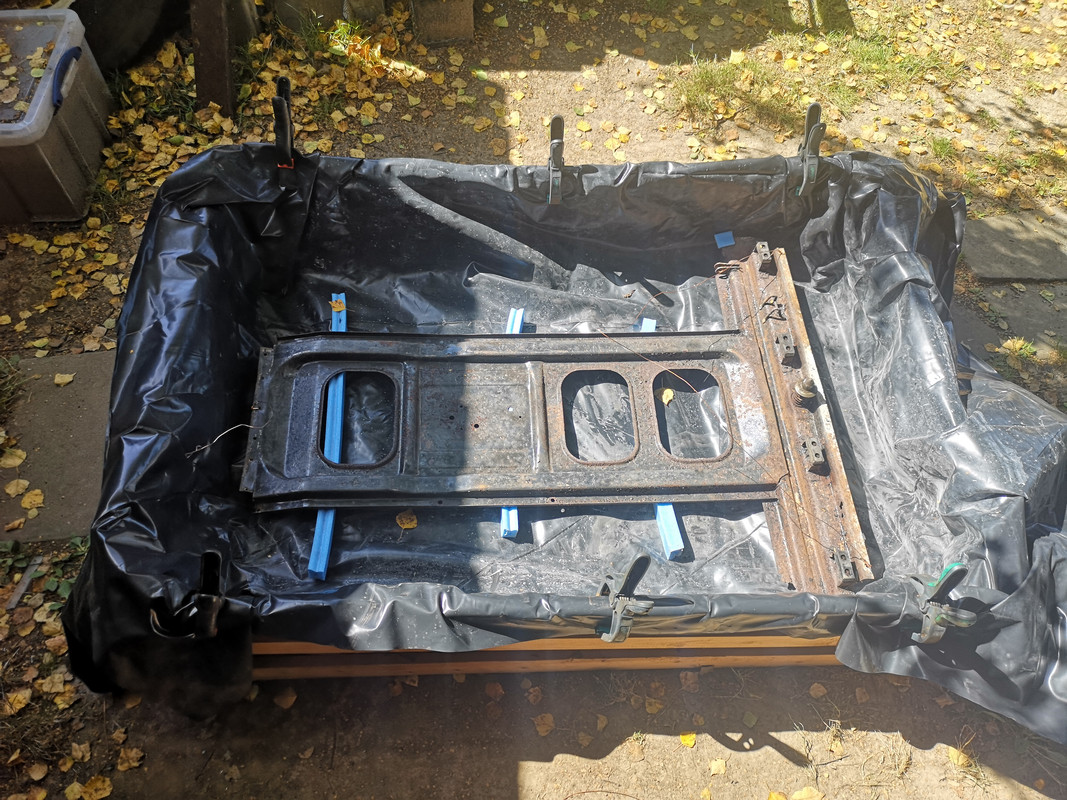
Next I ran copper wire around the periphery and connected scrap steel pieces to it, placing the steel around the tank so that it surrounded the frame

Image

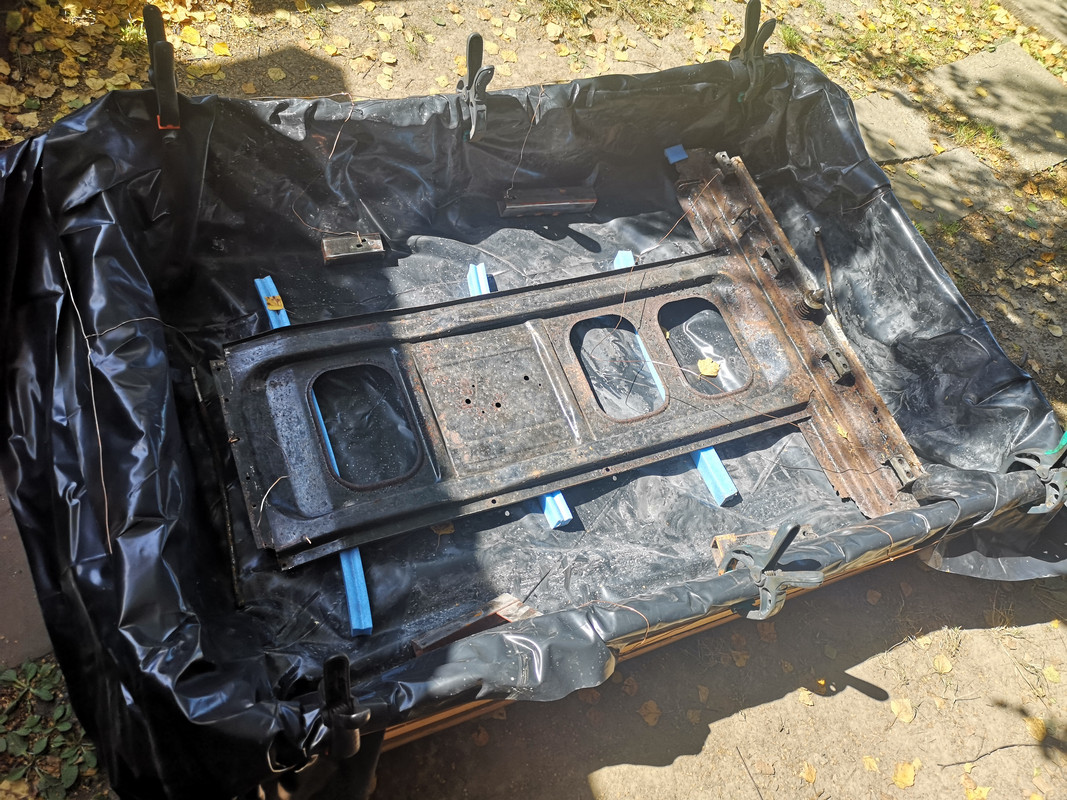
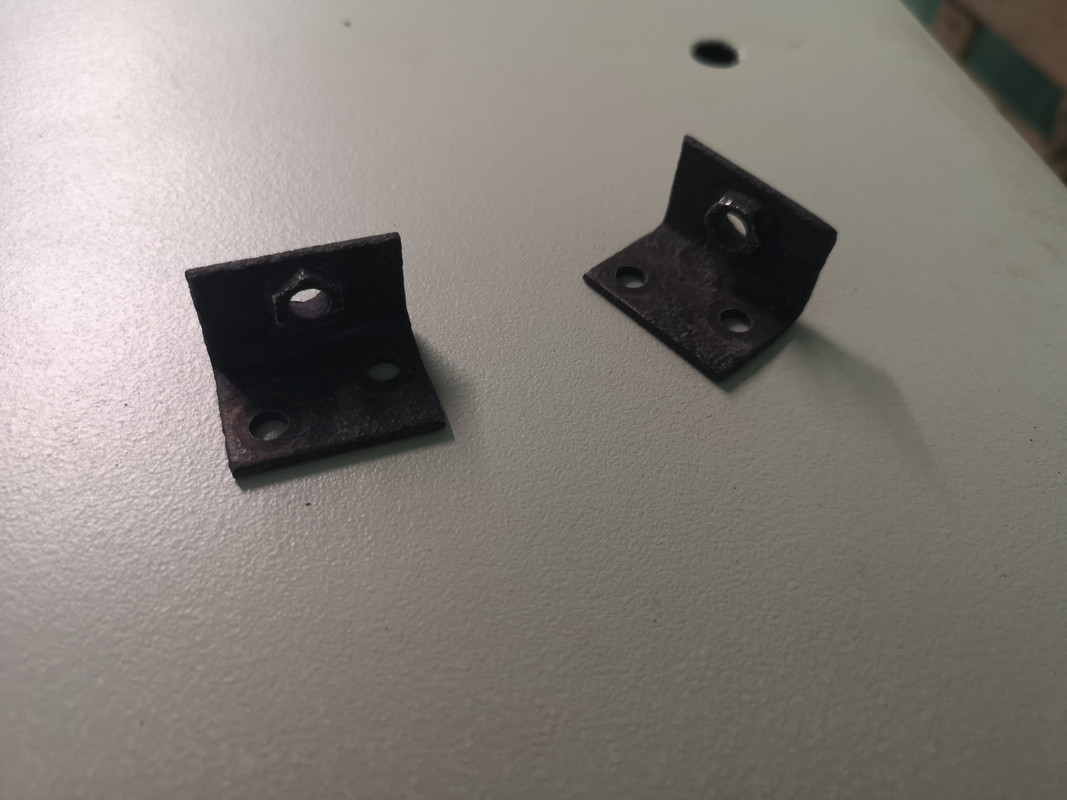
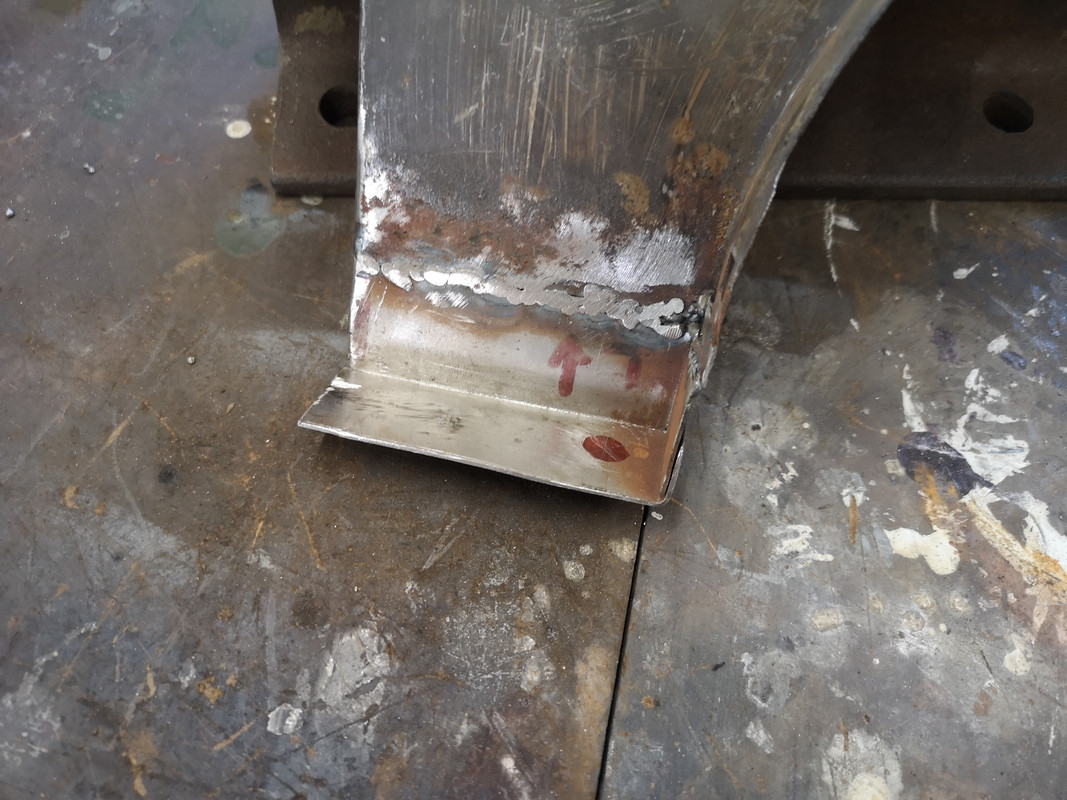
I then hung the rear support that I'd cut from the frame so that it was above the frame but not touching; the frame was also lifted just off the bottom of the tank.

Image

It was now time to fill the tank and completely submerge the frame pieces. I mixed up some water with washing soda separately in a bucket and mixed this in with the main tank fill.

Image

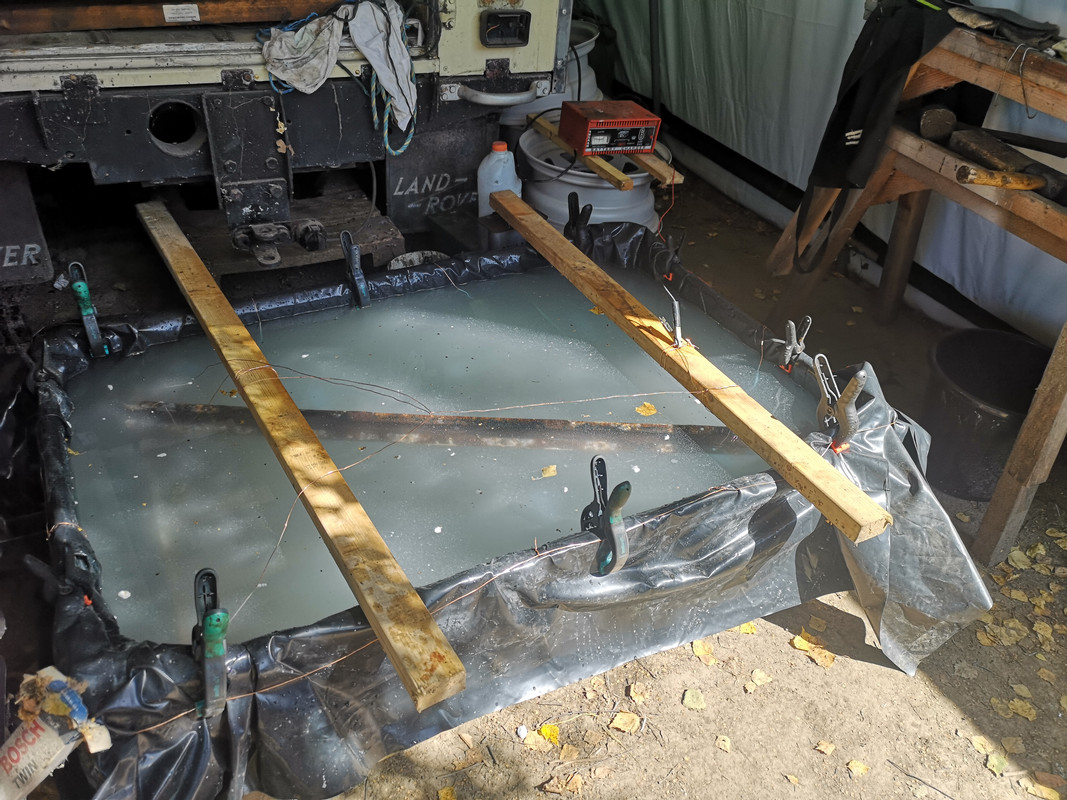
All looking good, I hooked up the battery charger and connected +ve to the steel anode circuit, and -ve to the frame cathode circuit. It now remains to be seen if I get the results I'm after or not. It will no doubt take a few days stewing in there before I can assess whether or not it's been successful or if I have to go visit the sand blasters.
Cliff

1981 109 V8 Stage 1
2000 Discovery 2 Td5

109 V8: viewtopic.php?f=6&t=2161
My Disco Thread: http://www.thed2boysclub.co.uk/viewtopi ... =3&t=58130

LAND ROVER. TURNING OWNERS INTO PAUPERS FOR 70 YEARS
Cliff4WD
Posts: 311
Joined: Fri Aug 10, 2018 2:39 pm
Location: Rye, East Sussex, UK

Re: Restoration

Post by Cliff4WD »

Cliff

1981 109 V8 Stage 1
2000 Discovery 2 Td5

109 V8: viewtopic.php?f=6&t=2161
My Disco Thread: http://www.thed2boysclub.co.uk/viewtopi ... =3&t=58130

LAND ROVER. TURNING OWNERS INTO PAUPERS FOR 70 YEARS
disco2hse
Posts: 1641
Joined: Sun Apr 27, 2008 3:51 am
Location: Auckland NZ

Re: Restoration

Post by disco2hse »

So what was the issue with the copper >anode< wire?
Alan

1983 ex-army FFR 109 Stage 1
2005 Disco 2 HSE TD5
Cliff4WD
Posts: 311
Joined: Fri Aug 10, 2018 2:39 pm
Location: Rye, East Sussex, UK

Re: Restoration

Post by Cliff4WD »

Ah, after thinking about it, I think I've messed up using the battery charger and using thin wire to connect up my sacrificial steel. The wires are in the electrolyte (alkaline softened water) which won't have much resistance, so considering ohms law and all that, its probably pulling quite a high current through those wires, hence the rapid deterioration. It's not really a copper problem per se, more too thin a gauge and in the water; it needs a resistor in the circuit to control the current draw. I fear my steel welding wire will fare no better. I'll check it in the morning and hope my charger hasn't died as well!
Cliff

1981 109 V8 Stage 1
2000 Discovery 2 Td5

109 V8: viewtopic.php?f=6&t=2161
My Disco Thread: http://www.thed2boysclub.co.uk/viewtopi ... =3&t=58130

LAND ROVER. TURNING OWNERS INTO PAUPERS FOR 70 YEARS
disco2hse
Posts: 1641
Joined: Sun Apr 27, 2008 3:51 am
Location: Auckland NZ

Re: Restoration

Post by disco2hse »

My first thought was too much current. What if the steel box section you connected the wires to protruded above the water line (so that the wires are not immersed at all), would that still work?

Clearly, copper has free'r electrons than steel.
Alan

1983 ex-army FFR 109 Stage 1
2005 Disco 2 HSE TD5
Cliff4WD
Posts: 311
Joined: Fri Aug 10, 2018 2:39 pm
Location: Rye, East Sussex, UK

Re: Restoration

Post by Cliff4WD »

Yep, ideal would be to use steel plates around tank and have no wires in the liquid at all (that's how I was setup in my small tank), however, I don't have a load of "spare" steel to sacrifice. I really need to do this with a controllable power supply so that I can turn down the amps. As I understand it, only a about a <2V potential difference is required for the process. This is a one off exercise so as long as I get most of the rust off, it will do the job. Learning stuff through trying though which is all good.
Cliff

1981 109 V8 Stage 1
2000 Discovery 2 Td5

109 V8: viewtopic.php?f=6&t=2161
My Disco Thread: http://www.thed2boysclub.co.uk/viewtopi ... =3&t=58130

LAND ROVER. TURNING OWNERS INTO PAUPERS FOR 70 YEARS
Post Reply