Next act >> Front axle:
.. I'll see you again
> red <


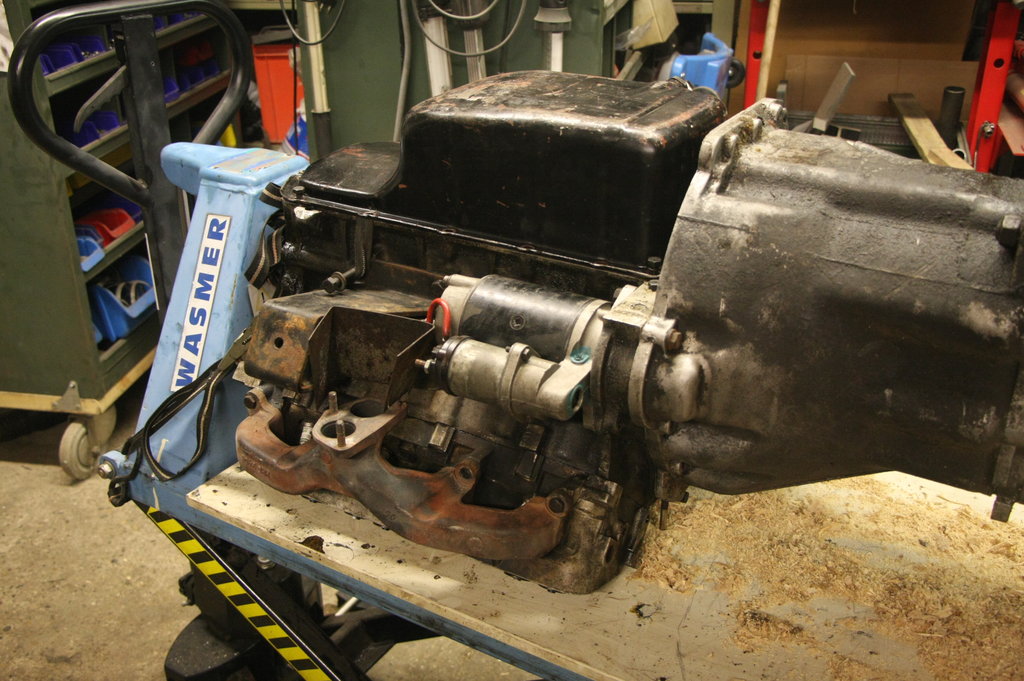
Then out with that thing ...


Thick paint is "smeared" over all screws ... I don't like that at all

And if you unscrew something, it looks like this underneath. I feared the worst


All clear!

... at least on the left

Axle balls, thru axles, homokinets, plain bearings from the same, Railko and tapered roller bearings ... everything is OK.


Then everything cleaned and greased and reassembled ... of course with new locking plates etc.

Then dismantled the wheel brake cylinder. They were completely resinified but could still be saved!
Yes exactly! In order to be able to clamp the wheel carriers in a vice, I built a holding board. Thick board drilled, such a wheel carrier is quite heavy and adapted to the contours with the jigsaw >> done


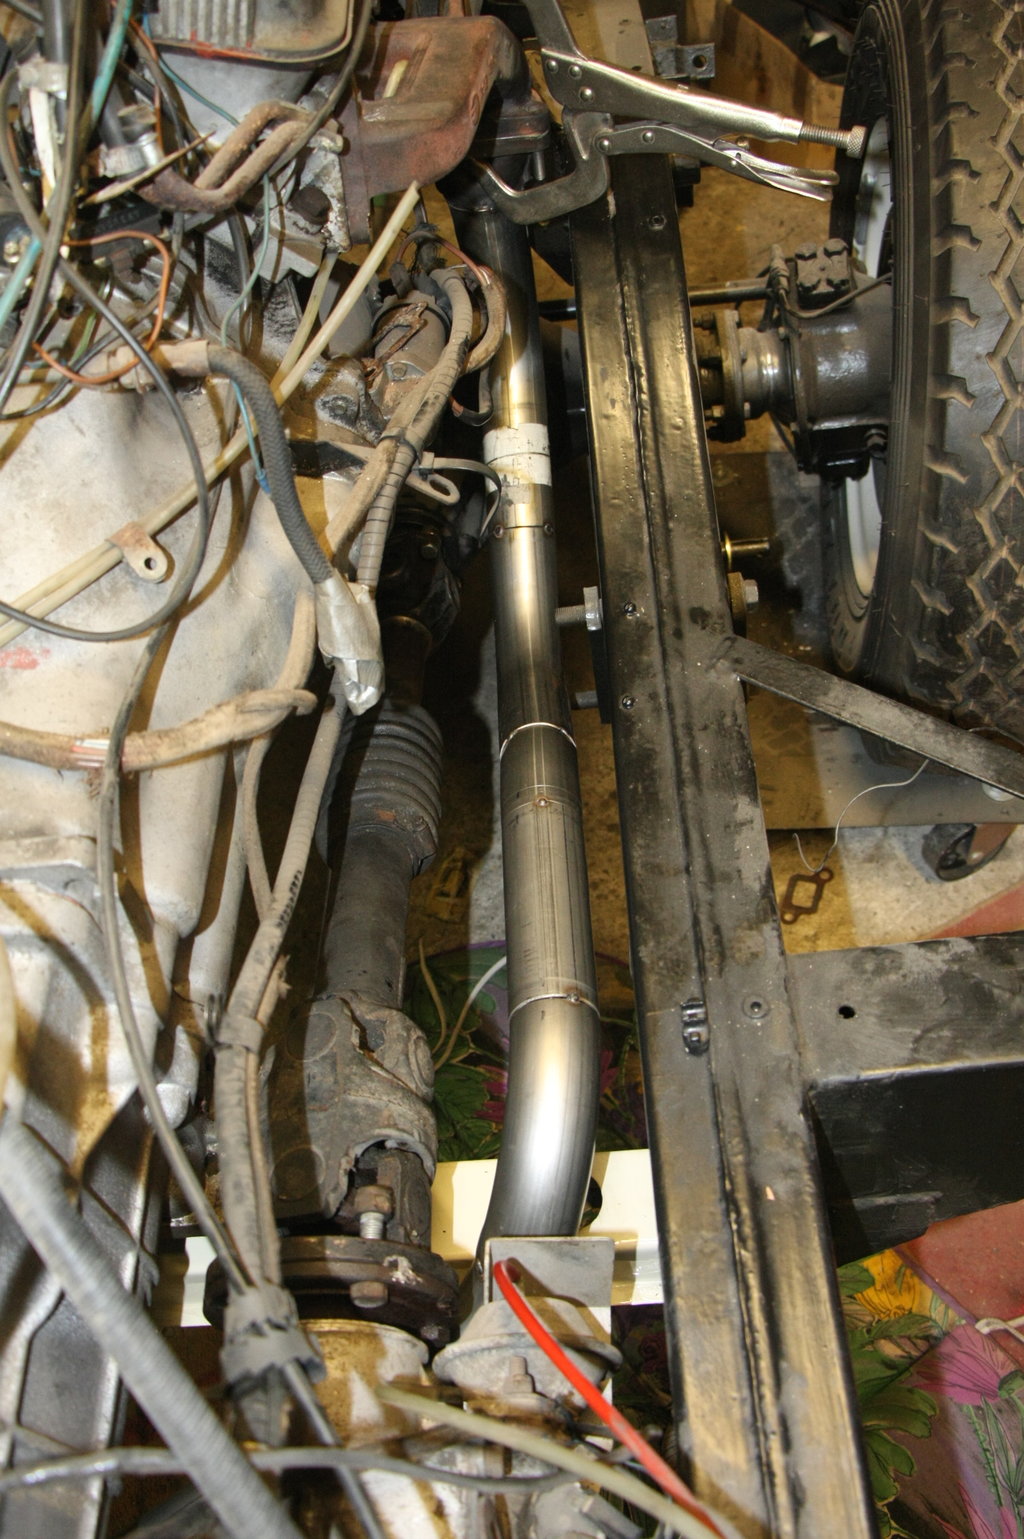
The routing of the brake lines on the wheel carrier was then changed. This is how you get the air out of the braking system ...

... and dismantled the other side.
I was lucky too !!


Chassis paint that is applied really thickly will certainly meet with positive approval.
But there are a few places where it doesn't work out that well. Fortunately, I had a photo from before the paint job and knew exactly where to look.
>> partial paint stripping


... and then another horror job >> Replace tie rod ends.
Only with intensive use of a welding torch, WD40 and brute force could I persuade the things to terminate the connection of the tie rod ...

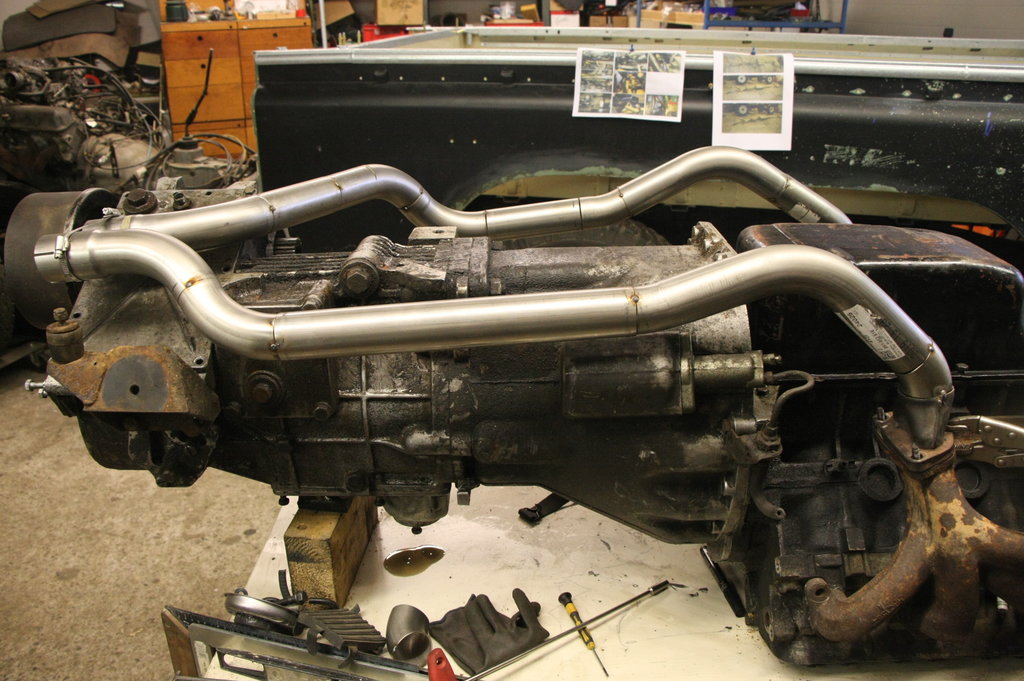
It looks good on the drive side. Warehouse and Railco is also OK >> Clean everything up and nail it back together.


The toothing has slight pressure points but no trace of torsion.


I was able to save the wheel brake cylinders on the first page, but these are ripe for the bin.


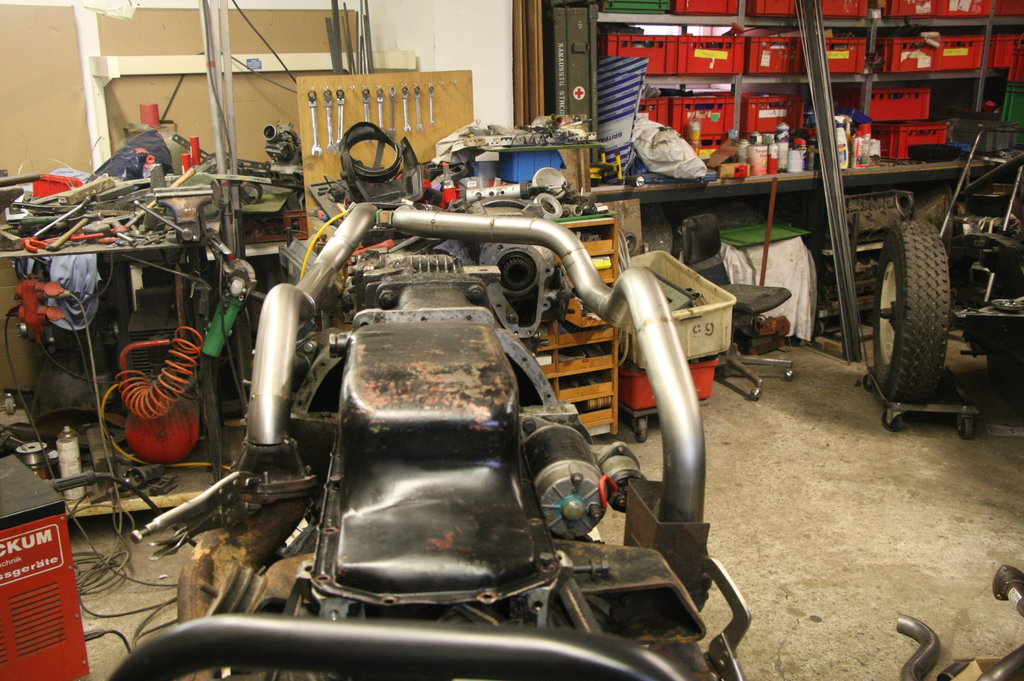
>> Fundus

Of course, I also checked the oil filler plug of the ball housing, whether it was "passable", they can also annoy you ...


Then tinker brake lines again.


... the lines up to the main train station are still missing. The old ones still look perfect. I'll probably put them back in.
That could conclude the subject of the brake pipe. There was very little waste and still only a little bit left ... of 20m


Front axle: Diff. expanded. There was so much paint on the screws it was almost impossible to get the nut over it: P
Here, too, everything is okay. >> Reseal and mount with new screws


Then the wheel carriers were completed (I missed the mounting plates for the Sealing rings).
Leather gaiters greased and mounted together with the Sealing rings and retaining plates.


mounted ...

... and the wheel bolts were replaced by long ones (for the Wolf rims).

greeting
Frank