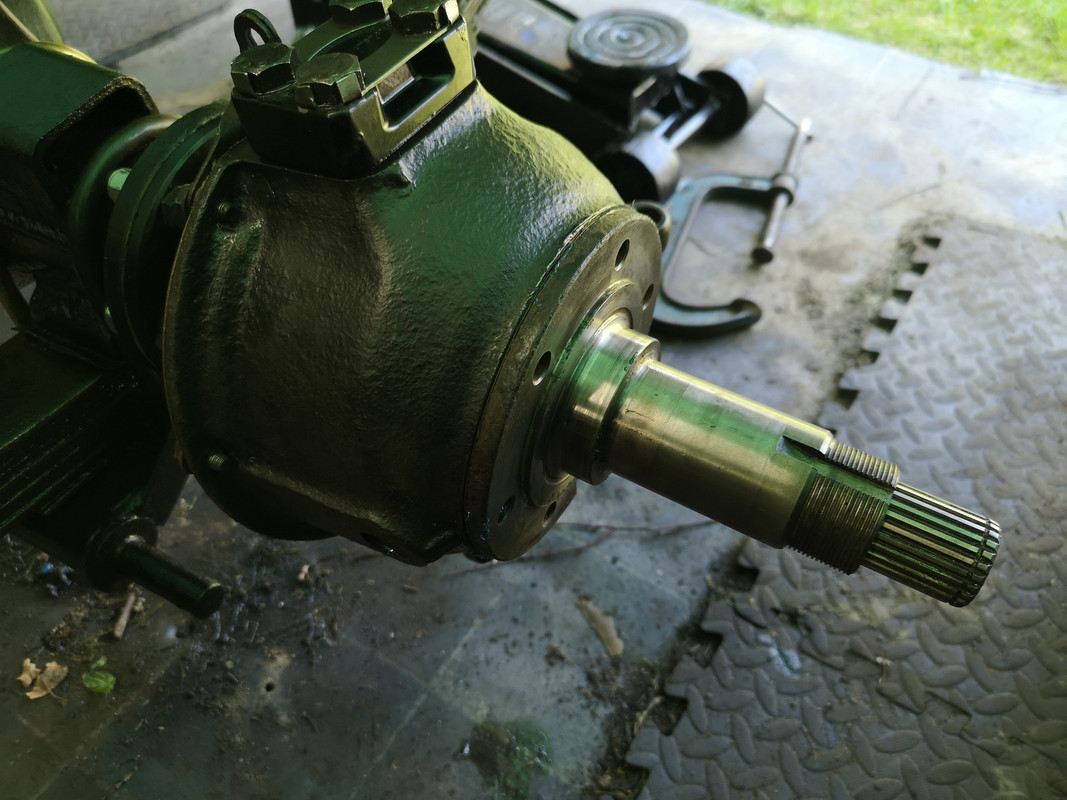
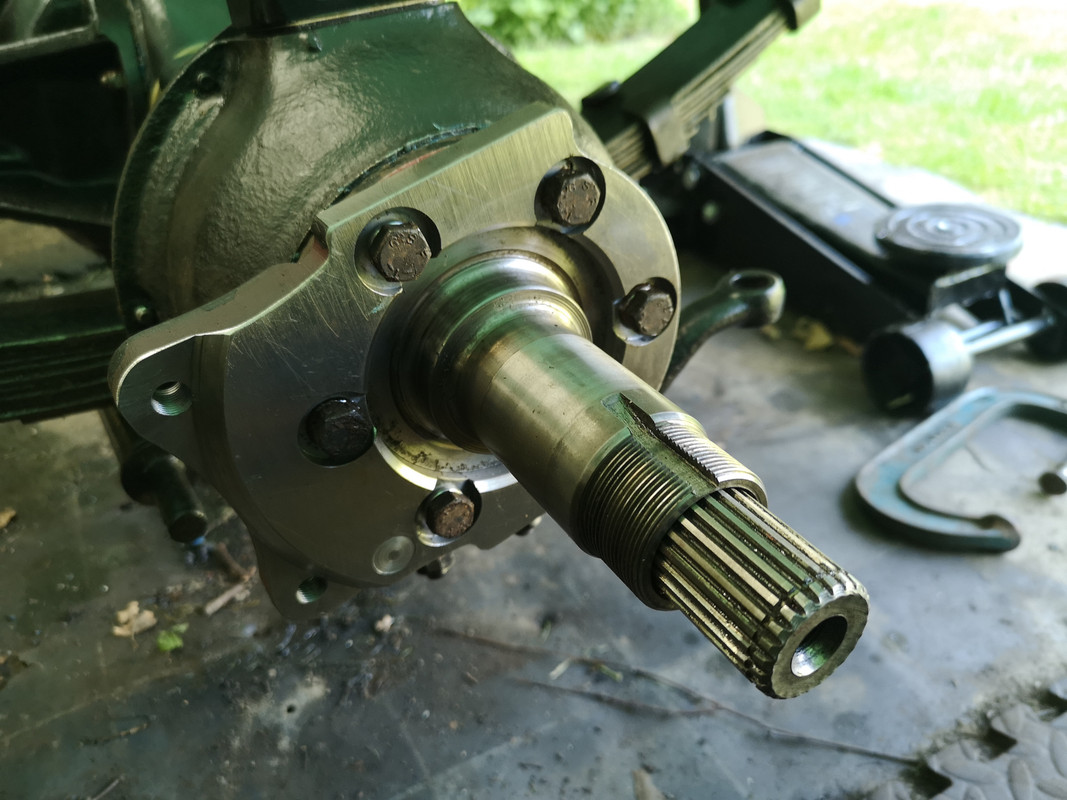
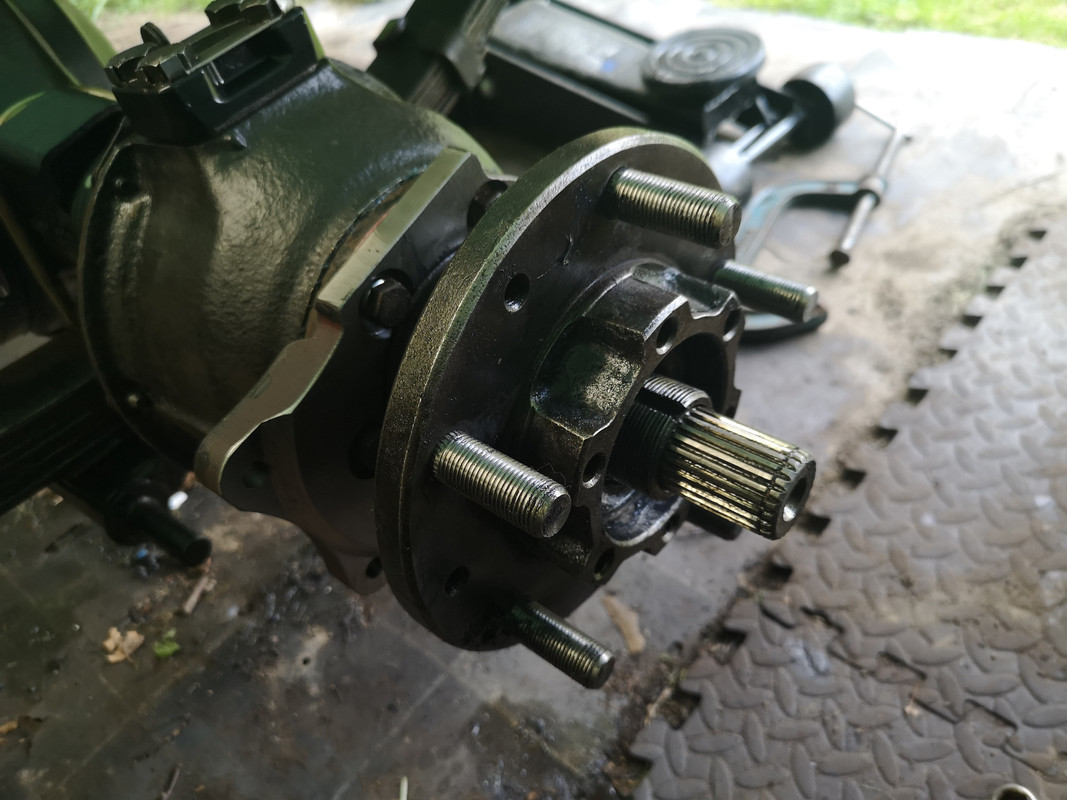
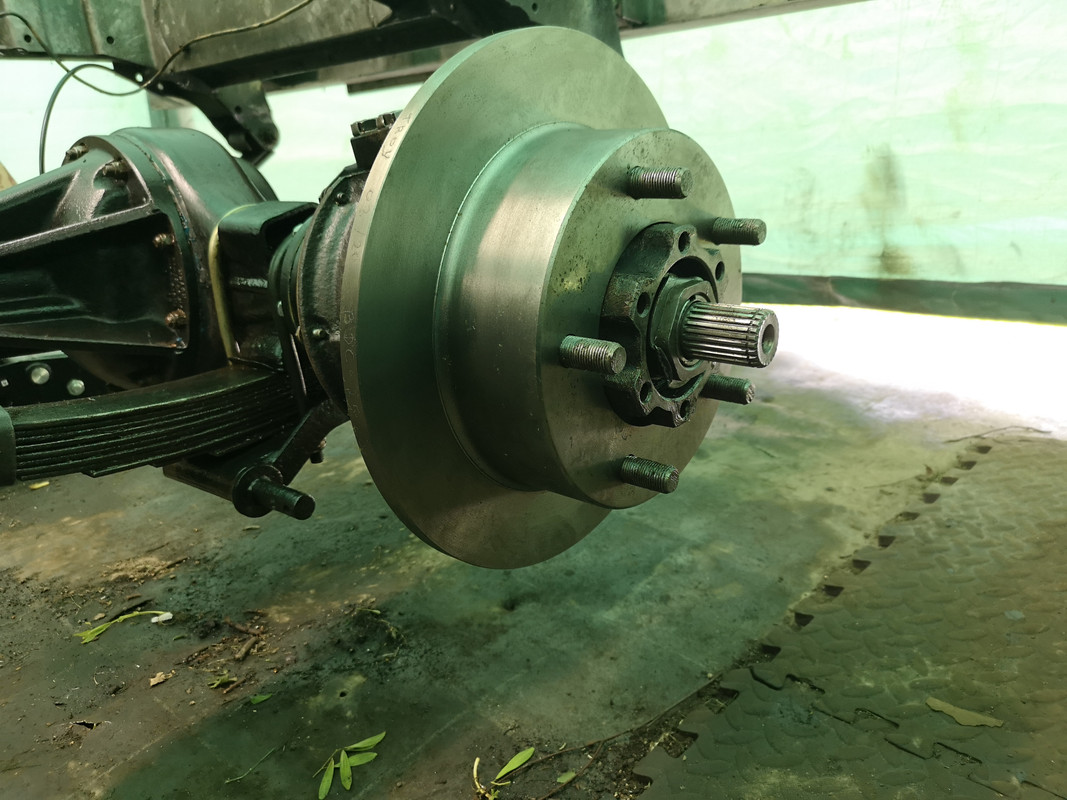
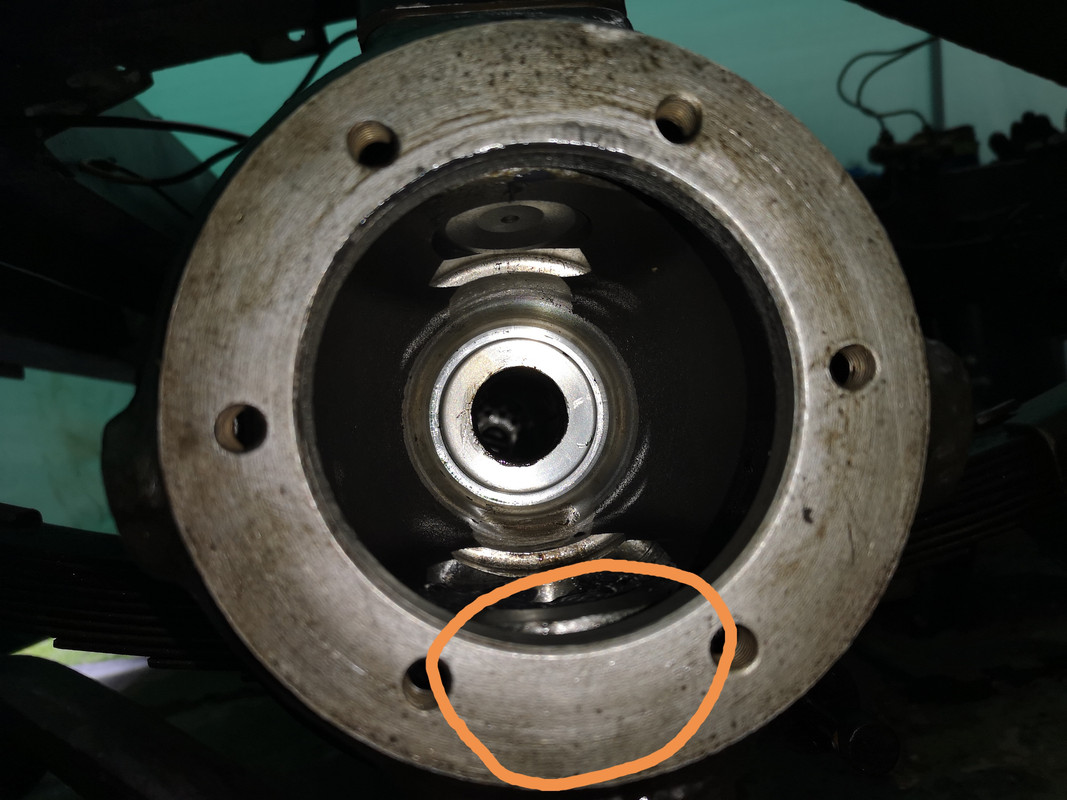
With the half shaft in place, on went the stub axle
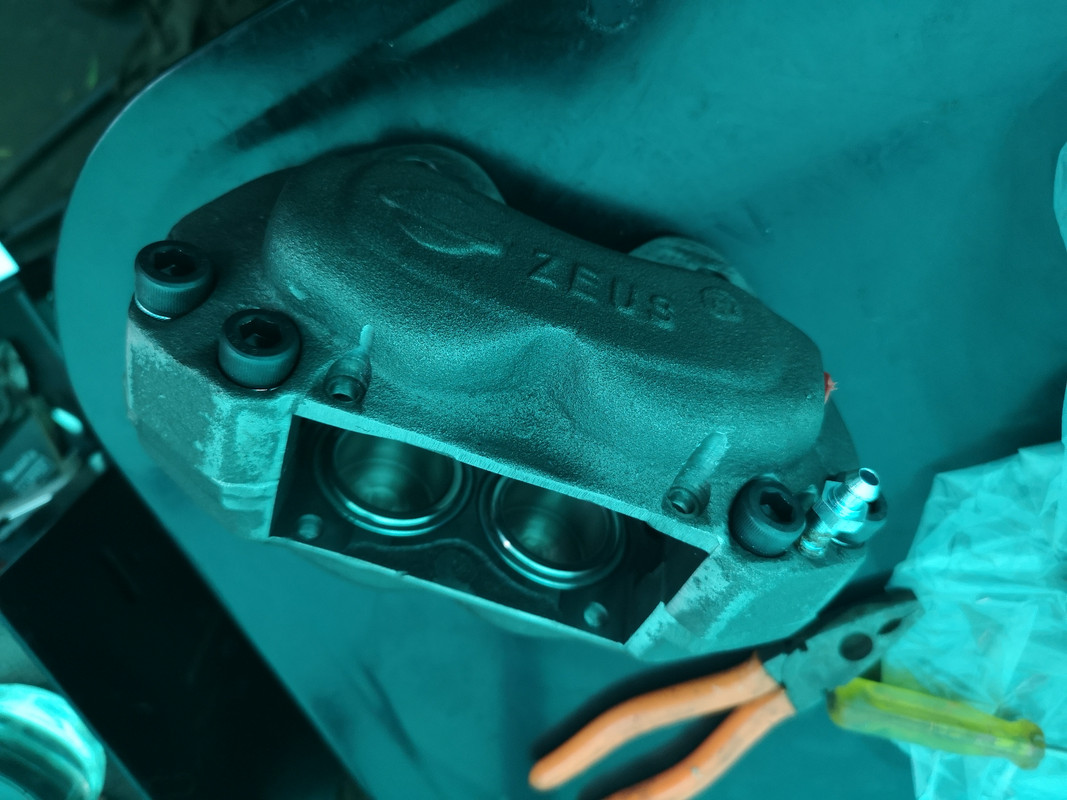
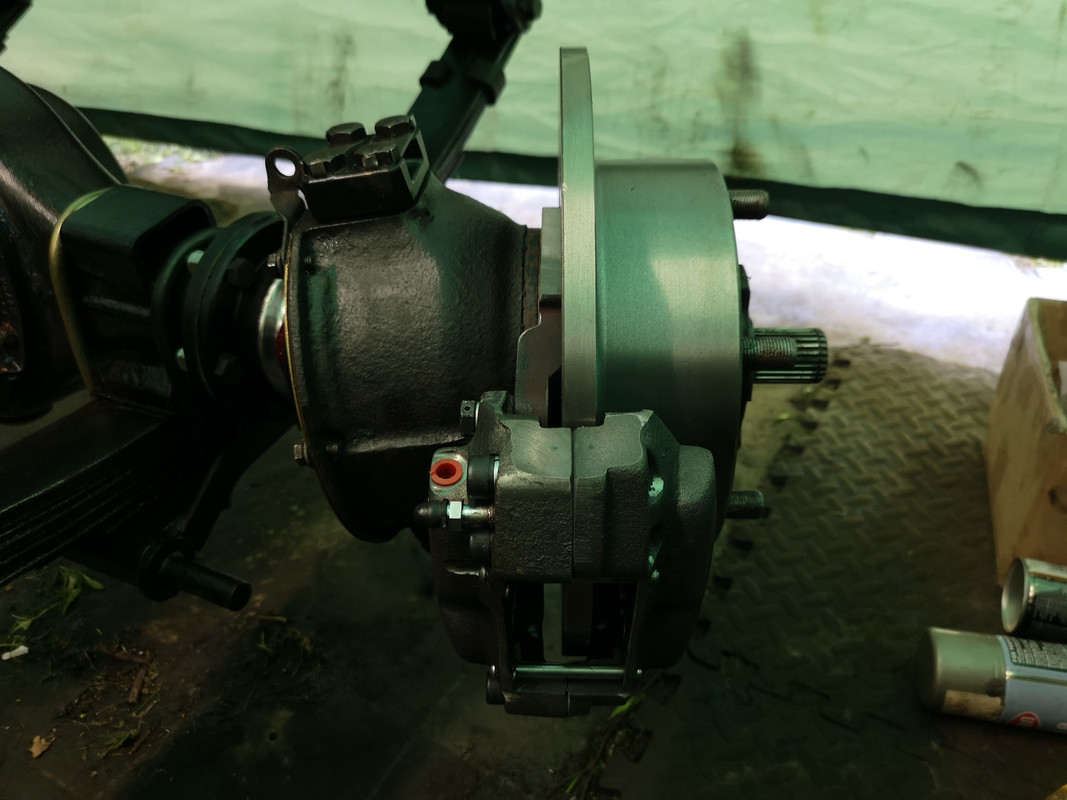
..and the moment we've all been waiting for, on went the first of the new caliper mounting brackets.
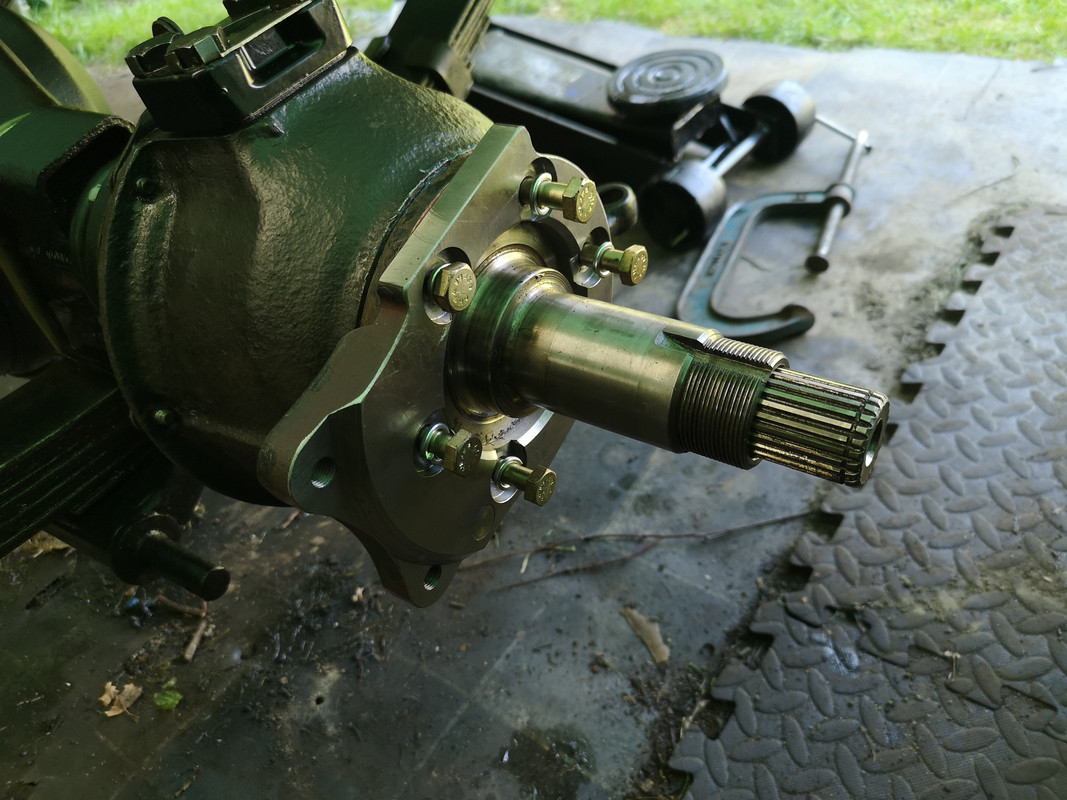
Nice new bolts and spring washers too, except they turned out to be the wrong size! I ordered the correct part number so will have to work out what that's about.
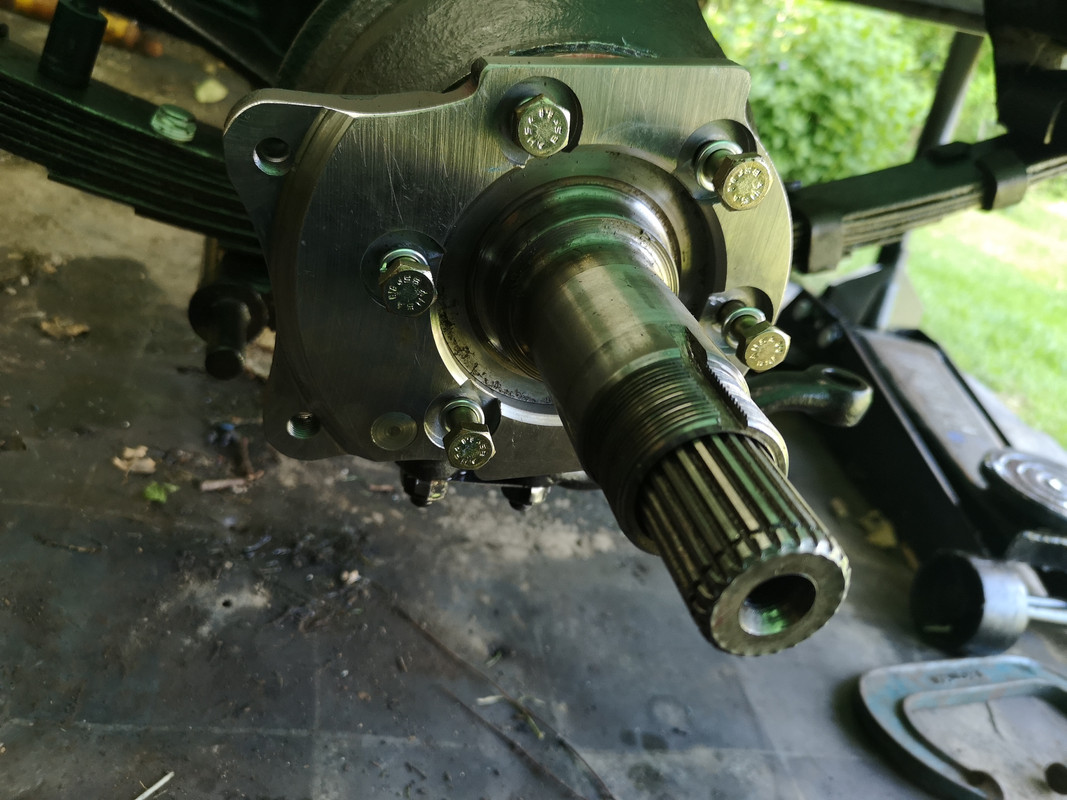
So cleaned the old bolts and reused them with the new spring washers.
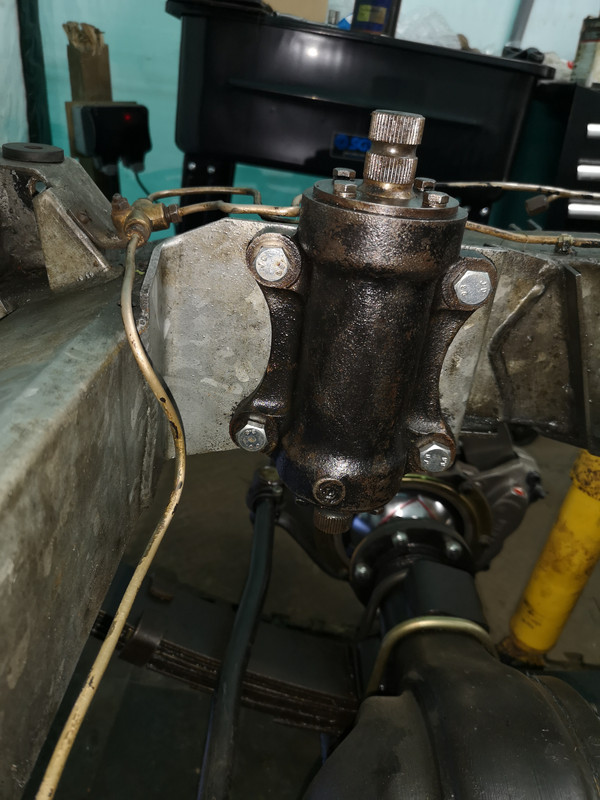
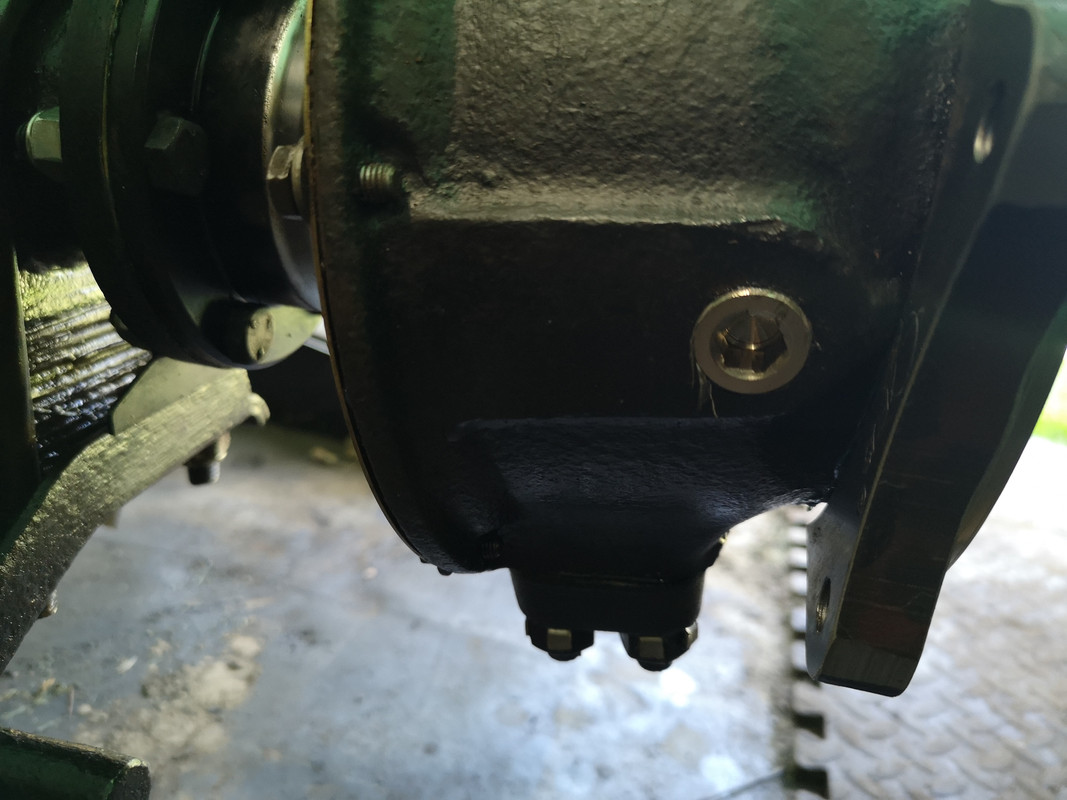
I filled the swivel with one shot grease and fitted the new filler plug supplied by zeus with the brake kit. They were stainless and much better quality than the ones I'd ordered.
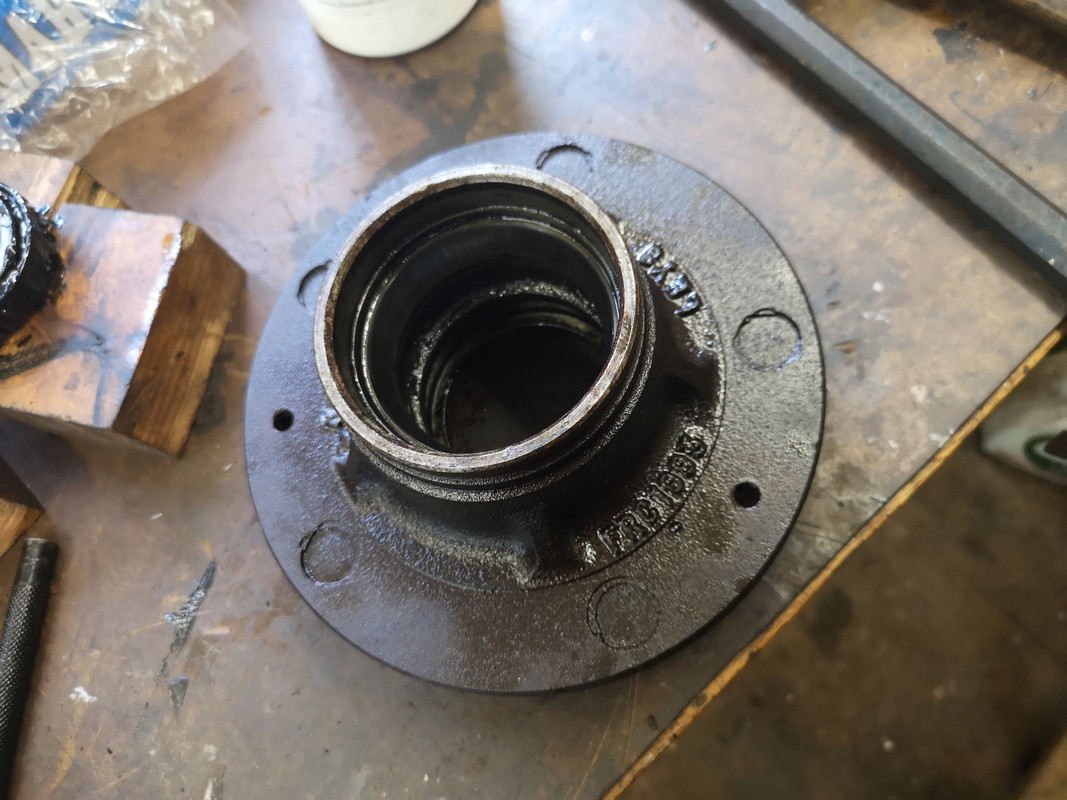
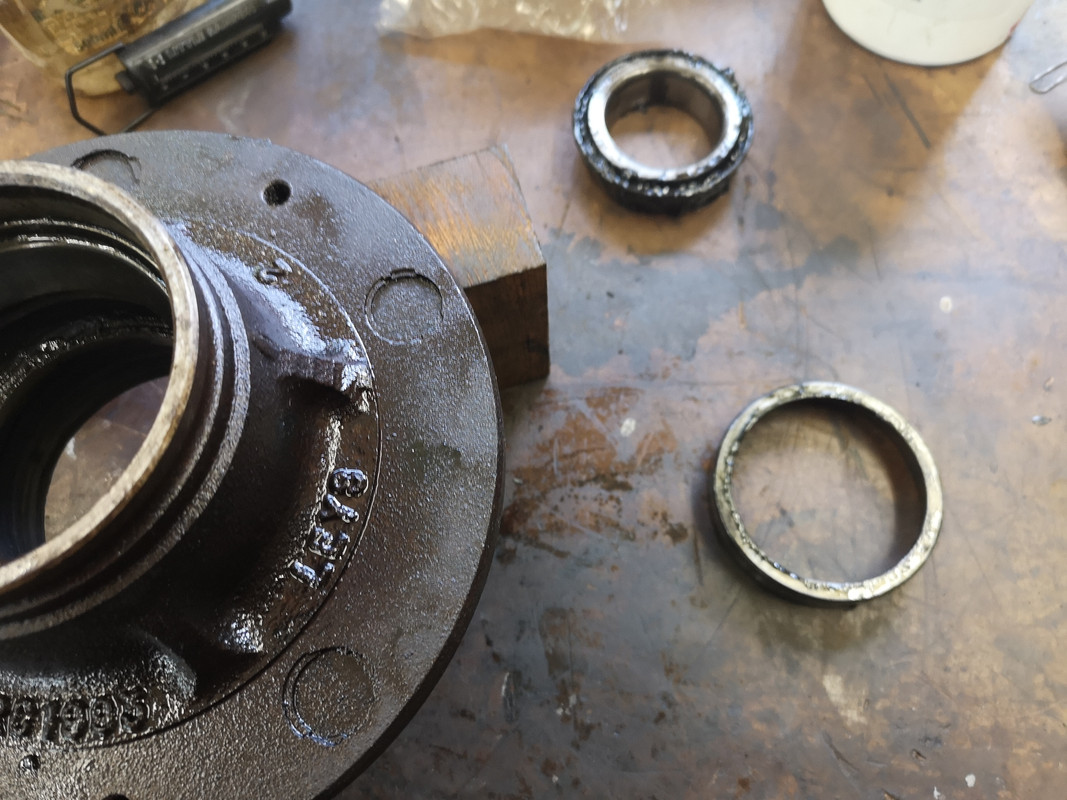
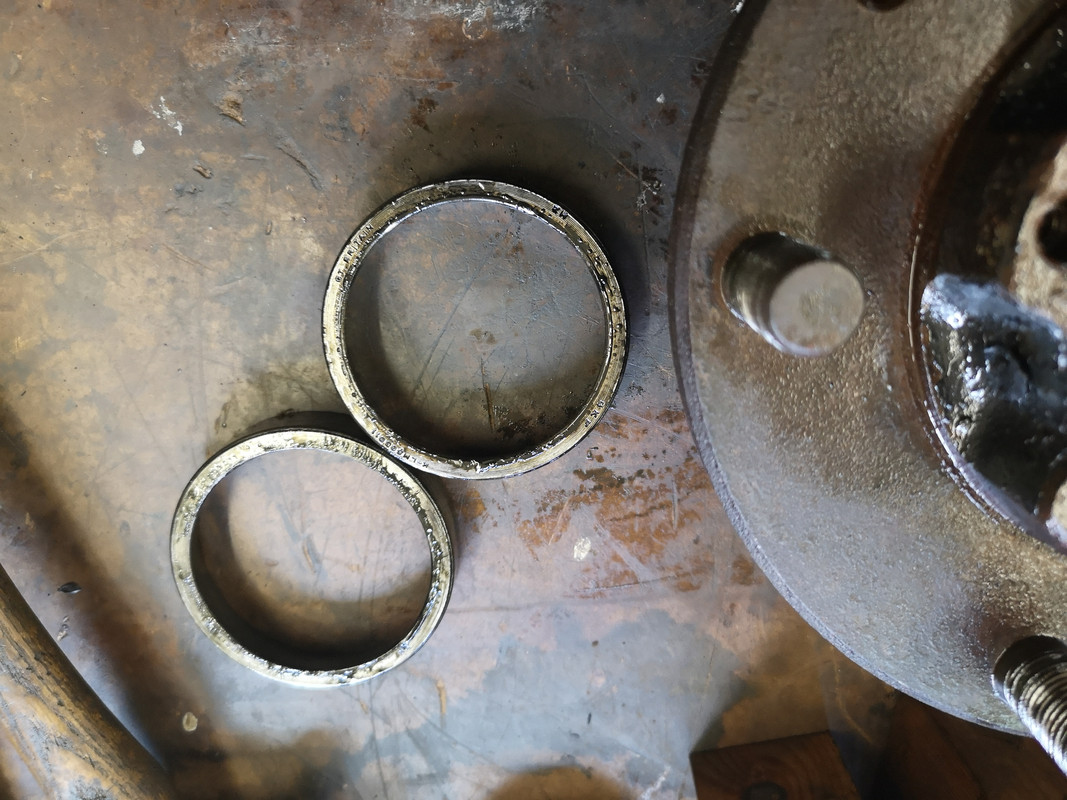
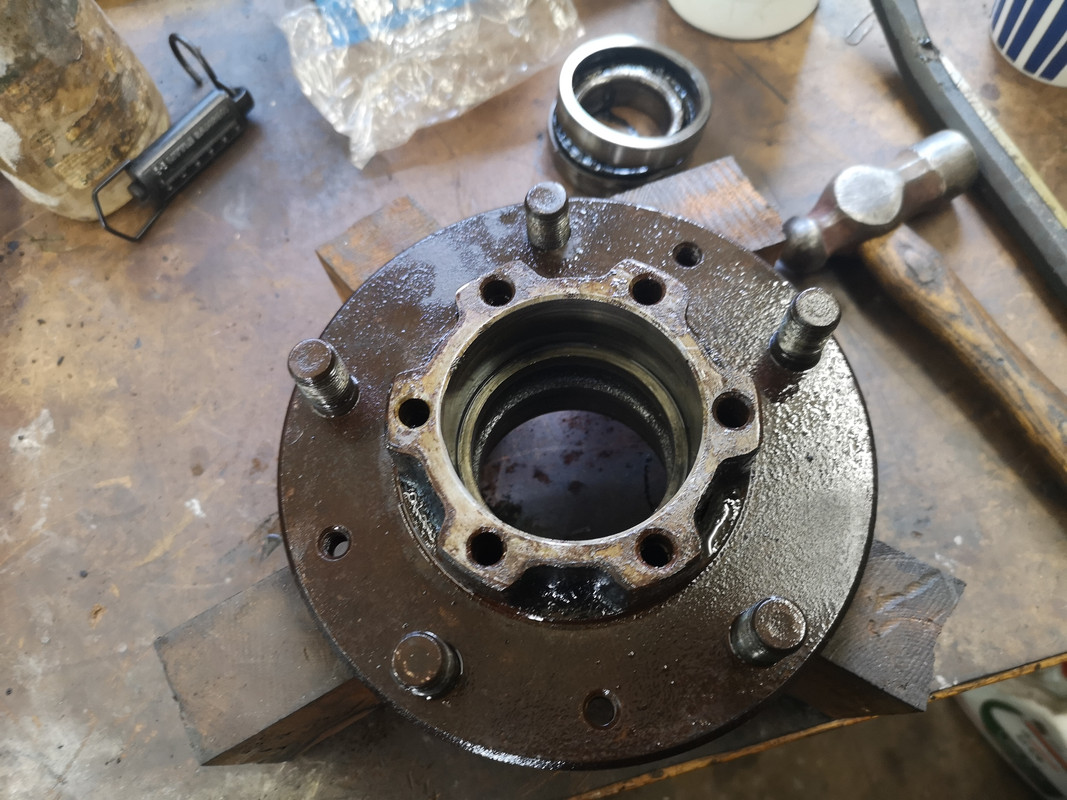
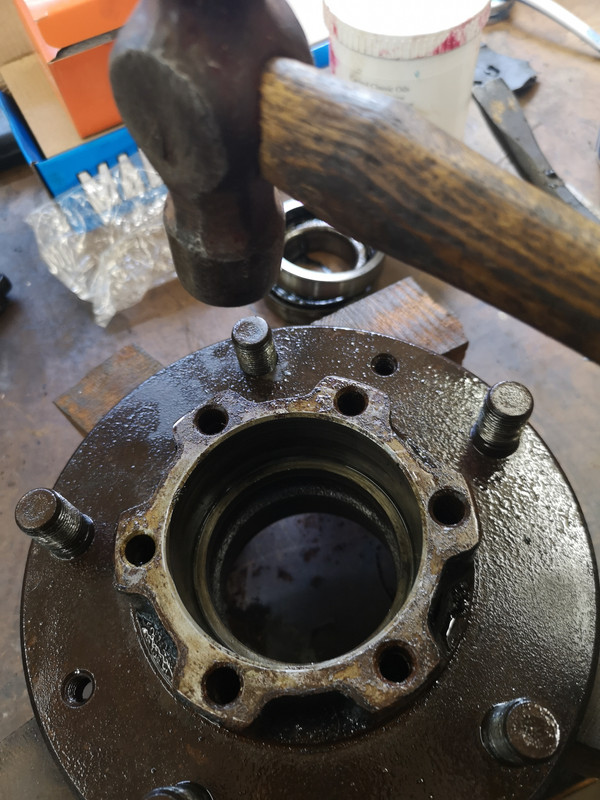
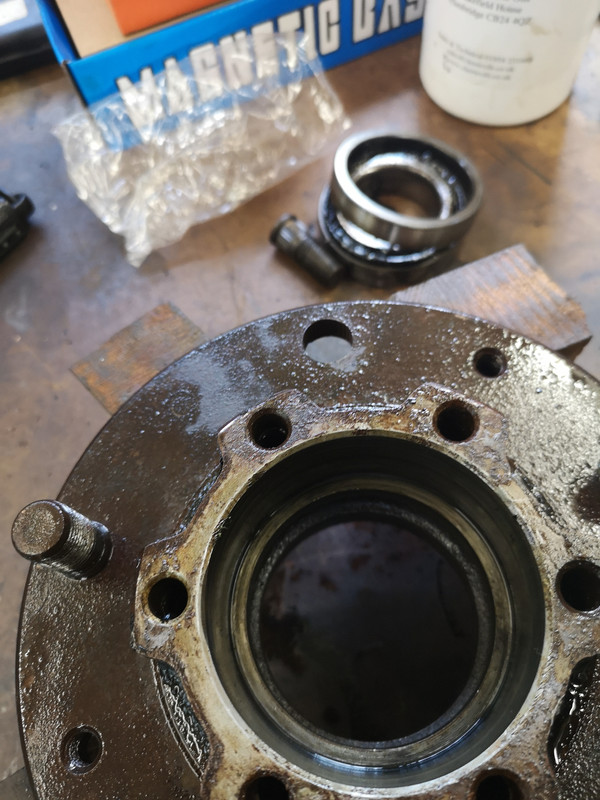
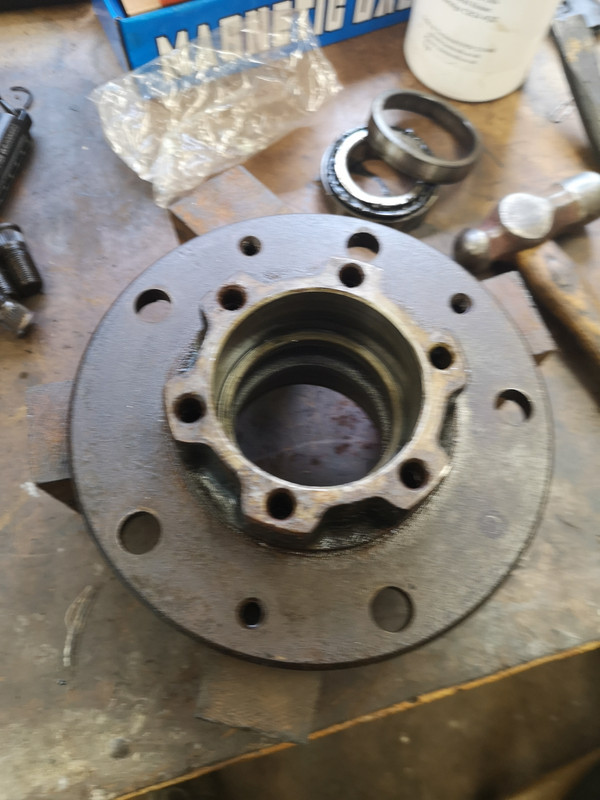
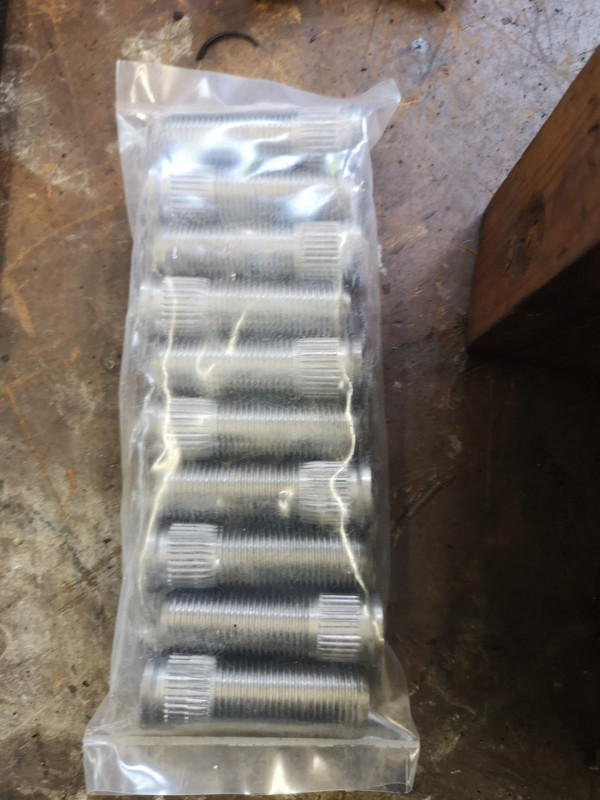
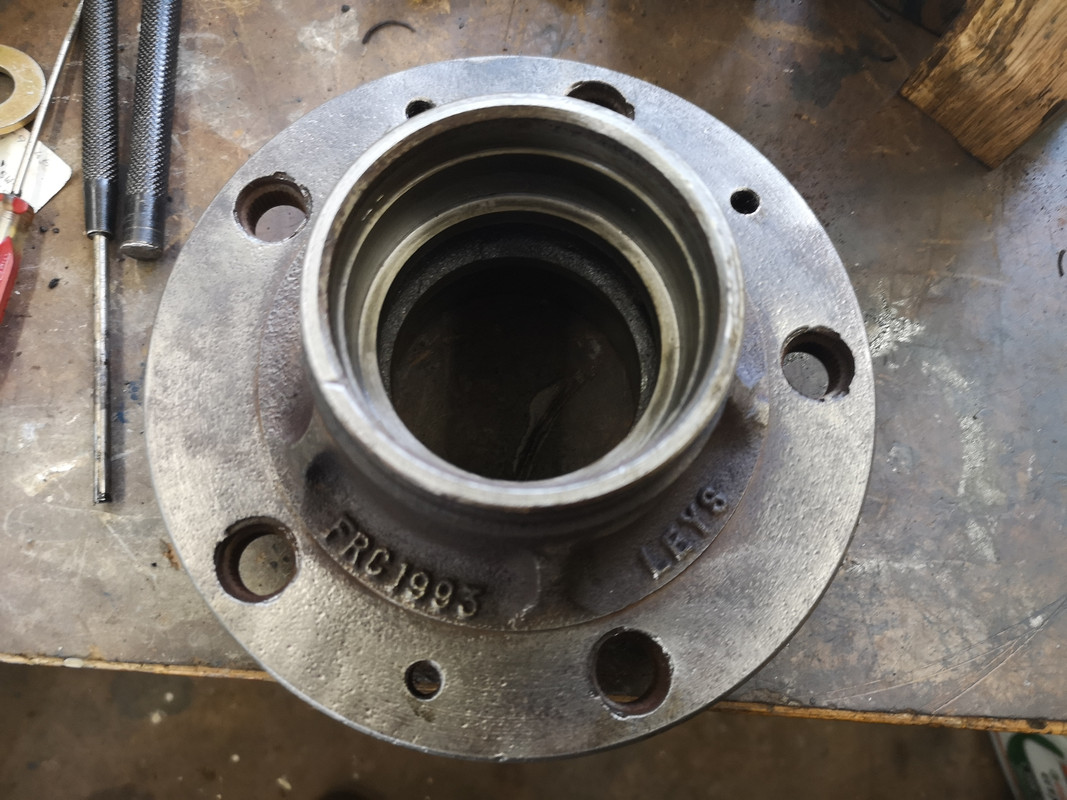
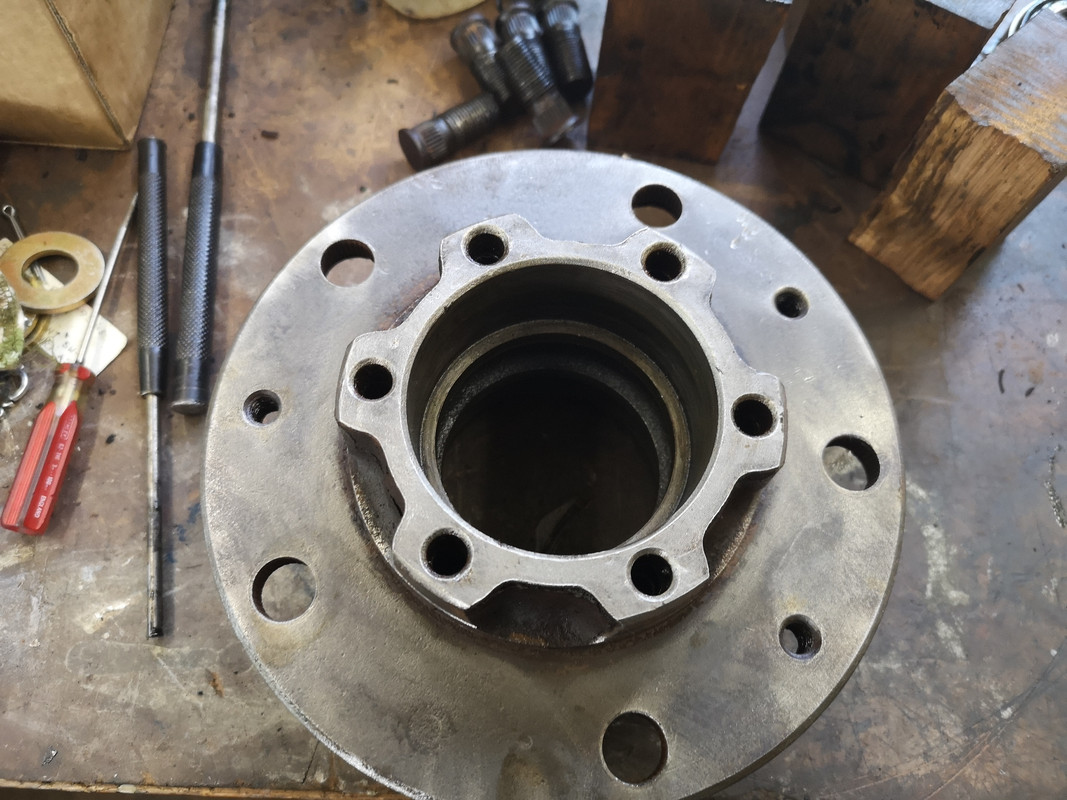
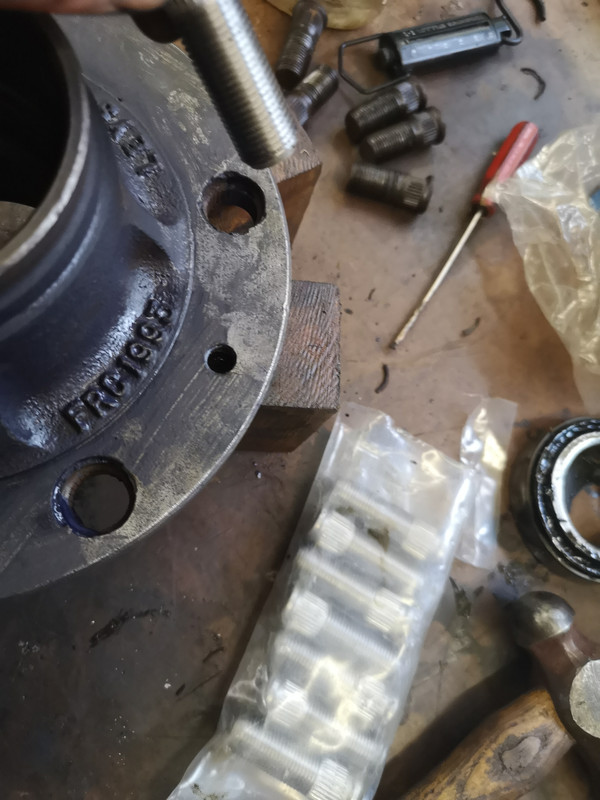
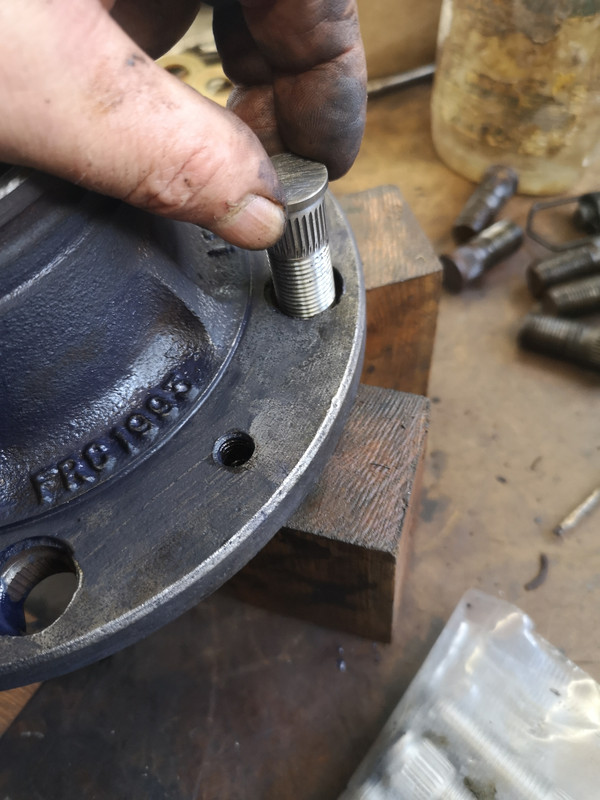
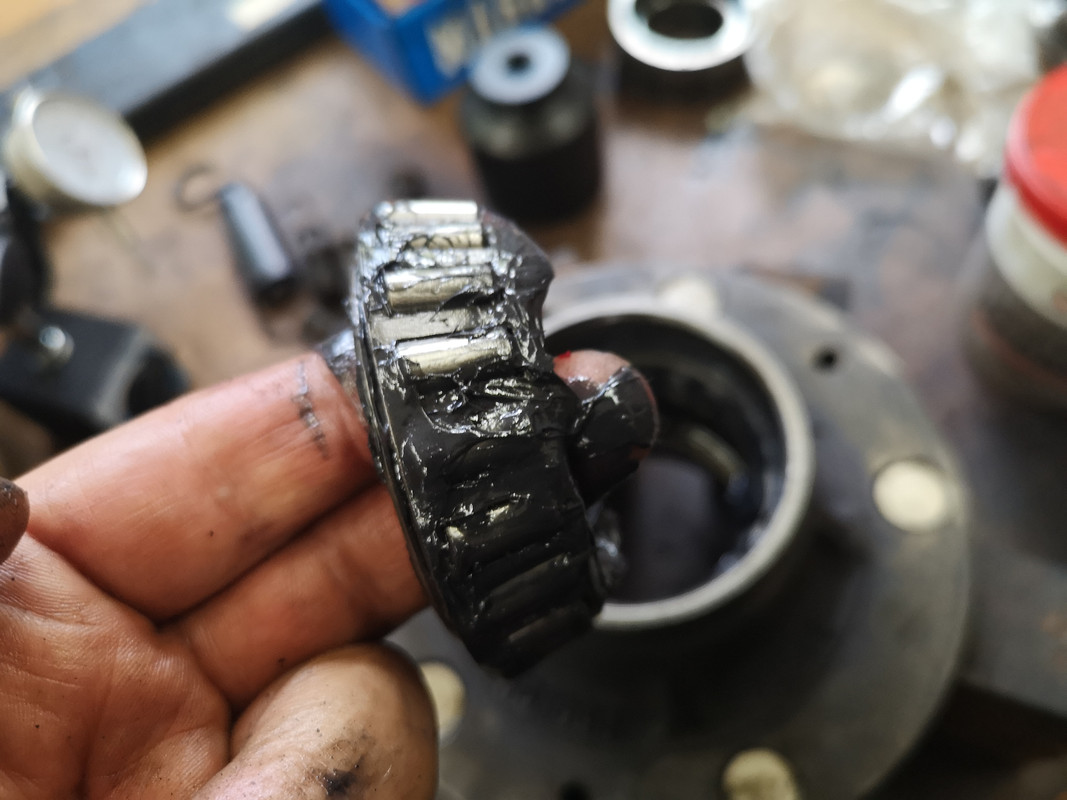
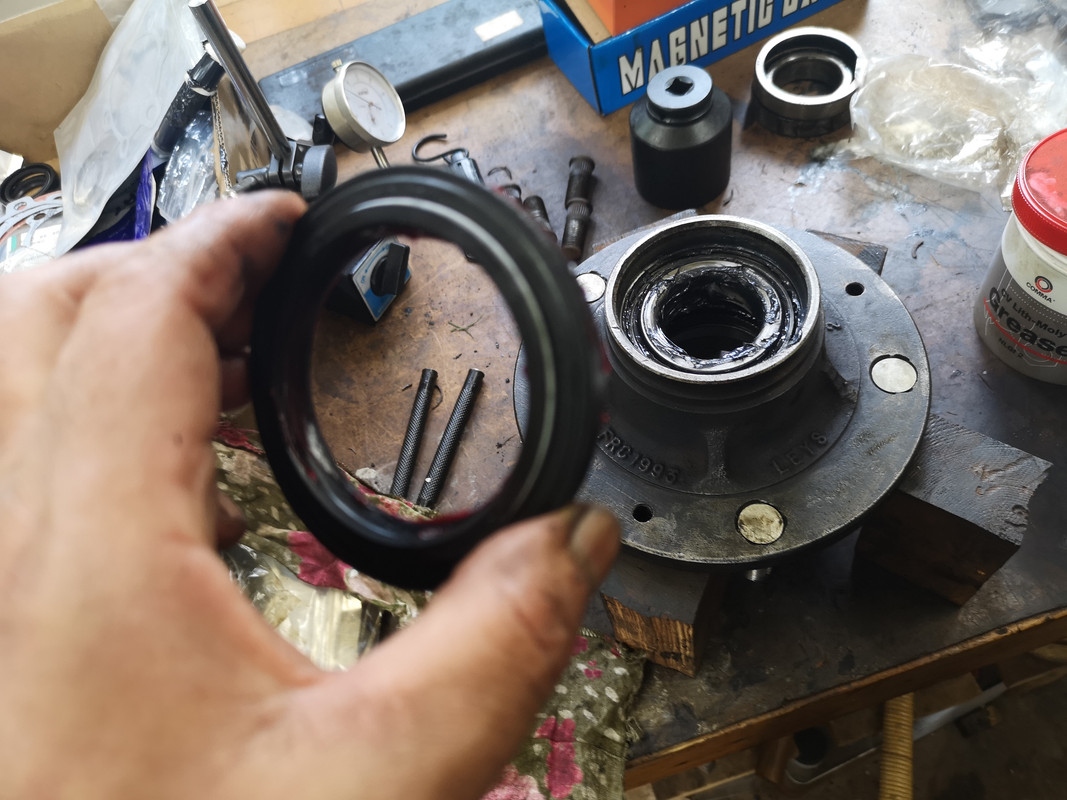
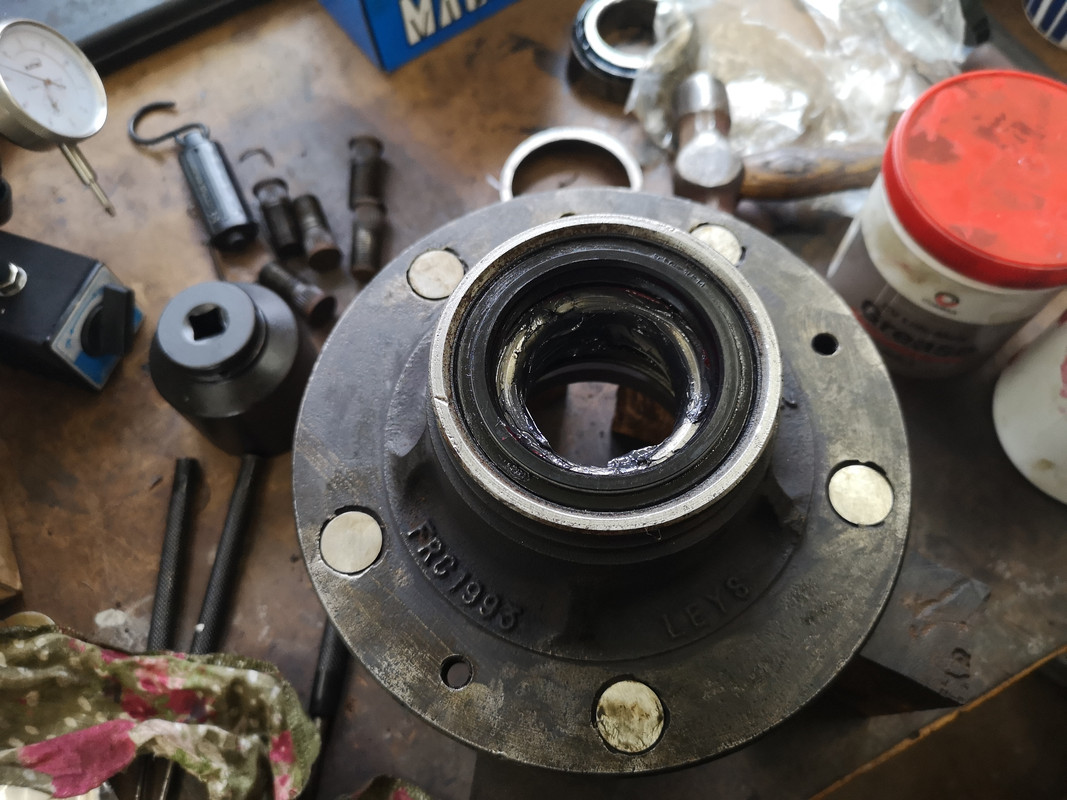
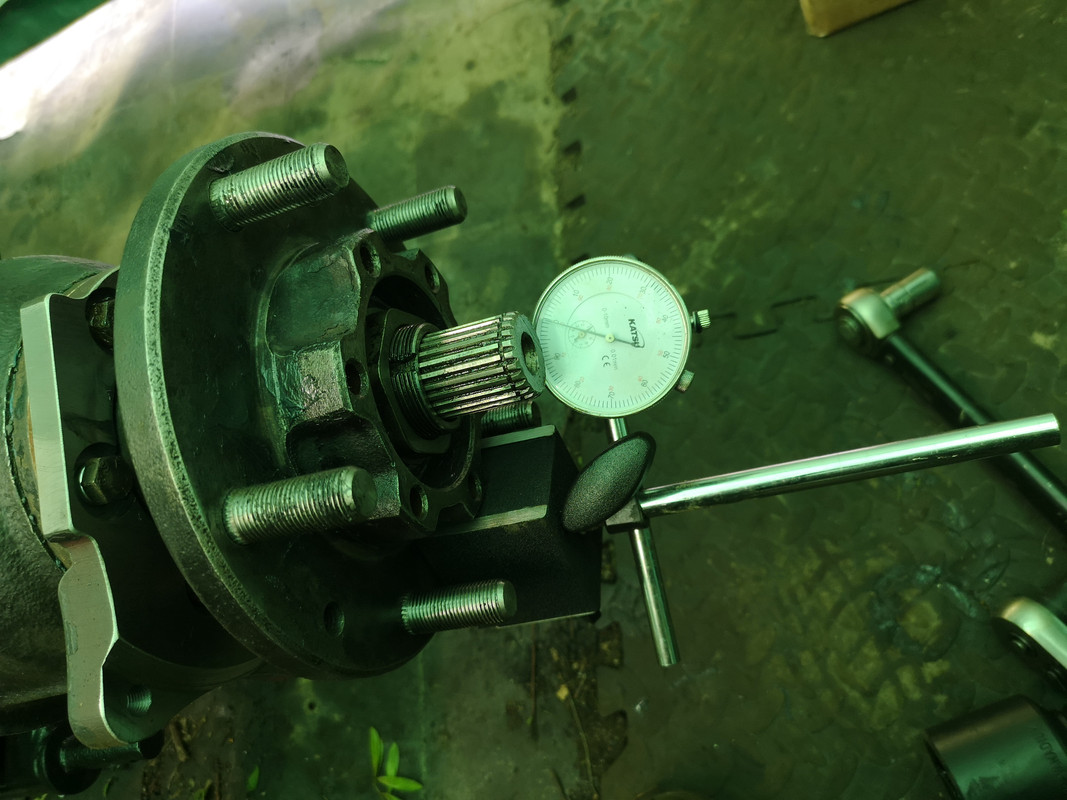
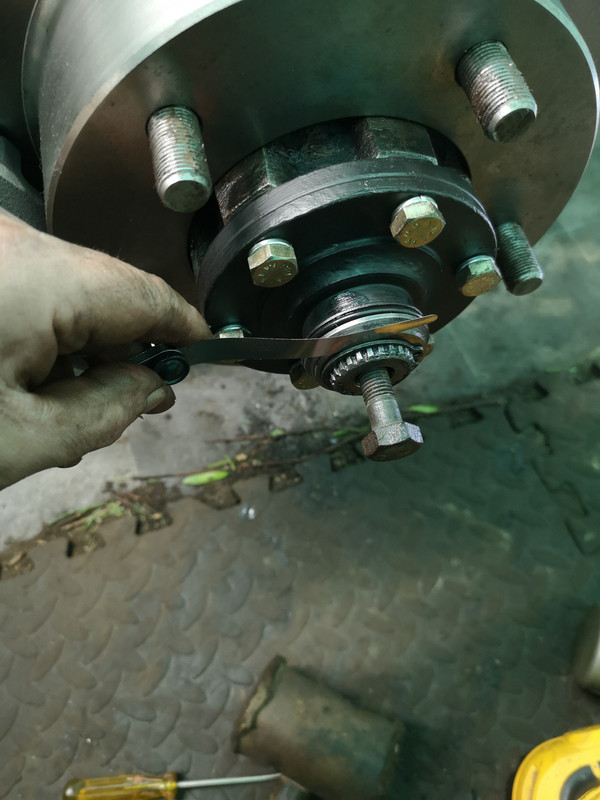
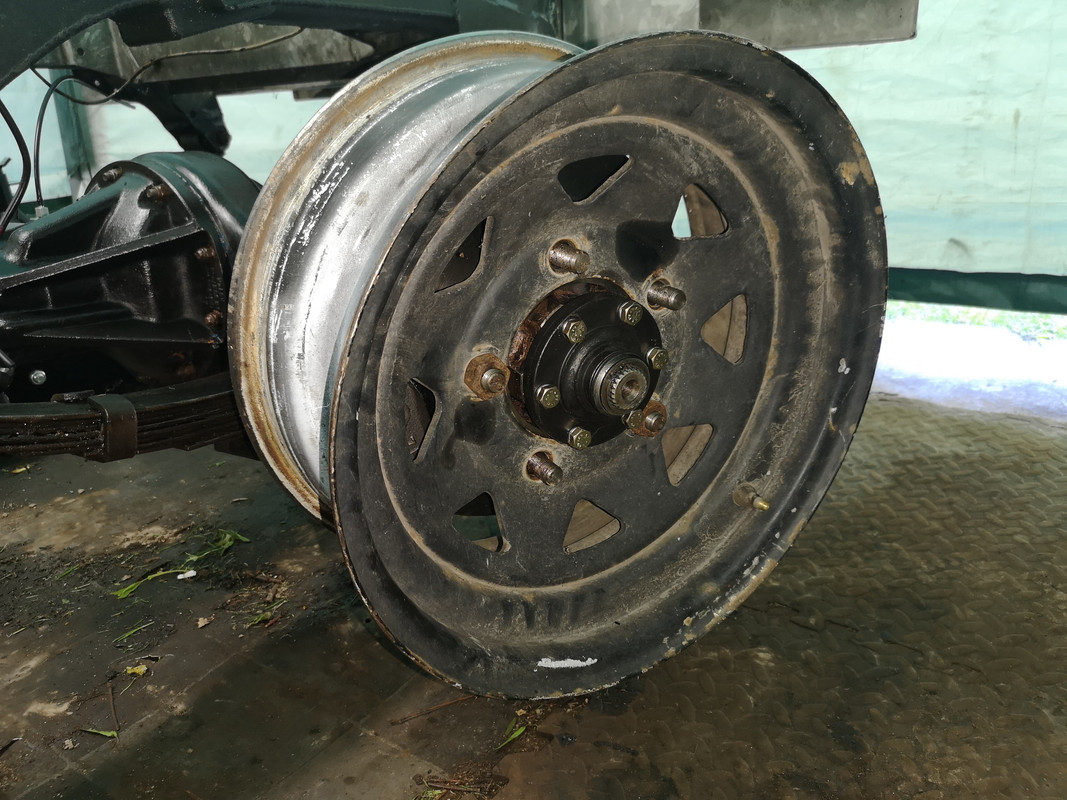
Next, it's hub rebuild.


 I'm too tired right now to think it through.


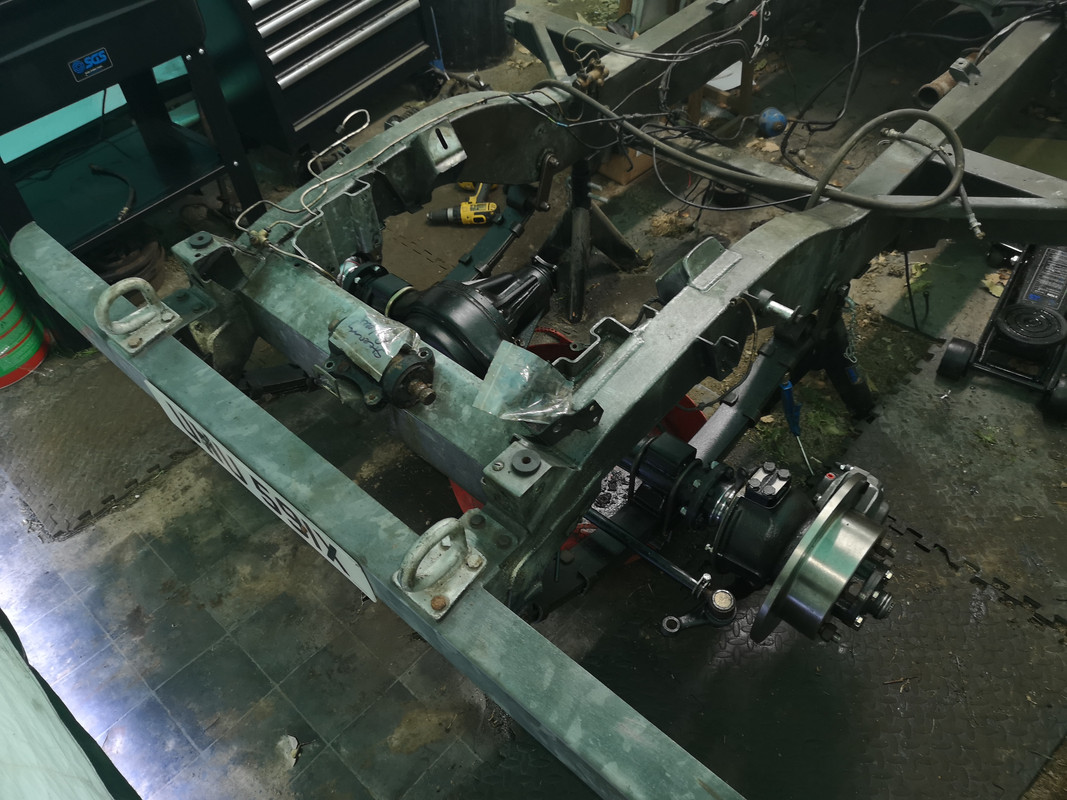


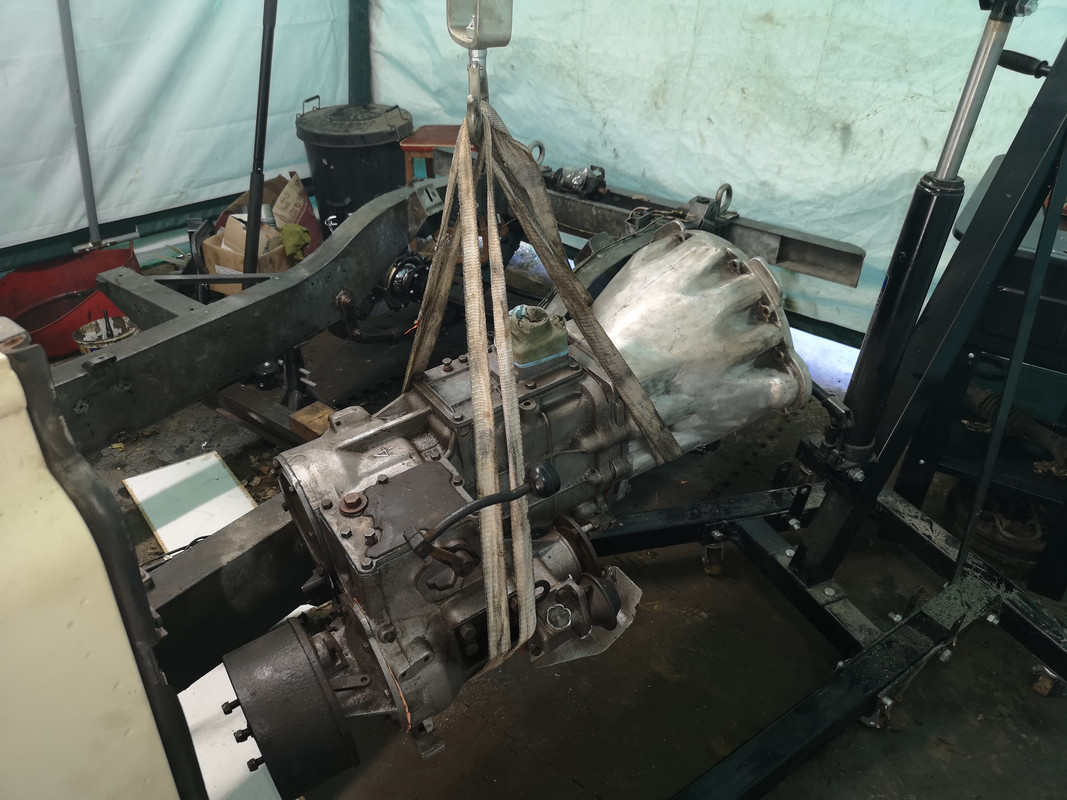


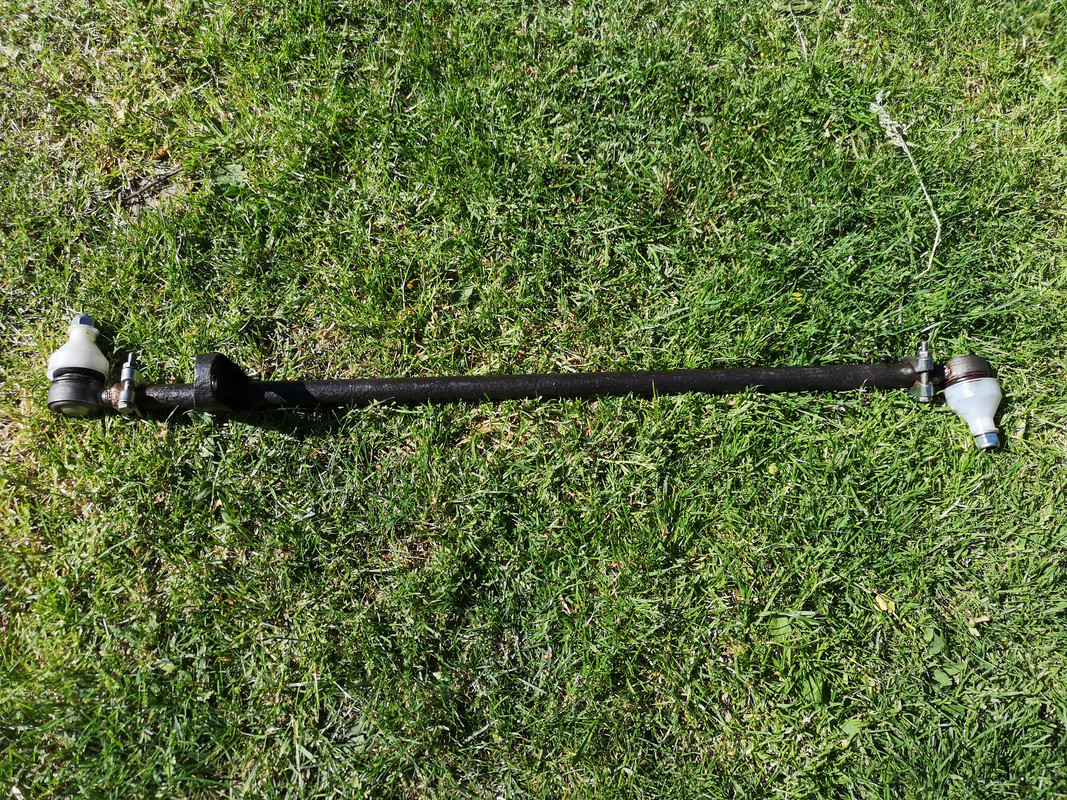
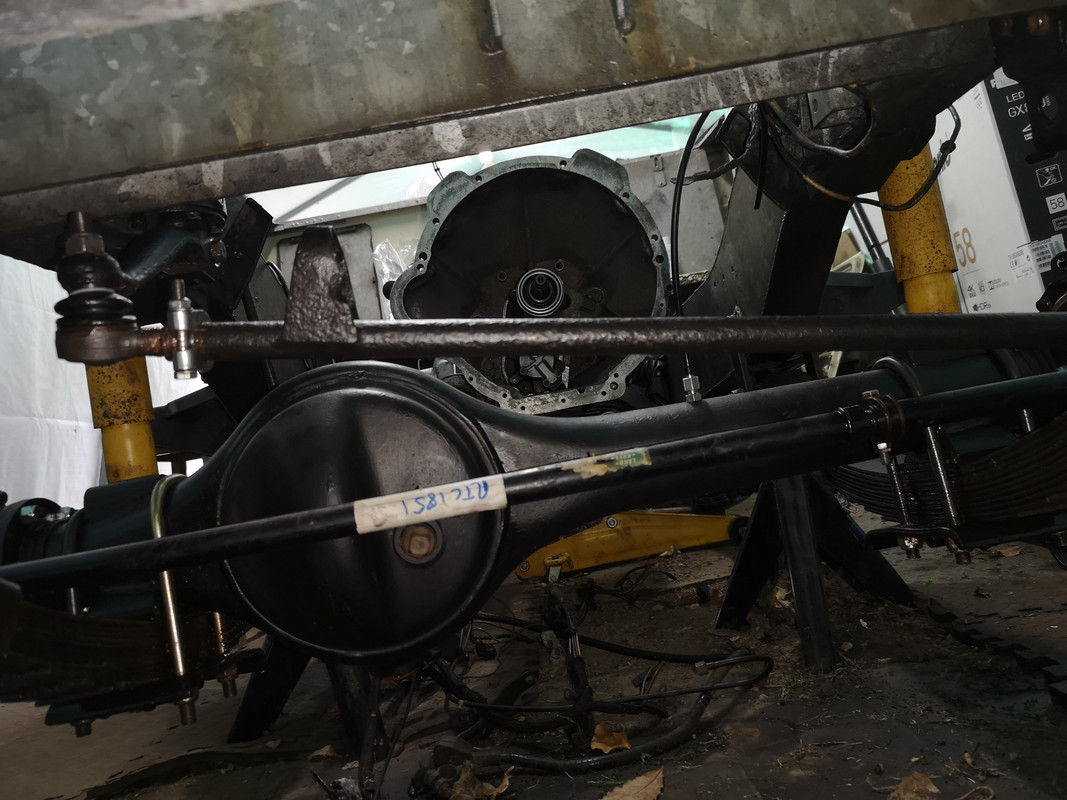
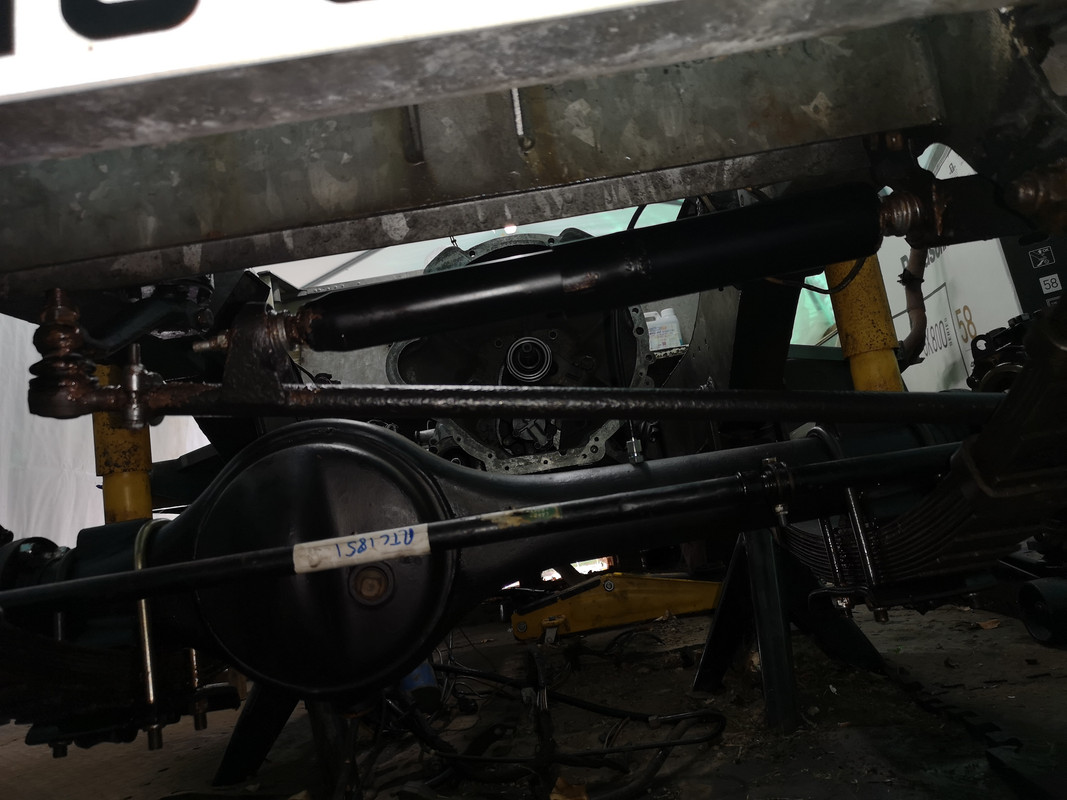
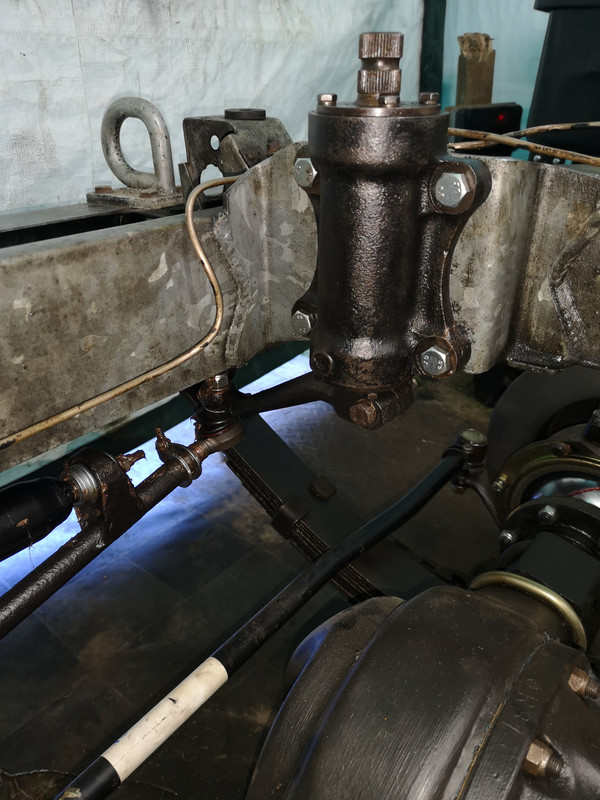
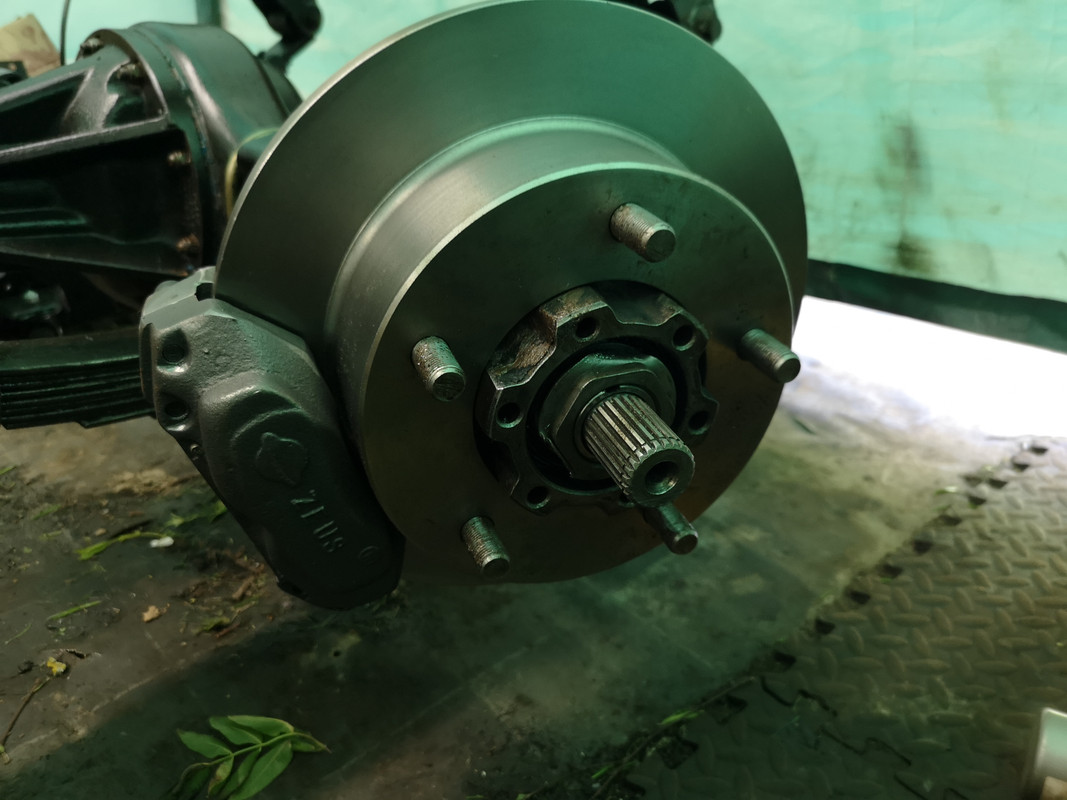
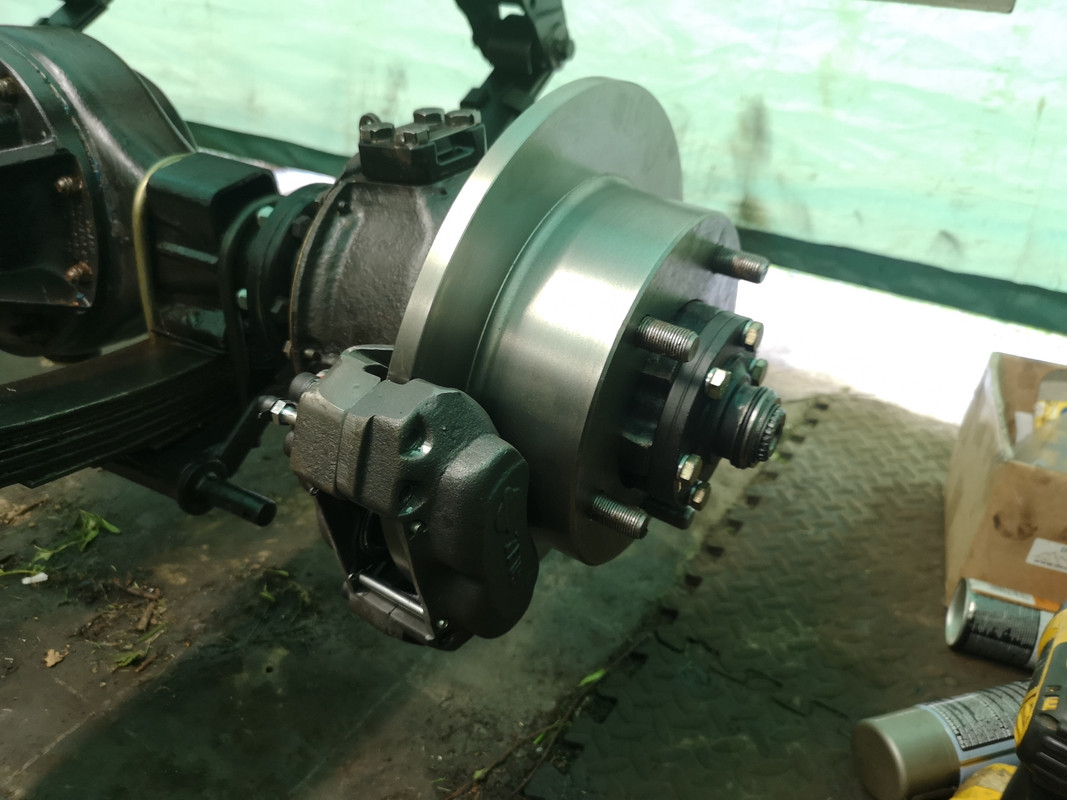
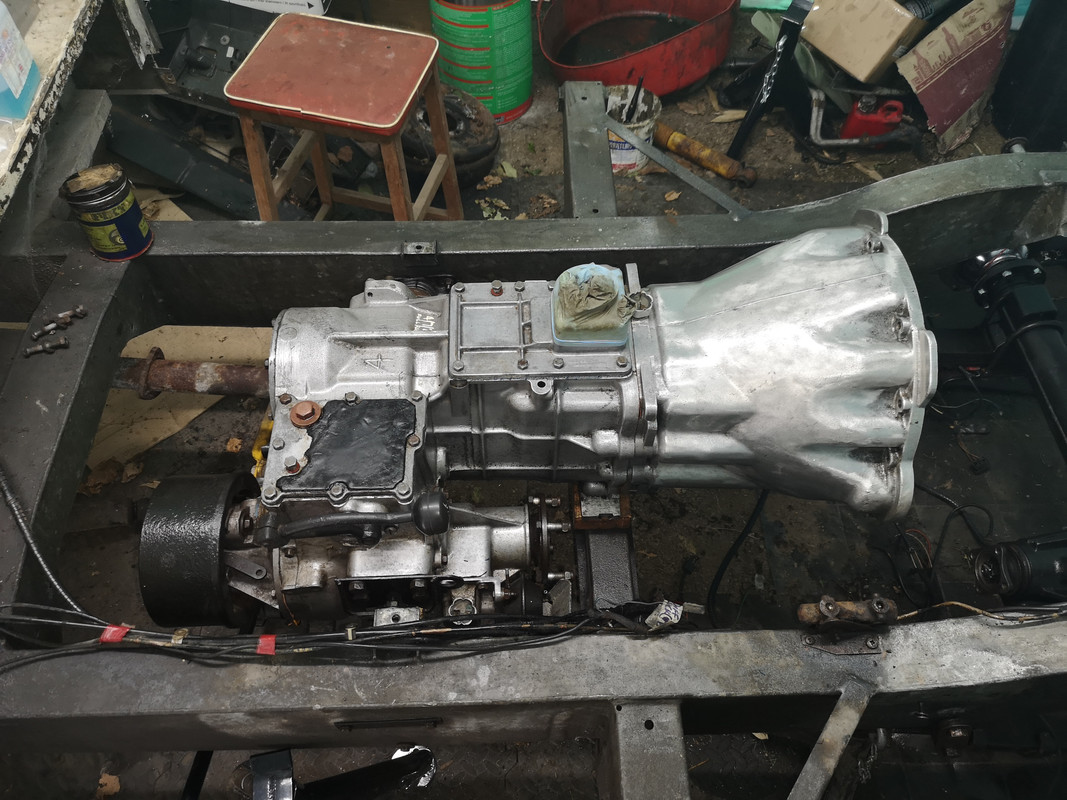
 finally in place and mounted (loosely) to chassis
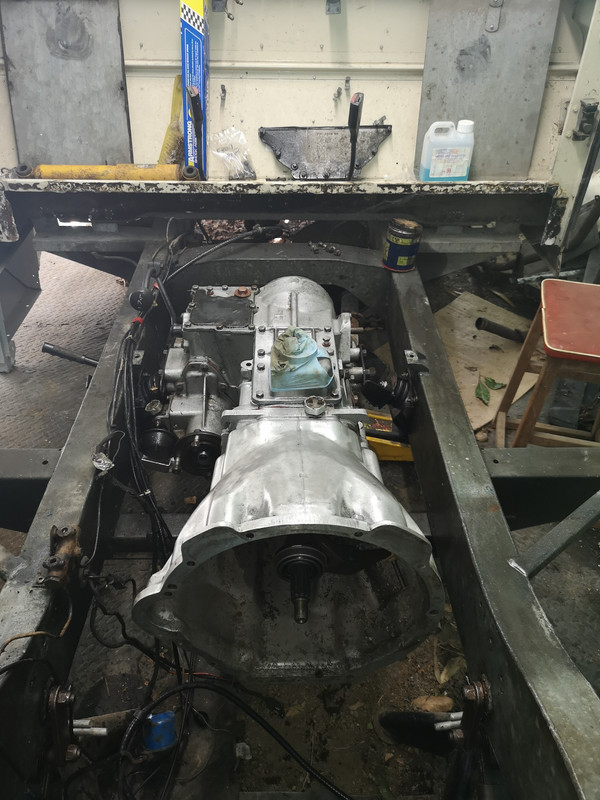

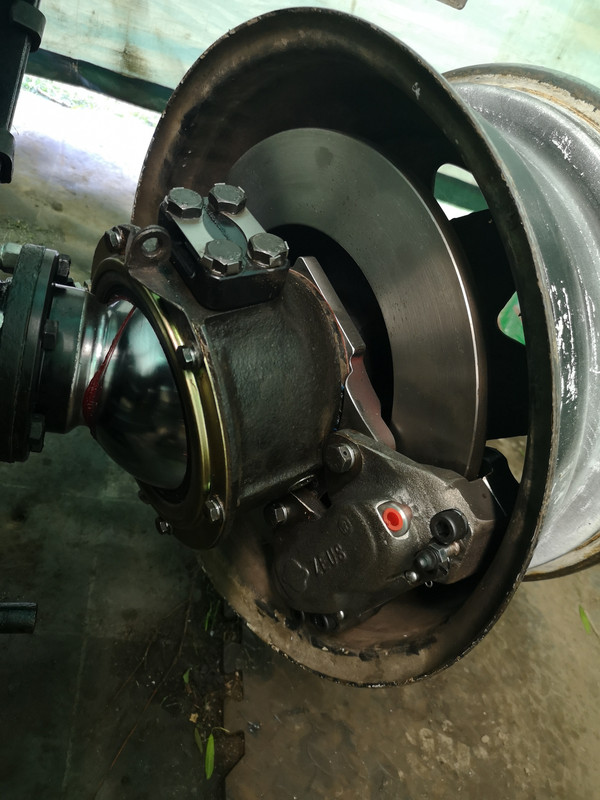
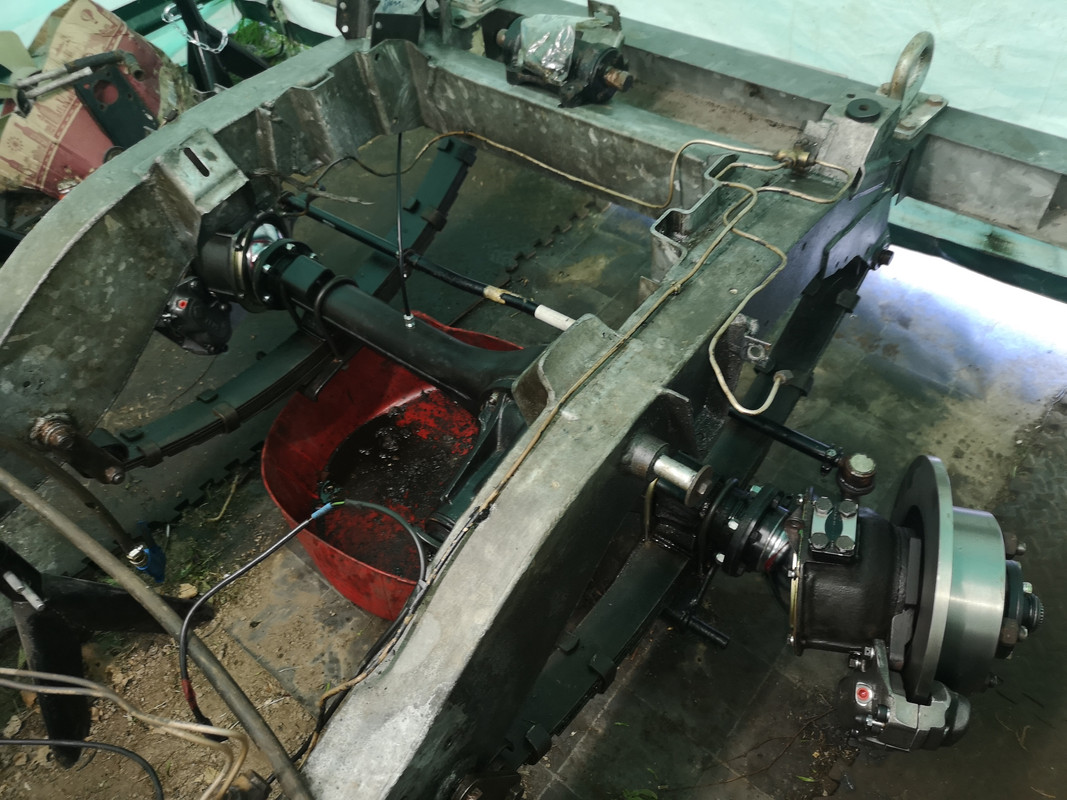
 Still, job done and another step nearer the finishing line. But now time for