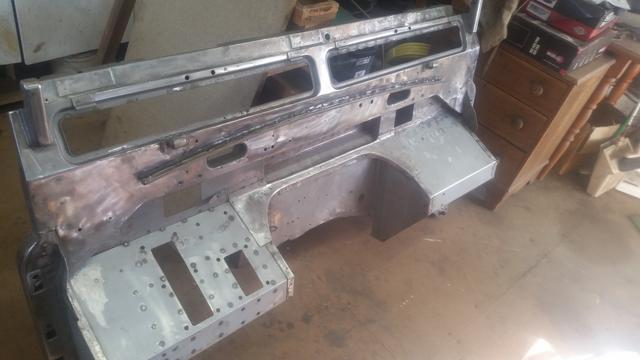
Back to the bulkhead then. Top corner first. The YRM panels are only £19 for the pair...
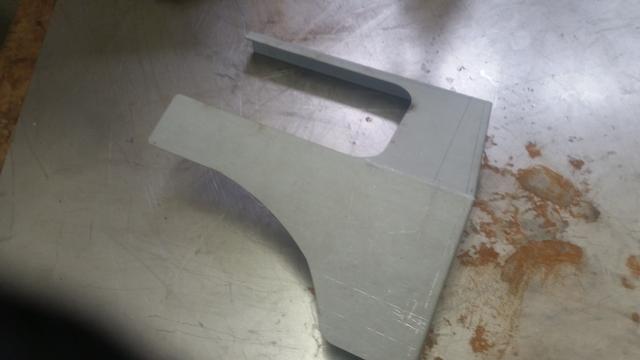
... so seemed pointless trying to make my own even though I only need a small section...
I cut the top corner piece and fettled to fit...
...then it was weldup and grind
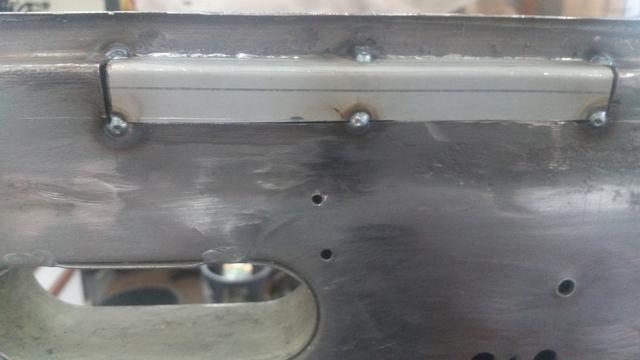
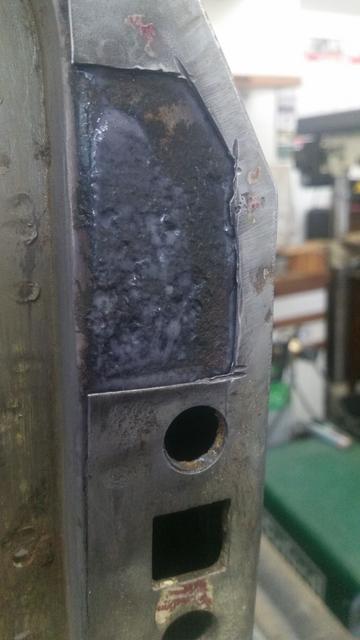
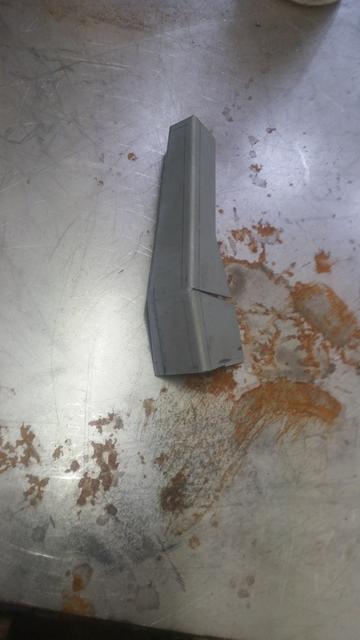
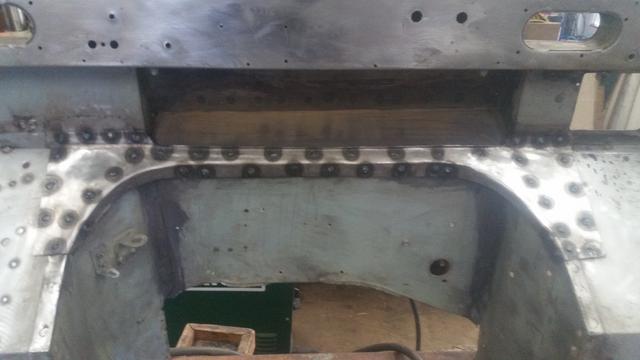
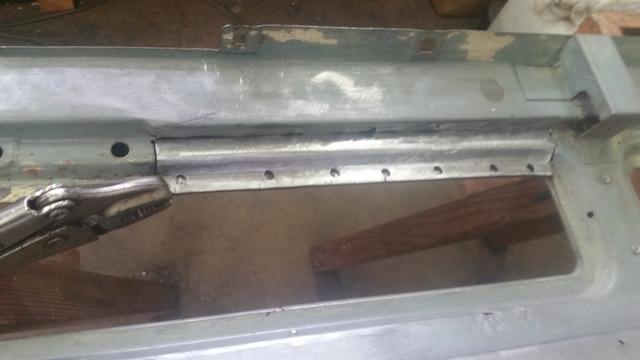
Next, time to fit that strengthening piece I'd made when I started. Drilled it for plug welding and checked for fit...
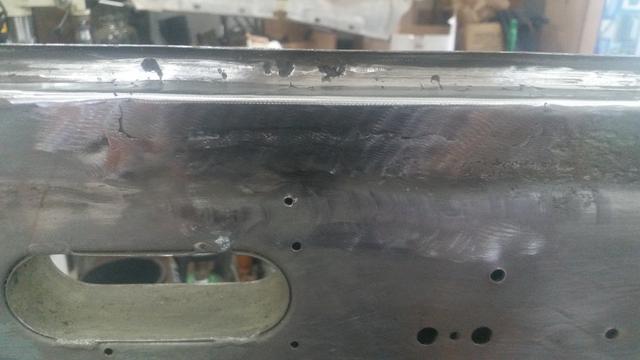
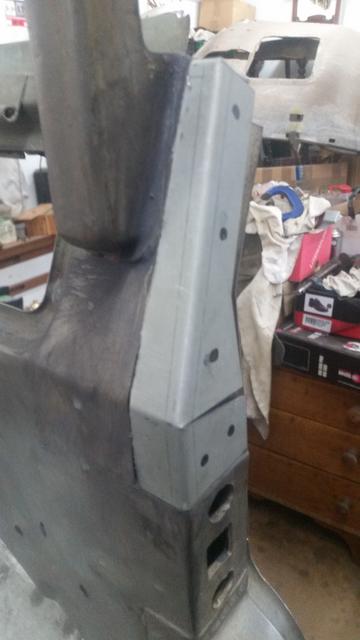
...then did the welding
...and then the cleanup
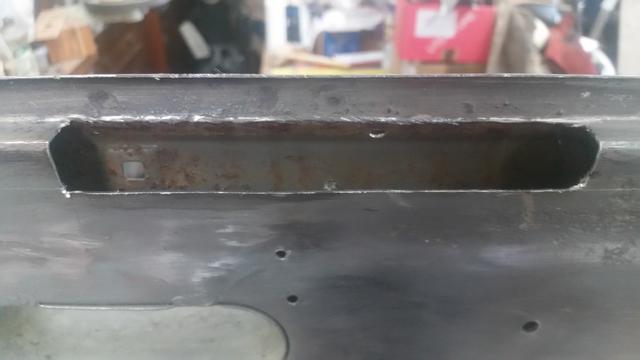
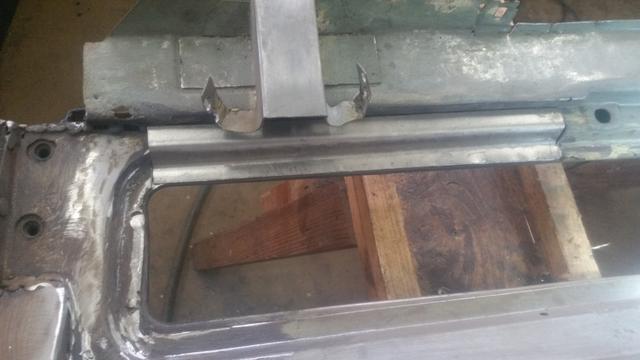
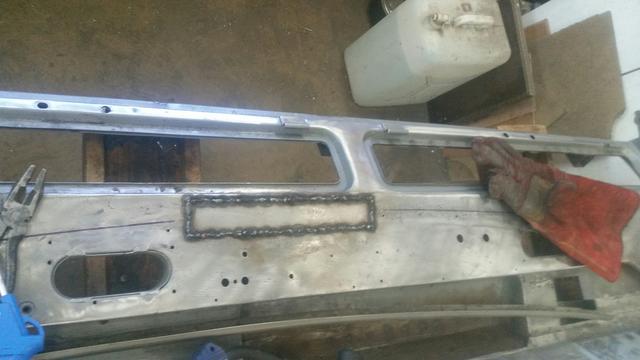
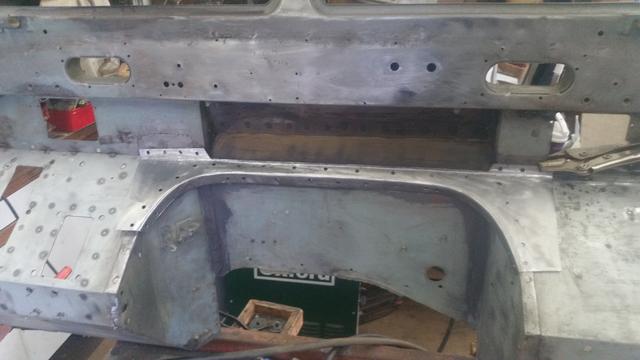
Next job, the rusty vent surround. First off, the top rail was a bit out of shape and dented in places. There's damage including old grinder and hammer marks. God only knows what whoever did that thought they were doing. I spent a bit of time with hammer and dolly and put it right.
Started with this section
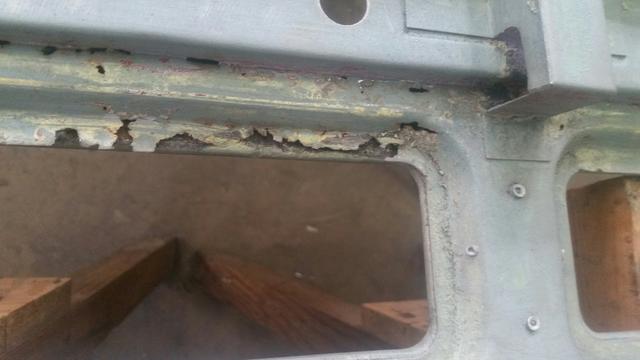
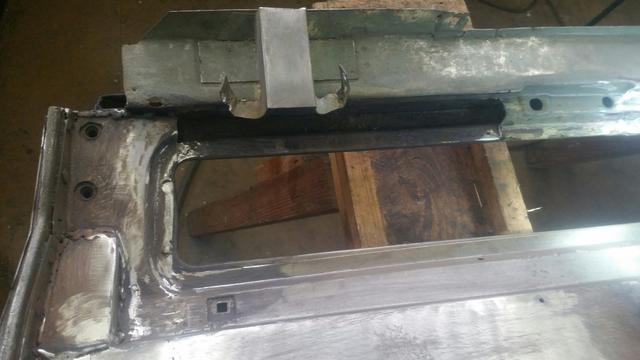
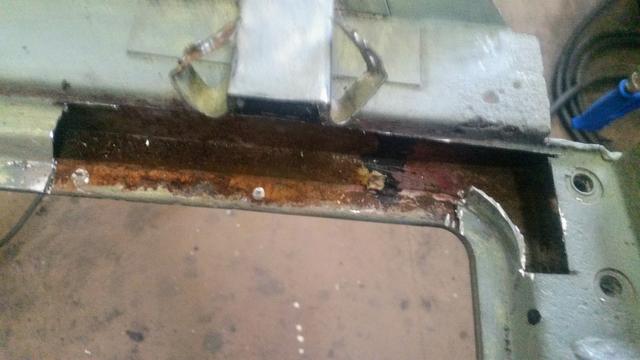
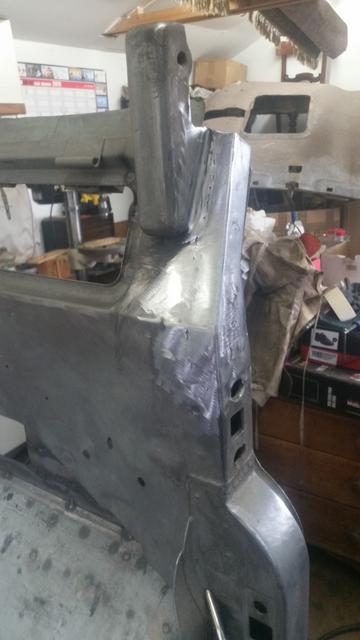
I decided to take out the rotted sections and replace with new steel. I did consider trying to source a replacement top rail but that would probably risk more than I gain, the rot is localised and so should be easy enough to deal with in sections, so out with section one

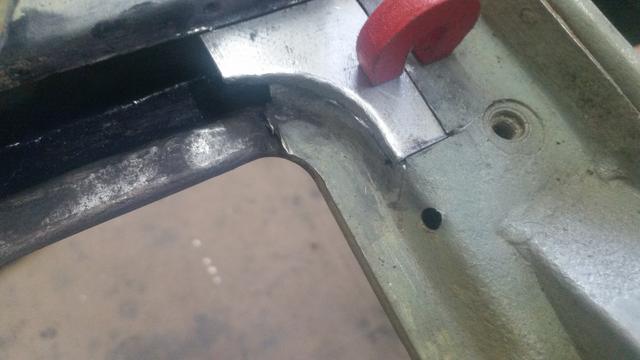
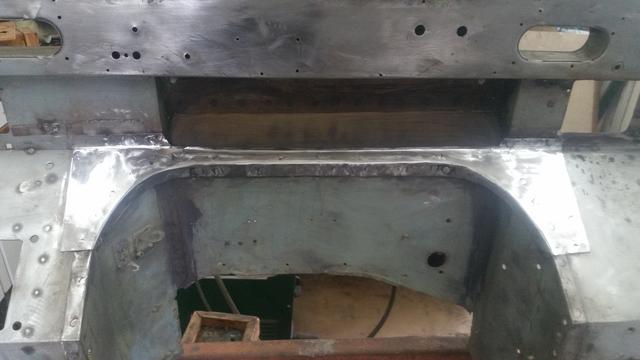
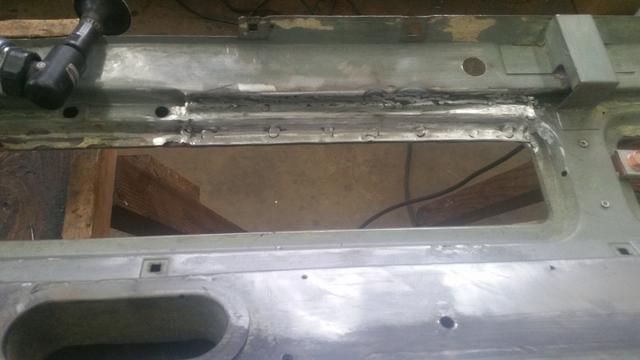
I then made up a replacement section...
...and welded n place
So on it goes, nearly there now.