Page 1 of 1
Restauration Pictures Update 13/05/2011
Posted: Wed Mar 23, 2011 8:05 pm
by Chris_G
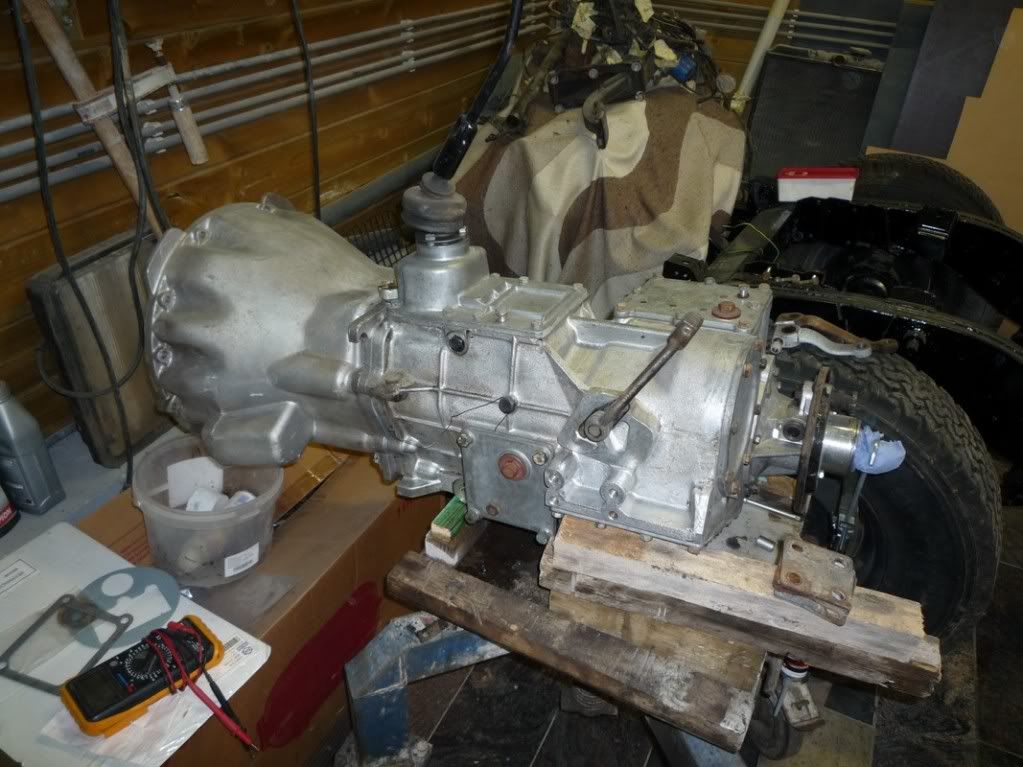
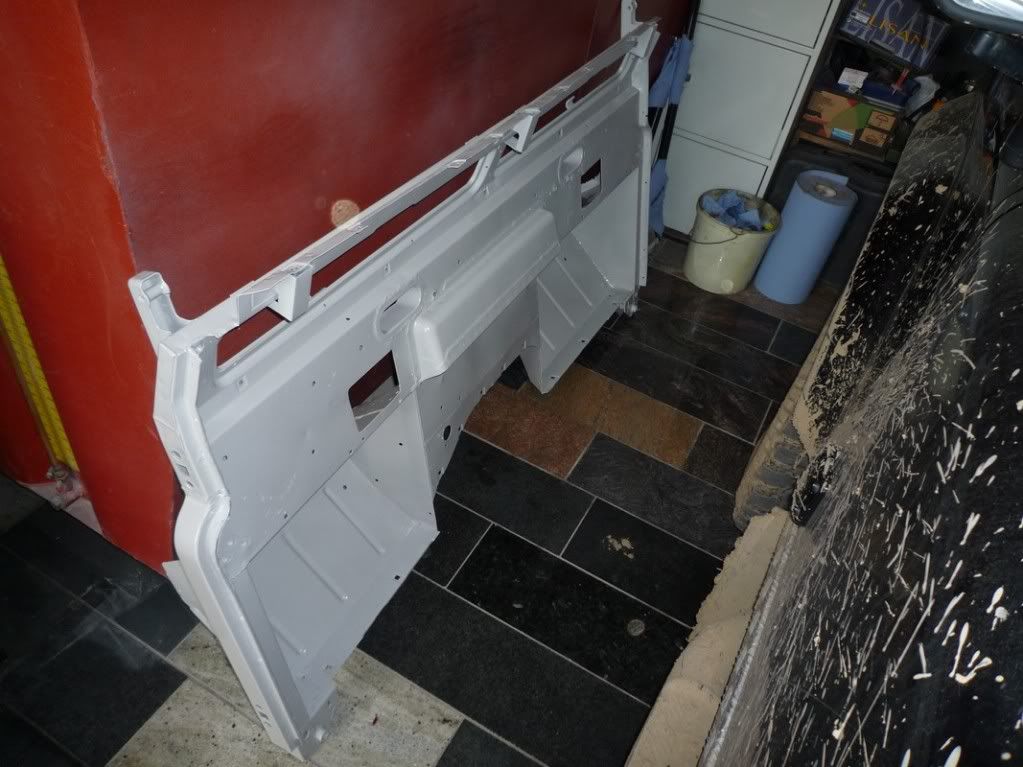
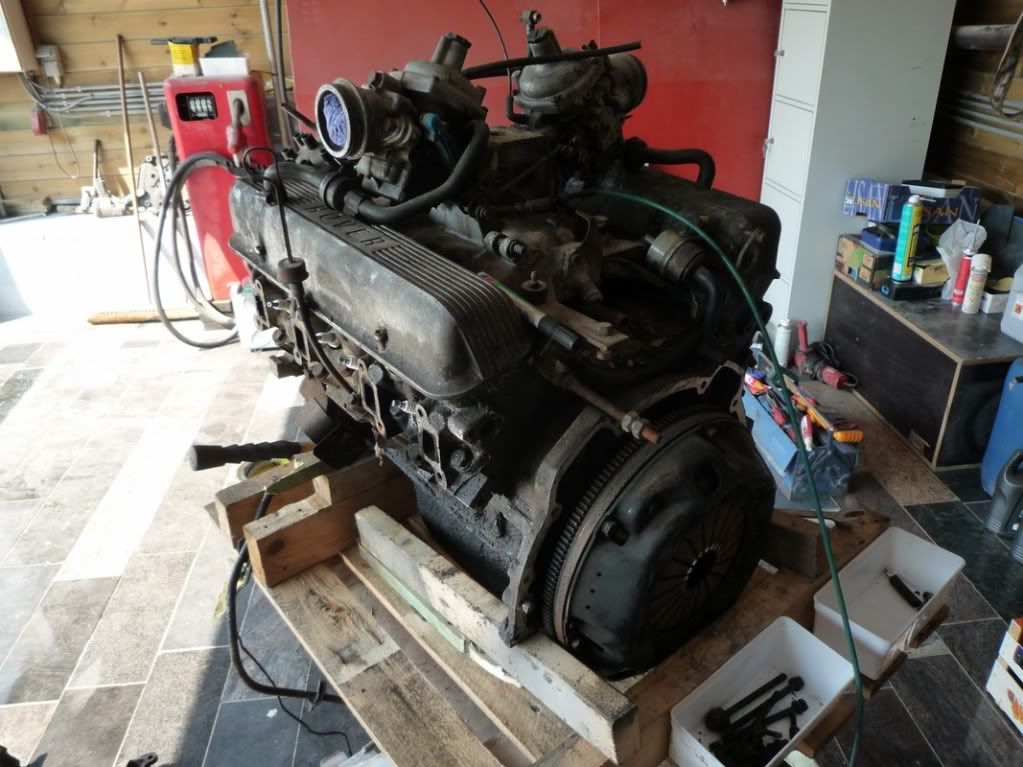
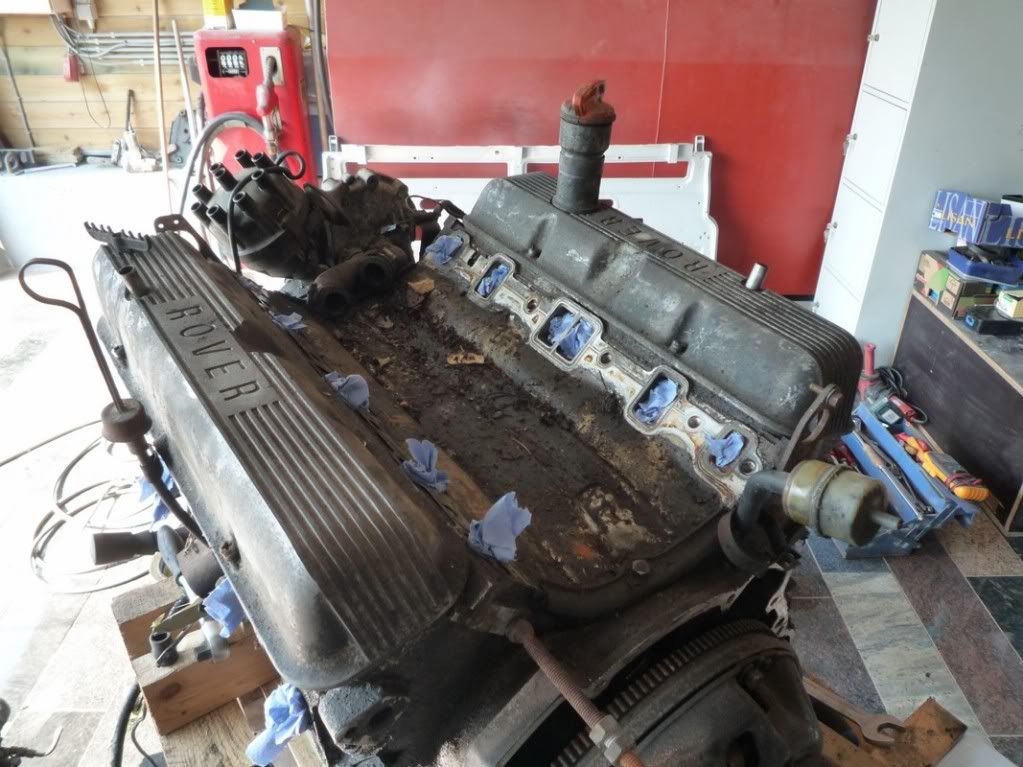
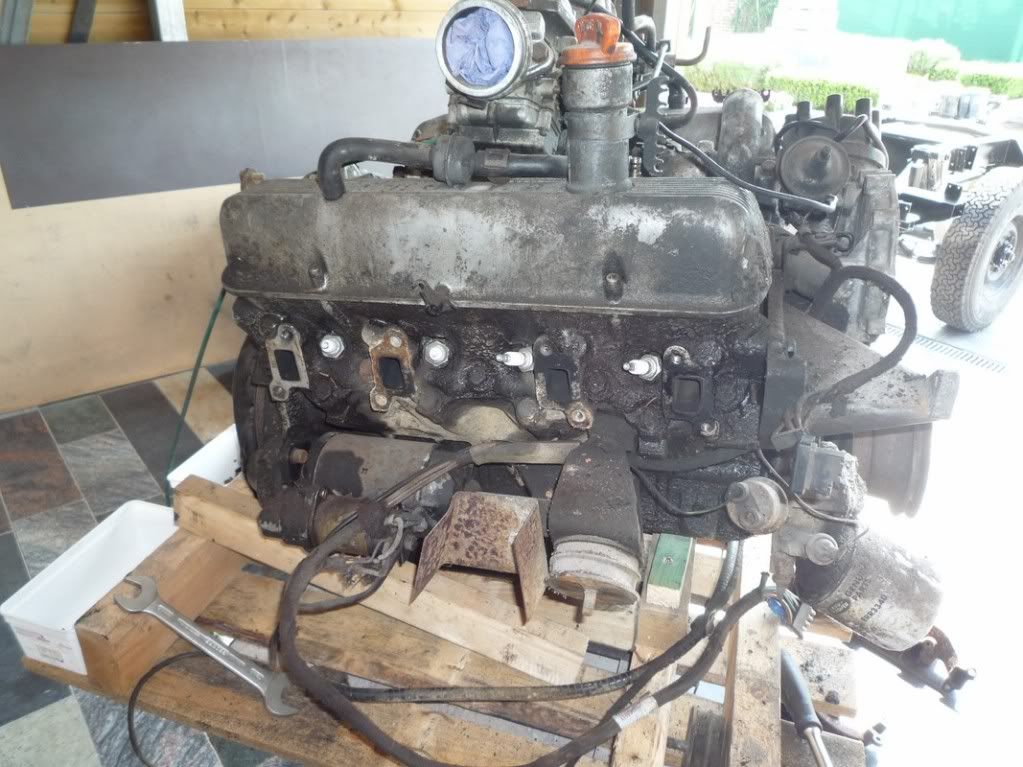
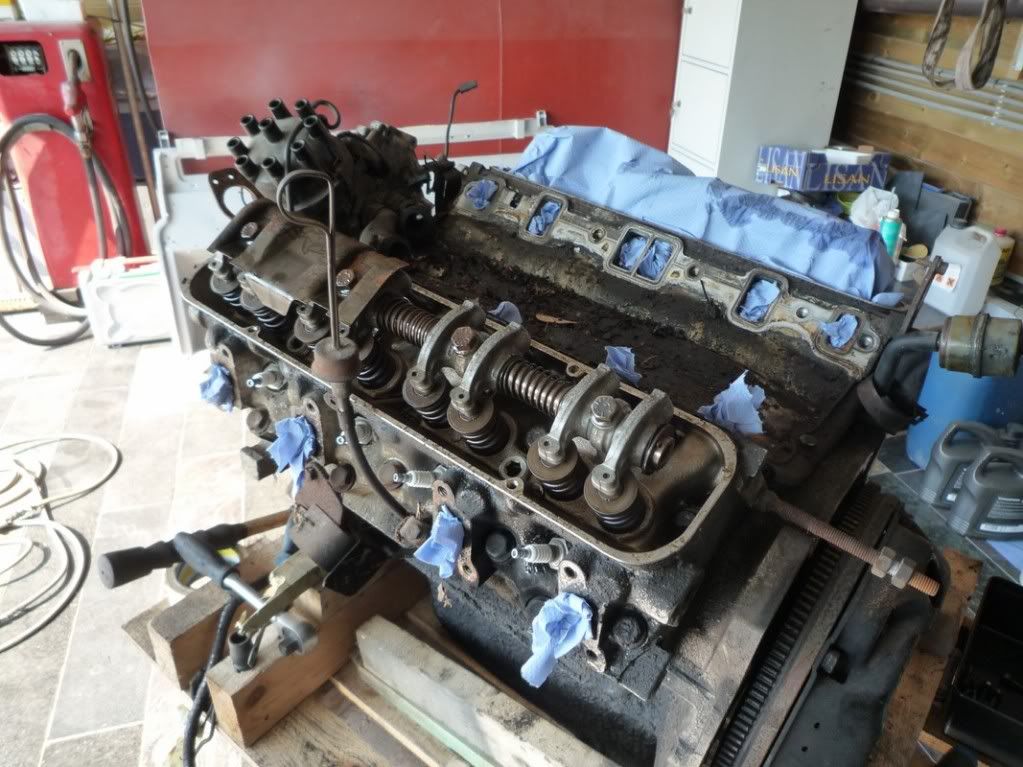
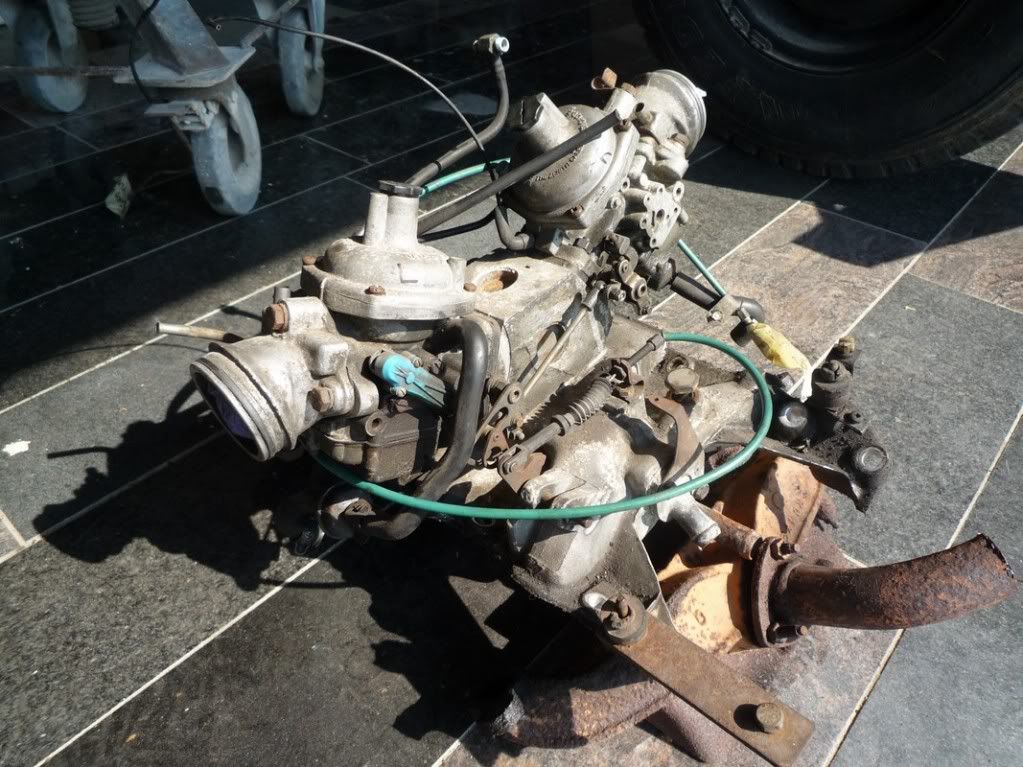
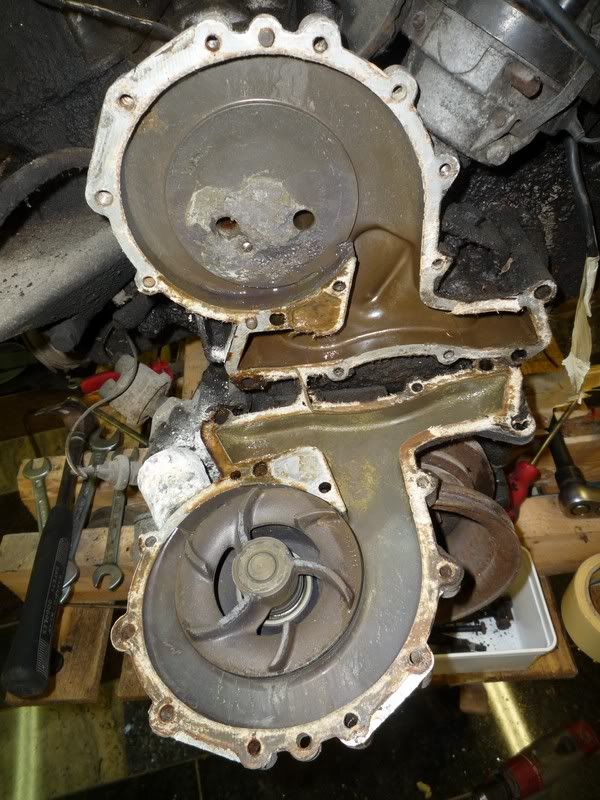
Hi guys, just posting some pics of my Stage One project I started last year in Octobre.
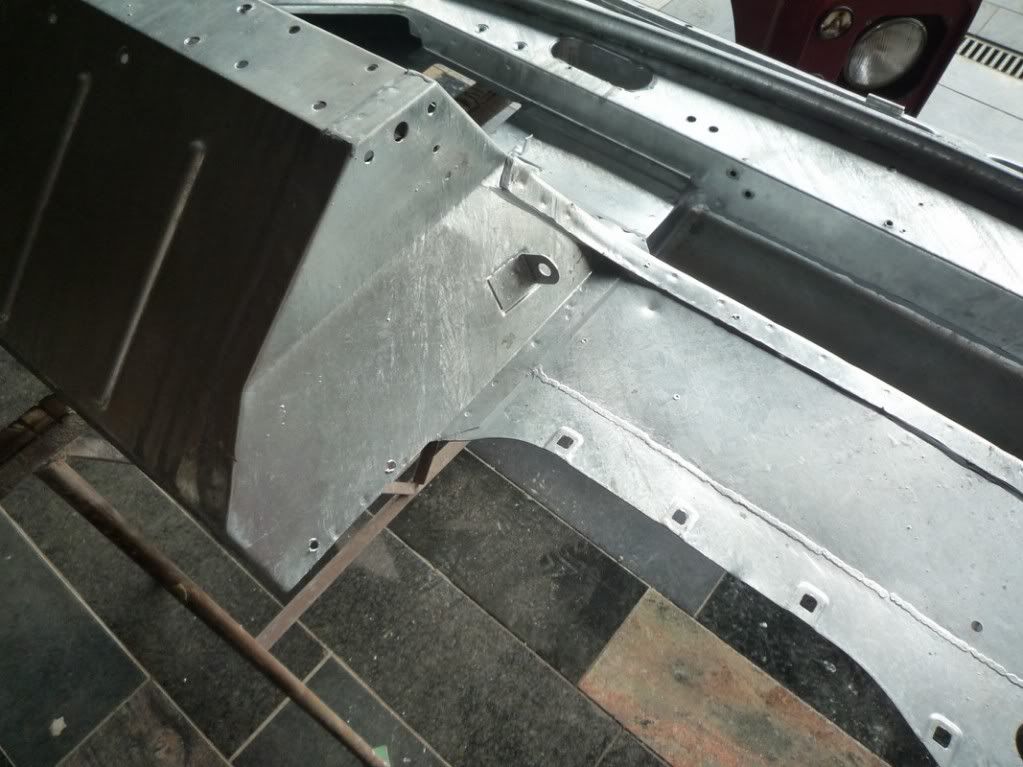
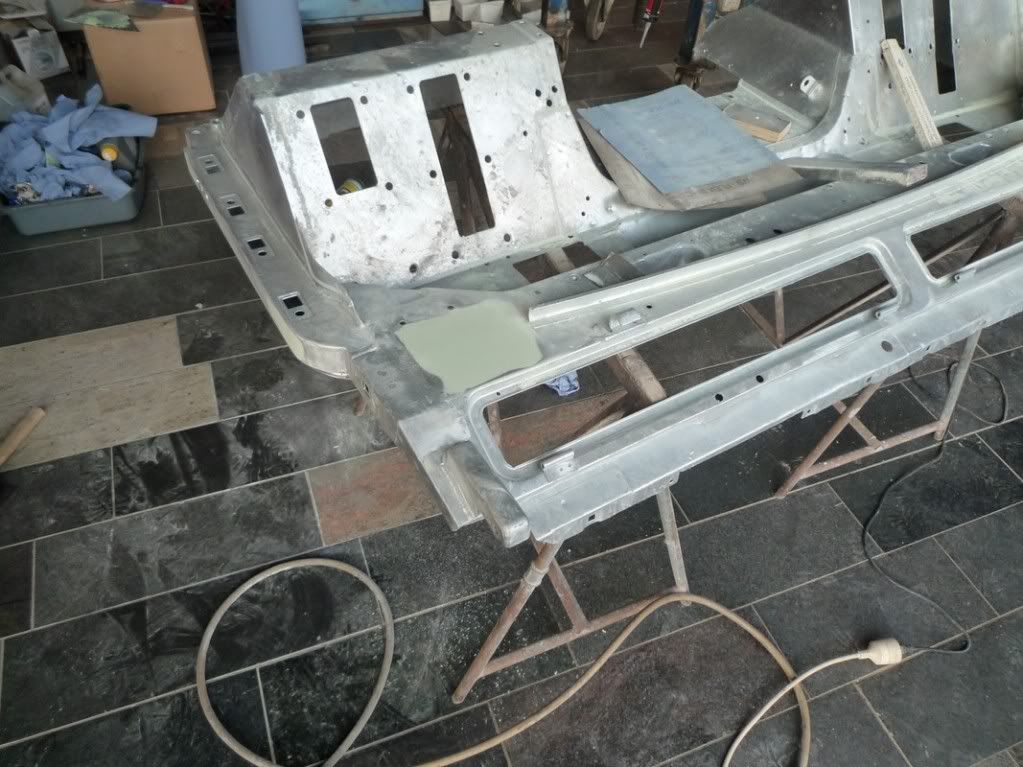
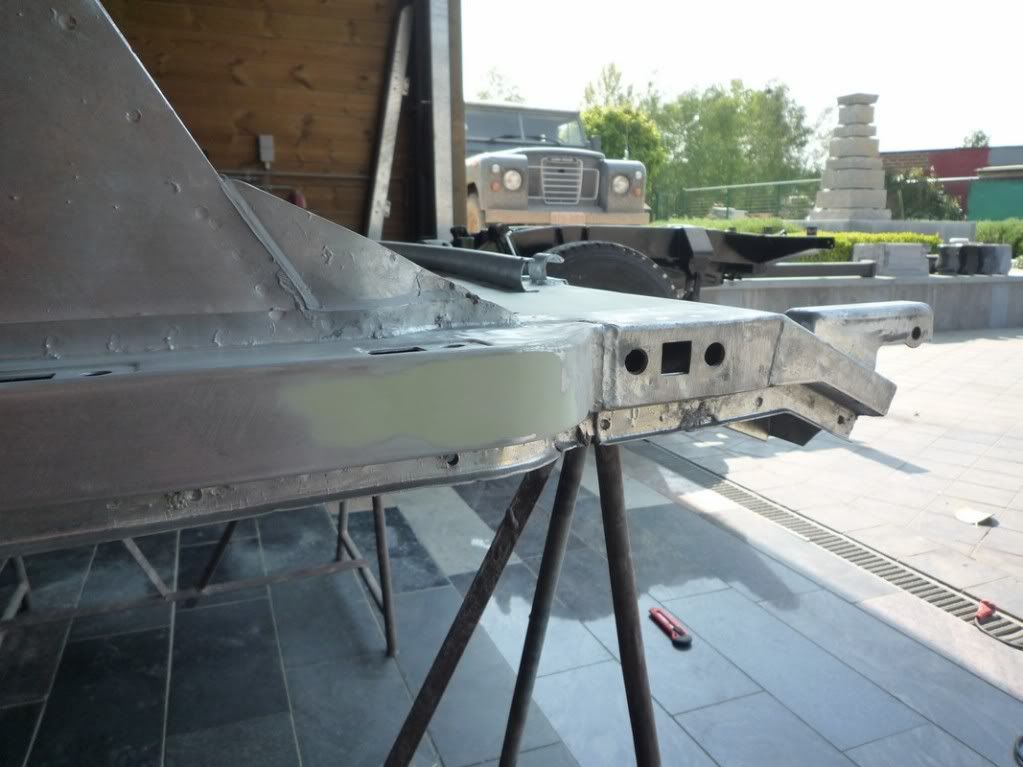
Yesterday my chassis arrived from the galvanising company and it looks very good. Now I can start to rebuild everything again.
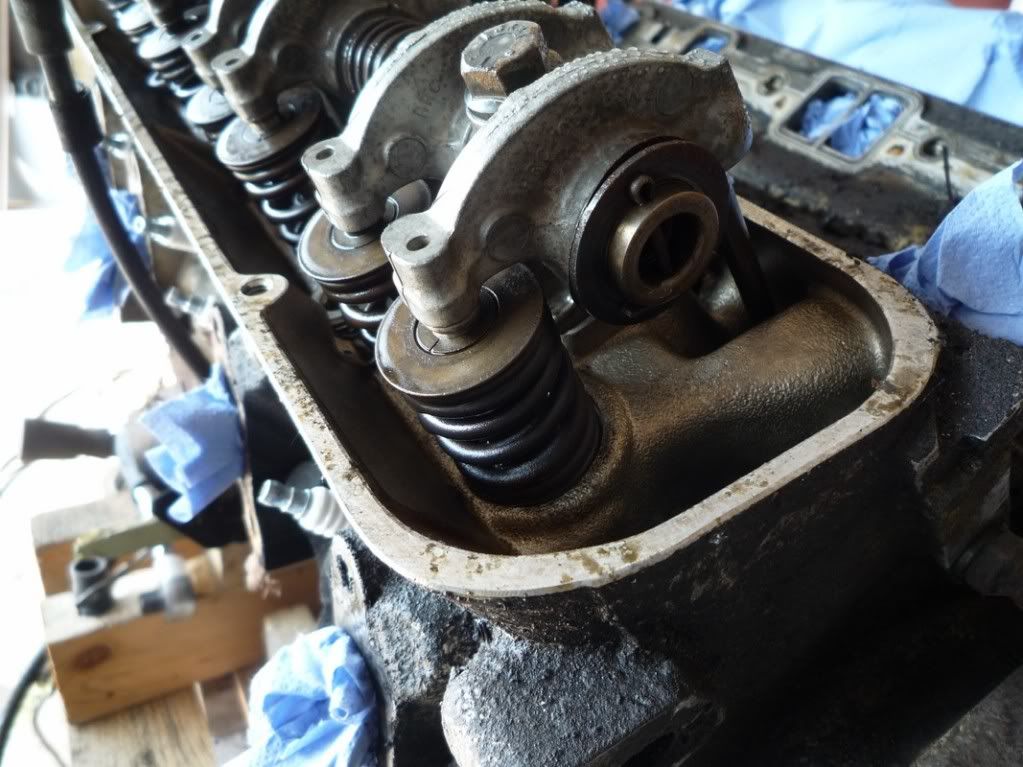
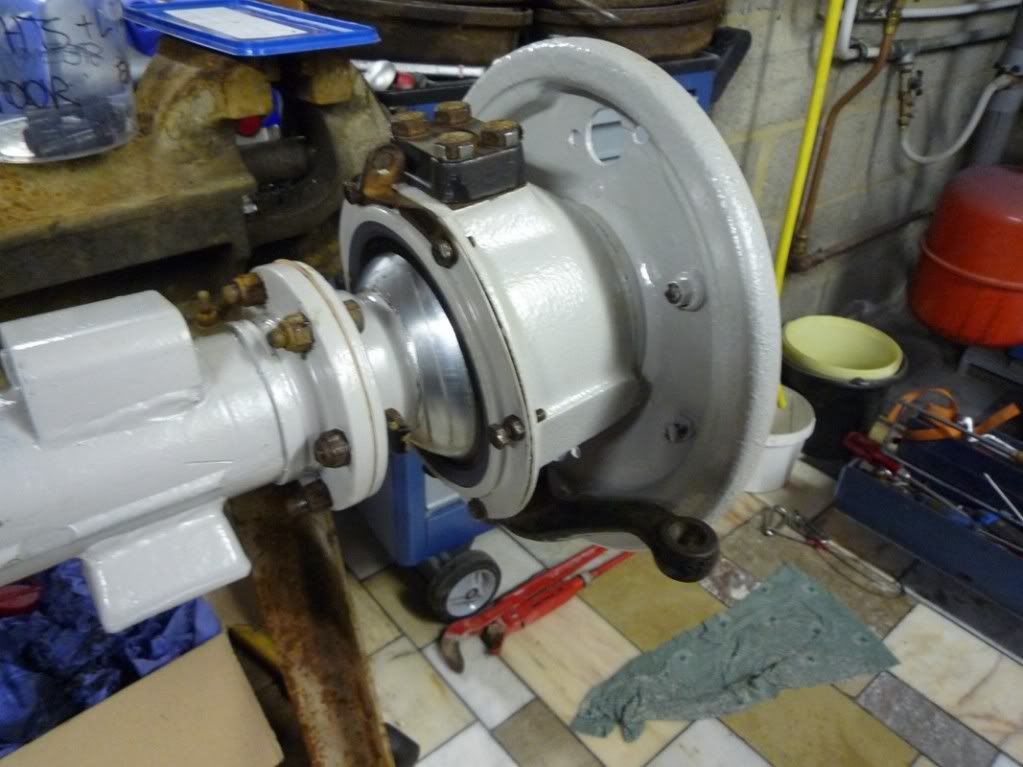
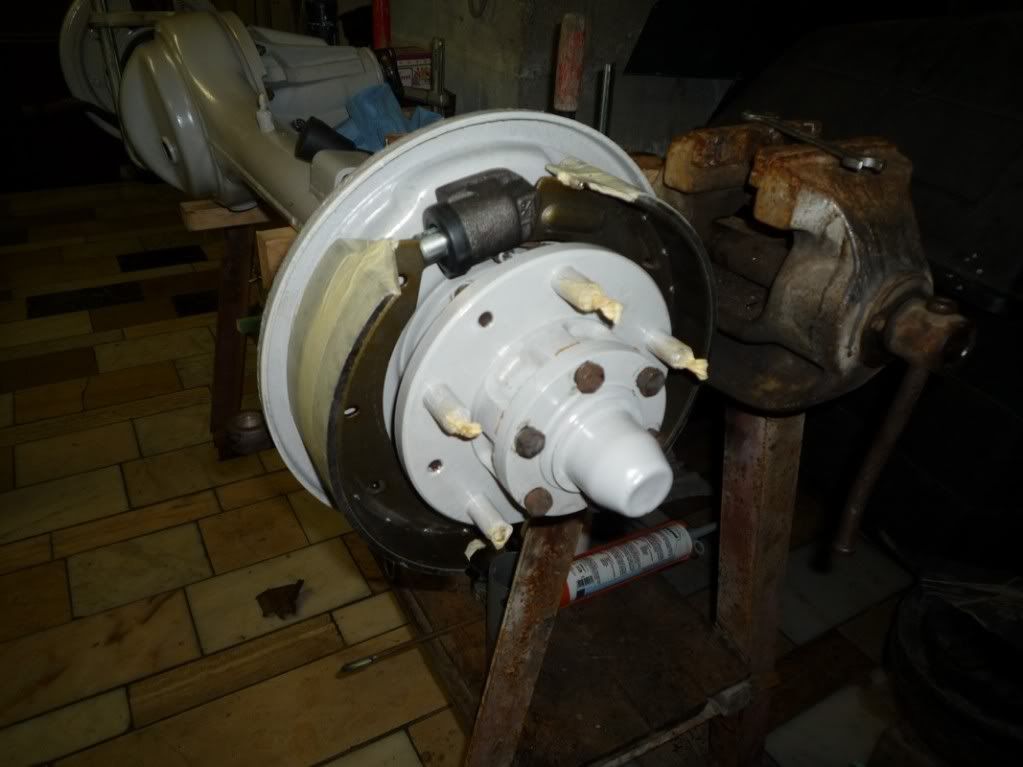
The axles are almost finished, I put all new seals, bearings, bushes and greased everything. Installed new brake linings etc.


About the chassis, I wil put some extra wax inside and the outside gets another 2 coats of 2 component epoxy paint, just to make sure the rust cant do any harm to it.
Hope you all like the pictures.
Cheers
Christophe
Posted: Wed Mar 23, 2011 8:24 pm
by harry potter
Good effort. Welcome to forum Please keep us updated with pictures, makes what l am doing with my stage 1 look like just a wash.
If you don't mind me asking- was it expensive having the chassis and bulkhead galv'd?
Regards
Harry potter
Posted: Wed Mar 23, 2011 8:42 pm
by Chris_G
From now on I will keep you updated with pictures. Hope to have a rolling chassis again within a few weeks.
The galvanising for chassis and bulkhead was 200 Euro, what I think is a very good price. For this project I only want the best of the best, really want a 'new' car when it's finished.
Posted: Wed Mar 23, 2011 9:56 pm
by disco2hse
I am not certain that putting epoxy or wax over the galvanising is the best idea. Perhaps someone can correct me, but I always thought that the purpose of the zinc coating was for it to establish an oxidised layer, and it is that which protects the ferrous metal. Coating the zinc with a non-permeable compound would prevent it from working correctly. Of course coating with epoxy or wax would prevent rust, etc. but what's the point? That's what the galvanising is for.
Anyway, that front axle looks great and the shiny bits look totally bling

Looking forward to the coming photos.
Posted: Wed Mar 23, 2011 10:50 pm
by 5988
Id just paint it black as plan galv looks very wrong
the zinc will still work if the paint is damaged and inside the chassis, the paint just adds another layer of protection

Posted: Thu Mar 24, 2011 10:03 pm
by Chris_G
5988 wrote:Id just paint it black as plan galv looks very wrong
the zinc will still work if the paint is damaged and inside the chassis, the paint just adds another layer of protection
Yeah, thats also what the people at the belgian leafers forum told me.
Posted: Sun Apr 10, 2011 8:09 pm
by Chris_G
Posted: Thu Apr 28, 2011 6:24 pm
by Chris_G
Posted: Tue May 24, 2011 12:02 pm
by hundertneuner
Nice job!
May u post a pic of your exhaust? It may help us to identify your problem- or do you mean the studs of the manifold?
Cheers
Sascha
Body puty on Zinc
Posted: Wed May 25, 2011 11:06 am
by firemanshort
I would love to get another look at that bulkhead in 5+ years. I have no idea how well the body putty will stick to the galvy.
Keep the photos coming....
Posted: Wed May 25, 2011 3:33 pm
by Chris_G
I would love to get another look at that bulkhead in 5+ years. I have no idea how well the body putty will stick to the galvy.
All the paint and other stuff for the body protection comes from the company where my neighbor works. It's an professional paint store and I'm sure if he gives this to me it WILL stick to the galv.
Posted: Wed May 25, 2011 7:55 pm
by disco2hse
So long as it's had etch primer and a primer undercoat it should be fine.
Posted: Sun Jan 01, 2012 4:55 pm
by 88 stage1
Any more progress? chris